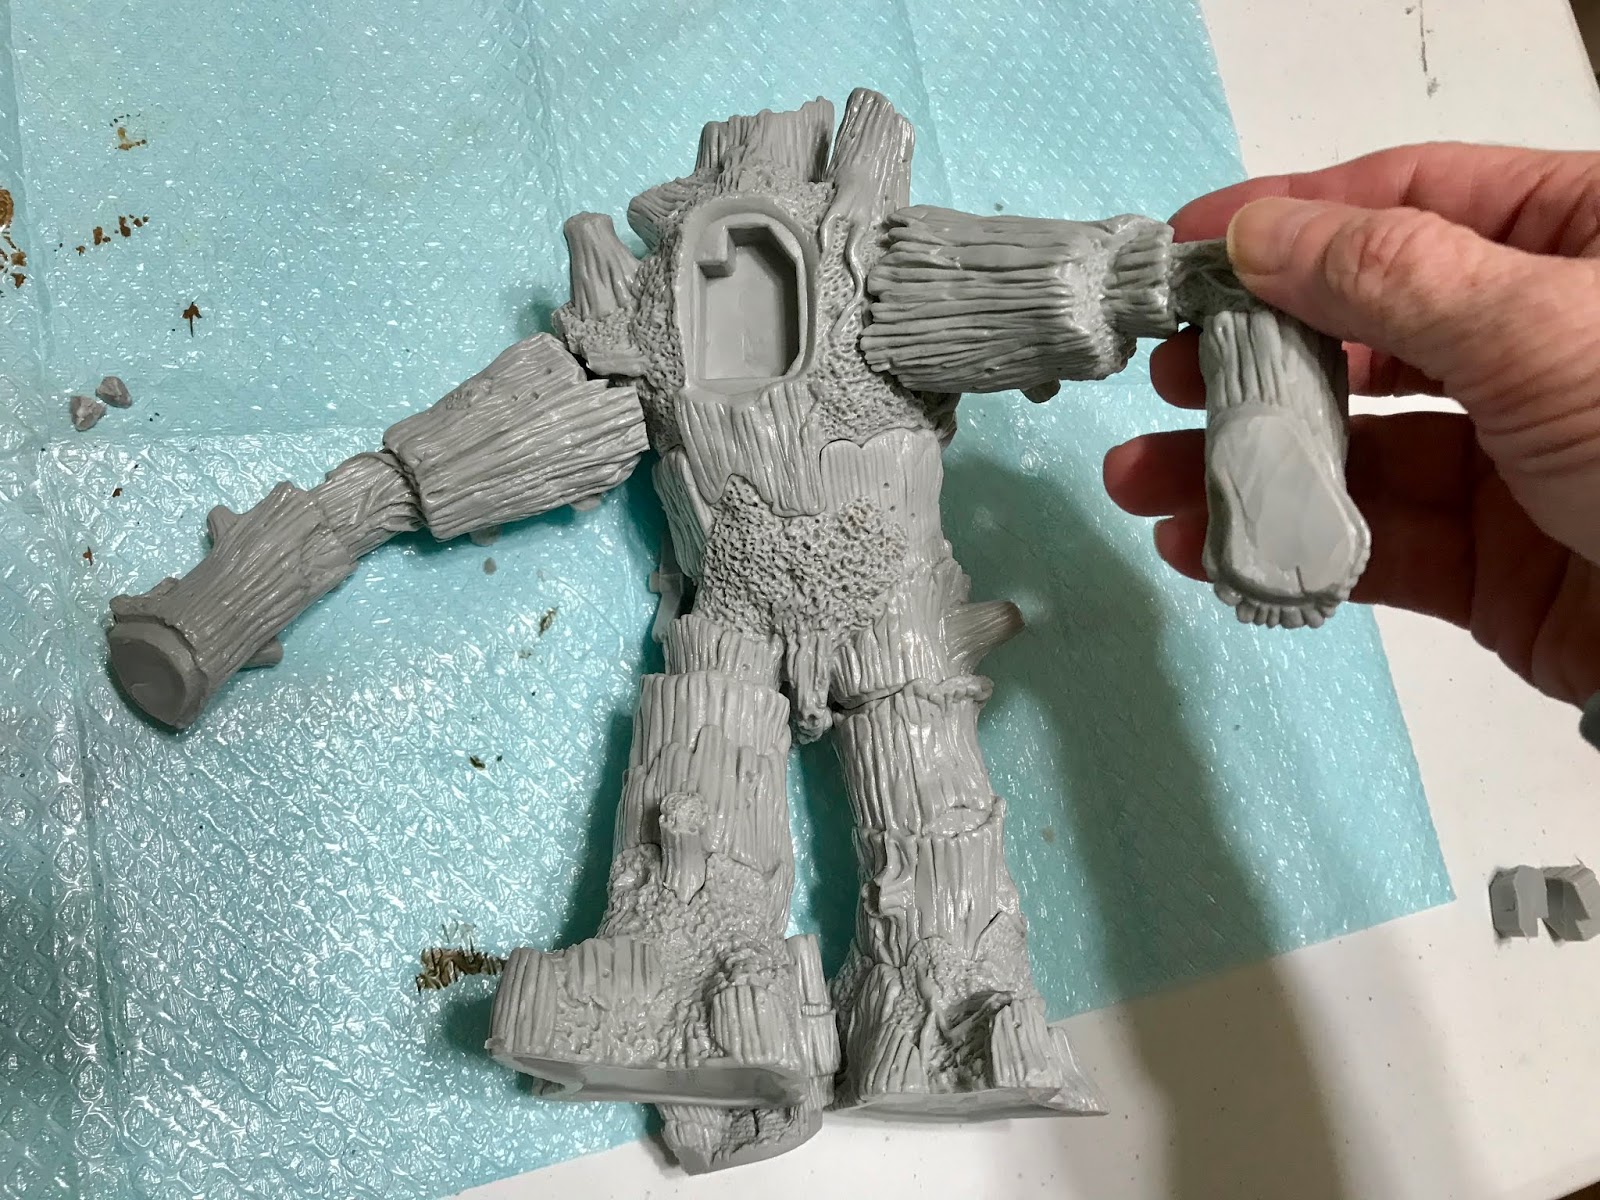
How about a bonus Thursday post today! This past week I worked on assembling and converting the Mossbeard Treeman figure from the recent Bones 4 Kickstarter. While I loved the basic design of the figure, I did have one quibble with it. In my mind the arms were wrong, as they were narrower at the shoulder and wider at the wrists. I felt that arms, as well as tree branches, are generally thicker at the base/shoulder, and get thinner as they go towards the ends. When I pledged for the figure my hope was that it wouldn't be too hard to reverse the arms and mount them with the thick end at the shoulders and put the hands on the the thinner ends.


Since the arms and hands were all constructed with peg and hole joints, reversing them would give me peg on peg and hole on hole connections. This wouldn't work, so the first thing I did was cut of the pegs to make the peg on peg parts fit more closely together. The pegs on the wrists and hands were large thick chunks of plastic, so in order to remove them more easily, I first soaked them in boiling water for about 40 seconds.
I was then was easily able to slice through them with a hobby knife.
I then assembled the legs and body, and laid out all the parts to get a feel for how it would look. So far I was happy.
Next I trimmed the overhanging shoulder on the body's right side.
I then worked on trimming the new shoulder connections on the arms (What were intended to be the wrists) so that they would fit onto the body more closely. This was a matter of trim a little, put it up against the body to test, and trim a little more as needed.
Test fitting.
I then got the idea to glue the pegs that I had sliced off back into the holes in the shoulders and body where they would have gone. This, I realized, would give me good points to put in pins to help anchor the arms.
So I then drilled holes to insert anchor pins. I didn't have any wire thick enough, so decided to use some doweling.
While I got the holes and pins all ready, I didn't actually glue the arms yet; as I wanted to first work on blending the wrist joints with some greenstuff epoxy putty.
I used some of the leftover greenstuff to fill the gap in the joint where his head joins his body.
After the wrists had time to set, I glued the arms to the body using the wood pegs to anchor them.
After the glue had time to set, I then blended the shoulder joints using greenstuff.
I then primed an old CD disc and glued the feet to it. That completes the conversion and assembly phase. Now all that's left is the painting!
 |
| Shown with Sir Forscale. |


Hurrah for bonus Thursday post!
ReplyDeleteAnd that is one big treeman! Interesting how much your moving the arm bits around changes the look of the guy. With some alternations to the face you could probably do a second one too.
Thanks! You are right. To me the new pose looks more like he's about to deliver a mean right hook to some poor adventurer, rather than just strolling through the forest like the original. :)
DeleteThough, I'm not sure what I would do with a second one, much less afford it at the retail price! :D
I have to agree - that conversion really elevates the miniature. Not only do the arms look more natural, but I also like the pose better!
ReplyDeleteThank you, XE!
DeleteNice conversion modeling...from vision to completion.
ReplyDeleteThanks, Jay!
DeleteI love all your conversions.
ReplyDeleteSimple changes that make a big difference.
Is he missing the fingers on his three pronged left hand though?
Thank you!
DeleteNo, I don't think he's missing the fingers on either hand. His right hand, (on the left side of the photo) is clenched in a fist, and his left hand (on the right side of the photo) has the three fingers as it is supposed to.