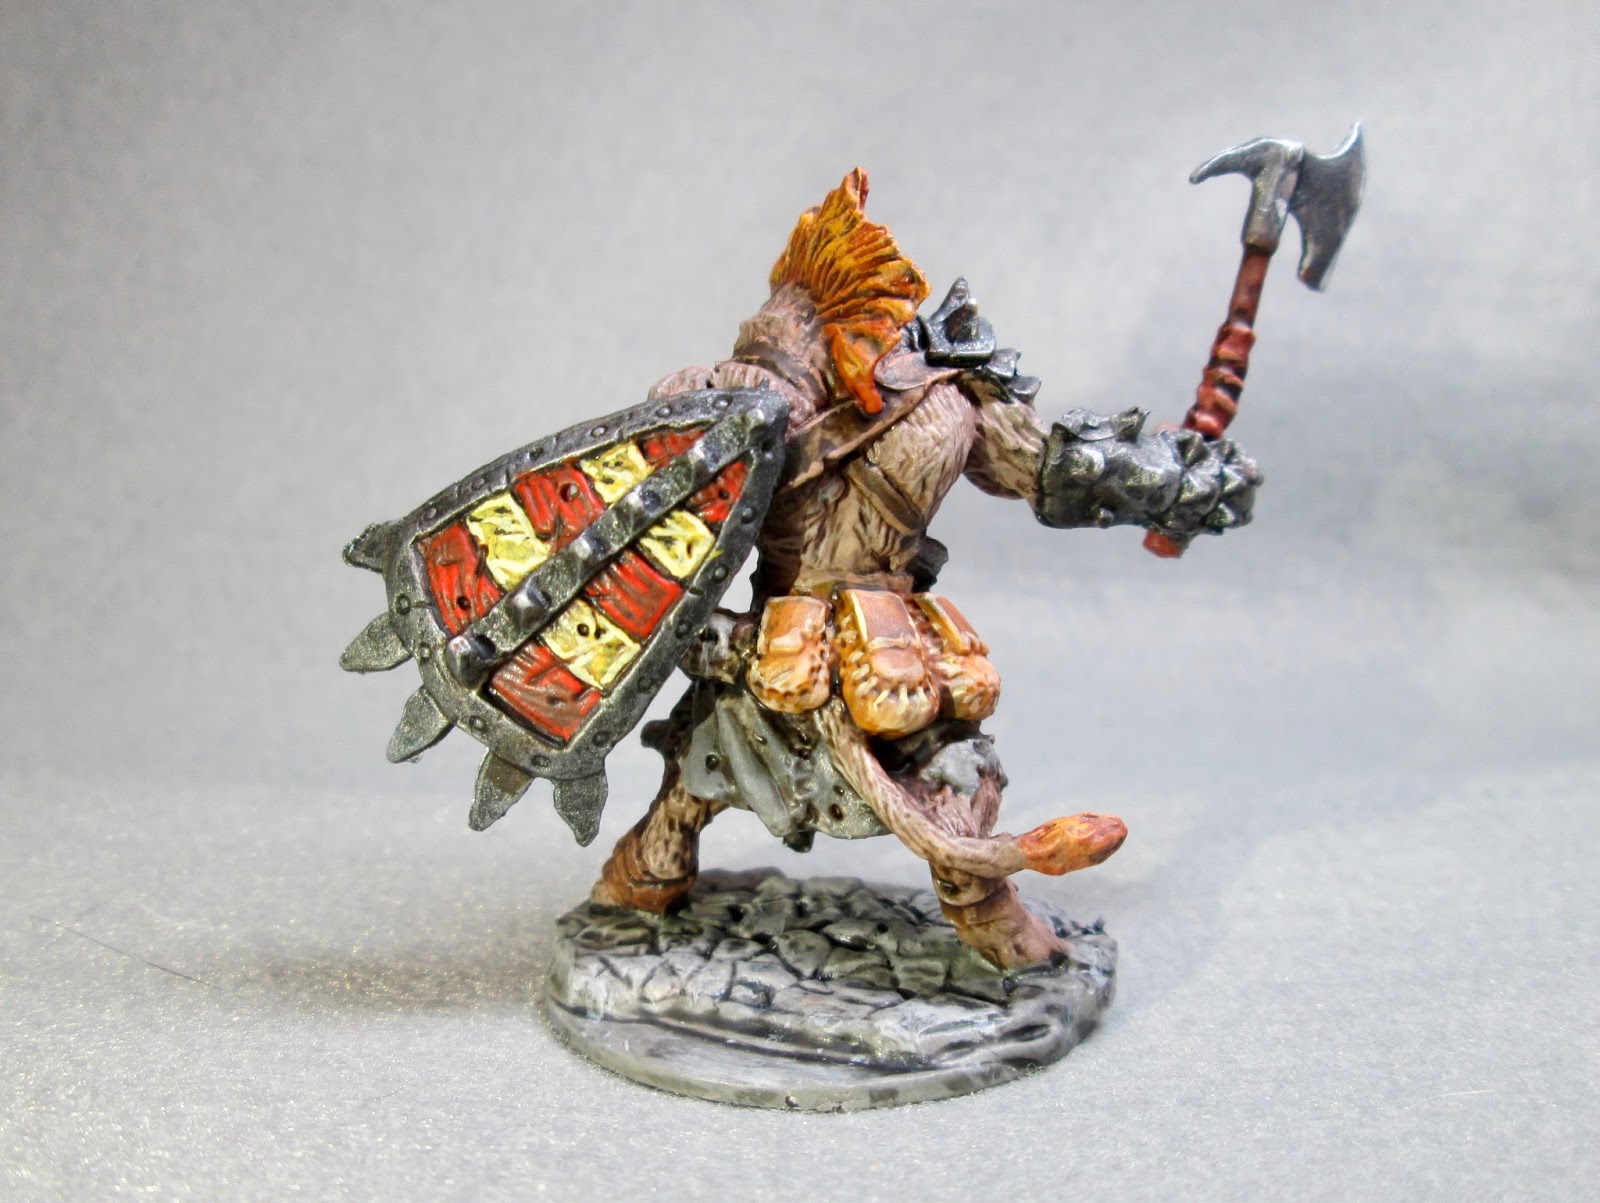
This week I painted up the Bloodmane, Gnoll Warrior, figure from the Bones II
Gnolls & Bugbears set. I ended up with a bunch of the Bones II Gnolls through trades and flea market purchases, so I thought it was about time to start work on them. I'm going to need them eventually for the Frostgrave "In To The Breeding Pits" supplement, so rather than wait until the last minute, I thought I'd start now and allow myself the luxury of being able to work on them at a leisurely pace.
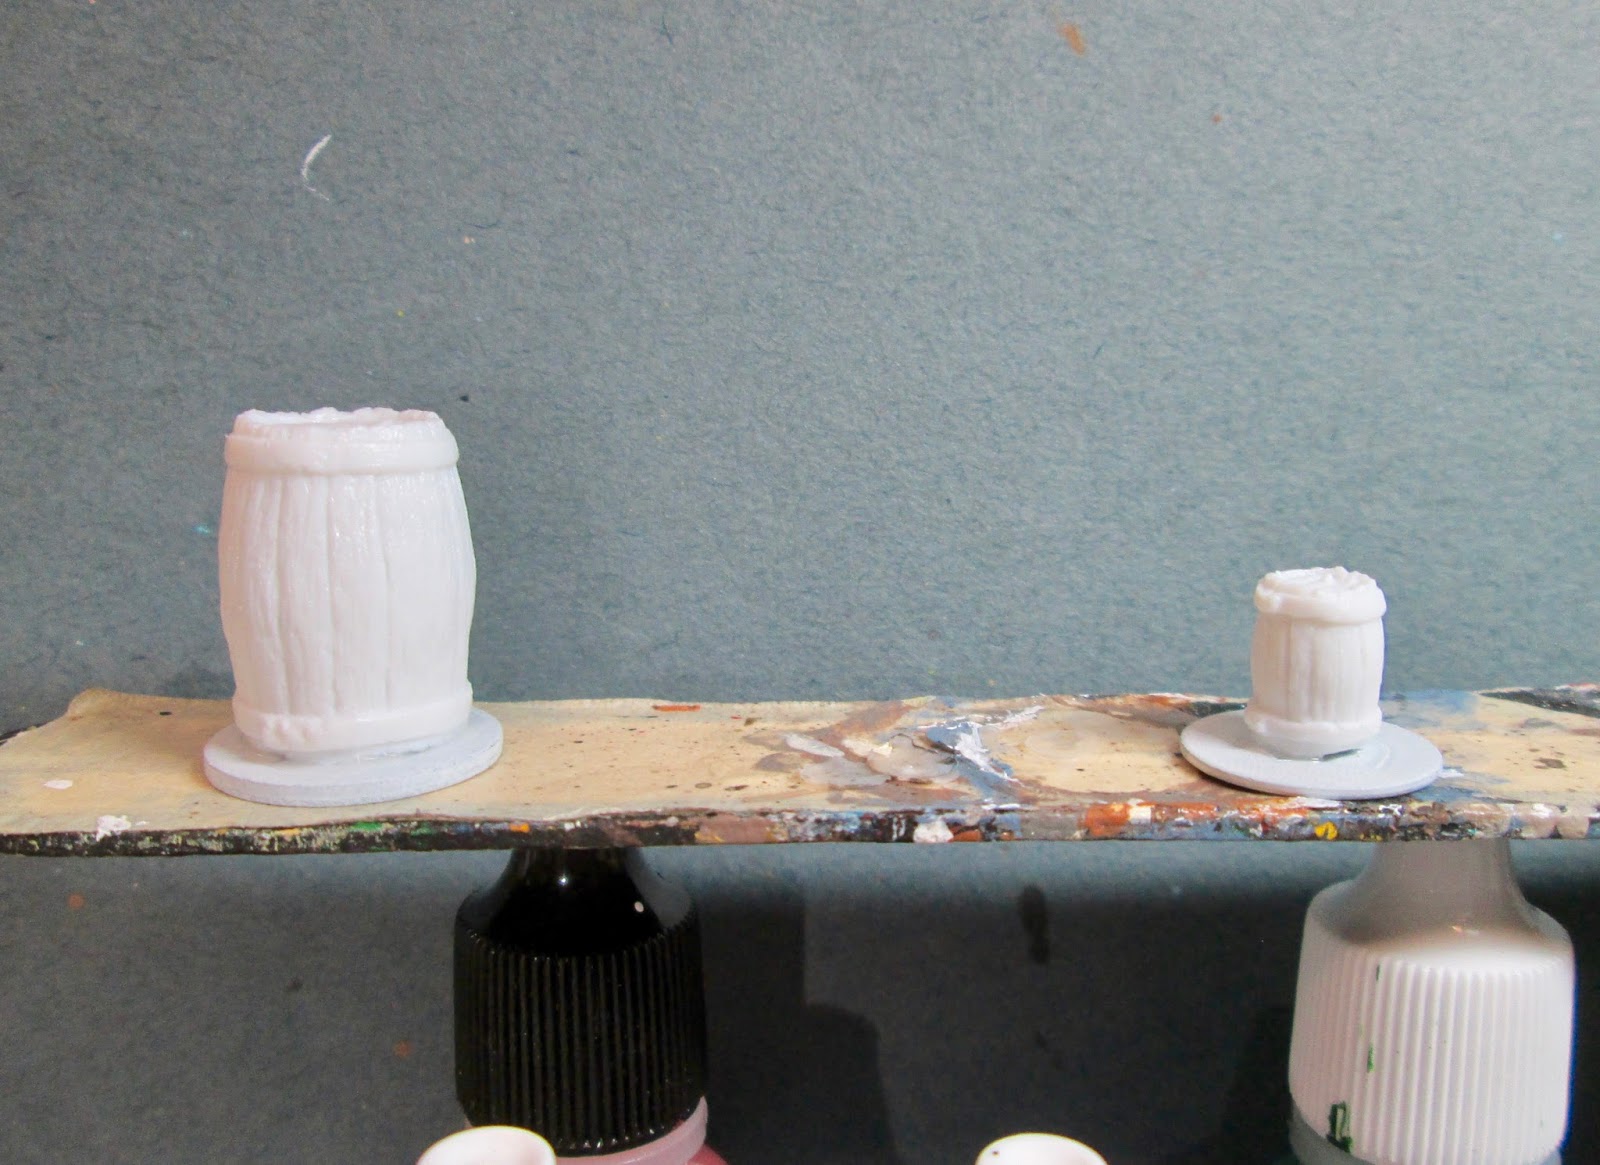
I prepped the figure in the usual way; soaking it in a dish of water with a couple drops of dish-soap added, then giving it a light scrub with a soft toothbrush, and then rinsing and drying it. I then glued the figure to a black-primed 1.25" fender washer with Aleene's Tacky glue, and then glued the washer-mounted figure to a tongue depressor with a couple drops of the Elmer's glue.
I began by giving the figure a wash with heavily thinned Reaper "Grey Liner" using a wet brush. When that was dry, I painted the armor and shield Black. When the Black was dry, I drybrushed it with Folk Art Metallics "Gunmetal Grey". I then passed over the armor with a lighter drybrush of Folk Art "Silver Sterling".
I then painted his fur with Americana "Mississippi Mud", and his mane and tail fringe with Crafter's Acrylic "Orange Spice". Next, I painted his kilt with Americana "Zinc", and then painted the inside back of his shield with Teddy Bear Brown". After that, I painted all his belts and straps with Americana "Bittersweet Chocolate".
Next, I painted the skulls with Americana "Antique White", and his teeth with Americana "Buttermilk". I then painted the wraps on his foot, the string holding the skulls, as well as his axe handle with Nicole's "Brown", and the wraps around the axe handle and his scabbard with Anita's "Burnt Sienna".
I also used the "Burnt Sienna to paint three of the stripes on his shield, and Apple Barrel "Yellow" to paint the other two. After that, I painted his pouches all with Ceramcoat "Raw Sienna".
Then, when everything was dry, I gave the entire figure a wash with Citadel "Agrax Earthshade" wash using a wet brush. When the wash was dry, I painted his eyes, and the highlighted his teeth with Crafter's Acrylic "Light Antique White".
Next, I highlighted his fur with Americana "Khaki Tan", and then highlighted his mane and tail fringe with Americana "Tangerine". I then painted his nose, muzzle, claws and the grip on his short sword with Black. I then highlighted his kilt with Apple Barrel "Rock Grey", and a little Folk Art "Platinum Grey" fro the stitching. After that, I highlighted all his straps and belts with Americana "Sable Brown", and then highlighted the front of his shield with Reaper MSP "Holly Berry" for the red stripes, and Reaper MSP "Golden Glow" on the yellow stripes.
I then did the highlights on his axe grip an short sword scabbard with Americana "Shading Flesh", and on his pouches with Apple Barrel "Apple Maple Syrup". The rope holding the skulls I highlighted with Ceramcoat "Territorial Beige", and I then highlighted the skulls with the "Buttermilk", and then the "Light Antique White". I then went back and highlighted his nose, muzzle, claws, and sword grip with Americana "Neutral Grey". I then went back over the metal parts adding highlights with Ceramcoat "Metallic Silver".
Lastly, I painted the base with the "Neutral Grey", and then gave it a wash with Citadel "Nuln Oil" wash. When the wash was dry, I gave it a drybrush with Duncan "Slate Grey"
I let the figure dry overnight and the next day I gave him a coat of Americana "DuraClear Matte" varnish. Another overnight dry, and I sprayed him with Testor's Dullcote".
As a test, subject, I'm really happy with how he turned out. Now on to the rest of the pack!