Showing posts with label Wheeled Vehicle. Show all posts

Monday, August 19, 2019

Dreadmere Cart: Bones 4 Dreadmere Figure

     This past week I painted the Dreadmere Cart from the Bones 4 Dreadmere Expansion.
     I prepped the figures in the usual way; soaking the parts in a dish of water with a couple drops of dish-soap added and then rinsing and drying them.  When dry, I glued the wheels to tha axle so that the card would still be able to rotate on it.  I then superglued the Crate and Barrel to an unprimed 1"x1.5" steel base, and glues the cart to a 2" x 2" grey-primed steel base using  Aleene's Tacky glue.  I then glued the cart to a tongue depressor using a couple drops of Elmer's glue, and stuck the crate and barel piece to some bluetack on a pill bottle.
     I began by painting the cart with Reaper MSP HD "Golden Brown".  I then painted the rope with Folk Art "Barn Wood", and the metal work on the wheels with Reaper MSP "Scorched Metal".
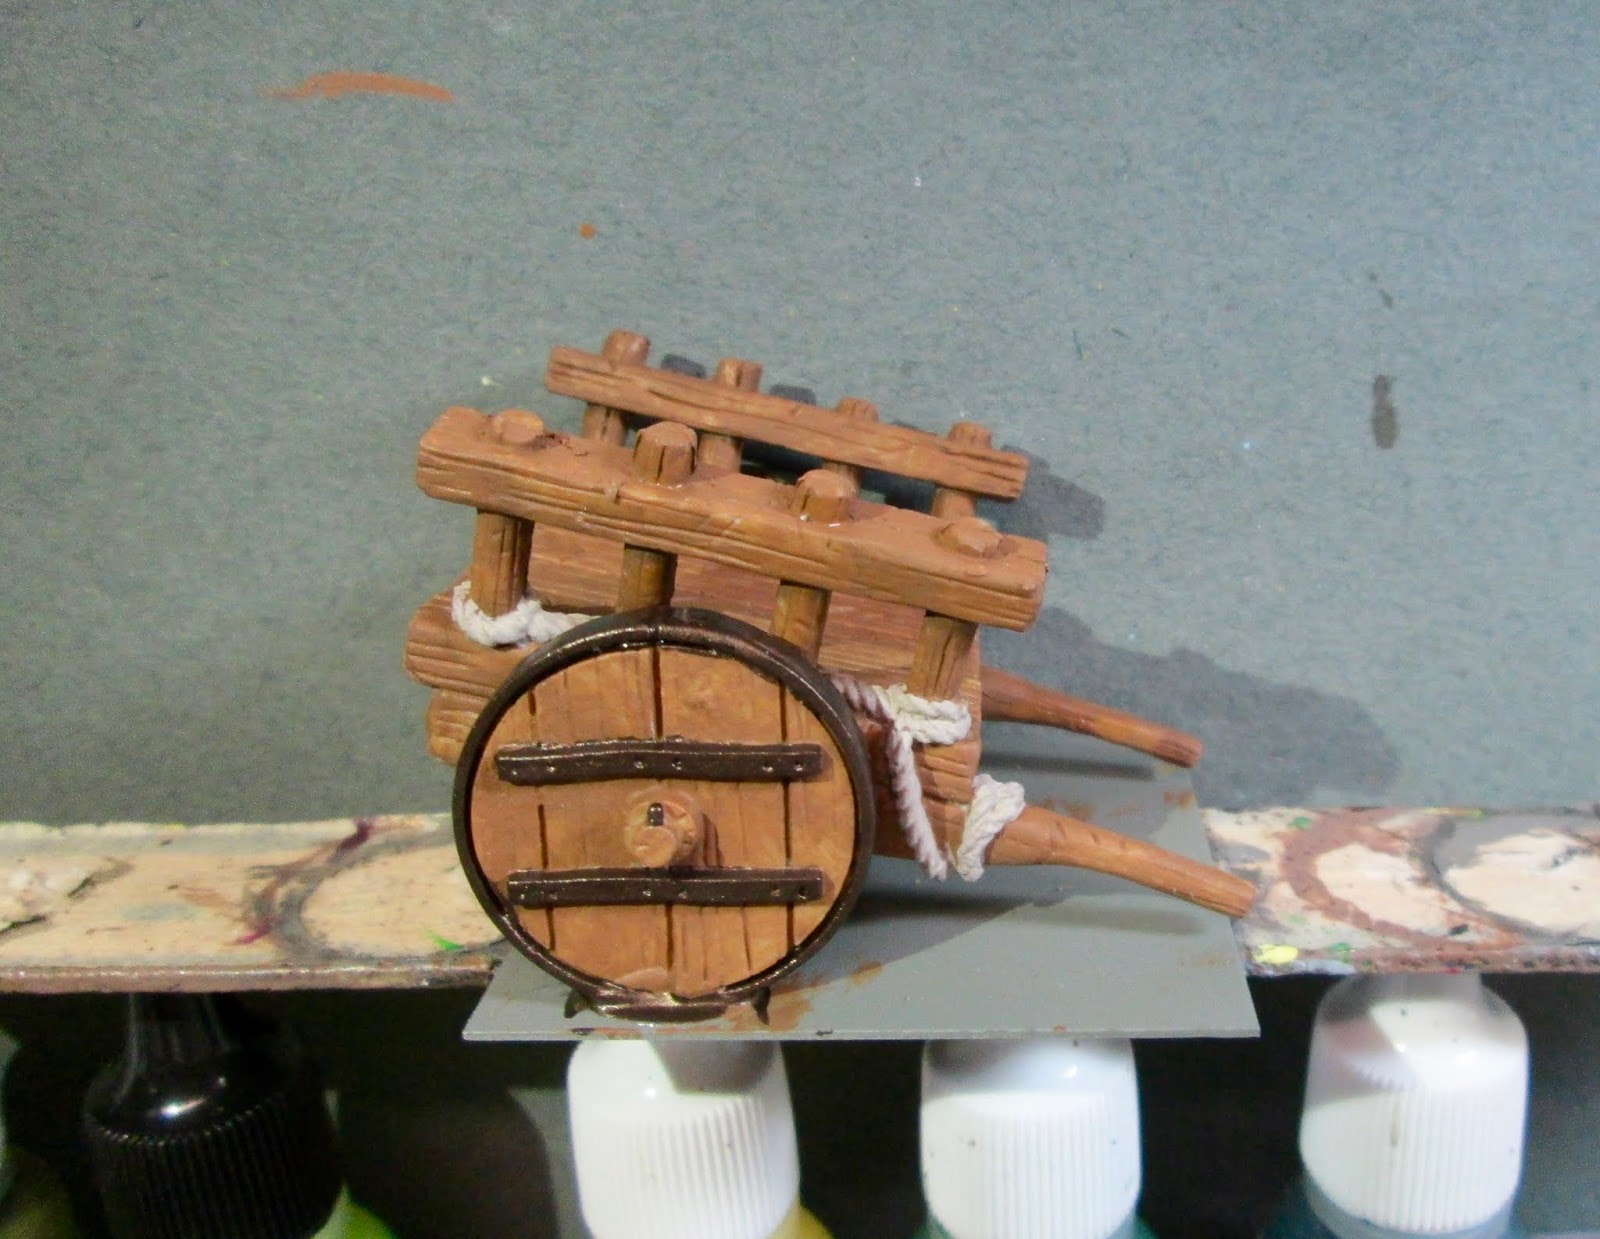
      Then, when everything was dry, I gave the entire cart a wash with Citadel "Agrax Earthsahde" wash.
     When the wash was dry, I highlighted the wood by drybrushing it with Folk Art "Butter Pecan". I then highlighted the rope with Americana "Bleached Sand", and highlighted the metal parts of the wheels by carefully drybrushing them with Folk Art Metallics "Gunmetal Grey".   Lastly, I painted the entire base with "Americana "Mississippi Mud".
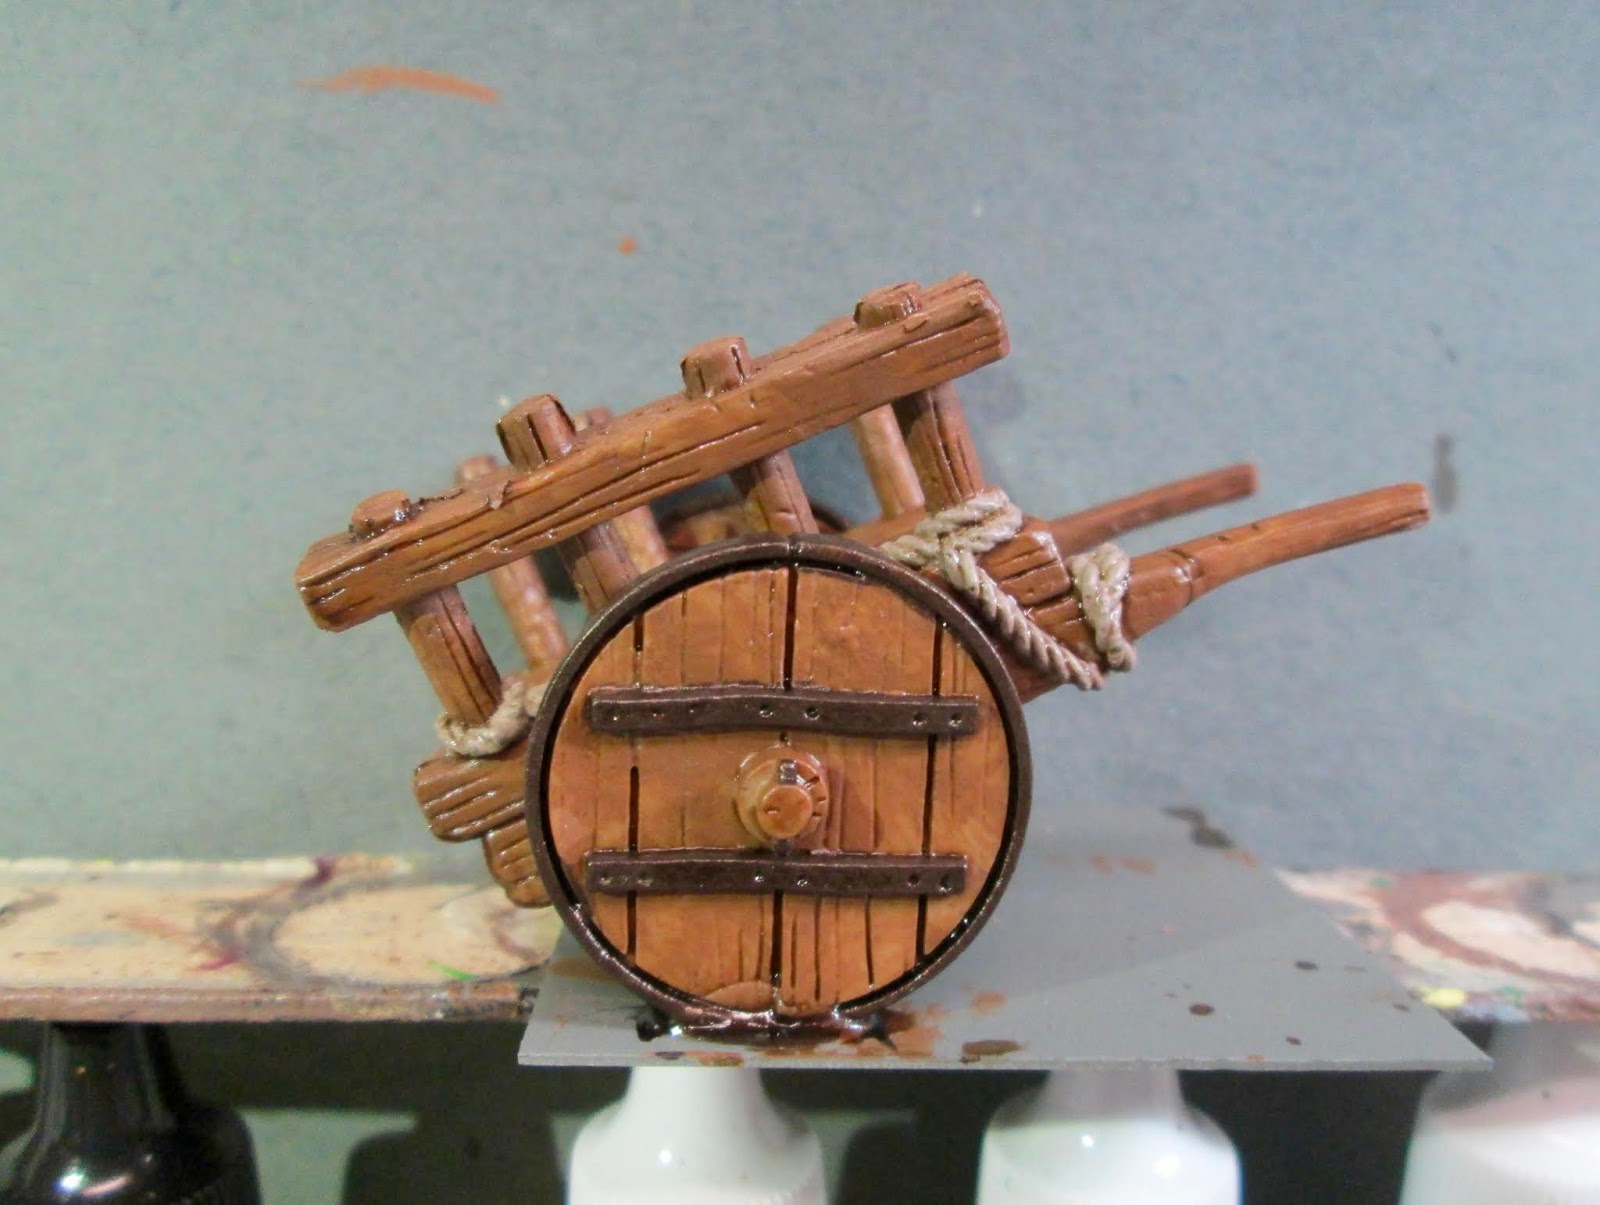
       I let the cart dry overnight and the next day I gave it a coat of Americana "DuraClear Matte" varnish.    Then, when  the varnish was dry, I used some white glue to apply a sand mixture onto the base.  When that was dry, I used white glue again to flock the edges of the base.  Another overnight dry, and I sprayed it with Testor's "Dullcote".


     Next, I worked on the crate and barrel.  The first thing I did was paint the steel base with some Americana "Metal Primer".
     I then painted the crate with Americana "Mississippi Mud", and the barrel with Americana "Light Cinnamon". After that,  I painted the bands on the barrel with the "Gunmetal Grey", and then did the base with the "Golden Brown".
     Then, when everything was dry, I gave the entire assembly a wash with the"Agrax Earthsahde" wash.
     When the piece was dry, I drybrushed the crate with Americana "Fawn", and the barrel with Americana "Sable Brown".  I then added some grain on the base with the "Butter Pecan".
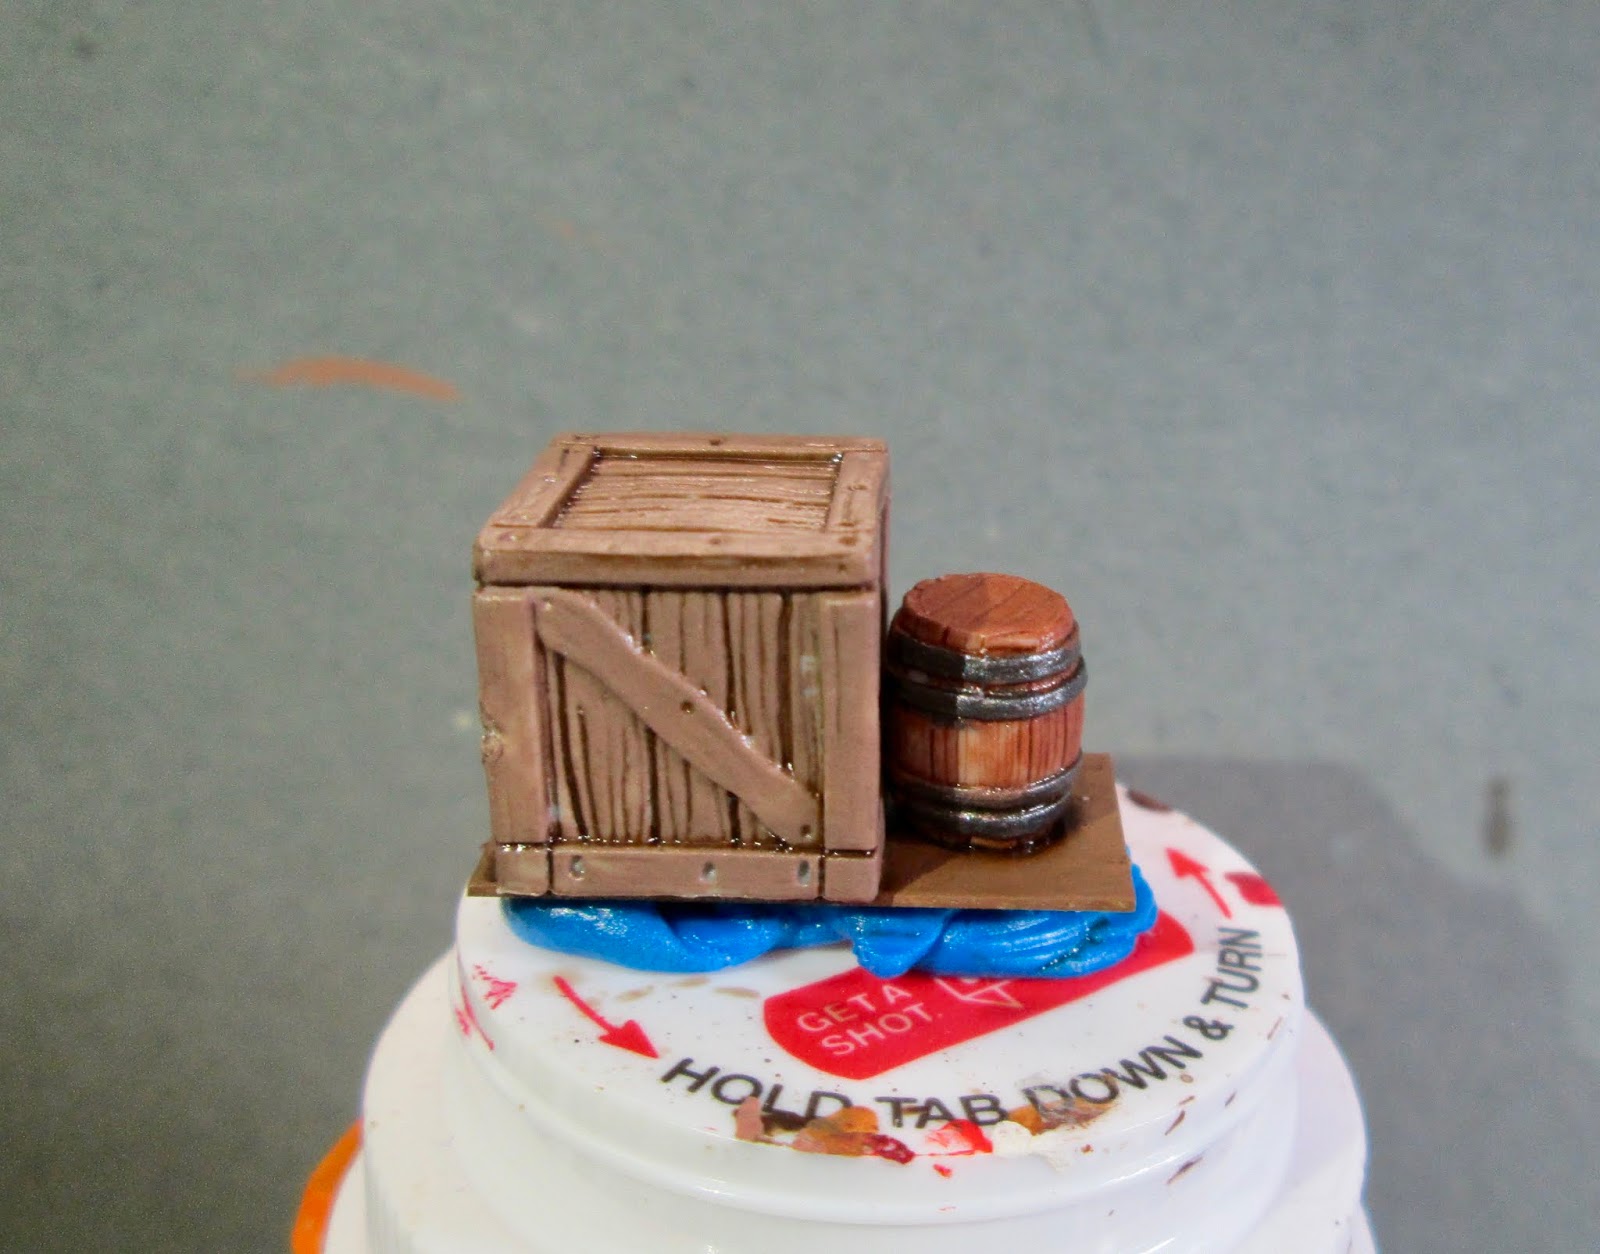
      I let the crate and barrel assembly dry overnight and the next day I gave it a coat of Americana "DuraClear Matte" varnish.  Another overnight dry, and I sprayed it with Testor's "Dullcote".

    Very pleased with how this set turned out.

Thursday, April 21, 2016

Bones CAV SO: Ashigaru

   This week I completed my first unit from the Reaper Bones CAV Strike Operation Kickstarter, the Ashigaru missile launcher vehicles.
   I prepped the vehicles in the usual way for Bones; soaking them in a bowl of water with a couple drops of dish-soap added, then giving them a light scrub with a soft toothbrush, and then rinsing and drying them. I then glued the missile rack in place with superglue.  Next, I sprayed them with Army Painter "Necrotic Flesh" spray paint.  When they were dry, I glued them to a black-primed 3"x1.5" steel base (For use with LSNC: Sci-Fi rules), with Aleene's Tacky glue.
      I began by painting camouflage splotches all over the vehicles' surfaces using Nicole's "Brown". I the painted the wheels all Americana "Territorial Beige".
     Next, I added small dots to the camouflage splotches  with Americana "Khaki Tan".  After the paint had a while to dry I gave the all the vehicles an entire wash using Winsor-Newton "Peat Brown" ink using a wet brush.
     When the ink wash was dry I gave the vehicles an all-over drybrushing with Americana "Buttermilk".  I then painted the missile tips with Americana "Zinc", and the vehicle windows with Crafter's Acrylic "Navy Blue".
    I then added small highlights to the tops of the missile tips using Crafer's Acrylic "Storm Cloud Grey", and highlights to the windows with Americana "Salem Blue", followed by small pinpoint White highlight dots in each window.  Lastly, I painted the tail lights with Crafter's Acrylic "Deep Red".
     After the vehicles had overnight to dry,  I gave them a coat of Ceramcoat "Matte Varnish" early the next morning.   When the varnish was dry, I covered the bases with white glue and dunked them in a sand and gravel mixture.  When the sand was dry, I painted it with Americana "Raw Umber", and then when that was dry, I drybrushed it with Americana "Territortial Beige", followed by Folk Art "Butter Pecan", and lastly Americana "Bleached Sand".
  The next day I sprayed the missile launcher unit with Testor's Dullcote.

Three platoon stands and a company HQ stand.
    I'm happy with how these turned out, and am looking forward to tackling more of the CAV vehicles in the future!