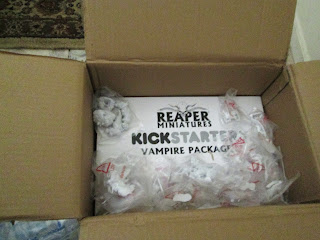
My first decision to make was what figure to paint to inaugurate my blog. It didn't take long as I pawed through the box of figures, to settle on the Mr Bones Reaper Kickstarter mascot figure, as the most obvious choice for first candidate. I also selected the large Rock Golem from the Forces of Nature add on pair (the Not-Gorignak for you Galaxy Quests fans!), and a couple of magic users pulled randomly out of the bag in which I had put the Original 30 Bones figures, to follow up with.
I would like to say that this was the first ever Bones figure I painted, but I had the good fortune to paint one before (a ghost) at the Reaper Paint-and-Take tables at Origins '12. So this would be my second ever Bones figure. I thought I would do these first few, exactly as Reaper suggests, straight out of the package with little prep. I did have to straighten out the shovel on Mr Bones as it had been bent a little in shipping. I easily did this by holding the figure in the steam-stream from a tea kettle for a few seconds. I also had to trim down some mold line flash.
I first glued the figure to a 1" black-primed fender washer, and then glued that to a tongue depressor. For painting the Bones I plan to use my basic assortment of craft acrylic paints with a smattering of some GW paints I own. I started by painting the whole Mr Bones figure black. I then drybrushed the cloaks with a mid-tone blue-gray. Next I painted the shovel handle dark brown and the skull mask a pale buttermilk color. While these dried I painted the lacings on his under-robe red. Then I went back and did some tan highlights on the shovel handle's grain, and painted the mask highlight's white.
Next I did the skin, painting a dark ruddy flesh base, and then highlighting it. The rope/noose belt followed with a brown base and tan highlights. Finally I did the shovel blade in dark metal with silver highlights. When dry I used brush on varnish, and then flocked the base. A coat of Testor's Dullcote finished the job.
I'm please with the results on this figure. It was a good choice for a starter, as it is a simple rather straight forward sculpt with lots of good detail, and very quick to paint up. Figure 1 of 264 done.


