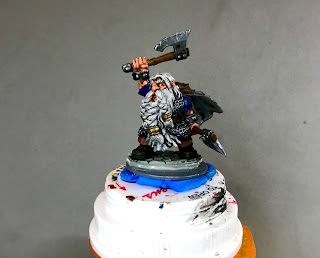
I returned this past month back to working on the Dwarves from the The Dwarf King's Crypt Encounter Sets that I got through the Bones 5 Kickstarter. Between the two sets, I have 12 of the Dwarf warriors (2 each of the 6 that came in each set. I randomly picked one of the "Valgar Swiftaxe" figures, and one of the "Dagar Bronzebeard" figures to work on.
I had decided to work on these two at a time to help save a little time. My plan was to paint them basically the same; with the hopes that when mixed into a unit, combined with the difference in the poses, they wouldn't look too identical.
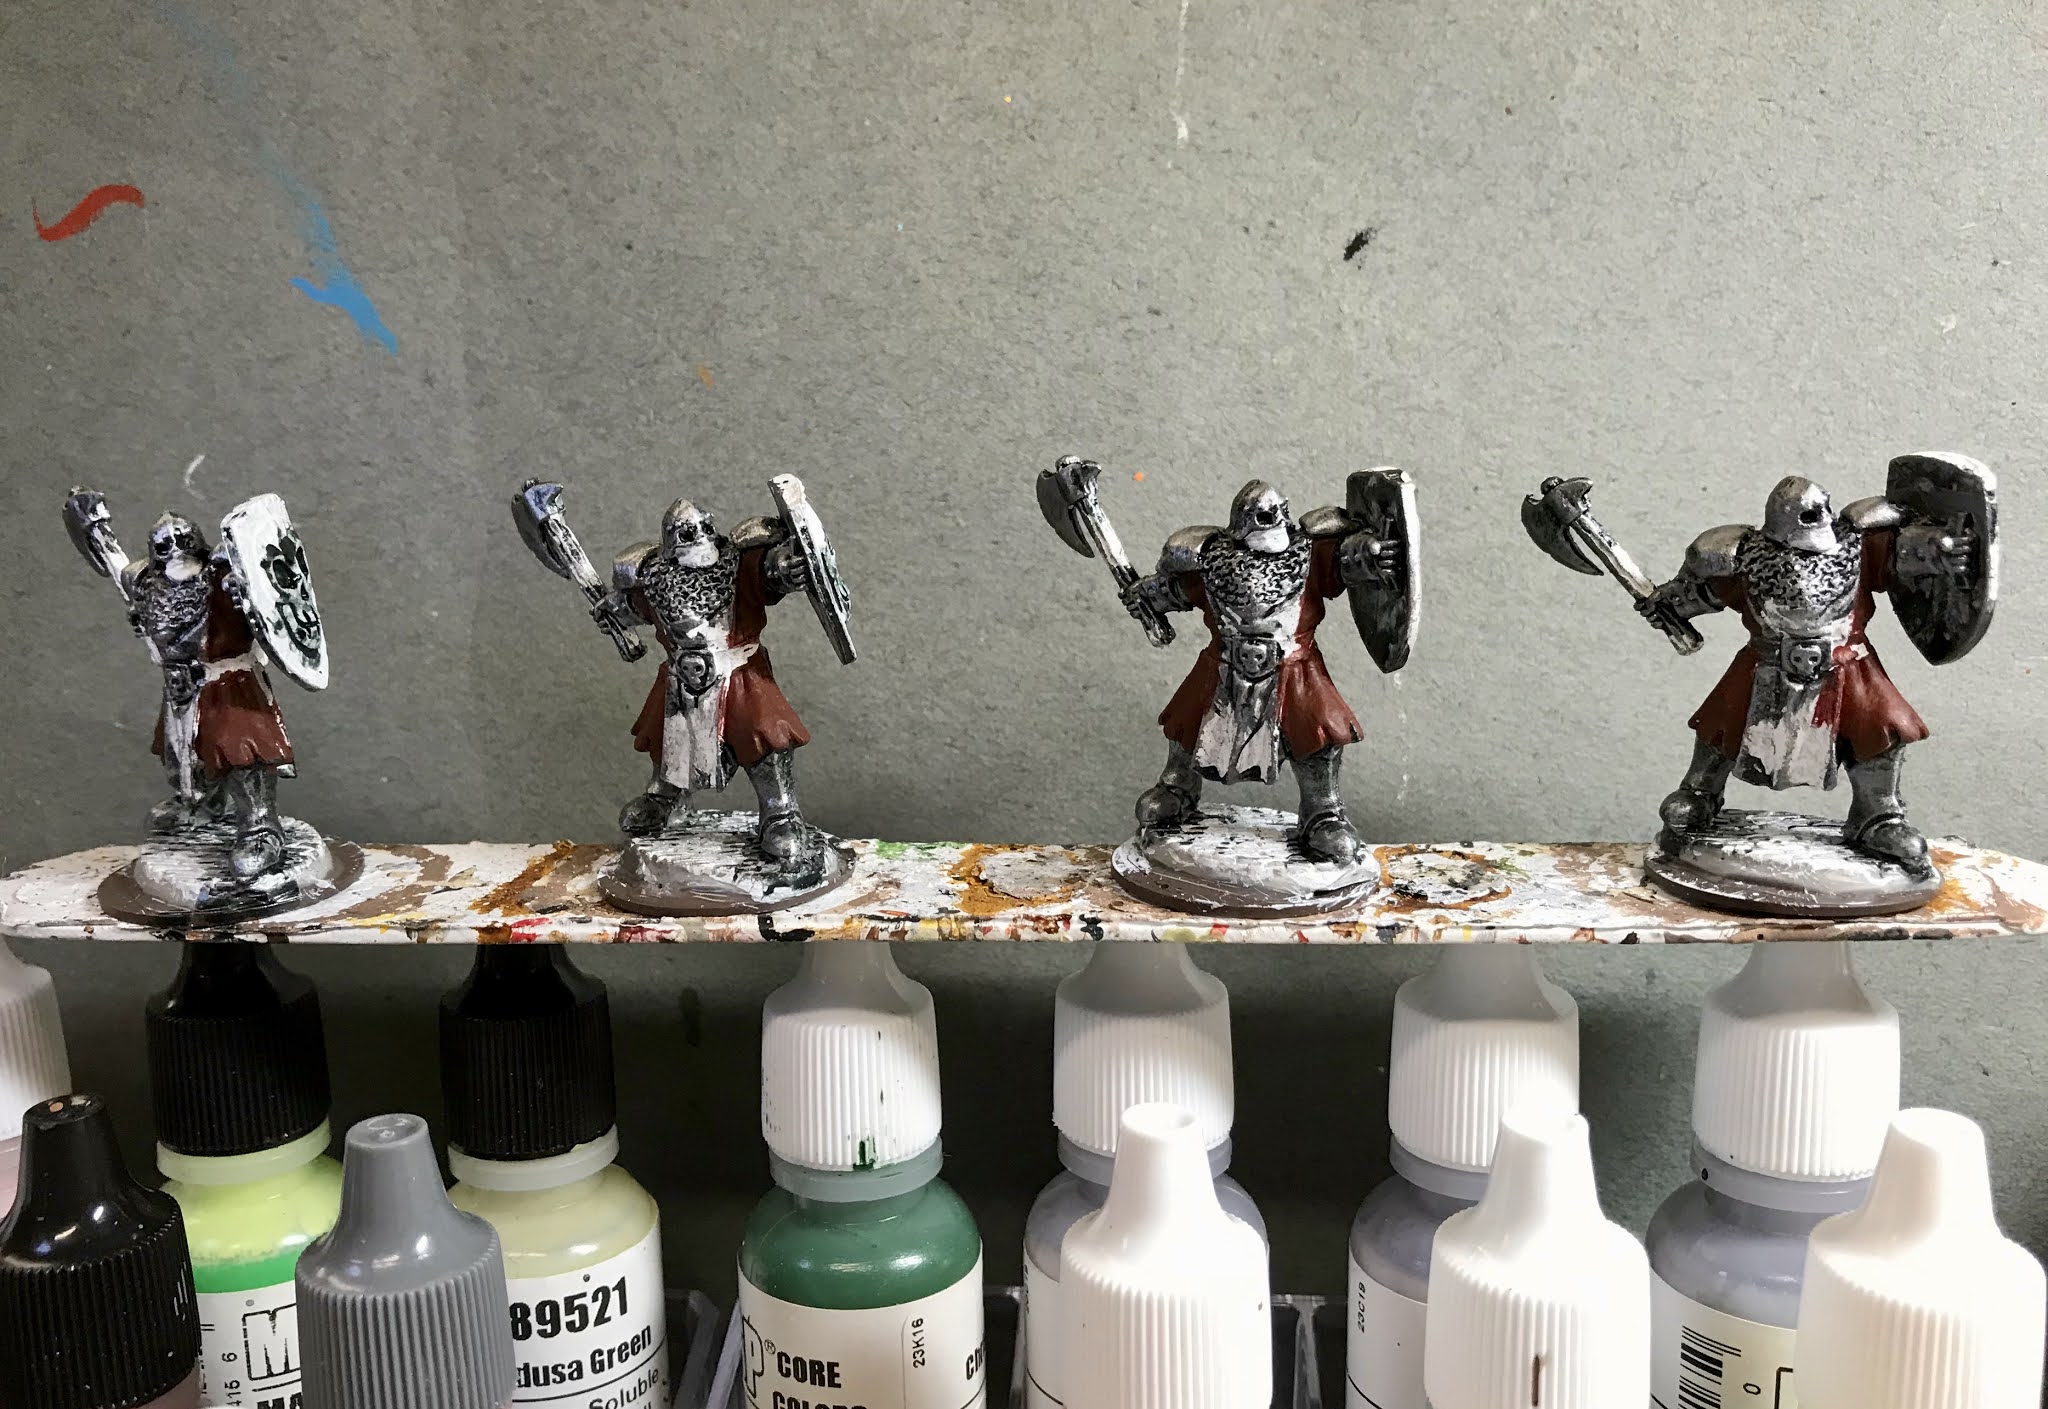
I prepped the figures in the usual way, soaking them in a dish of water with a couple drops of dish-soap added, then giving them a light scrub with a soft toothbrush, and then rinsing and drying them. I then trimmed the figures' integral bases a little, and glued each of them to a 1" grey-primed metal washer with some Aleene's Tacky glue. I then glued the figures to a large craft stick with a couple drops of Elmer's glue.

I began painting by giving all the chainmail armor a coat of Ceramcoat "Black". When dry, I drybrushed it with Folk Art Metallic "Gunmetal Grey". I then went over it lightly with a drybrush of Reaper MSP "Polished Silver". Next I painted their faces, arms, and hands with Reaper MSP "Tanned Skin", and their tunics with Ceramcoat "Denim Blue".

Next, I painted fur lining on the righthand one's hood, and both their shoes with Folk Art "Real Brown", and I did their belts and pouches with Americana "Raw Umber". After that, I painted their boot tops with Americana "Sable Brown", and the soles with "Black". I noticed there was a bit of trouser peaking above the boot tops on the righthand one, and I painted it with Folk Art "Dapple Grey".

I then painted their beards with Americana "Light Cinnamon", and their axe handles with Reaper MSP "Shield Brown". After that, I did the axe heads, handle base, belt buckle, and bracelets, with Americana "Zinc". I also painted the border around their tunics with Americana "Snow White".

I let the figure dry for a while, and then gave his face, arms, and hands a coat of Citadel Shade "Reikland Fleshshade". I let that dry, and then gave the rest of the figure a coat of Citadel Shade "Nuln Oil".

I let all the washes dry for a while, and then began on the highlighting. First I painted their eyes, and then highlighted his skin with the base "Tanned Skin", mixed with "Reaper MSP "Tanned Highlight". I then highlighted his beard with first Folk Art "Teddy Bear Brown", and then Folk Art "Barn Wood".


I then did the highlights on the axe handles with some Americana "Khaki Tan". After that, I highlighted their beard rings with some Ceramcoat "Metallic Copper", mixed with some of the "Polished Silver". I also highlighted the axes with the Silver"Metallic Silver", and the bracelets with the "Polished Silver". I wrapped up the painting by highlighting the left one's tunic trim with the base "Snow White", and the right one's tunic trim with the base "Festive Green" mixed with some Crafter's Acrylic "Wild Green".
I let the figure dry overnight and the next day I gave them a coat of Americana "DuraClear Matte" varnish. Then when the varnish was dry, I used some white glue to glue some sand onto the bases. When this was dry I painted it with Citadel Contrast "Wyldwood". When that was dry, I drybrushed the sand with Americana "Neutral Grey", and then a bit of Folk Art "Barn Wood". Due to the weather, I was not able to give the figures a final spray varnish.