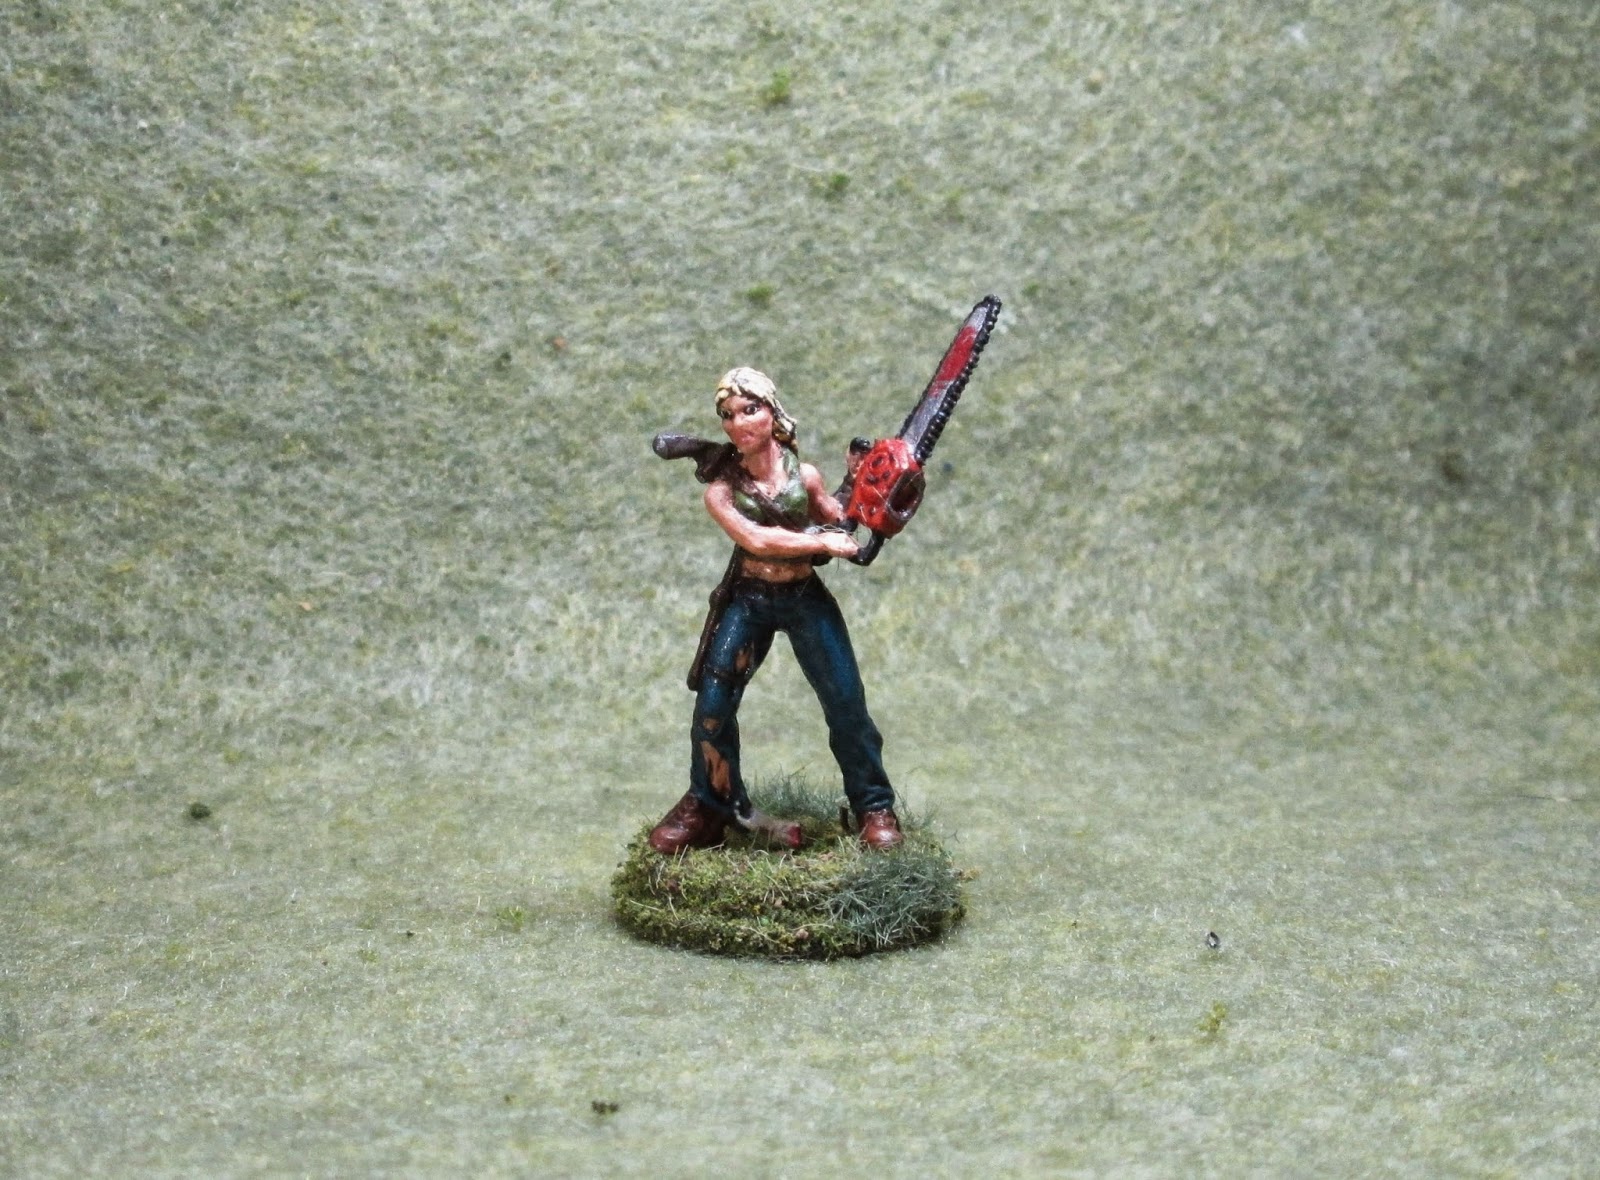
As I studied how I wanted to paint her, the fact that she wasn't wearing anything under her shirt was obviously apparent. I thought about painting the shirt white, and as I thought this it occurred to me that it might be neat opportunity to try and attempt a level of translucency to the shirt, as might occur with a thin white cotton shirt.
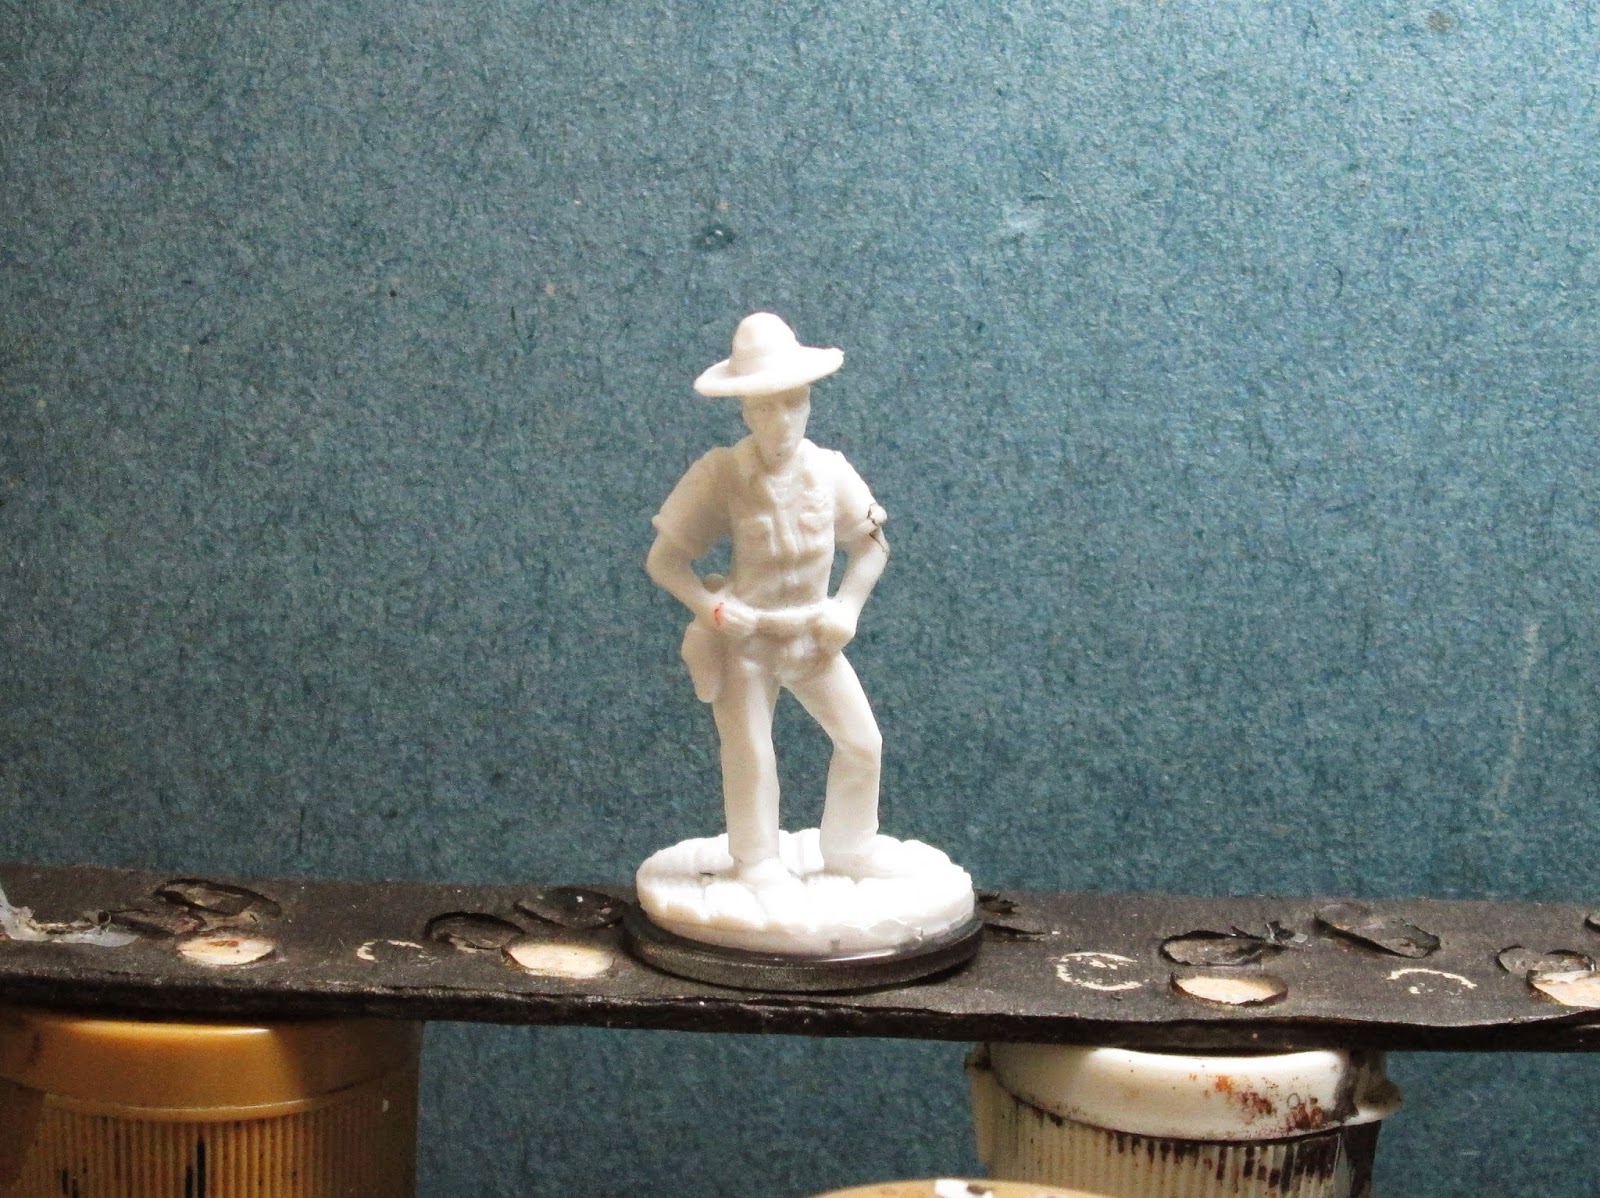
I prepped the figure in the usual way; soaking it in a dish of water with a couple drops of dish- soap added, then giving it a light scrub with a soft toothbrush, and then rinsing and drying. I then glued the figure to a 1" black-primed fender washer with Aleene's Tacky glue, and glued the washer to a tongue depressor with a couple drops of Elmer's White Glue.


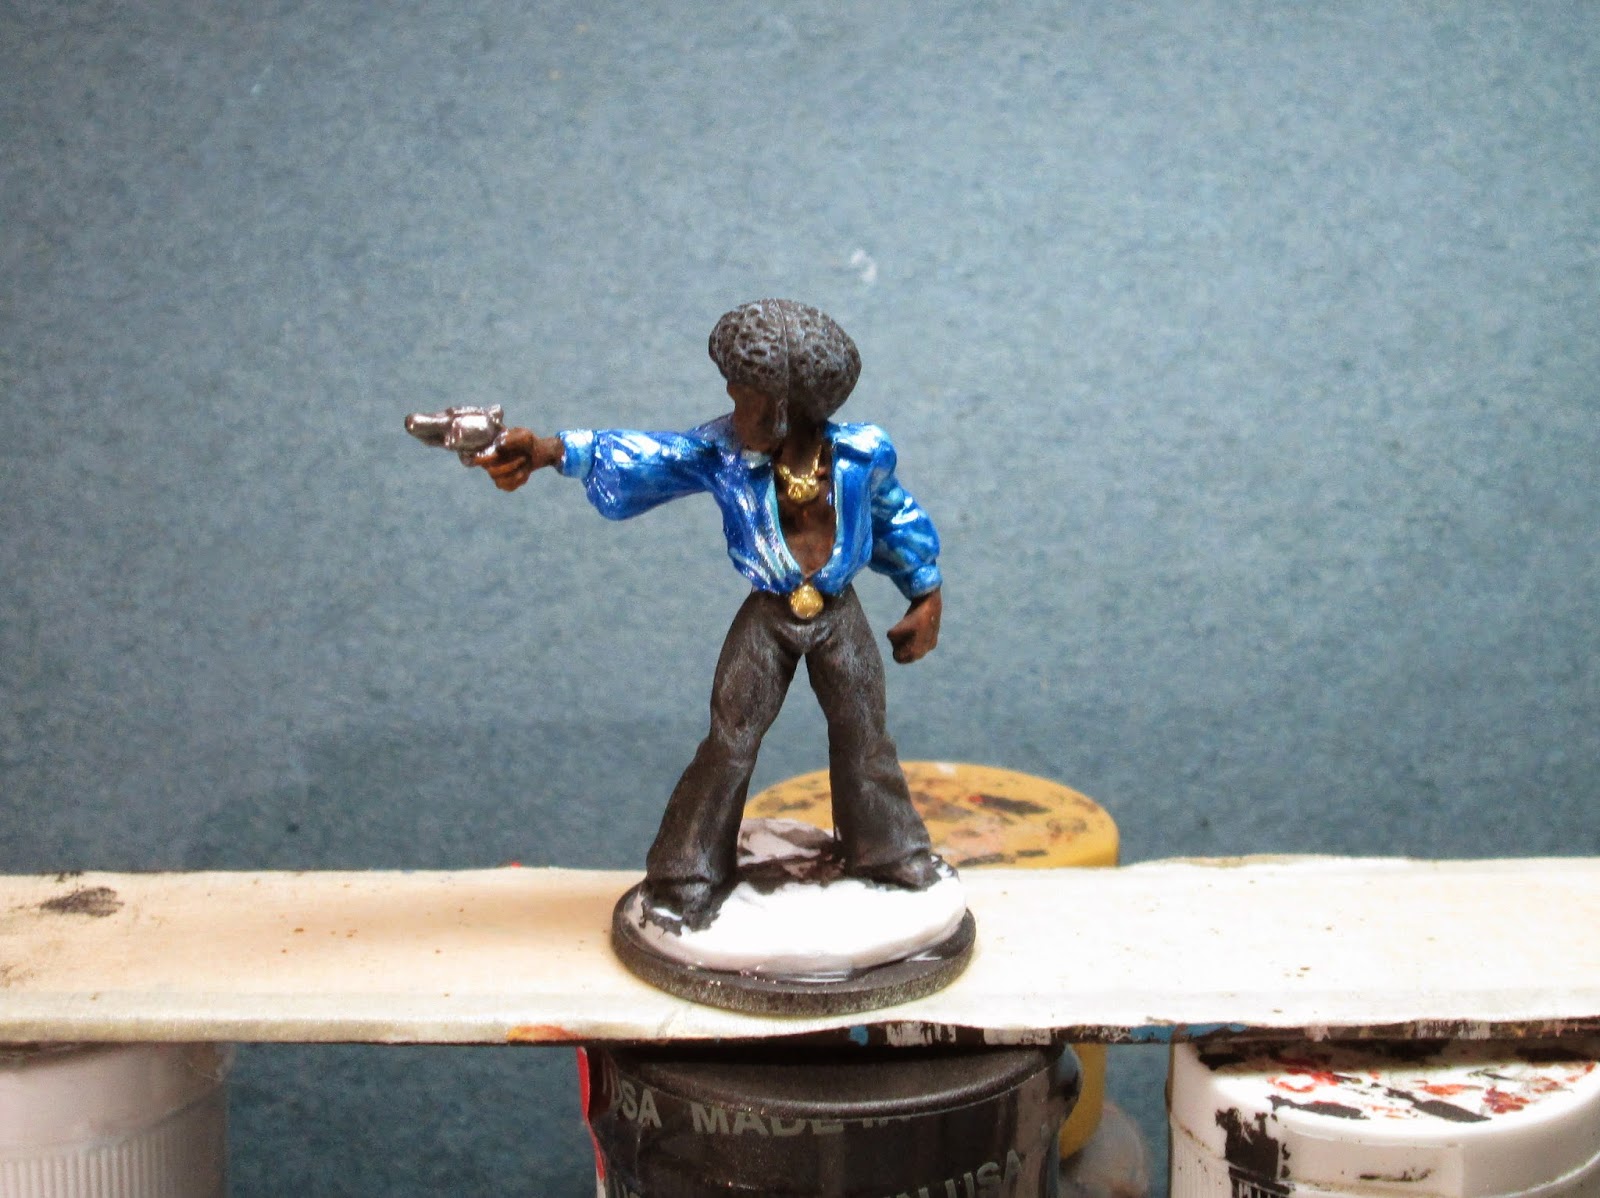
When the ink wash was dry, I began on the highlights. I did the eyes first, then I worked on the face, hands and chest, using the base "Shading Flesh" first, and then Crafters Acrylic "Flesh" second to do lighter highlights. I added a little White to do the very tip of the nose and the chest. I then did the lips by mixing some of the "Shading Flesh" with the "Deep Tomato Red". I mixed in a little white to do the lip highlights. I added eyebrows with the "Burnt Sienna". Next, I worked on the hair, drybrushing it first with the base "Burnt Sienna", and then with Americana "Georgia Clay", then painting on finer highlights with Americana "Burnt Orange".
I moved to the shirt next, painting on highlights with "White". I then highlighted the chaps with Ceramcoat "Raw Sienna", and the duster with Crafters Edition "Taupe". I highlighted the shoes and belt with the "Cinnamon Brown", the holsters with the "Spice Brown", and the gun stock and grips with Americana "Sable Brown". I highlighted the neckerchief with the base "Deep Tomato Red".
Next, I did the metals; painting the guns' metal parts with Accent "Princely Pewter". I then painted the belt buckles with Ceramcoat "Metallic Pewter", and then used this color to add highlights to the guns' metal parts. I wrapped up by painting the white base with Ceramcoat "Walnut".
After the figure had the afternoon to dry, I gave it a coat of Ceramcoat "Matte Varnish" in the evening. The next morning I flocked the base, using both a sand mixture and regular green flock; and later that afternoon I sprayed the figure with Testor's Dullcote.

I'm happy with how she came out; particularly the face, which I think is one of my best to date. Despite it's casting flaws I'm very pleased with this figure.