Monday, August 30, 2021

Zombie Giant: Bones 5 Figure (Part 2, Completion)

     This past week I finished painting the "Zombie Giant" from the Bones 5 Core Set.  To check out part one of this painting article, see: Zombie Giant: Part 1 .
    When we ended last week's post, I had just applied the shading wash coat to the giant, and had begun to do the details on the face.
         First, I highlighted al his akin with the base "Jade Green", and then mixed in some Ceramcoat "White" for lighter highlights.  Next, I worked on the club, drybrushing it with the base "Barn Wood", and then some of the "Graveyard Bone".  After that, I highlighted the exposed bones with Crafter's Acrylic "Light Antique White", and then highlighted the wounds with  mix of the base "Urgathea Red" and then mixed in some Folk Art "Milkshake".
     Next, I highlighted the wood splints  and the wagon wheel using the base "Mississippi Mud", and then added in some Americana "Fawn".   I then highlighted the loin fur with Americana "Sable Brown", and the  lighter Americana "Khaki Tan".  After that, I worked on the metal bands on the leg and club as well as the chain around his neck; dabbing them with, first, Americana "Light Cinnamon", then some Accent "Golden Oxide", and lastly, Americana "Tangerine".  I finished them  by giving them a drybrush of Folk Art Metallics "Gunmetal Grey".  I worked on the hair next, highlighting with the base "Charcoal", mixed with some Americana "Neutral Grey".  I highlighted the big bead in his hair with Folk Art Pearl "Aqua Moire", then the smaller beads with the "Gunmetal Grey" and some Folk Art Metallics "Pure Gold".
     I then highlighted the bandages with Folk Art "Porcelain White".  I had noticed some ares of bumpy pimply looking skin, and had wanted to do something moldy looking to them, and finally decided to give them some dabs with Citadel Contrast "Militarium Green".   Likewise, I decided the scar down his back looked too plain, so I went down the seam with Citadel Contrast "Fireslayer Flesh" to make it look a little seeping.  
     I the worked on the vultures, first painting them Ceramcoat "Black".  When dry, I drybrushed them with the "Sable Brown".  I then painted their heads and legs with Americana "Burgundy Wine", and when dry, drybrushed them with Reaper MSP "Brains Pink".  After that, I painted their beaks and feet with Americana "Moon Yellow", and when dry gave them a wash with the "Nuln Oil".  I wrapped things up by adding Back dots for eyes.  Lastly, I painted the bases with the "Mississippi Mud".
     I let the Giant dry overnight and the next day I gave him a coat of Americana "DuraClear Matte" varnish.    Then, when  the varnish was dry,  I used some white glue to flock the bases.  Another overnight dry, and I sprayed the figure with Testor's Dullcote".   When the Dullcote was dry, I went back and gave his eye, wounds, and mouth, a coat of Americana "DuraClear Gloss" varnish.  


    I'm really thrilled with how this figure turned out. It really is a dynamic and excellent sculpt with lots of fun details.


Monday, August 23, 2021

Zombie Giant: Bones 5 Figure (Part 1)

      This past week I started painting the "Zombie Giant" from the Bones 5 Core Set.  I thought it might be fun to start tackling some of the Kickstarter's bigger figures. 
      I prepped the figure in the usual way, soaking it in a dish of water with a couple drops of dish-soap added, then giving it a light scrub with a soft toothbrush, and then rinsing and drying it.  I then trimmed the figure's integral base a little, and glued the figure to a 2" black-primed metal washer with some Aleene's Tacky glue.  I then glued the figure to a pill bottle with a couple drops of white glue.       
     To begin, I painted all the skin with Americana "Jade Green".  I then painted the open wounds with Pathfinder MSP "Urgathea Red".  I then mixed a little of the "Urgathea Red" with some of the "Jade Green" and splotched the skin around the open woulds to give it a stained, rotting, look.  After that, I painted the club with Folk Art "Barn Wood".
     Next, I painted his loin fur with Americana "Charcoal Grey".  I then painted the bandages with Reaper MSP "Alien Flesh", and then the wagon wheel and splints with Americana "Mississippi Mud".  After that, I painted the necklace chain, and metal straps on the right leg, with Americana "Asphaltum".  
     I then painted the rope with Reaper MSP "Ginger Cookie", and the inside of his mouth with Reaper MSP "Drow Nipple Pink". After that, I painted the exposed bones with Reaper MSP "Graveyard Bone", and the hair bead on his left with Ceramcoat "Denim Blue".  I painted the other beads with Reaper MSP "Fresh Blood", Ceramcoat Charcoal", and Accent "Mustard Seed"
     I then used the "Charcoal" to paint his hair, and I having noticed the metal band around the club I went back and painted that with the "Charcoal Grey".  I also painted the teeth with Accent "Golden Harvest".   then let the figure dry for a while.  When dry, I gave the entire thing a coat of Citadel "Agrax Earthshade".  While I was doing that, I noticed I missed his toe and finger nails, so when the wash was dry, I went back and painted those with Vallejo "Brown Violet".  When the nails were dry, I went back and gave them, and the inside of the mouth, a coat of  Citadel "Null Oil" wash. After that, I highlighted the teeth with Americana "Moon Yellow", and then pained the eyeball with Apple Barrel "Apple Barrel" "Apple Parchment".  I then painted the iris/pupil with Americana "Zinc".  When dry, I went back and went over the iris/pupil with a wash of the "Apple Parchment" to try to give it a milky appearance.
    That is all I got done for now.  Be sure to tune in next week for the highlighting and completion of this figure!  Part 2 can now be seen here: Zombie Giant Part 2

Monday, August 16, 2021

Anchor of Damnation: Bones 5 Brinewind Figure

     This past week I painted the "Anchor of Damnation" from the Bones 5 Brinewind Expansion. 
     I prepped it in the usual way, soaking it in a dish of water with a couple drops of dish-soap added, then gave it a light scrub with a soft toothbrush, and then rinsed and dried it.  I then glued the figure to a pair of 1.25" brown-primed metal washers with some Aleene's Tacky glue.  I then glued the figure to a pill bottles with a couple drops of white glue.    
     I began by painting the figure entirely with Americana "Charcoal Grey". When dry, I dabbed the anchor here and there with Americana "Light Cinnamon", and then followed with dabbing the anchor with Accent "Golden Oxide".
     I did a few lighter anchor dabs with Reaper MSP "Lantern Yellow", and then turned to the skeletons.  I began by painting the all bones with Reaper MSP "Graveyard Bone".  I then painted the anchor skeleton's boots with Ceramcoat "Charcoal", and the pants with Folk Art "Cloudy Day"
     Next, I painted the shirt with Folk Art "Porcelain White", and the  head scarf with Pathfinder MSP Urgathea Red". After that, I painted The rocks with Folk Art "Dapple Grey", and then the straps holding the skeleton on the anchor with Americana "Asphaltum".
     I then painted the pirate's sash with "Antique Gold", and then did the ropes on the anchor with Reaper MSP "Ginger Cookie".  After that, I painted the broken planks with Folk Art "Barn Wood", and the assorted barnacles and shells with Folk Art "Gray Green".  I followed with painting what looked to be coral to me with Reaper MSP "Brains Pink", and the coins with Folk Art Brushed Metal "Brushed Bronze".
          I let everything dry for a while and then gave the entire thing a coat of Citadel "Agrax Earthshade" wash.  When the wash was dry, I did some highlighting on the anchor with Americana "Sable Brown", and some of the "LanternYellow".  I then highlighted the barnacles with the base "Gray Green".  Next, I highlighted the skeletons with Reaper MSP "Graveyard Bone", and then some Crater's Acrylic "Light Antique White".
          Next, I highlighted the pirate's shirt with Reaper MSP "Bleached Linen", and Reaper MSP "Peppermint White".  I then highlighted the head scarf with Reaper MSP Bones "Cinnamon Red", and Reaper MSP "Fresh Blood".  After that, I highlighted the pants with the base "Cloudy Day", and then some Crafter's Acrylic "Cool Blue"; and followed by doing the sash with Americana "Antique Gold", and Reaper MSP "Palomino Gold".  
          I then highlighted the boots with the base "Charcoal, and mixed in a little Americana "Zinc"; and afterwards did the highlights on straps holding the pirate on the anchor using the base "Asphaltum with some Americana "Terra Cotta mixed in. After that, I highlighted all the rope sing Folk Art "Butter Pecan", and then highlighted the planks with he base "Barn Wood".  Next, I highlighted the rocks with the base ""Dapple Grey", and then mixed in some Folk Art "Porcelain White", and then moved to what I interpreted as coral, and highlighted that with Apple Barrel "Apple Lt. Pink".  I finished by highlighting the coins with some Folk Art Metallics "Pure Gold".  
        I let the figure dry overnight and the next day I gave it a coat of Americana "DuraClear Matte" varnish. When dry, I used some white glue to glue some sand to the figure's base. I also added a mini seashell for decoration. Another overnight dry, and I sprayed the figures with Testor's Dullcote". 


     I'm really pleased with how this piece turned out.  It will add a lot of character as scatter terrain in either a jungle, seaside, or underwater setting.  And players can always wonder if the skeletons are really "just" scenery or not... :) 
  

    In other news, I decided to start working on the "Townsfolk" Add-On set a couple at a time on the side.  Often when I squeeze out dropper-bottle paint, like Reaper's, I have some left over and my plan is to take a moment and use up this extra on these side figures; thus finishing more of my Bones, and not wasting as much paint.  I'll just post photos when I complete a pair, but not bother with doing step by step articles for these since they are such simple figures.


Monday, August 9, 2021

Stained Glass Knight: Bones 5 Figure

      This past week I painted a pair of the "Stained Glass Knights" from the Bones 5 Core Set.  The Core came with one of these figures, and I thought it was such a fun figure I ordered an extra Constructs set to get a second one.   
     I prepped the figures in the usual way, soaking them in a dish of water with a couple drops of dish-soap added, then giving them a light scrub with a soft toothbrush, and then rinsing and drying them.  I then glued the figures to 1" green-primed metal washers with some Aleene's Tacky glue.  I then glued the figures to a tongue depressor with a couple drops of white glue each.   
          To begin, I gave both figures complete coats of Americana "DuraClear Matte" varnish.  When this coat was dry, I picked out some details on the armor and painted them with Citadel Contrast "Snakebite Leather", front and back.  I then painted the rest of the armor with Citadel Contrast "Space Wolves Grey", both front and back.  With the arms behind the shields, I just painted the backs since the fronts were covered by the shields.
     Next, I painted both the sword blades with Citadel Contrast "Basilicanum Grey", both front and back. I then painted the shield on the left knight with Citadel Contrast "Talassar Blue", and Citadel Contrast "Blood Angels Red"; and on the right night with Citadel Contrast "Creed Camo", and Citadel Contrast "Iyanden Yellow".  On the shields, I painted the front, and the parts of the back that were'd covered by the armored arm. After that, I painted the faces with Citadel Contrast "Gulliman Flesh".
     I then painted all the lines between the panes with Ceramcoat "Black".  When dry, I went over them again using Accent "Princely Pewter".   After that, I painted the bases with Americana "Neutral Grey", and when dry, gave them a drybrush with Folk Art "Platinum Grey". 
      I let the figures dry overnight and the next day I gave them a coat of Americana "DuraClear Matte" varnish.  Another overnight dry, and I sprayed the figures with Testor's Dullcote".  


    I'm really pleased with how these turned out, and am impressed with how the Contrast paint works on these translucent/clear minis.  I'm looking forward to experimenting with some of the other translucent figures from Bones 5. 


Monday, August 2, 2021

Pirate Shrine to Maersuluth and Pirate Shrine to Meriwyn: Bones 5 Brinewind Figures

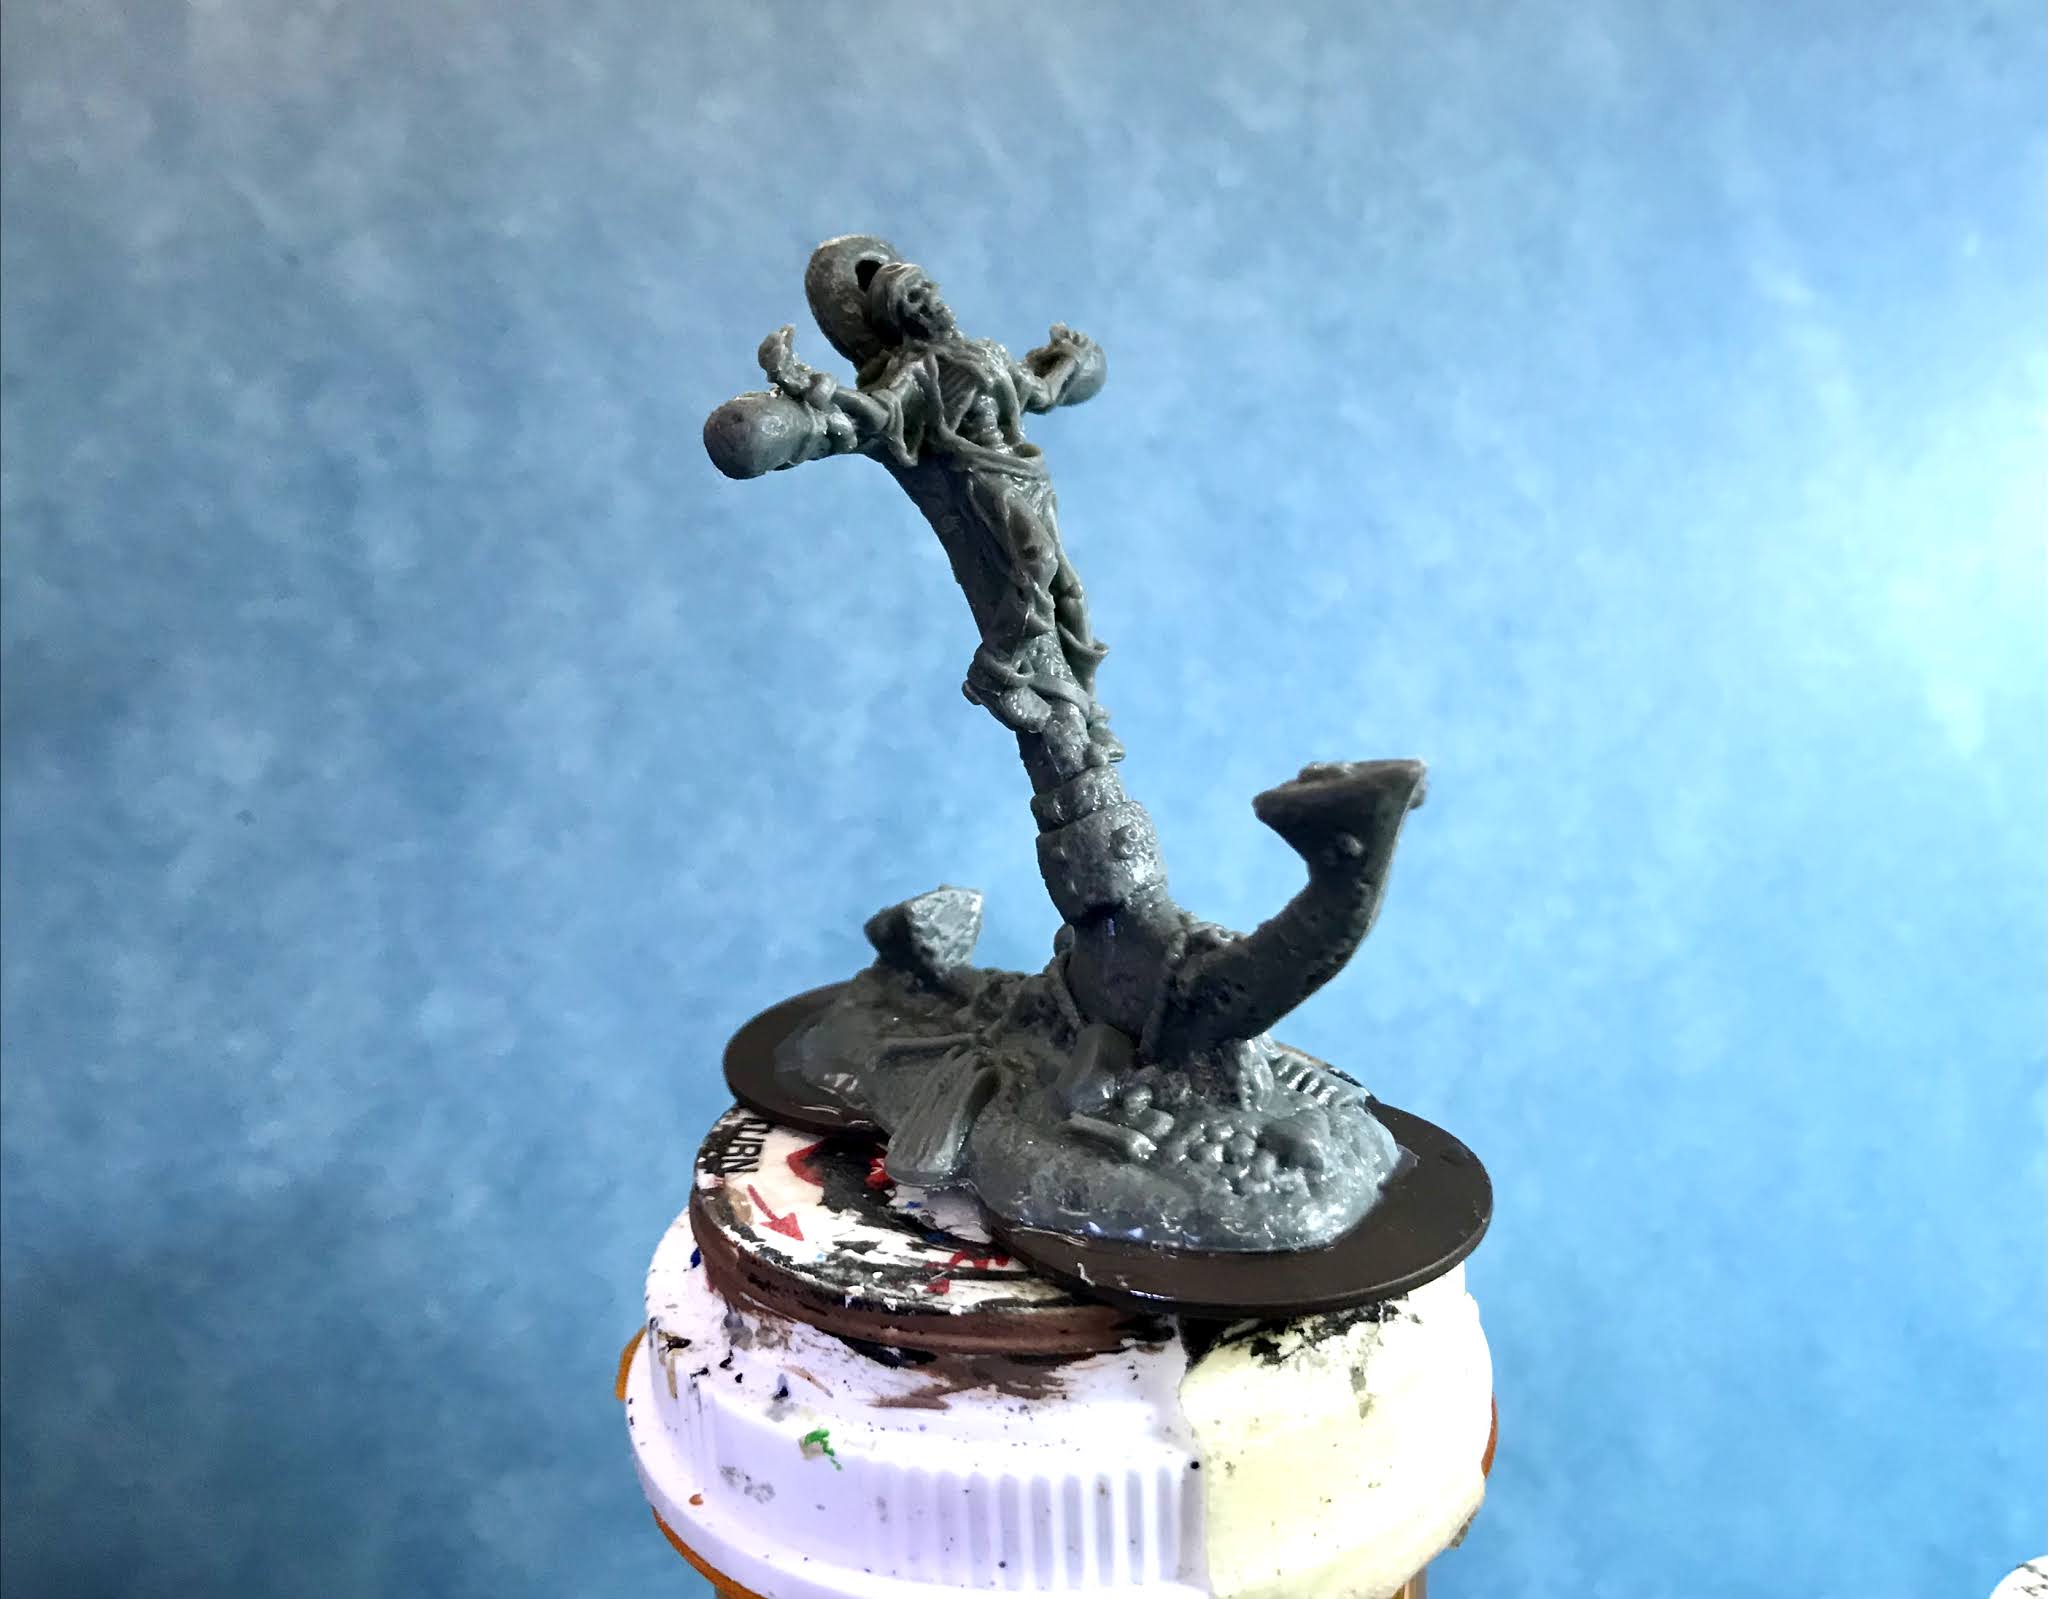
    This past week I painted the two Pirate Shrines, Maersuluth and Meriwyn,  from the Bones 5 Brinewind Expansion.  
    I prepped them in the usual way, soaking them in a dish of water with a couple drops of dish-soap added, then gave them a light scrub with a soft toothbrush, and then rinsed and dried them.  I then glued the Maersuluth figure to a 1.5" black-primed metal washer, and Meriwyn to a 1.25" black-primed washer, both with some Aleene's Tacky glue.  I then placed the figures on pill bottles with some blue-tac.    
      I began by painting the rocky base with Americana "Charcoal Grey".  When dry, I gave it a coat of Citadel "Nuln Oil" wash.  When the wash was dry, I drybrushed the rocks with some Americana "Zinc", and then Americana "Grey Sky"
     Next, I painted the mermaid, and some of the coins along the base with with Reaper MSP HD "Golden Brown", and then painted the entwined eels, the plates, cups, and some of the coins with the "Zinc".  After that, I painted the bottle along the base with Apple Barrel "Apple Blue Spruce".
     I then painted the mermaid and some coins with Folk Art Brushed Metal "Brushed Bronze", and followed by painting the eels and some of the coins with Folk Art Metallic "Gun Metal Grey".  After that, I painted the plates and cups with Accent "Princely Pewter", the flag and th giant pearl with Reaper MSP "Coal Black", and the skull with Reaper MSP "Graveyard Bone". 
     Next, I applied a coat of thinned Folk Art "Patina" paint to the mermaid.  I then panted the pair of shackles on the base with Reaper MSP "Scorched Metal", and painted a skull and crossbones on the flag using Reaper MSP "Bleached Linen".  I let everything dry for a while, and then applied a coat of Citadel "Agrax Earthshade" wash to the mermaid and the skull.
     When the wash was dry, I lightly drybrushed the mermaid with some Ceramcoat "Metallic Bronze".  I then applied a coat of Citadel "Nuln Oil" wash to the eels, coins, cups, plates, shackles, bottle, and flag.  When the wash was dry, I drybrushed the eels with some Nicole's "Metallic Silver", and then highlighted the silver coins with Ceramcoat "Metallic Silver", and the gold coins with Folk Art Metallic "Pure Gold".  For the cups and plates I used Reaper MSP "Pewter" to do the highlights. 
     Next, I worked on the shackles, dabbing them with some Americana "Charcoal Grey", and then a little Accent "Golden Oxide", to give them a rusty appearance.  Next I worked on highlighting the bottle, using Americana "Forest Green", and Americana "Festive Green", and finally blending in a tiny bit of Americana "Snow White". I then did the highlights on the skull using the base "Graveyard Bone", and then highlighted the flag with Ceramcoat "Denim Blue for the black parts, and the "Bleached Linen for the skull & crossbones design. Lastly, I painted the pearl with Folk Art Dragonfly Glaze "Violet-Blue-Green Shift".  As I looked at the final results, I felt the figure needed a last pop of color, so I decided to attempt to paint the eyes on the eels like rubies.  I had had the thought of doing this throughout the entire paint job, but always worried about getting the gem look right in such a small area.  I finally convinced myself to give it a try.  So with a little Reaper MSP "Blood Red", mixed with a little of the "Snow White", I gave it a shot.  Lastly, I painted the base with Folk Art "Teddy Bear Brown".


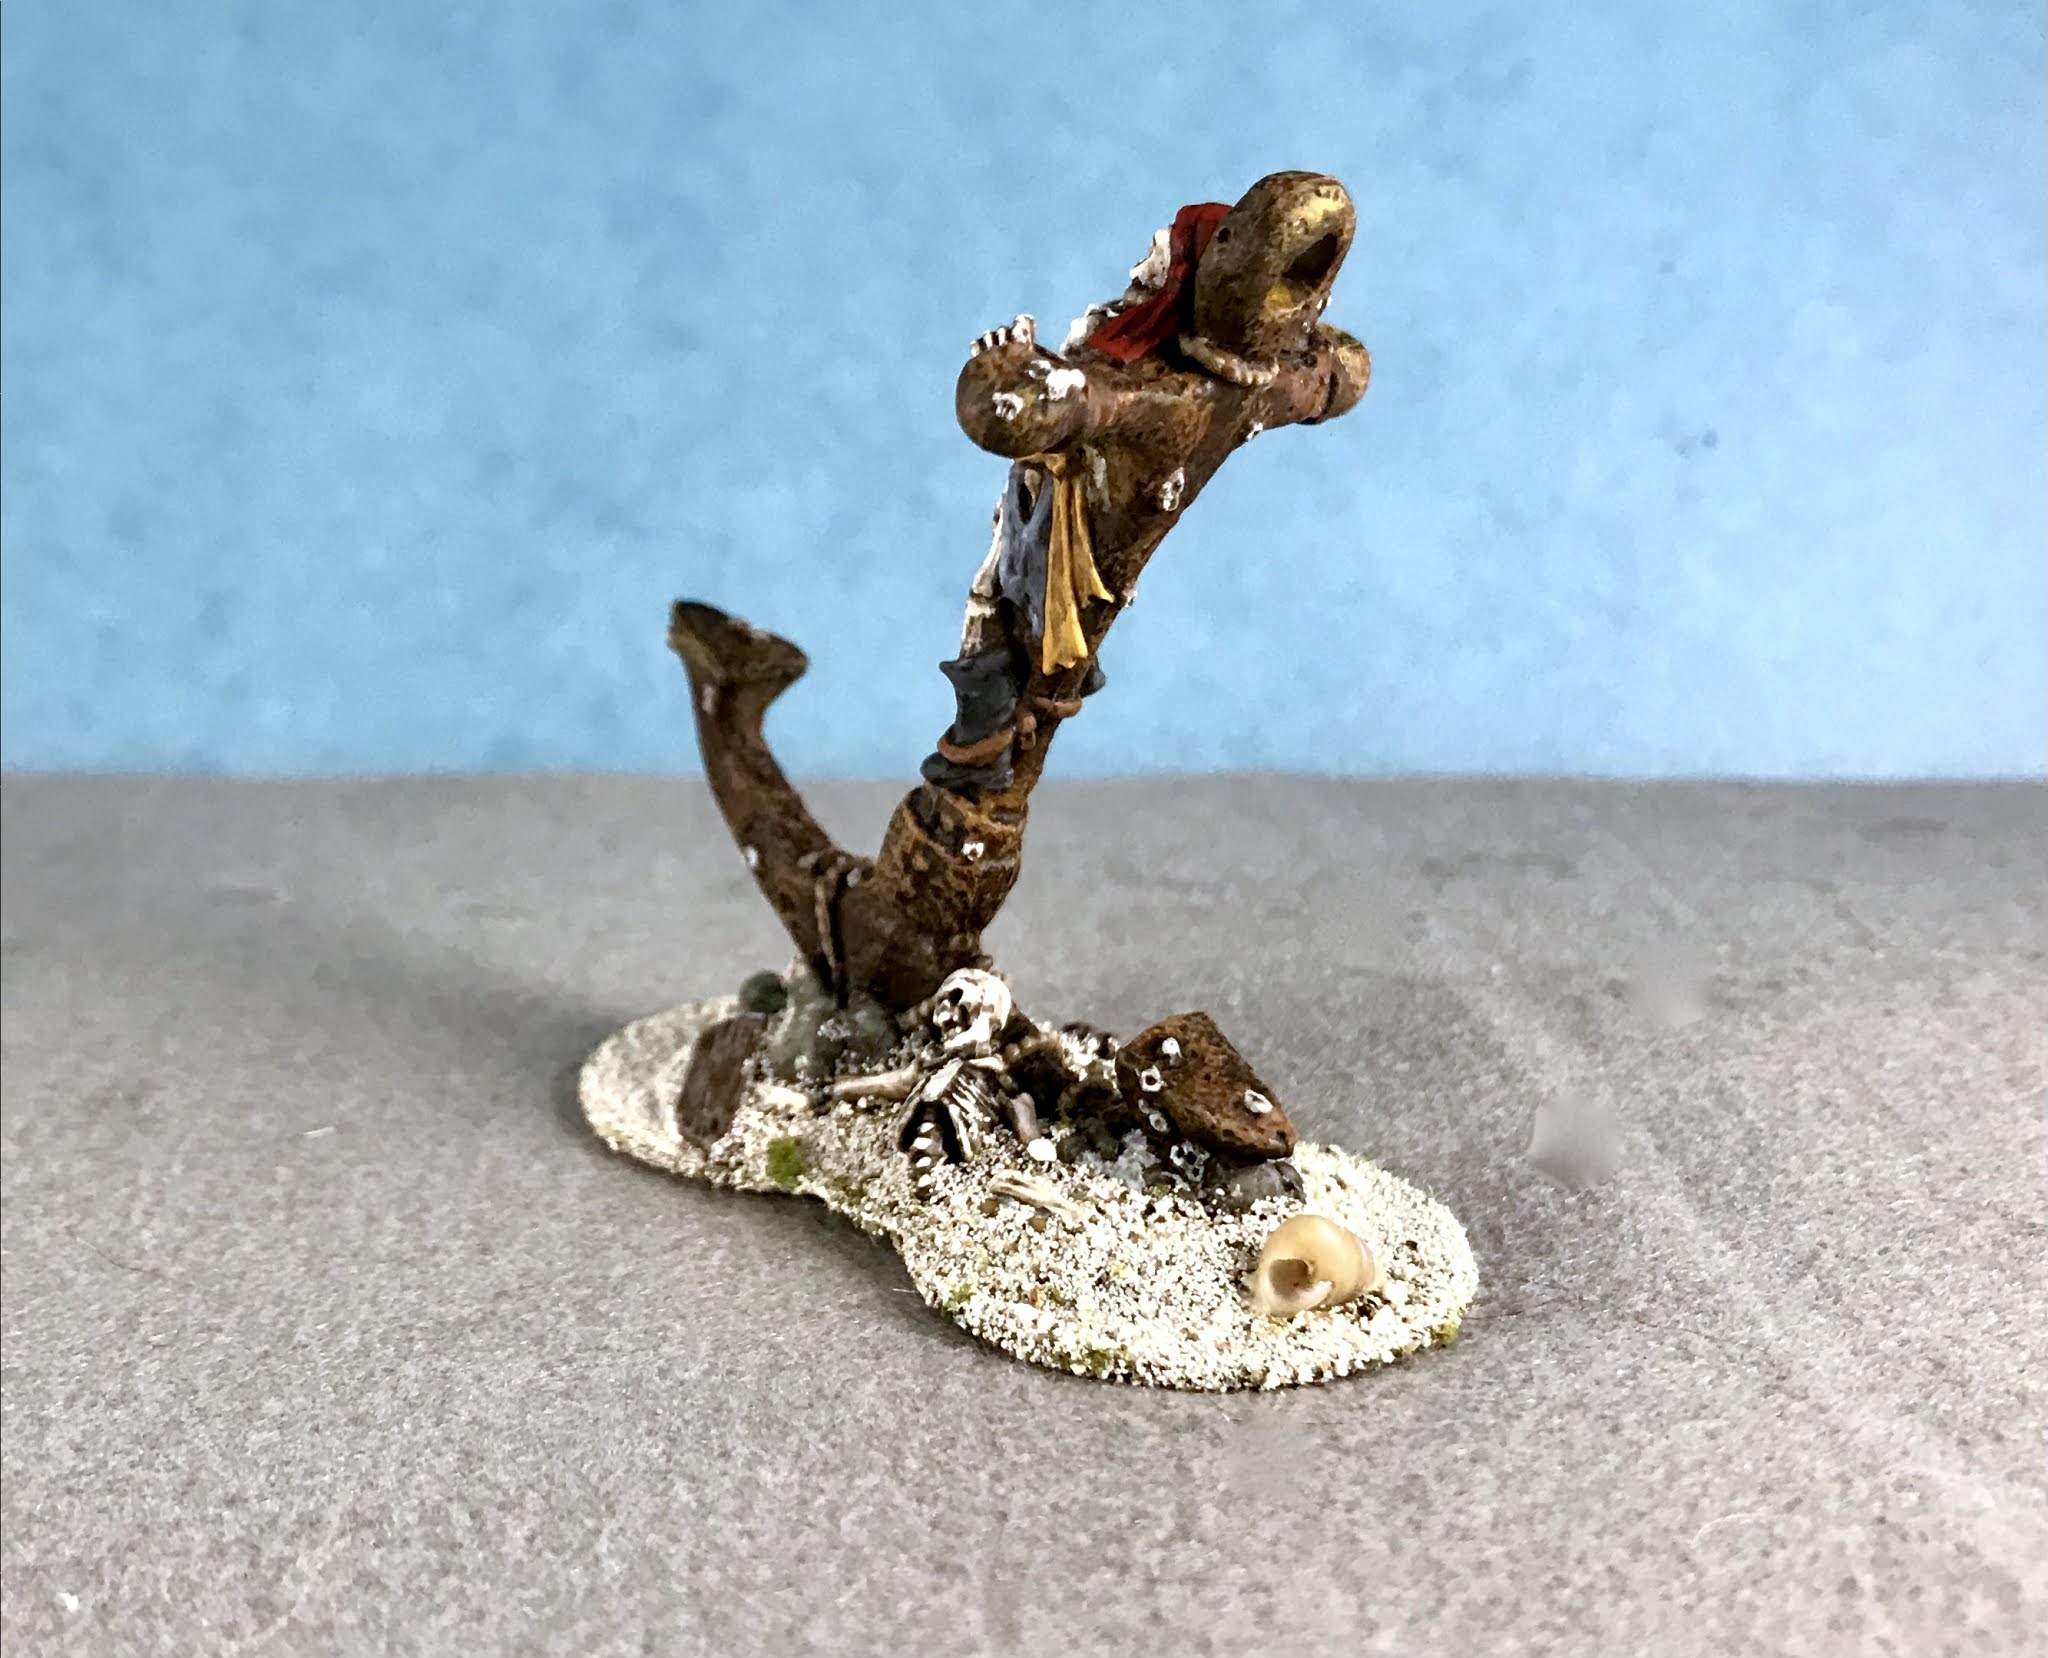
     Next, I moved on to the Meriwyn Shrine.  Where I had done the first shrine as metal, I decided to do this one as stone.  Mainly because Reaper decided to sculpt it with a broken and missing left arm, and I find it easier to believe that a stone statue had an arm crack off than a metal one would.
     I began by painting the entire figure with Americana "Neutral Grey".  When this was dry, I gave it a complete coat with the "Nuln Oil" wash.
     When the wash was dry,  I drybrushed the figure, first with Americana "Jade Green", and then with Folk Art "Celadon Green".   Like with the previous shrine, I finished up by painting the base with "Teddy Bear Brown".
       I let the figures dry overnight and the next day I gave them a coat of Americana "DuraClear Matte" varnish. When dry, I used some white glue to glue some sand to each figure's base.  Another overnight dry, and I sprayed the figures with Testor's Dullcote".    When the "Dullcote was dry, I went back and painted the pearl, bottle, and eel eyes with Americana "DuraClear Gloss" varnish.


     I'm really pleased with how these two pieces turned out!  They make from some really great scatter terrain.