This past week I worked on another Gnoll Warrior, this one by sculptor Bobby Jackson. (The earlier Gnoll Warriors I painted are by Tre Manor). I'm not sure where I picked this fellow up, or if he was ever part of a Kickstarter as I couldn't find him shown anywhere. He is not a good match for the others stylistically, but I figure he can join the pack as a hero, where his visual difference makes him stand out; or as a rank and file fighter hidden in the back of the wide-angle panning battle shots. :)
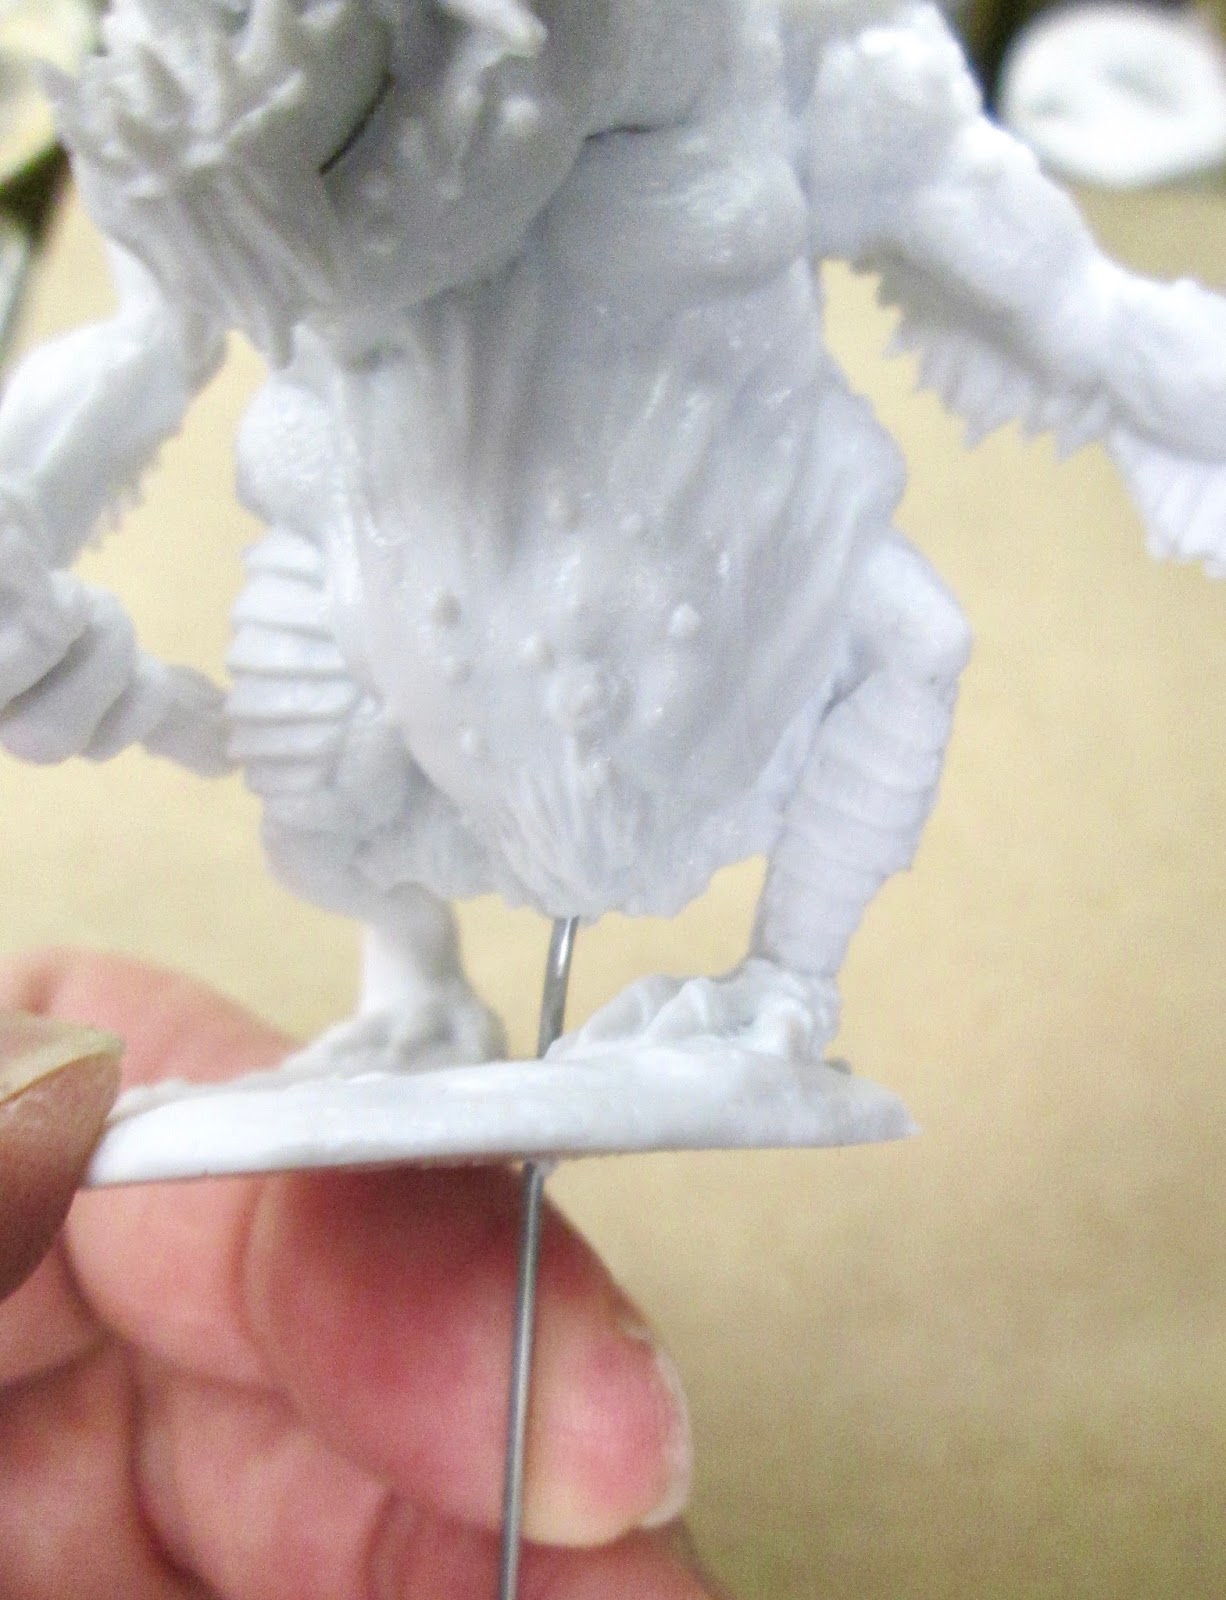
I prepped the figure in the usual way; soaking it in a dish of water with a couple drops of dish-soap added, then giving it a light scrub with a soft toothbrush, and then rinsing and drying it. I then glued the figure to a black-primed 1.25" fender washer with Aleene's Tacky glue, and then glued the washer-mounted figure to a tongue depressor with a couple drops of the Elmer's glue.
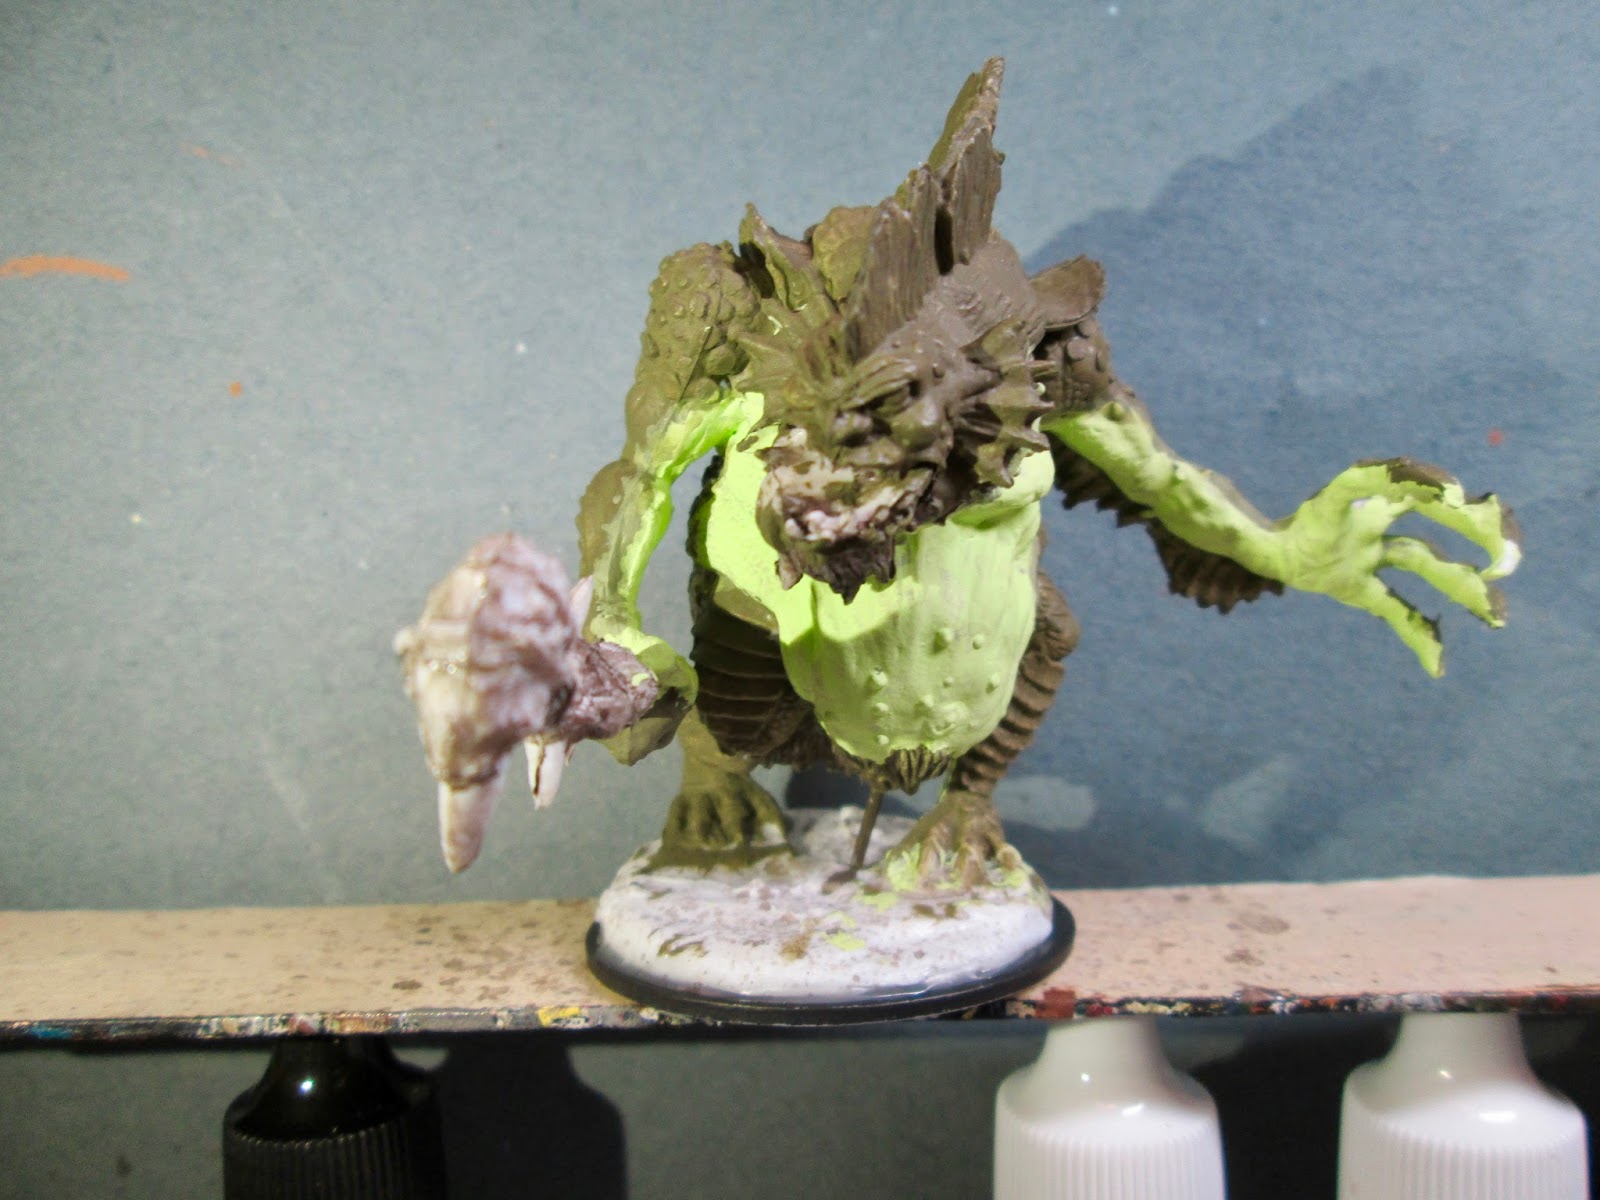
I began by giving the figure a wash with heavily thinned Reaper "Grey Liner" using a wet brush. When that was dry, I painted his fur Folk Art "Porcelain White", and then did his mane, beard, and the end of the tail, with Reaper MSP "Pumpkin Orange". I then painted his loincloth with Reaper MSP Bones "Cinnamon Red".
Next, I painted his leggings with Americana "Mississippi Mud", and the right forearm wraps with Folk Art "Butter Pecan". I then did his necklace and belt with Folk Art "Dark Brown", and his axe handle and the back of his shield with Folk Art "Teddy Bear Brown". After hat I painted the rest of the right forearm arm-guard, and the left hand wrap and armband, all with Americana "Terra Cotta".
I next painted his shield front with Apple Barrel "Yellow", and then the inside of his mouth and his tongue with Americana :"Shading Flesh". I then did the the shield strap and the grip of his dagger with Americana "Asphaltum", and then his teeth with Americana "Antique White". After the teeth, it was time to base coat the metal parts; so I painted the axe, dagger, the rim and hub of his shield, and the armored plates on his loincloth with Americana "Zinc", and the round badges on his belt and necklace, as well as the band on his left arm, with Accent "Mustard Seed".

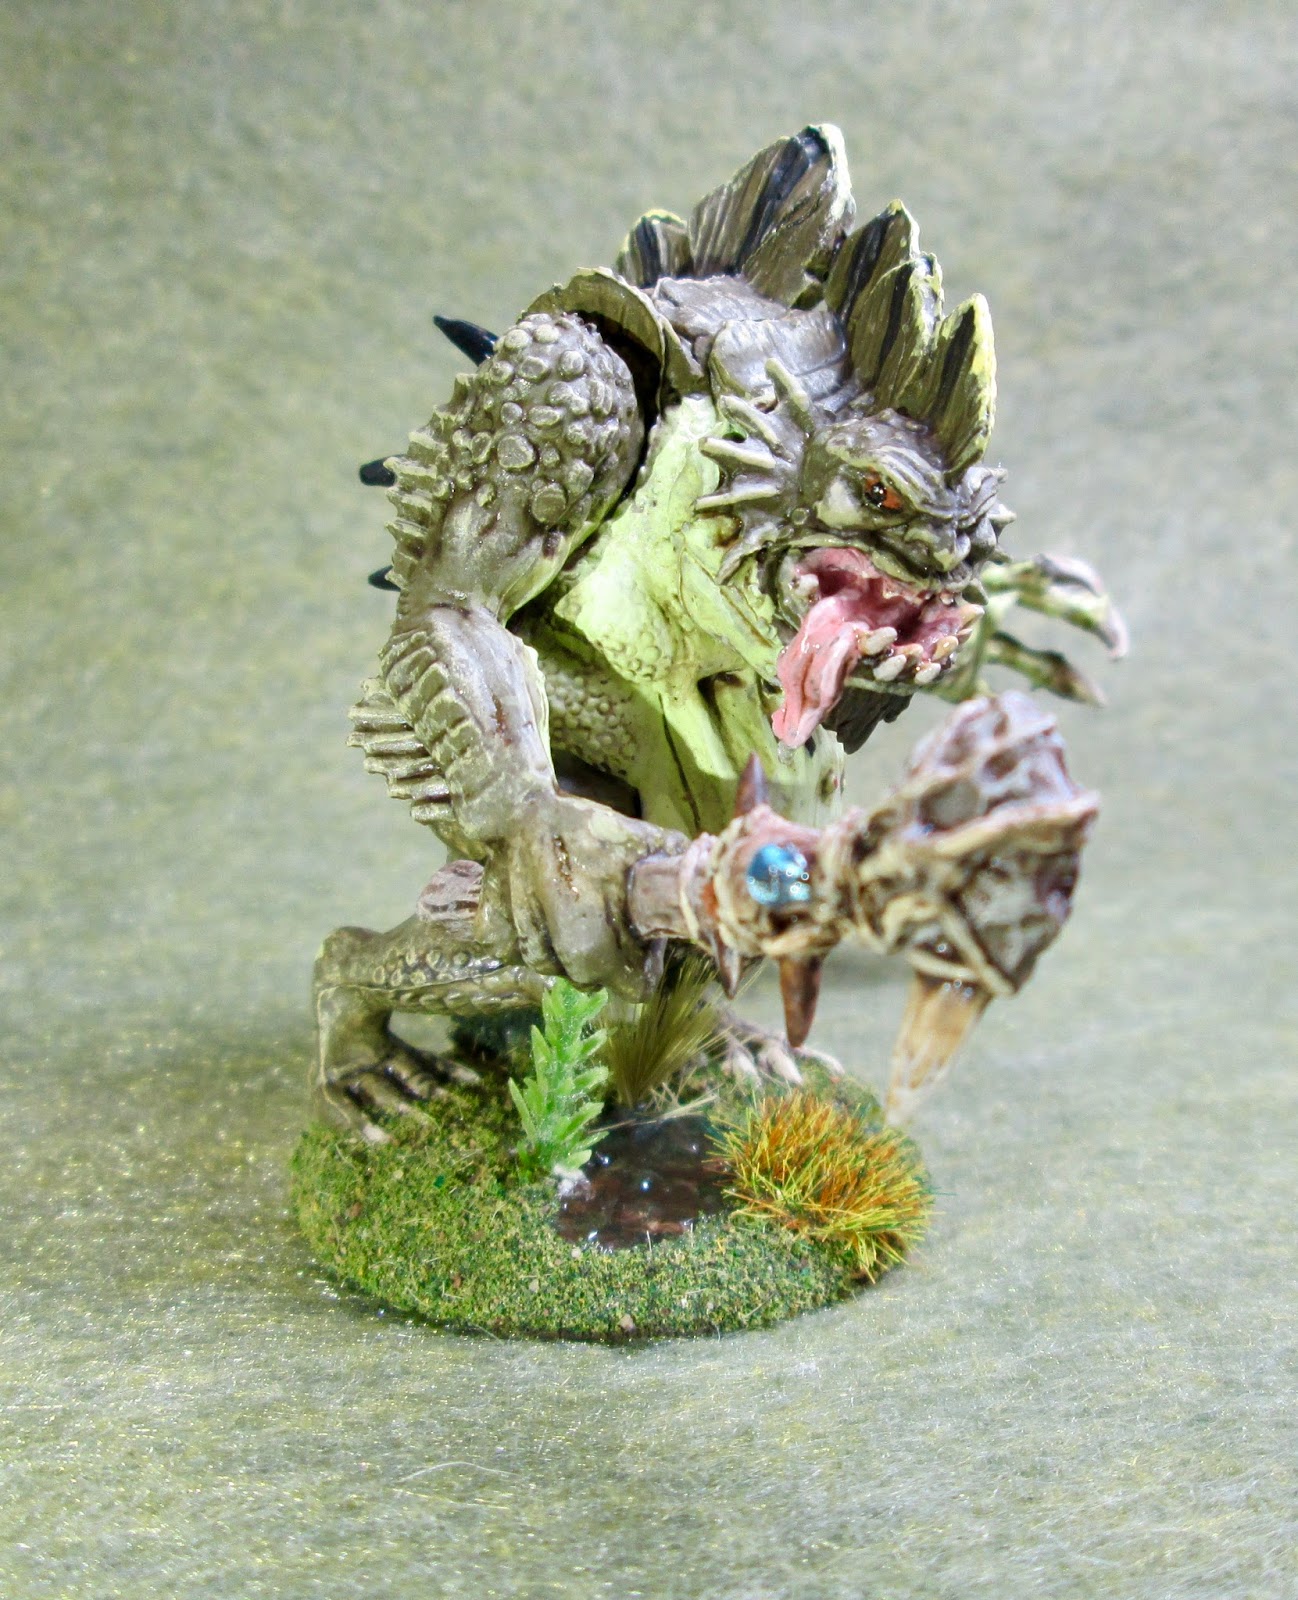
I let those colors dry a while, and then I came back and painted over the "Zinc" with Folk Art Metallics "Gunmetal Grey", and I painted over the "Mustard Seed" with Ceramcoat "Bronze". Then another break to let the metallic paint dry, and afterwards I came back and gave the entire figure a wash with Citadel "Nuln Oil" wash using a wet brush. When the wash was dry, I highlighted his mane, beard, and tail end with Americana "Tangerine", and his body with a mix of the base "Porcelain White" and some Americana "Dove Grey".

Next, I painted his muzzle, claws, and eyes with Black, and then added a small white dot to each eye. I then highlighted his tongue with Crafter's Acrylic "Cherry Blossom Pink", and his teeth with Crafter's Acrylic "Light Antique White". Next, I highlighted his loincloth with Reaper MSP "Holly Berry", and his belt, necklace, and axe handle with Americana "Sable Brown". After those, I went back and highlighted his nose and claws with Americana "Neutral Grey", and then highlighted his feet wraps with Americana "Khaki Tan". After that, I highlighted his arm guards and adornments with Accent "Golden Oxide", and the wraps on the one on his right arm with Folk Art "Grey Green". I highlighted the shield with Reaper MSP "Golden Glow", and the dagger grip and shield strap with the "Mississippi Mud".
I then turned to the metallics; highlighting the axe, loincloth plates, shield rim and hub, and the dagger with Ceramcoat "Metallic Silver". Next, I highlighted the parts I had painted with the "Bronze", using Ceramcoat "14K Gold".
When I was done painting the figure, I used some white glue to glue a little sand to the base. When this was dry, I painted the sand and the figure's own base with Black. When the Black was dry, I drybrushed the bases with some Apple Barrel "Rock Grey", and then some Folk Art "Platinum Grey".
I let the figure dry overnight and the next day I gave him a coat of Americana "DuraClear Matte" varnish. Another overnight dry, and I sprayed it with Testor's Dullcote".
I'm generally happy with how he came out. Nothing too fancy or complicated. :)
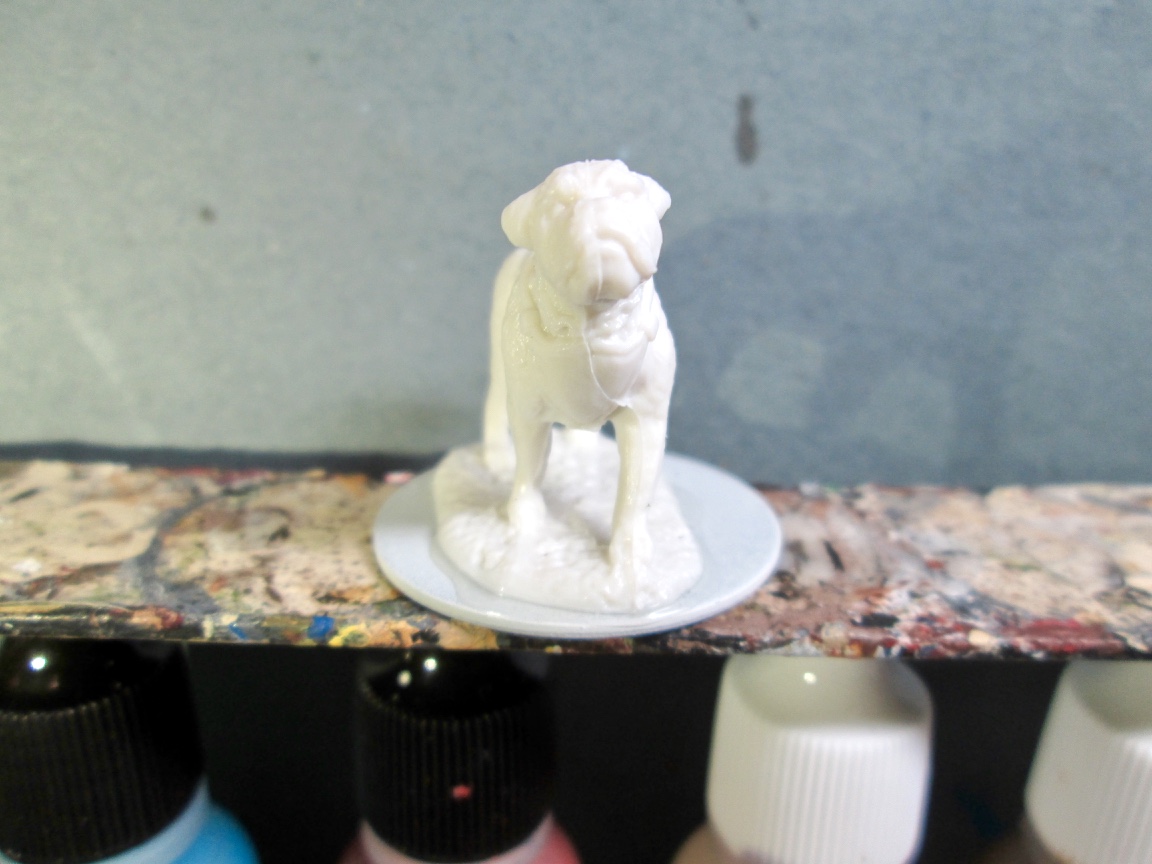
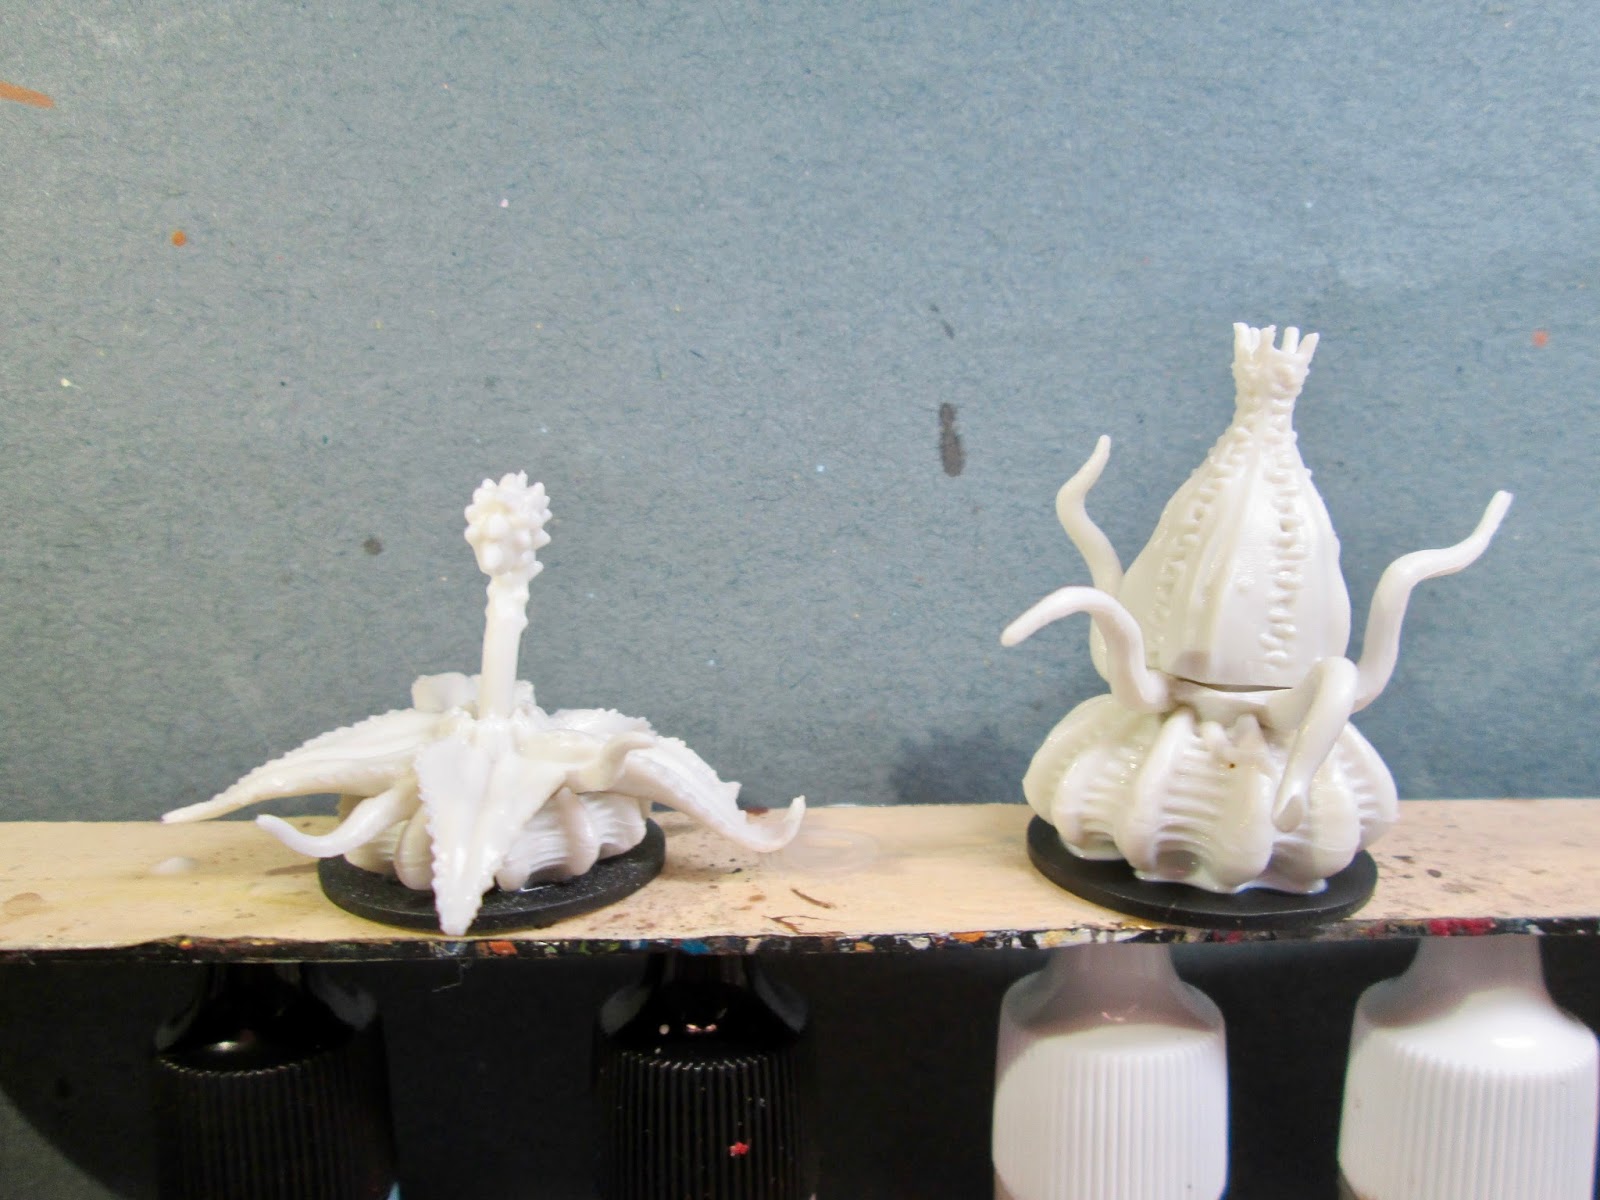
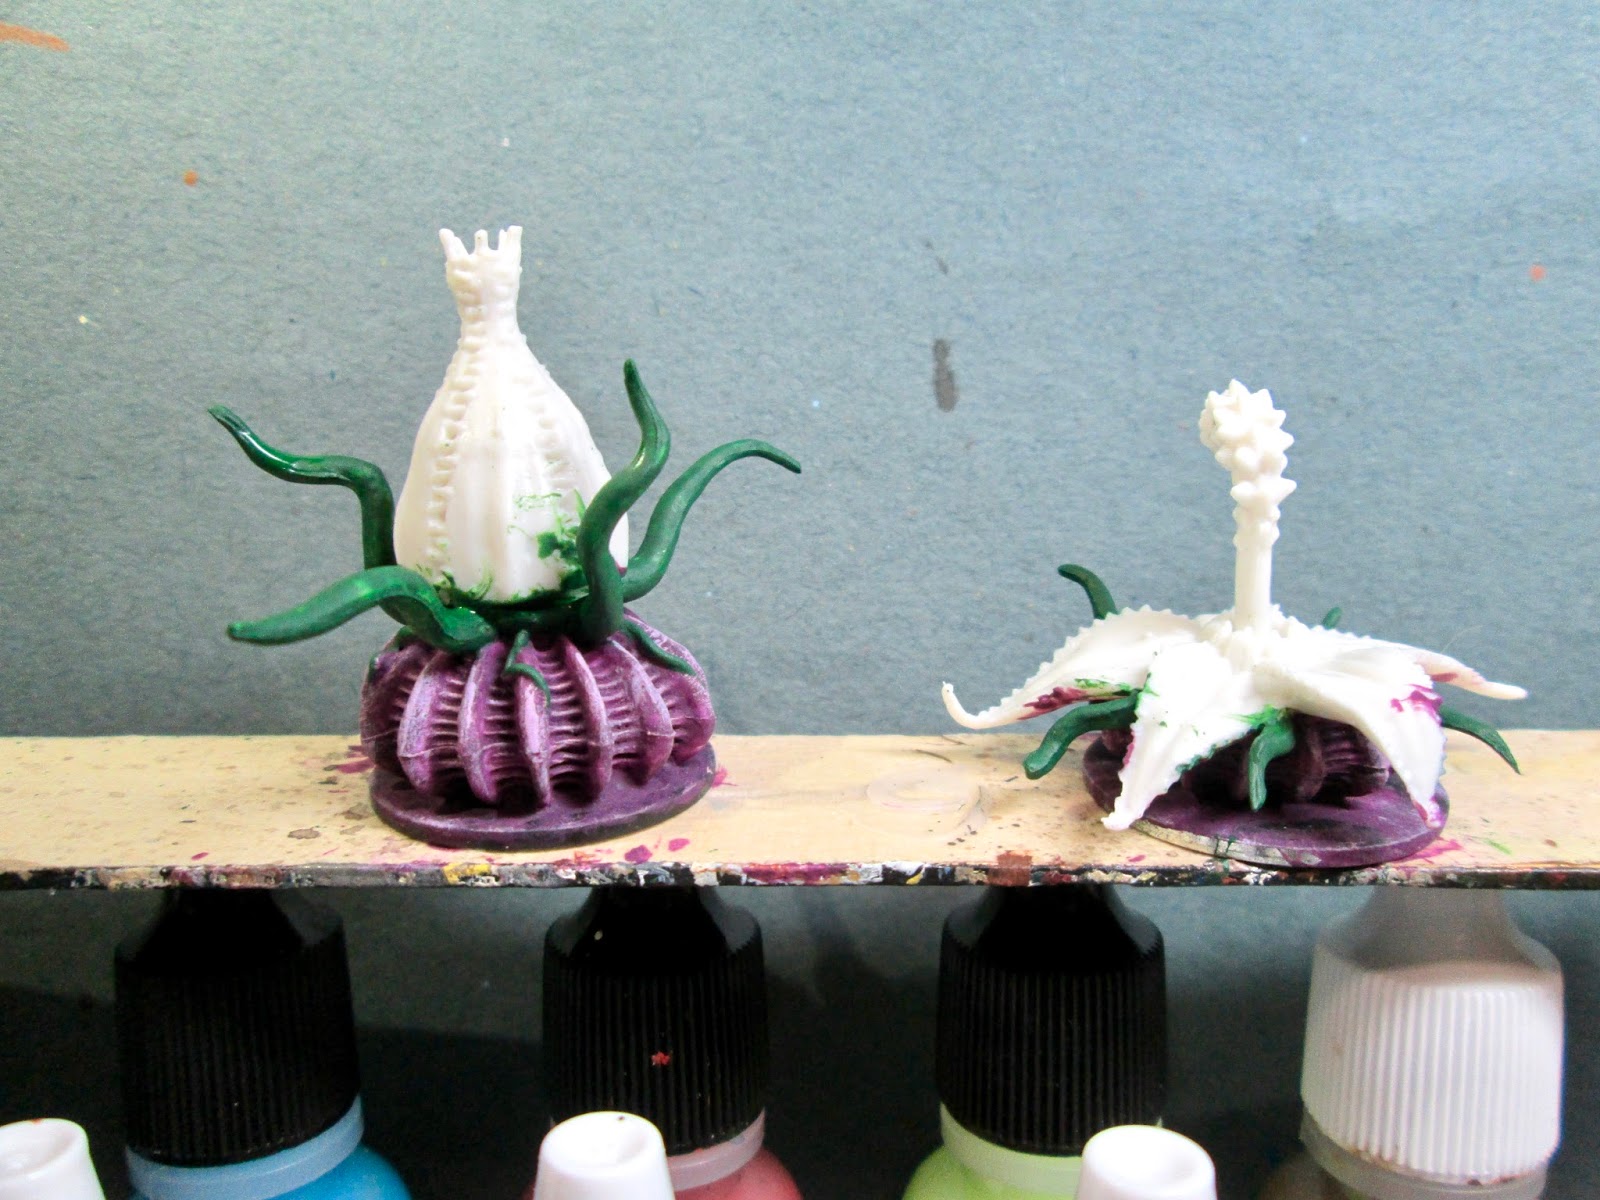
In other news, my Bones 3 box is scheduled to arrive on Wednesday! So I think I will post some photos here on Thursday for those interested in seeing what I got. And If I'm feeling really ambitious I will try to make an unboxing video since they seem to be popular these days. :)