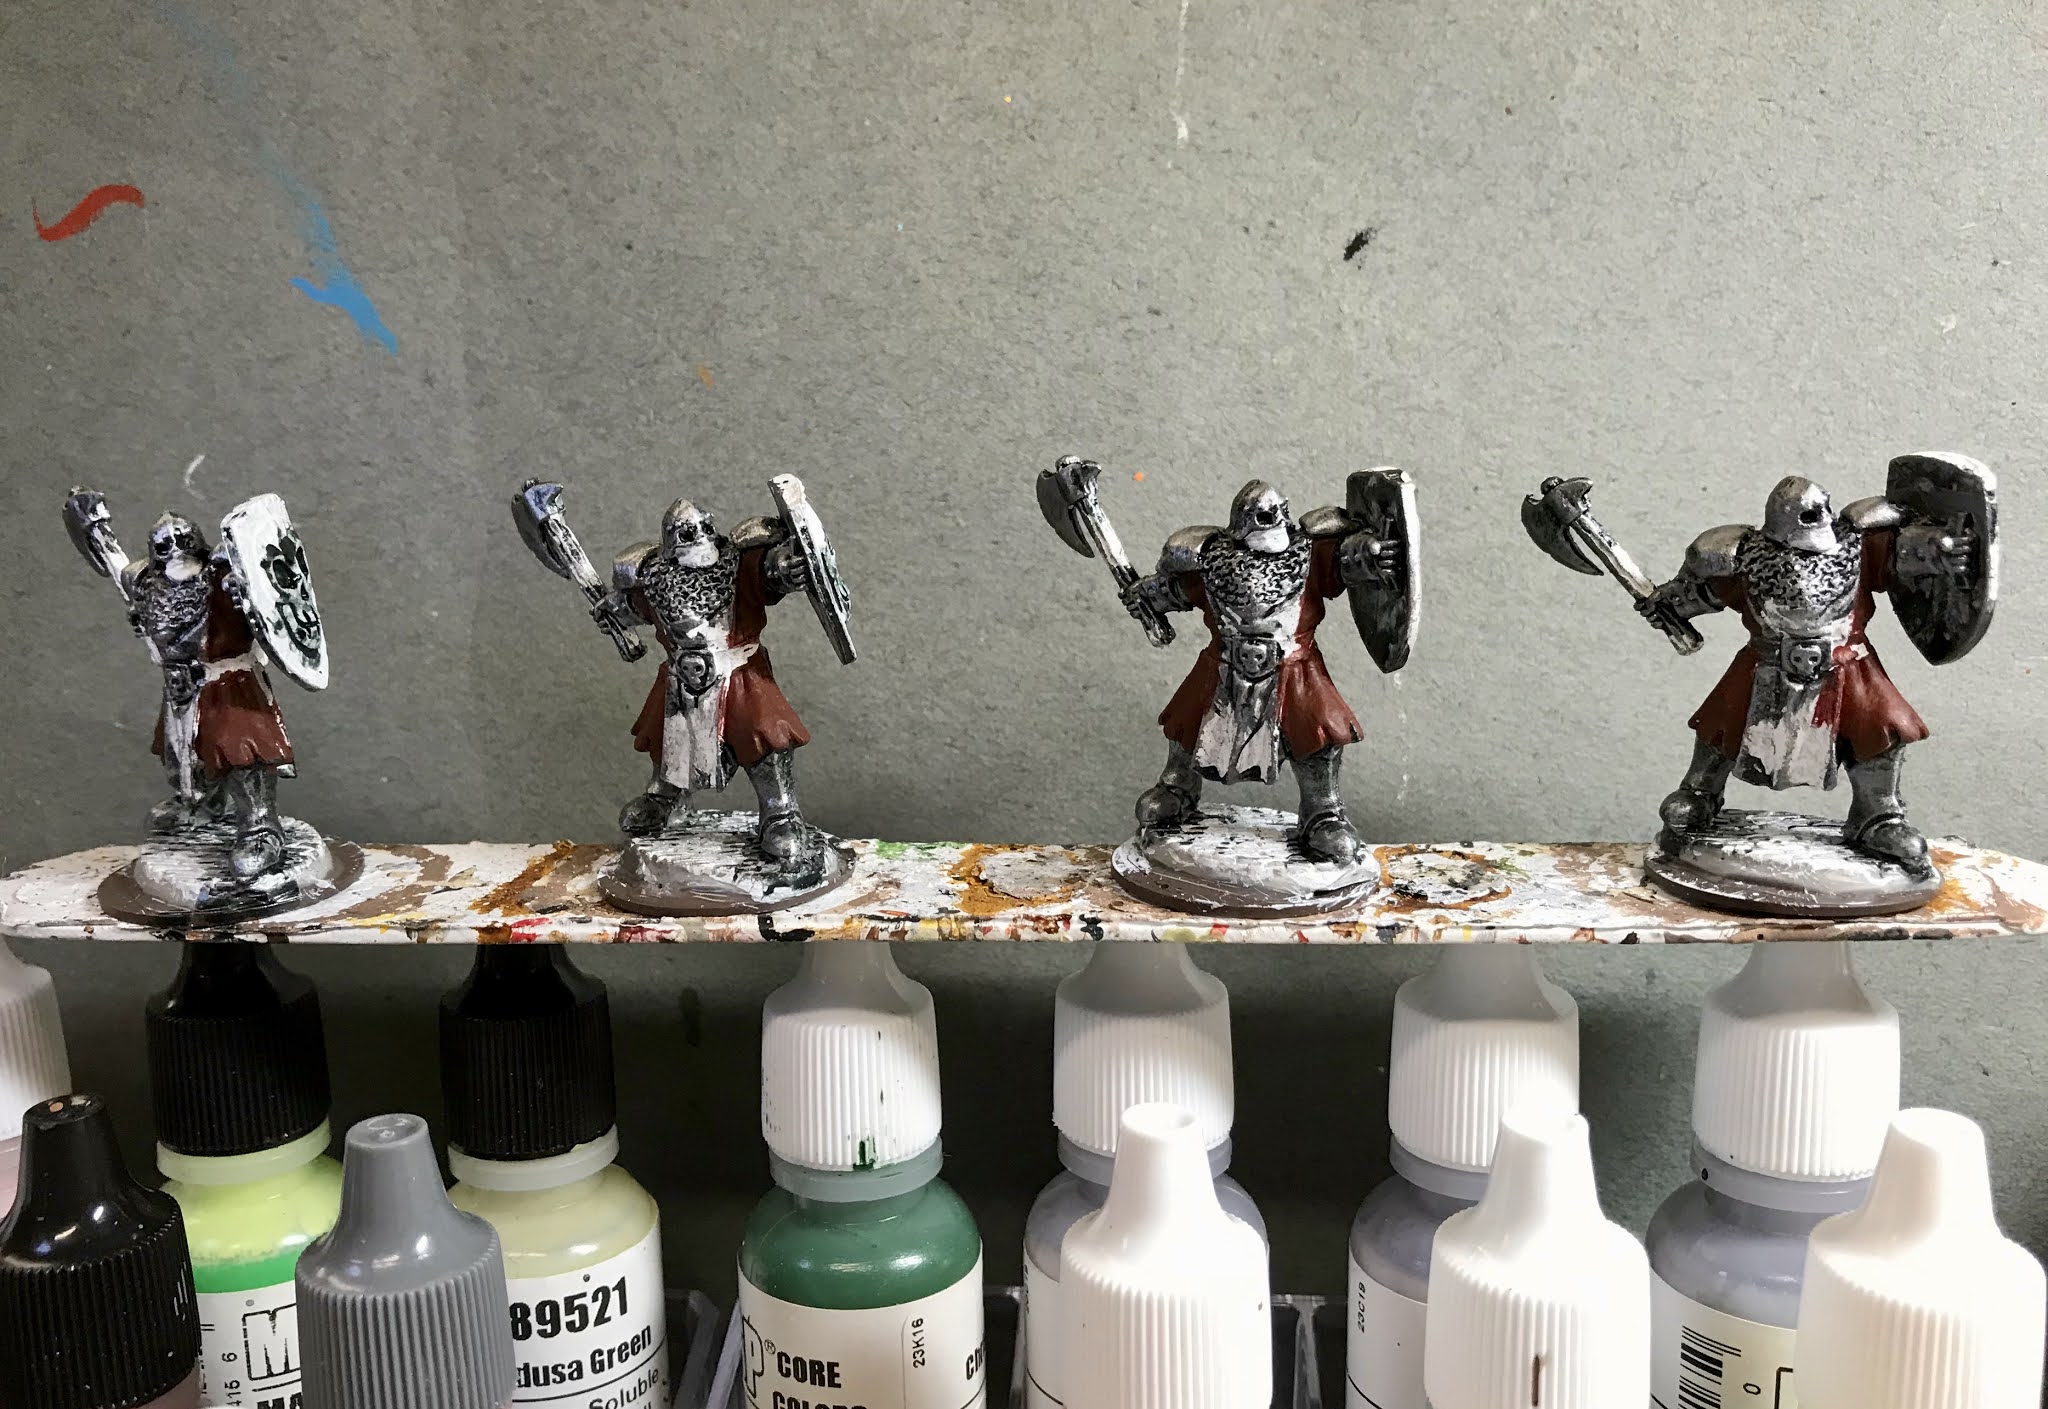
This past week I painted a set of 4 of the "Maggotcrown Axemen" figures as my final step in building a 12 man unit of the Maggotcrown soldiers from the Dreadmere Expansion. This completes the unit, and I have included a photo of the whole group together at the end of this post.
Here is the painting article for the
Swordsmen, and here is the one for the
Spearmen.
I prepped the figures in the usual way, soaking them in a dish of water with a couple drops of dish-soap added, then giving them a light scrub with a soft toothbrush, and then rinsing and drying them. I then glued all 4 figures to 1" brown-primed fender washers with Aleene's Tacky glue. I then glued the washers onto a tongue depressor with a couple drops of Elmer's white glue.
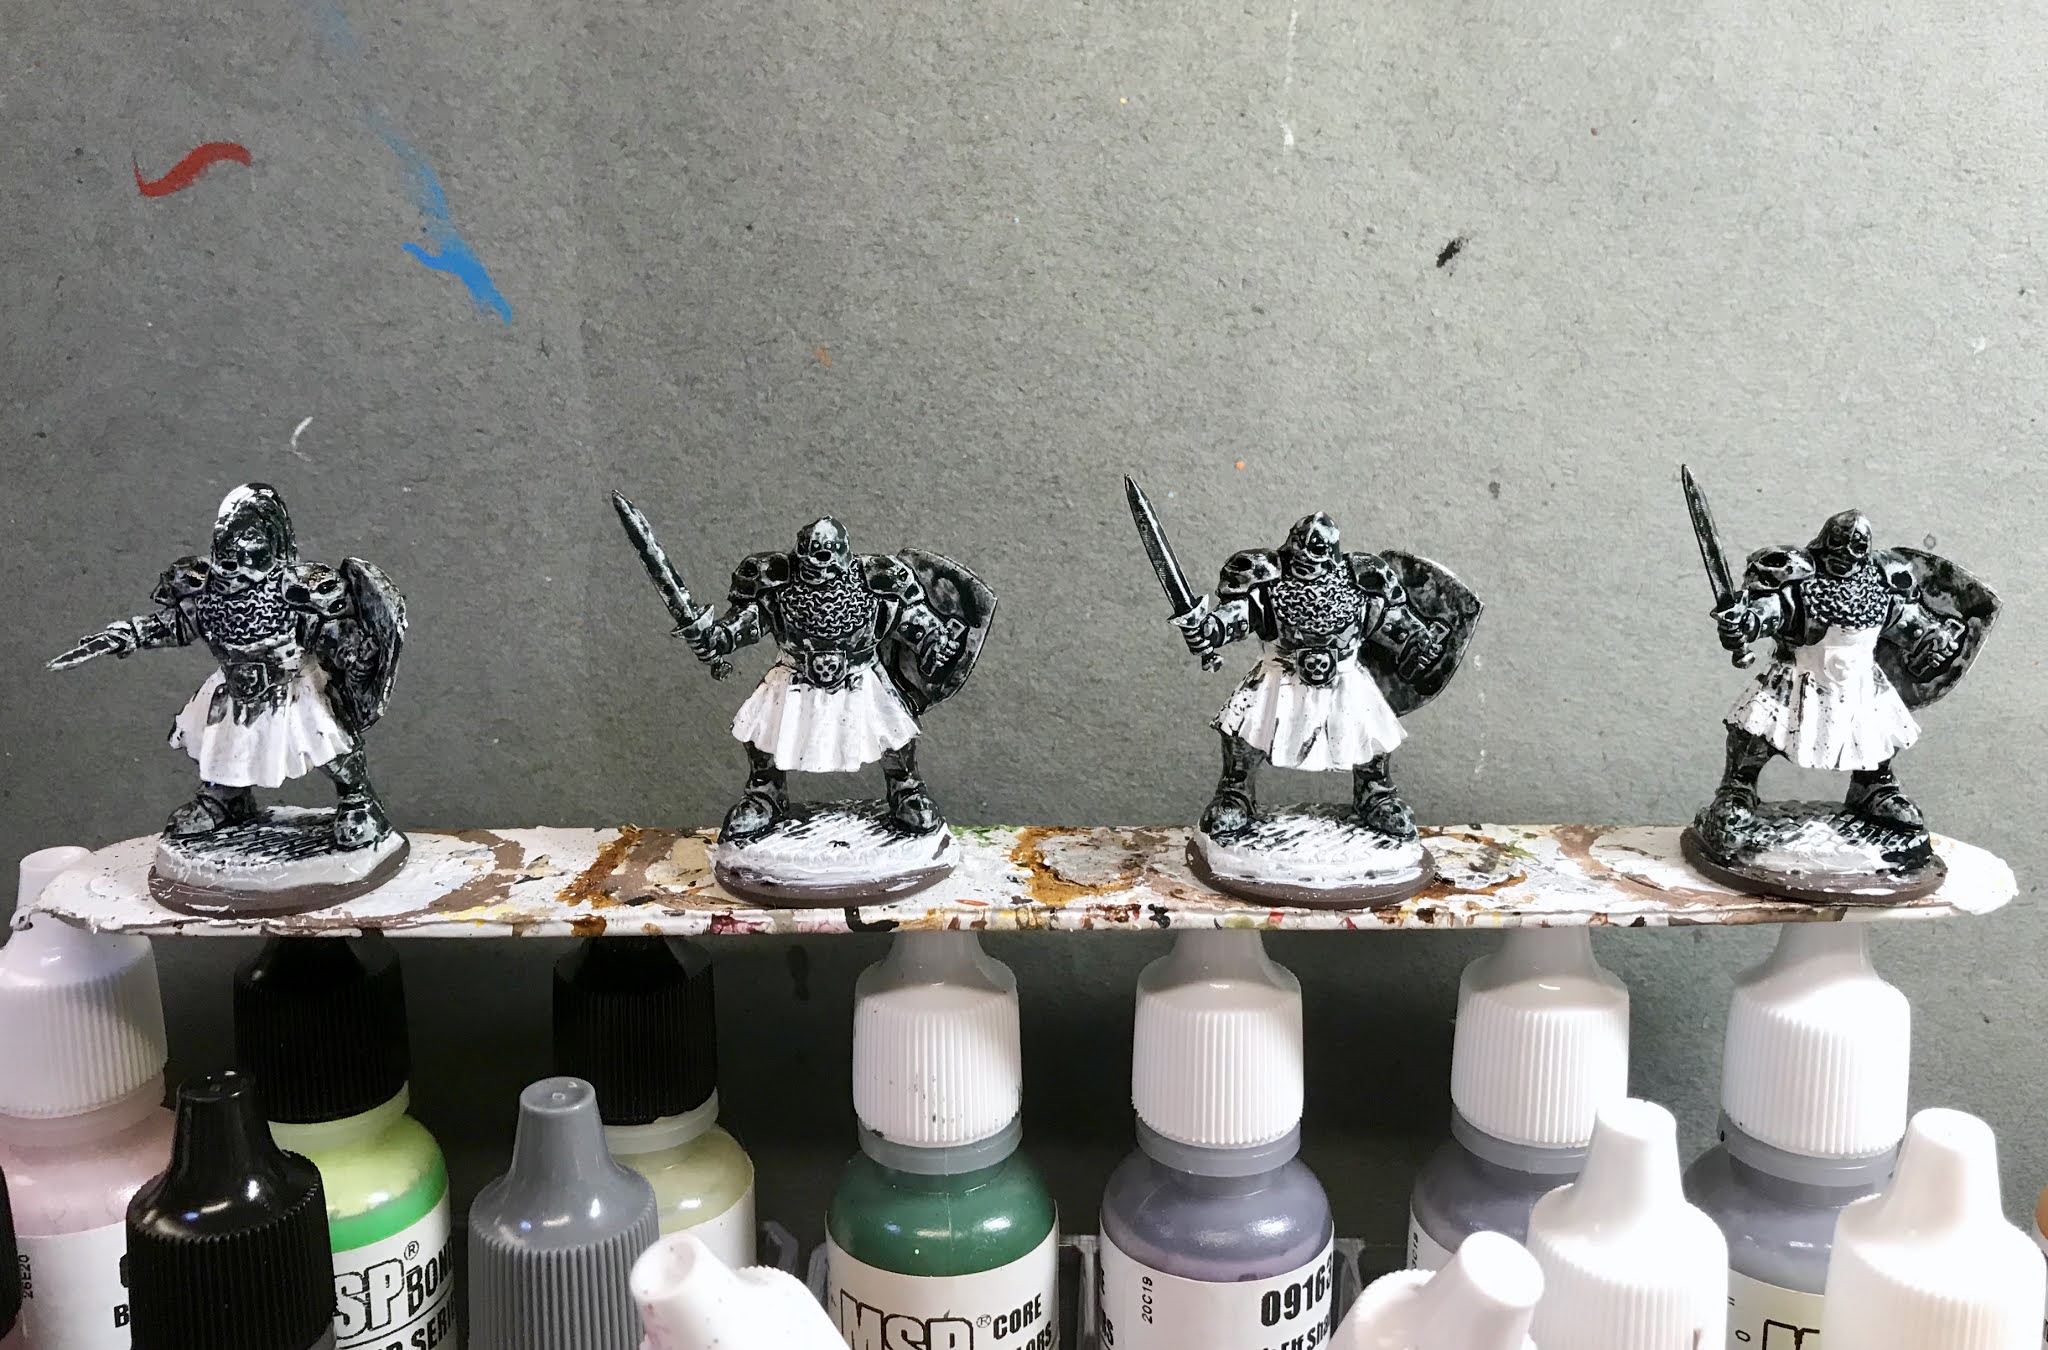
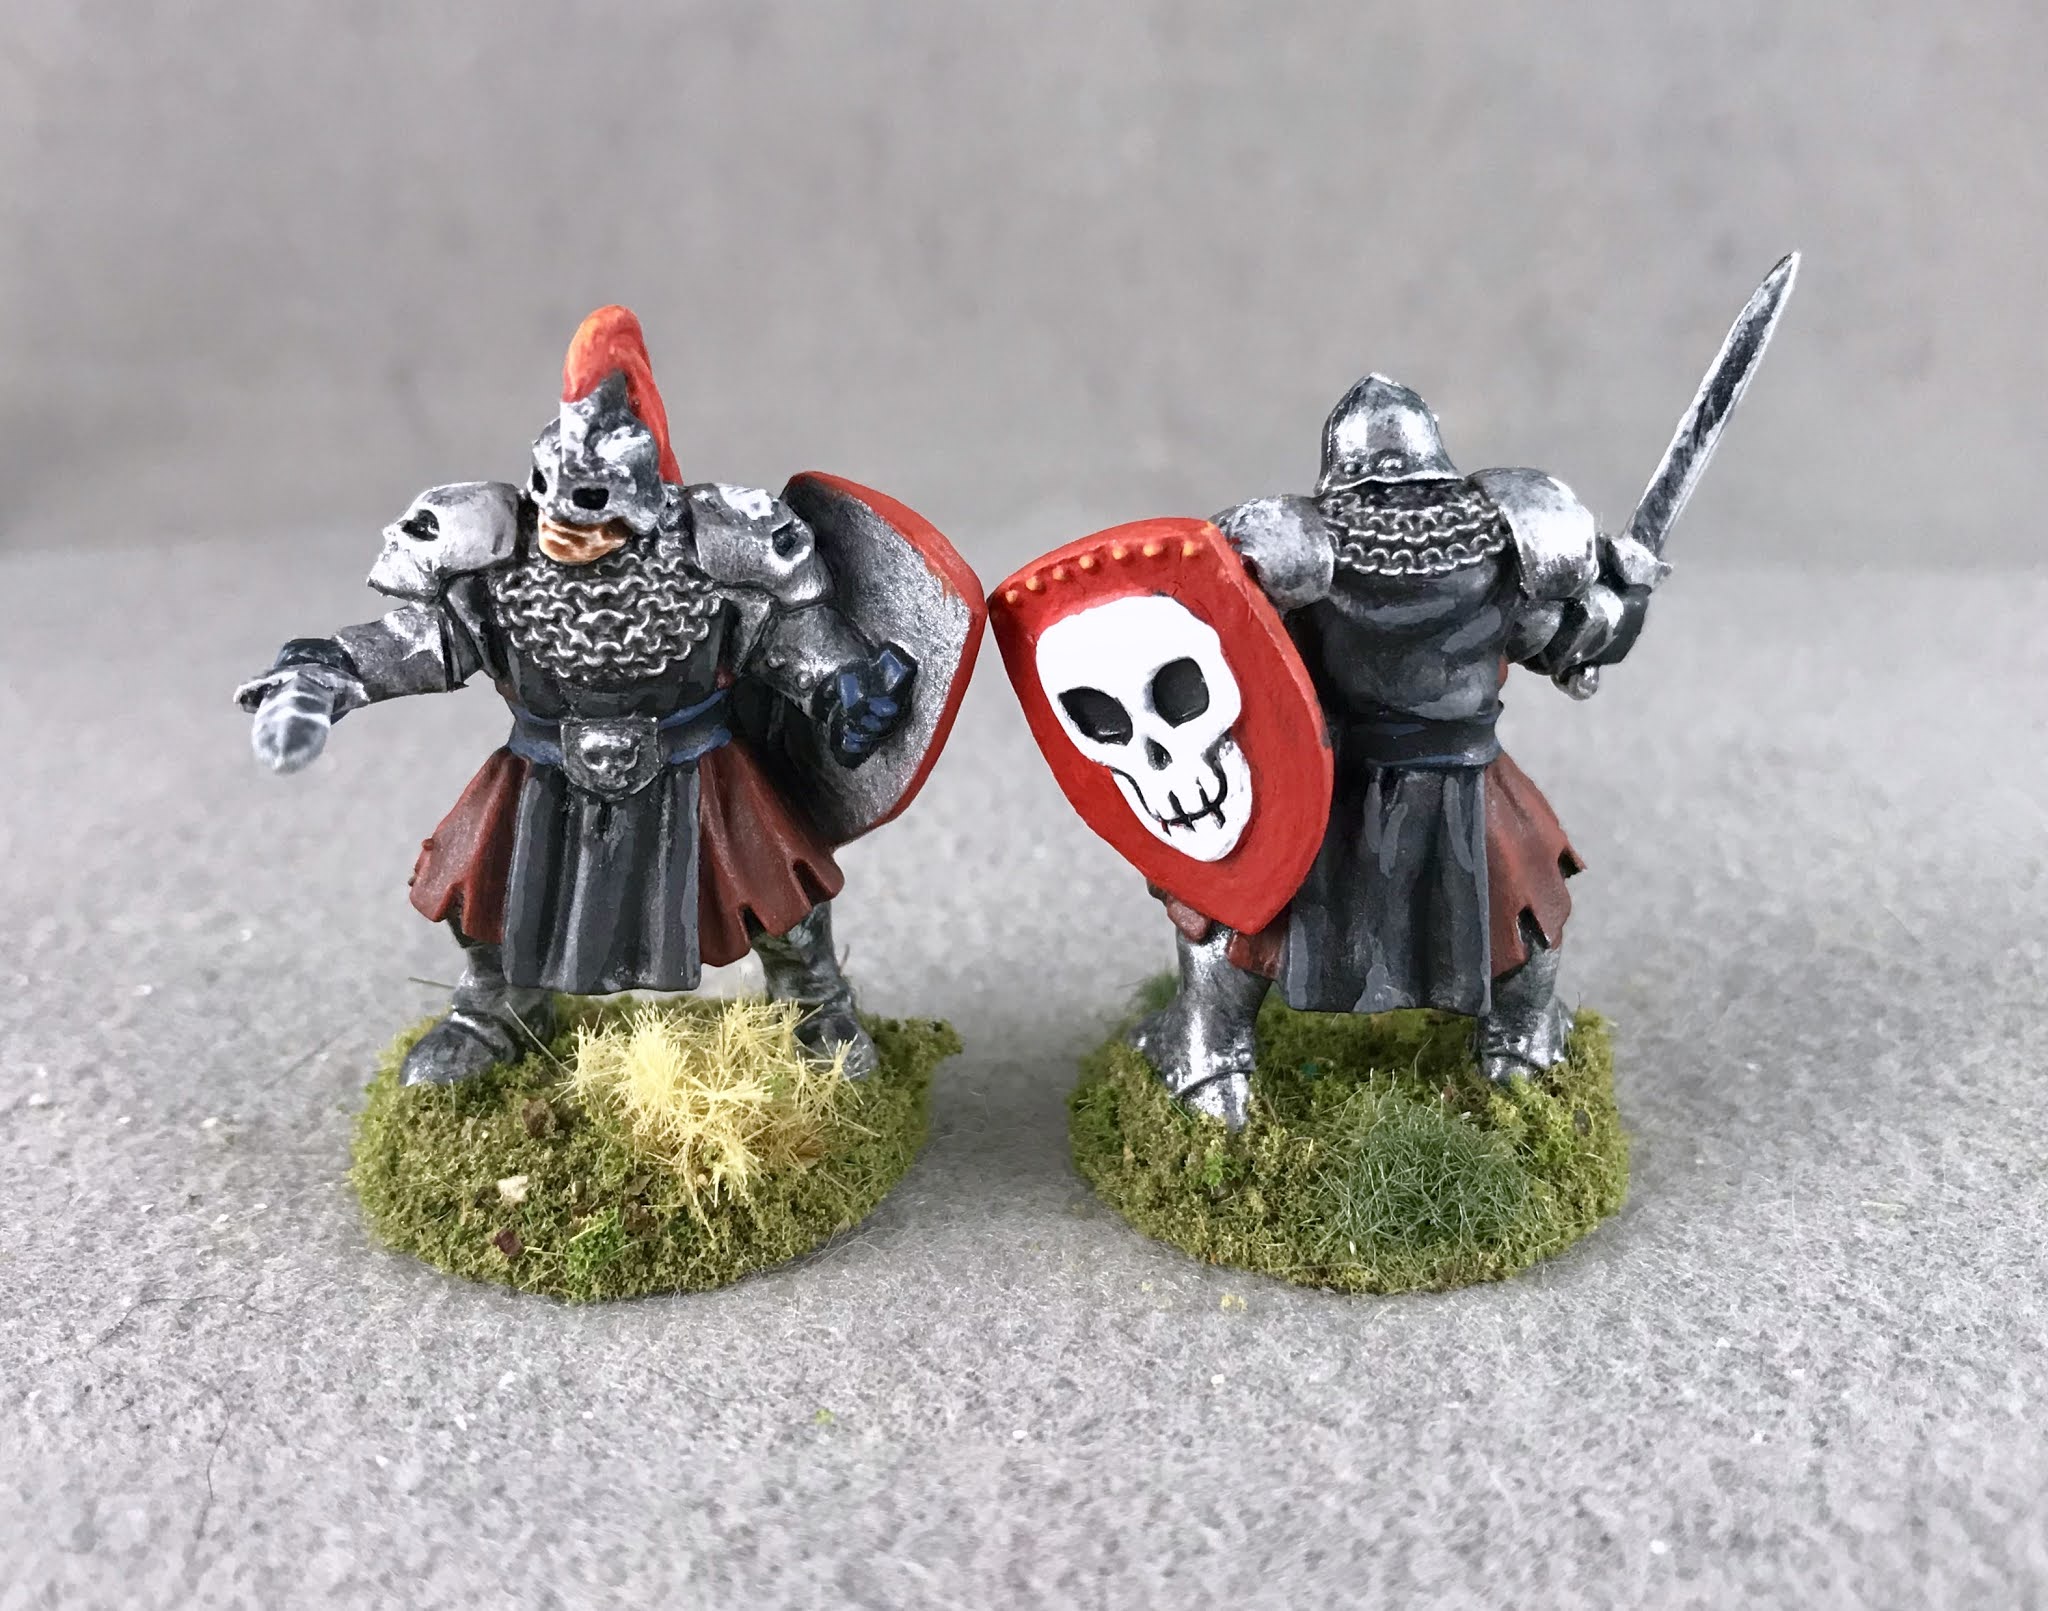
I was very pleased with the results of using Citadel Contrast "Black Templar" paint on the previous 8 Maggotcrown soldiers as the base for drybrushing their armor, instead of my usual solid black basecoat, so I began by giving the Axemen all complete coats of Ceramcoat "White" to act as a base primer coat for the Contrast paint, like I did on the Swordsmen. I then painted the armor, axe heads, and shield backs and skulls with Citadel Contrast "Black Templar".
When the "Black Templar was dry, I drybrushed the armor and swords with Folk Art Metallics "Gunmetal Grey", followed with a drybrushing of Ceramcoat "Metallic Silver", and lastly a light drybrush with some Citadel "Mithril Silver". After that, I painted the tunics with Reaper MSP Pathfinder "Urgathoa Red", and I repainted their chins with the "White".
Next, I painted the tabards, and the eyes on the shield skulls with Ceramcoat "Black"; and then painted the belts, gloves, and shield straps with Reaper MSP "Coal Black". After that, I painted the exposed parts of their faces with Citadel Contrast "Gulliman Flesh", and then did the faces of their shields with Reaper MSP "Fresh Blood". At this point I went back over the chainmail with some Citadel "Nuln Oil" wash to help it pop. And, while I had the "Nuln Oil" out, I decided I also wanted to define the edges of the tabard, belts, and tunic, a little better, so I traced along the edges where the tabard and belts met the tunic using the wash.
After that, I painted the inside of the shields with some Ceramcoat "Metallic Pewter". I then painted the skulls on the shields with Americana "Snow White", and then the axe handles with Americana "Charcoal Grey".

Next, I highlighted the tunics with a mix of the base "Urgathoa Red" mixed with Reaper MSP Bones "Cinnamon Red". I then highlighted the tabards with Ceramcoat "Charcoal" followed with Americana "Zinc"; and followed that with highlighting the belts and gloves with Citadel "The Fang". After highlighting those parts, I highlighted the shields using Reaper MSP Holly Berry" and some Reaper MSP "Hearth Fire". Lastly, I did some highlights on the axe handles with Americana "Mississippi Mud", and the shoulder skulls and helmets with Reaper MSP "Sparkling Snow". I then painted the bases with the "Mississippi Mud".
I let the Axemen dry overnight and the next day I gave them a coat of Americana "DuraClear Matte" varnish. Then, when the varnish was dry, I used some white glue to flock the bases. Another overnight dry, and I sprayed them with Testor's "Dullcote".


And here's a look at the whole unit. I'm really happy with how these guys turned out. They have a nice sinister menace about them; perfect for keeping the peace in some backwater village on orders from the .corrupt ruler.