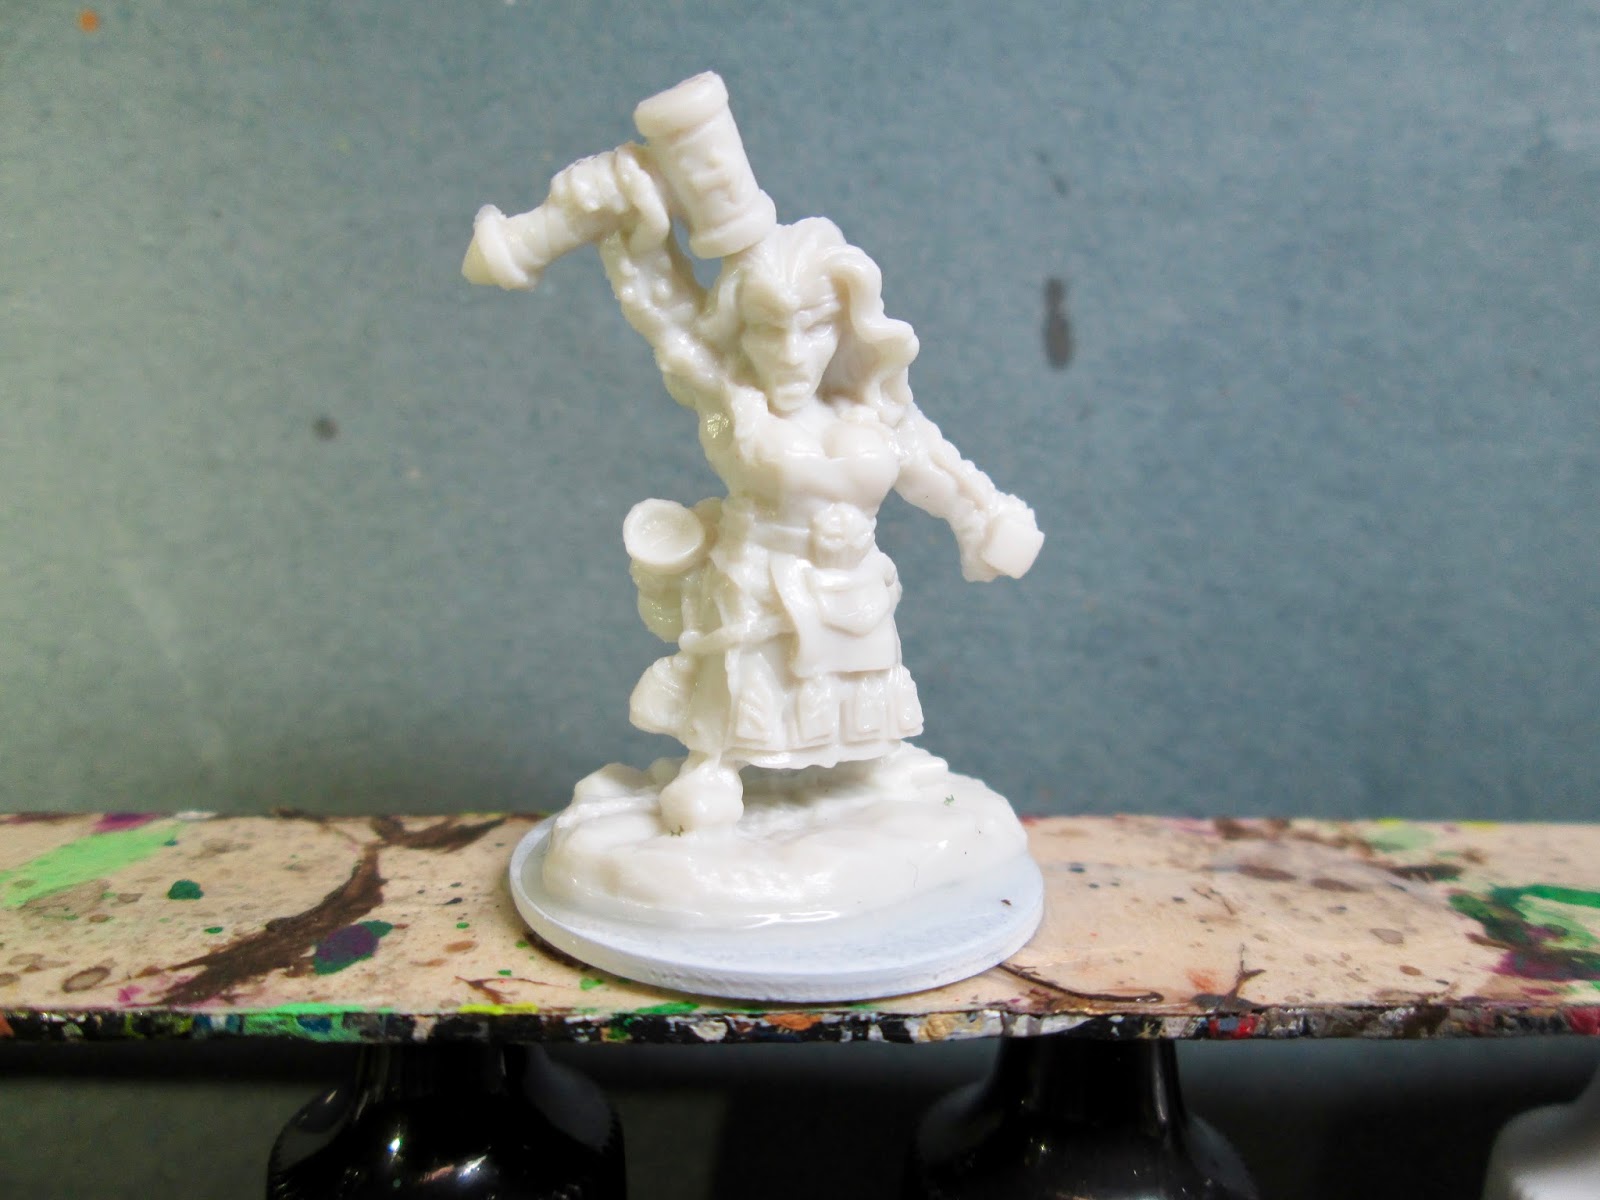
This past week I painted the Margara, Dwarf Shaman, figure from the Bones 3
Original Core Set. Instead of painting her as a magic user I decided to use her just as a plain old fighter, since I needed another Thug figures for my Dwarf-themed warband for Frostgrave.
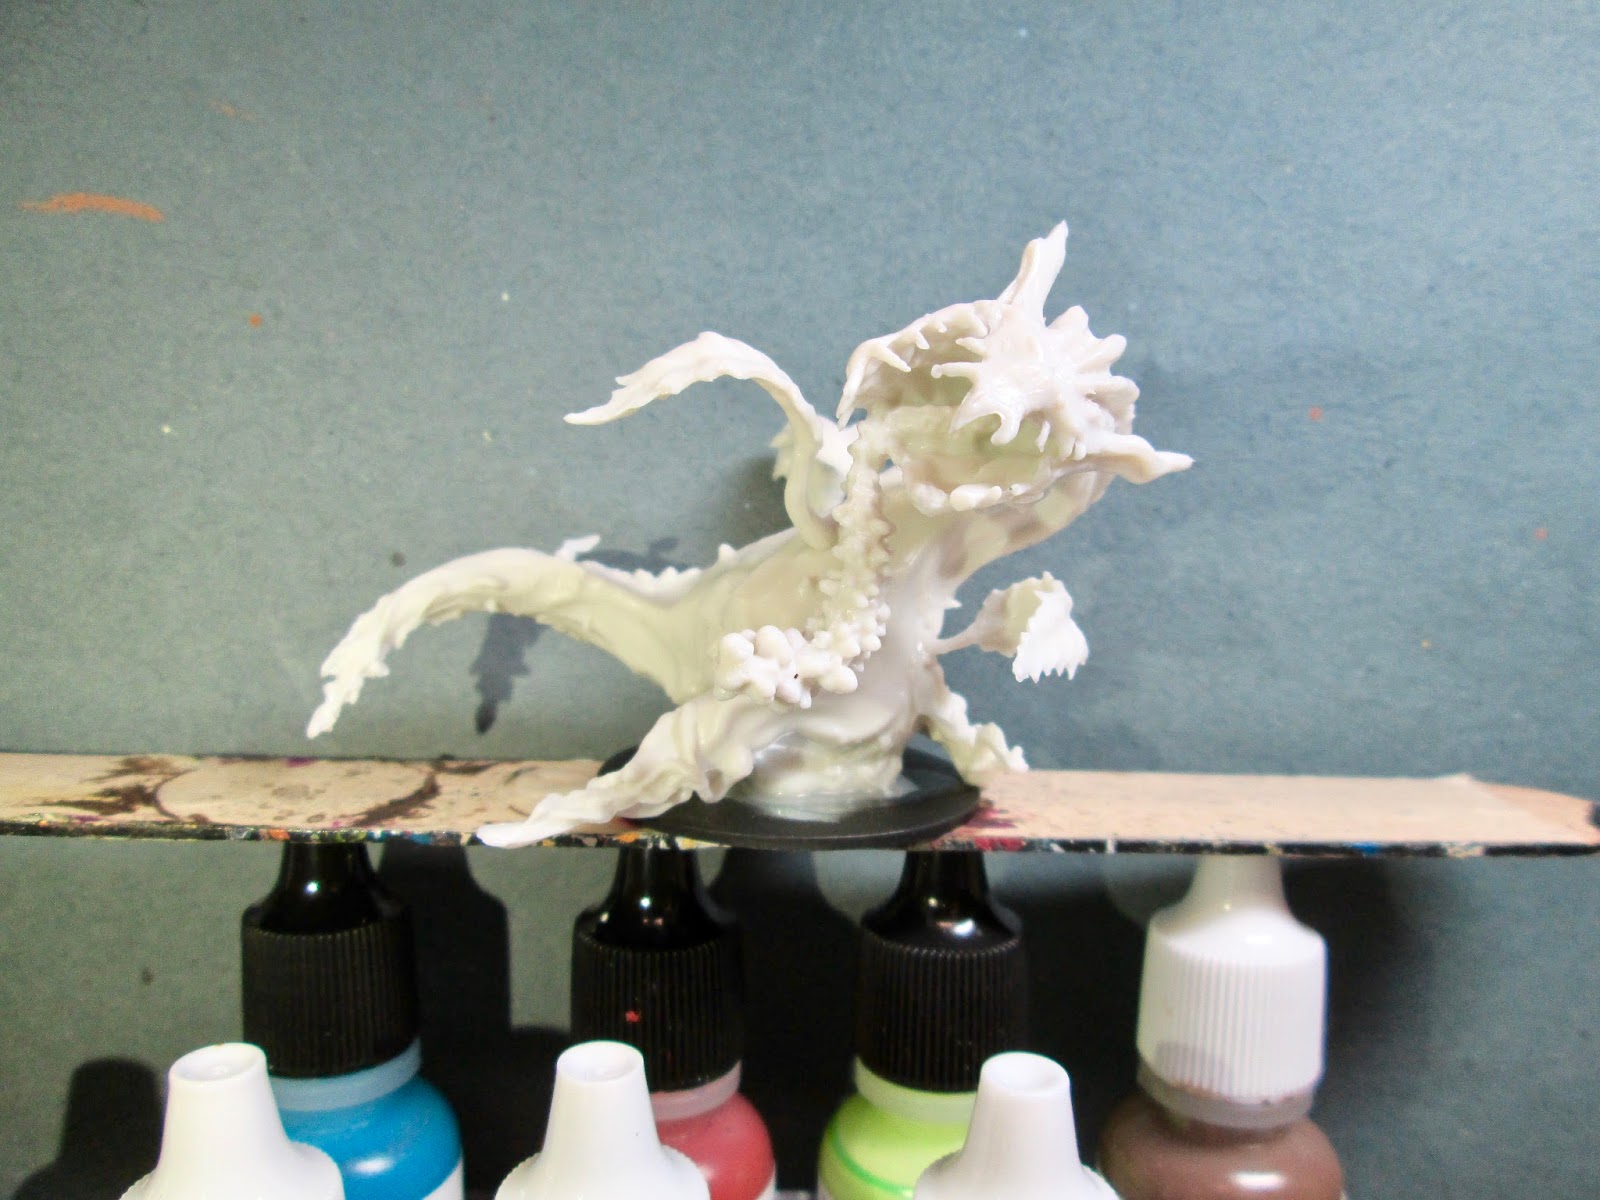
I prepped the figure in the usual way; soaking it in a dish of water with a couple drops of dish-soap added, then giving it a light scrub with a soft toothbrush, and then rinsing and drying it. I then glued the figure to a white-primed 1" fender washer with Aleene's Tacky glue, and then glued the washer-mounted figure to a tongue depressor with a couple drops of the Elmer's glue.
I began by giving the figure a wash with heavily thinned Reaper "Grey Liner" using a wet brush. When that was dry, I painted her skin with Citadel "Dwarf Flesh". I then painted her skirt with Ceramcoat "Denim Blue", and her shirt with Crafter's Acrylic "Orange Spice".
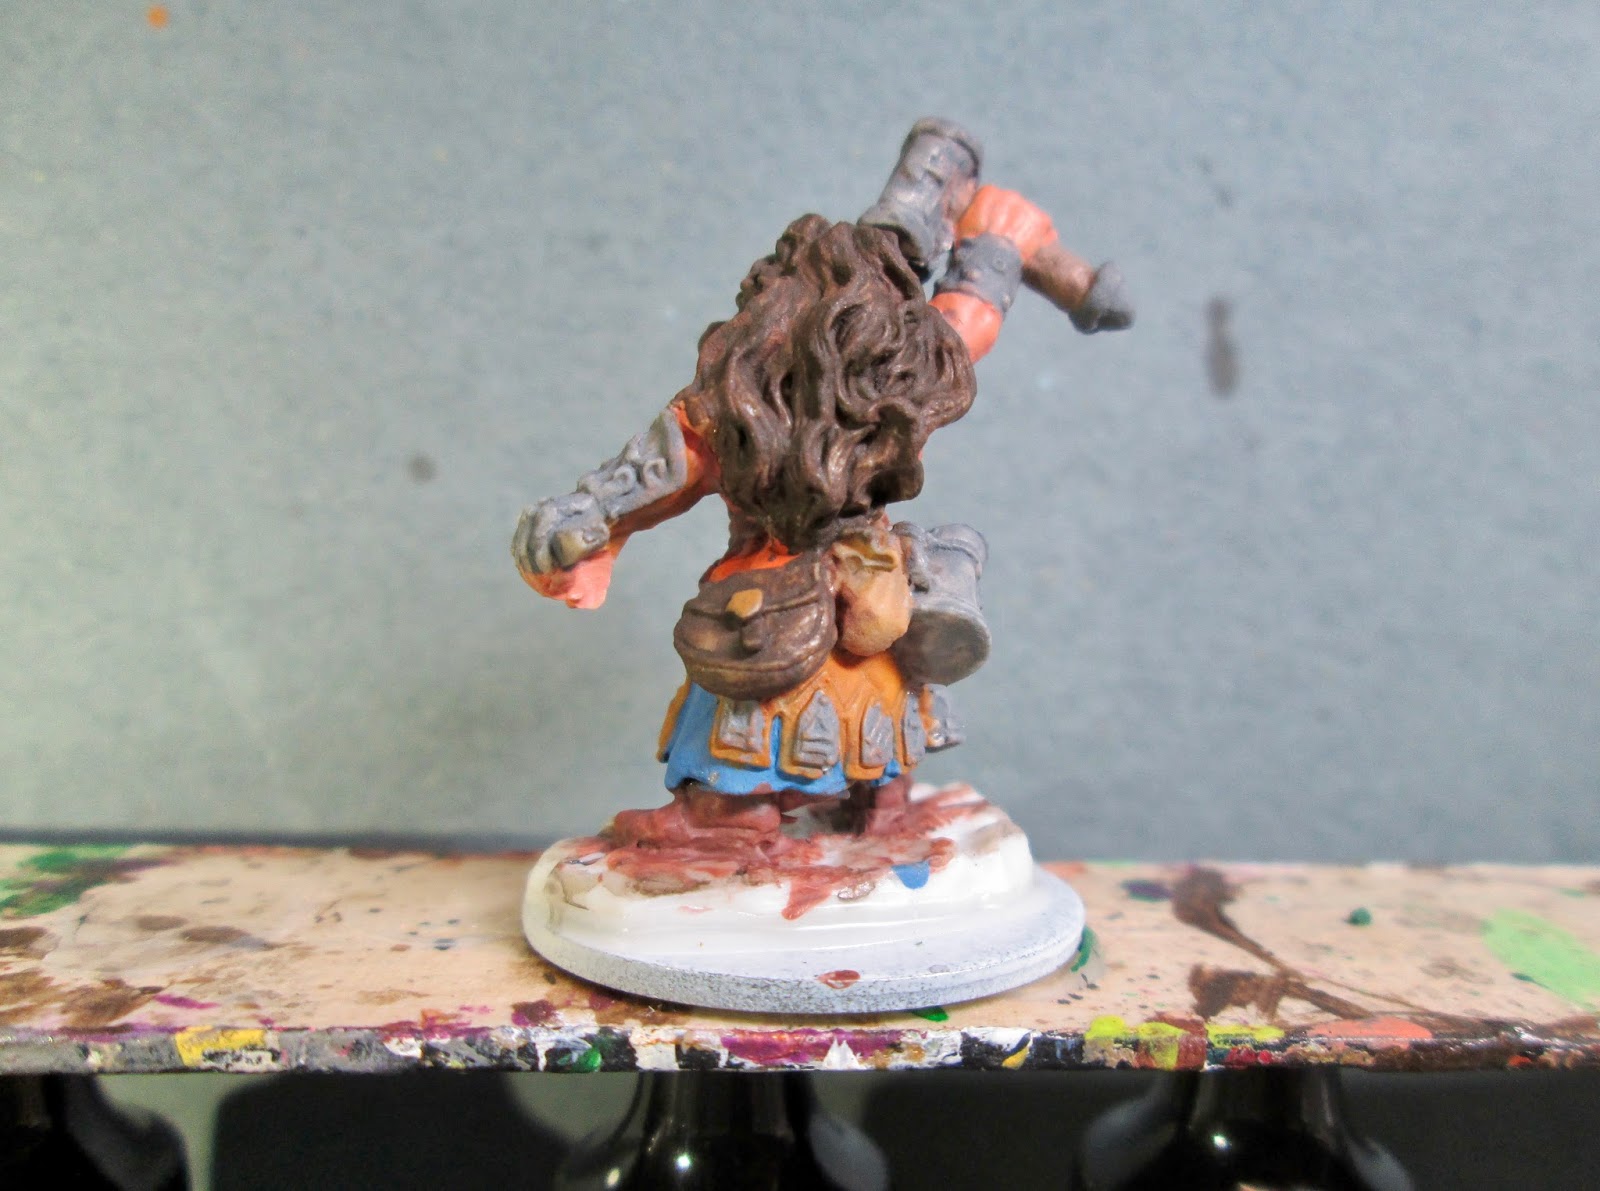
Next, I painted her over-skirt with Ceramcoat "Raw Sienna", and her apron with Crafter's Acrylic "Cinnamon Brown". I then painted her shoes with Folk Art "Dark Brown", and the handle of her hammer with Americana "Mississippi Mud". After that, I painted her hair with Americana "Burnt Sienna".
I then painted her large pouch with Americana "Bittersweet Chocolate", and the little sack tucked in her belt with Ceramcoat "Territorial Beige". I also used the "Territorial Beige" to paint the rope holding the little cylindrical container on her front, and then used Accent "Mustard Seed" to paint the wraps under her left arm brace, her headband, the belt buckle and the clasp on the pouch. I followed that with painting all the metalwork and weapons with Americana "Zinc".
I then went back over the "Zinc" using Folk Art Metallic "Gunmetal Grey" on the rune plates, arm guard, arm bands, and spike; and Accent "Princely Pewter" on the hammer, stein, and cylindrical container on the rope. I then over painted the "Mustard Seed" on her belt buckle, pouch clasp, and headband decoration, with Ceramcoat "Bronze".
When everything had a while to dry, I went back and gave a wash with Citadel "Agrax Earthshade" wash using a wet brush to all the figure except the metal bits. When that had dried, I went back and gave a wash with Citadel "Nuln Oil" wash using a wet brush to all the metal bits.
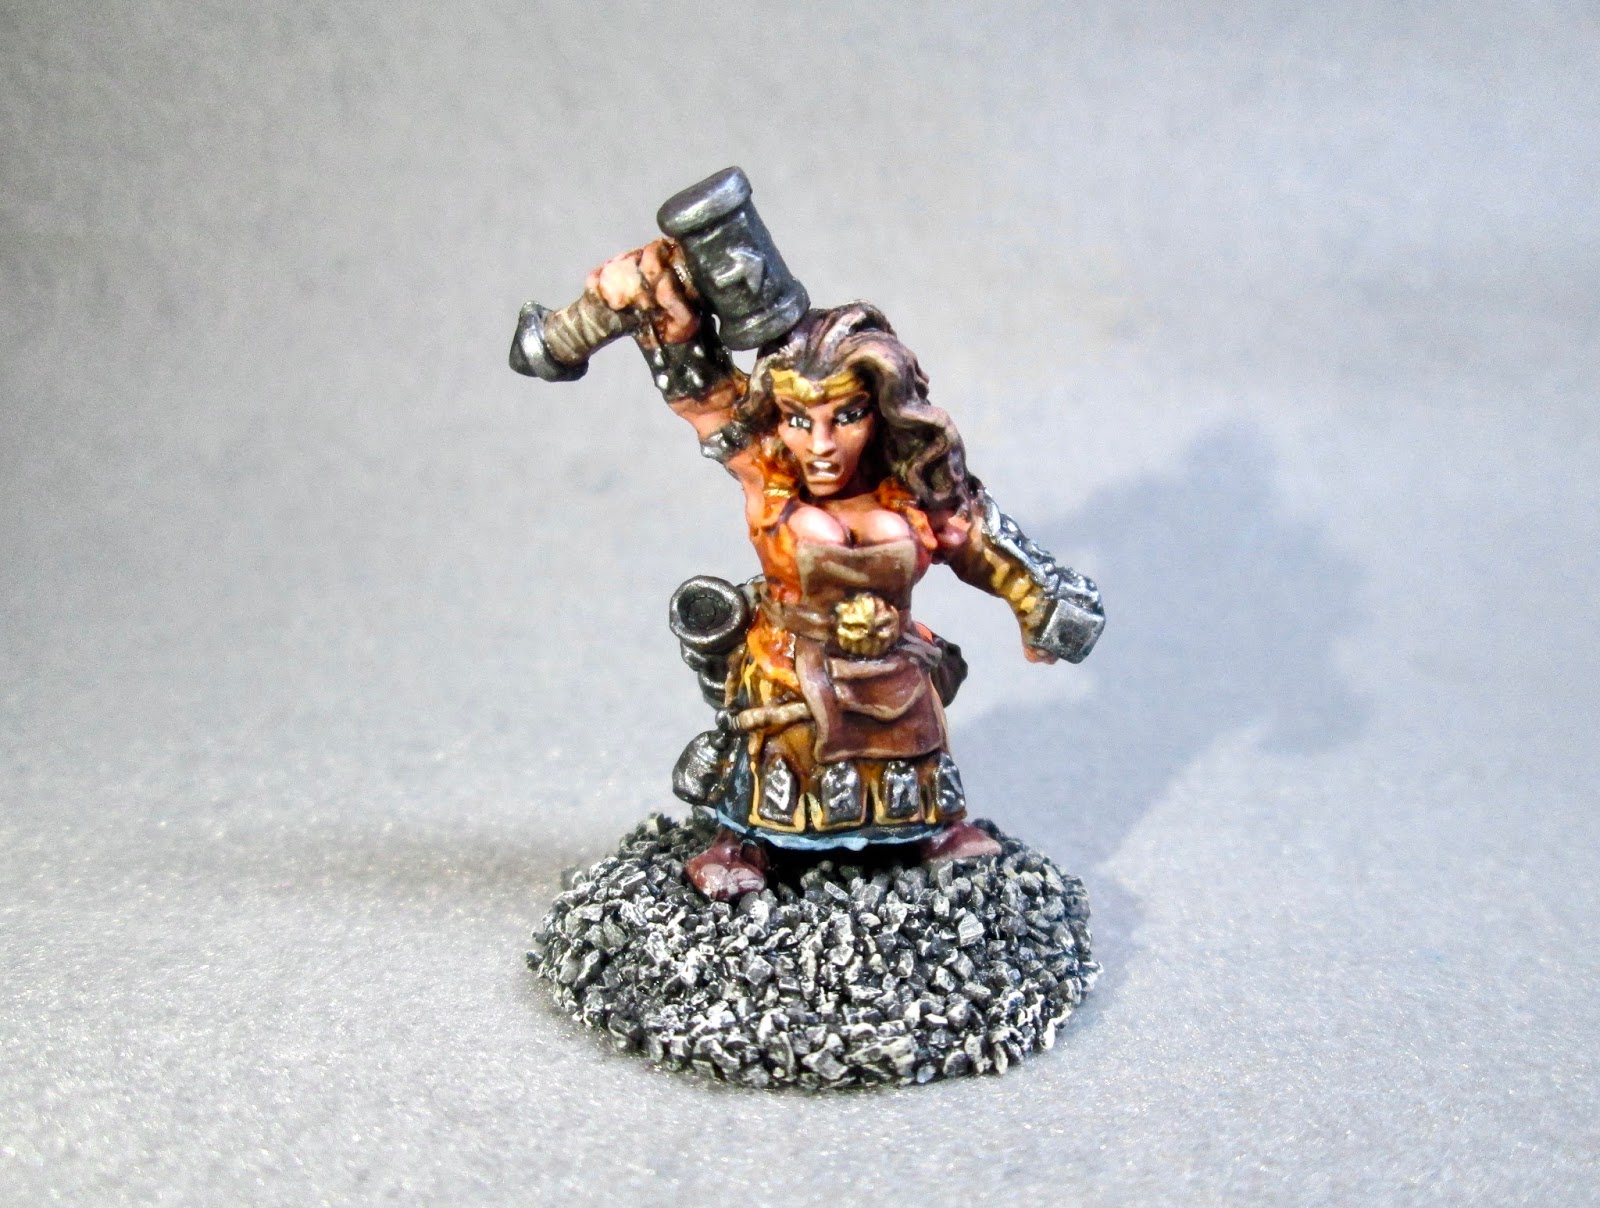
I then painted her eyes, and teeth; and afterwards highlighted her skin using a mix of the original "Dwarf Flesh" and Crafter's Acrylic "Flesh".
Next, I highlighted her hair using Folk Art "Teddy Bear Brown", and then a little Americana "Sable Brown". After that I highlighted her shirt with Crafter's Acrylic "Pure Pumpkin", and then did her skirt with Apple Barrel "Apple Scotch Blue". Then I did the highlights on her overskirt, the wraps under her arm guard, and her head band with Citadel "Bronze Flesh". I did her apron after that using Ceramcoat "Territorial Beige", and her pouch after that using the "Mississippi Mud". Next, I used Americana "Khaki Tan" on the wraps on the hammer handle", and touched a few highlights in her hair with this color as well. Then I used Crafter's Edition "Taupe" to highlight the sack tucked into her belt, and the rope on which the cylindrical container hangs.
I highlighted all the metal parts I had painted with the "Gunmetal Grey" using Ceramcoat "Metallic Silver", and the parts I had painted with the Princely Pewter using Ceramcoat "Metallic Pewter". I then highlighted the parts I had painted with the "Bronze" using Ceramcoat "14K Gold". Lastly, I painted the entire base with Black.
When the Black was dry, I used some white glue to glue a little sand to the base. When this was dry, I painted the sand Black. When the Black was dry, I drybrushed the bases with some of the Apple Barrel "Rock Grey", and then some Americana "Dove Grey".
I let the figure dry overnight and the next day I gave him a coat of Americana "DuraClear Matte" varnish. Another overnight dry, and I sprayed it with Testor's Dullcote".
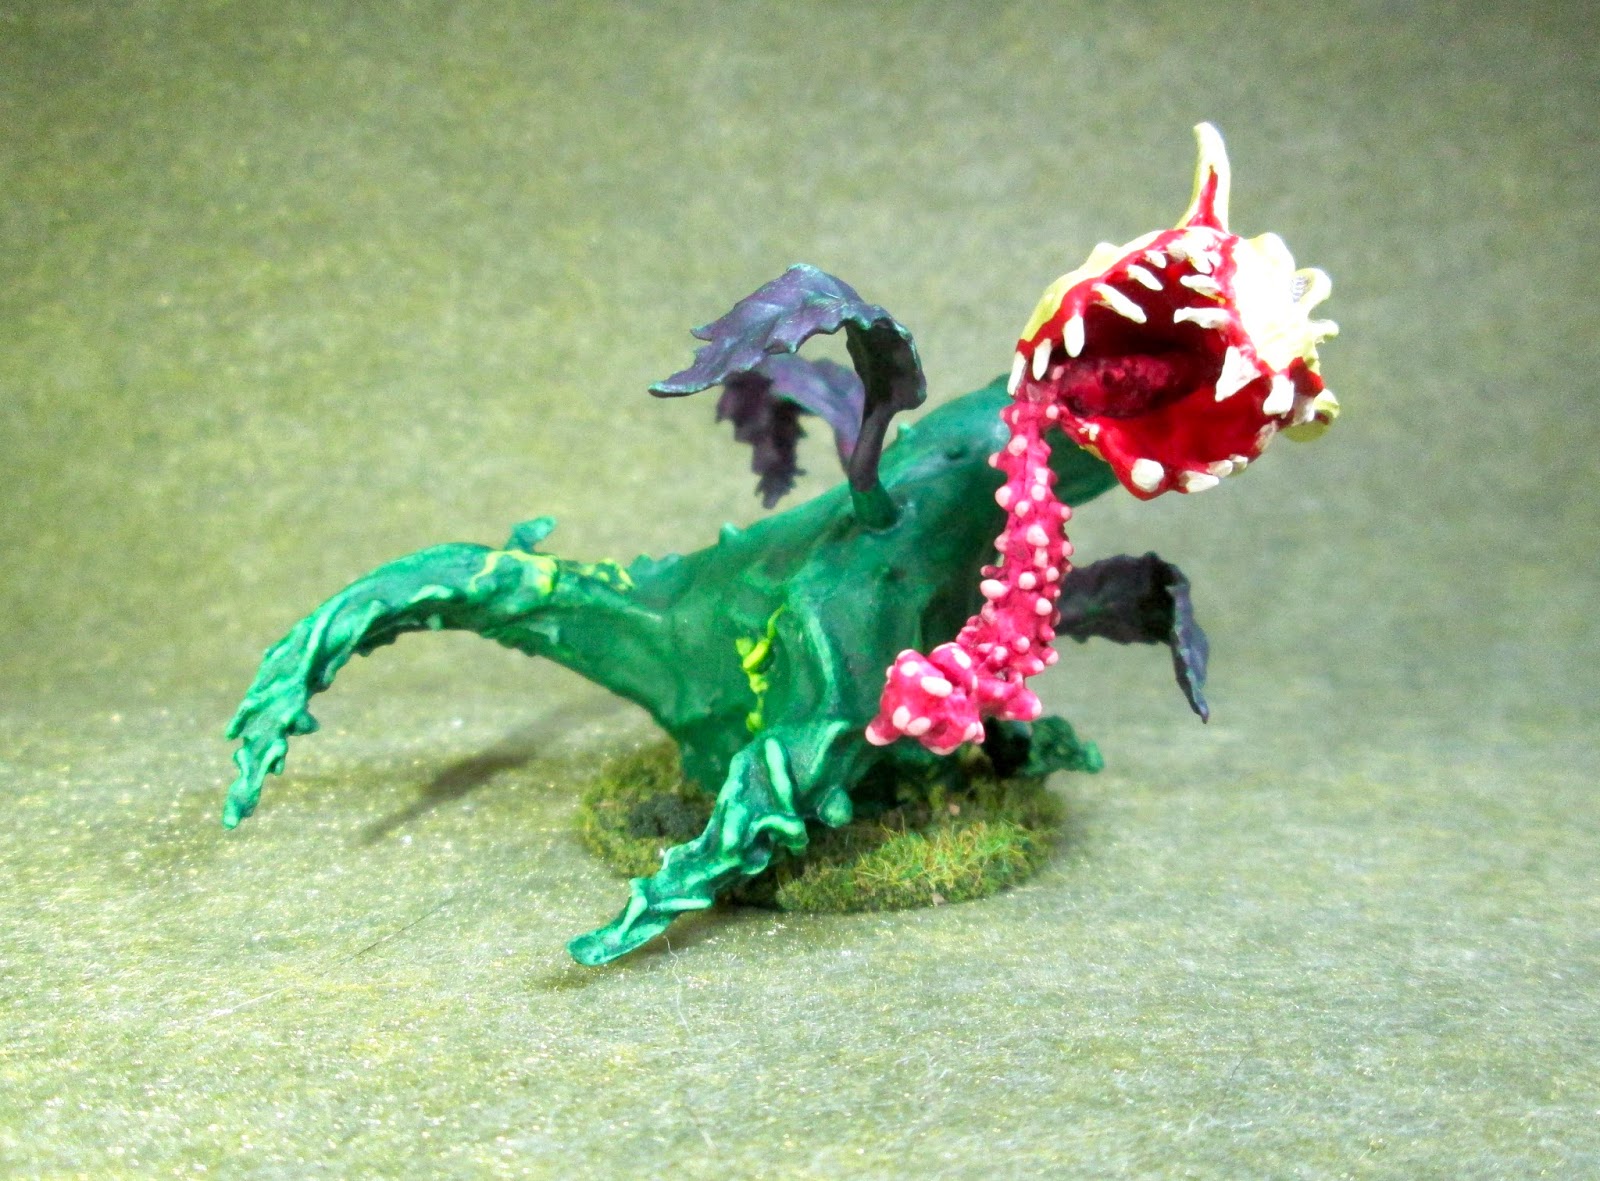
I'm really happy with how she turned out. Not particularly dressed for the frozen city, but I think she'll fit into my Frostgrave Dwarf warband just fine.
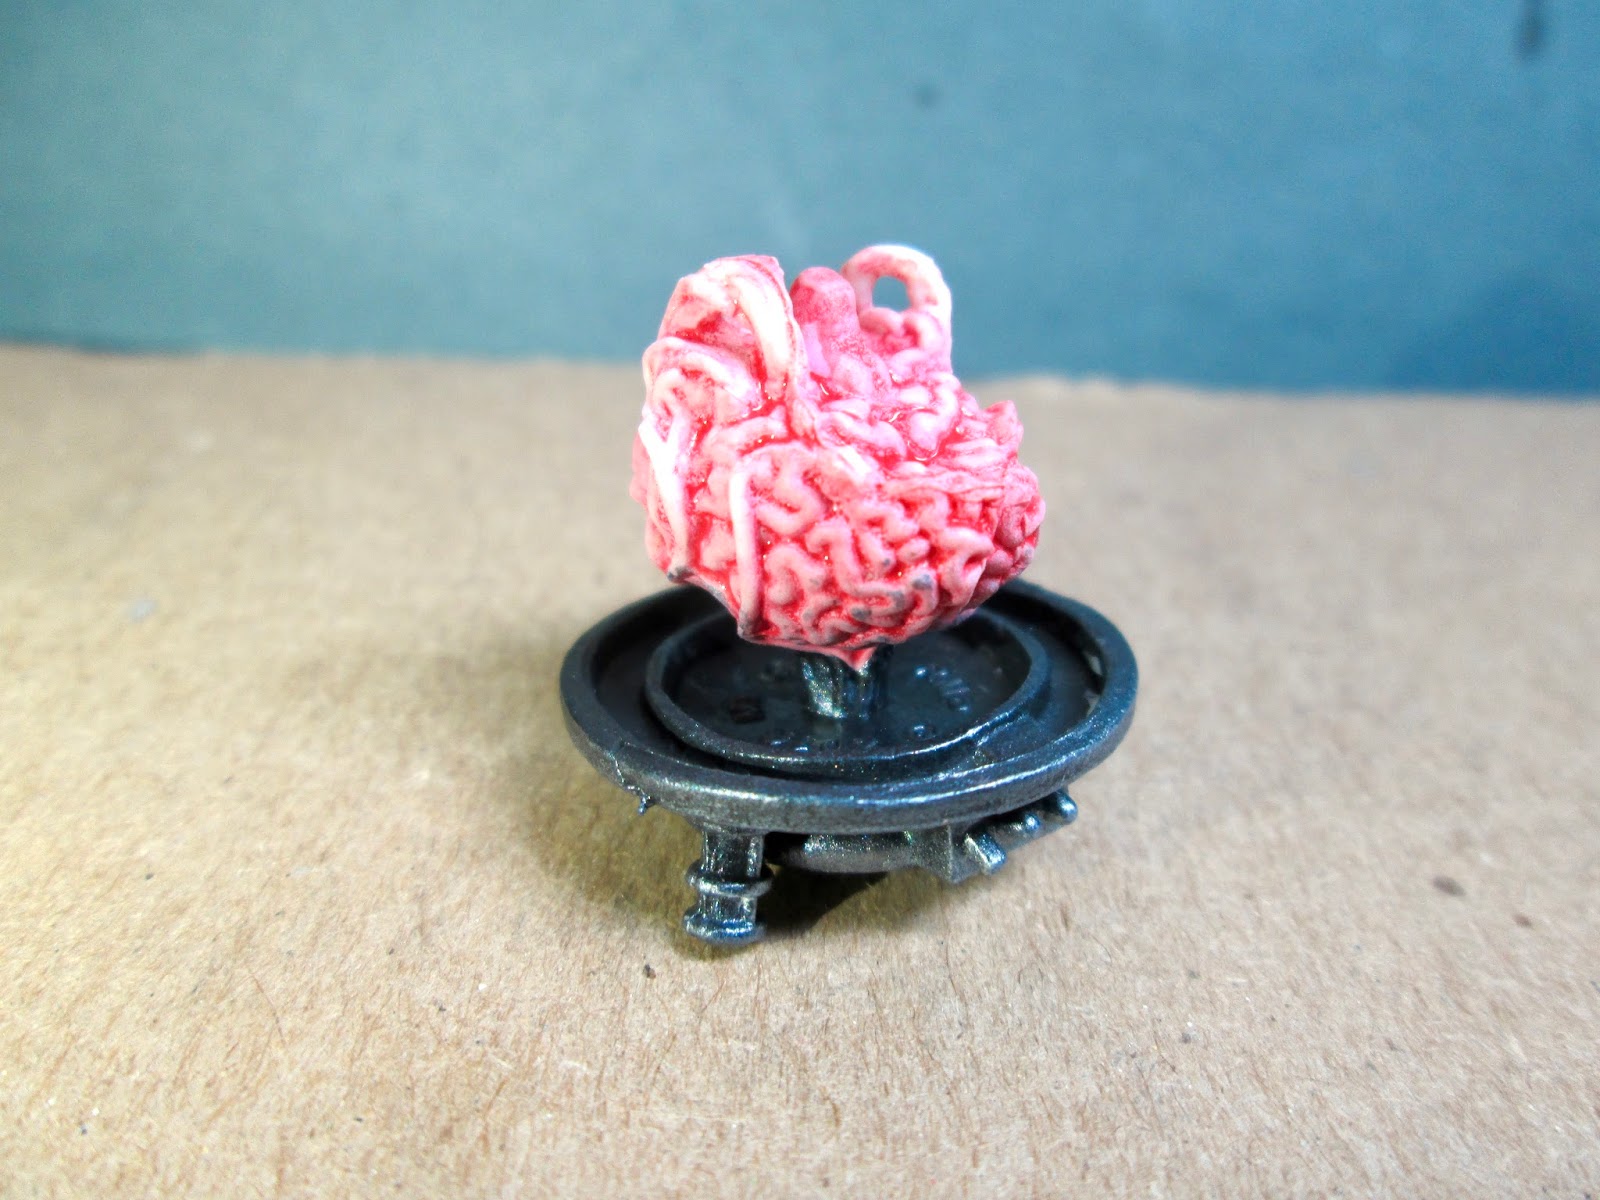
Tune in on Thursday when I'll be posting a special article on the conversion work I've been doing on my Bones 3, Shipwreck Revenant figure.
Also, don't forget, tomorrow, August 1st, the Reaper Bones 4 Kickstarter launches! Be sure to register early, and pledge often!