This past week I painted the remaining two Gnoll Warriors from the Bones II
24 Bonus Figures set.
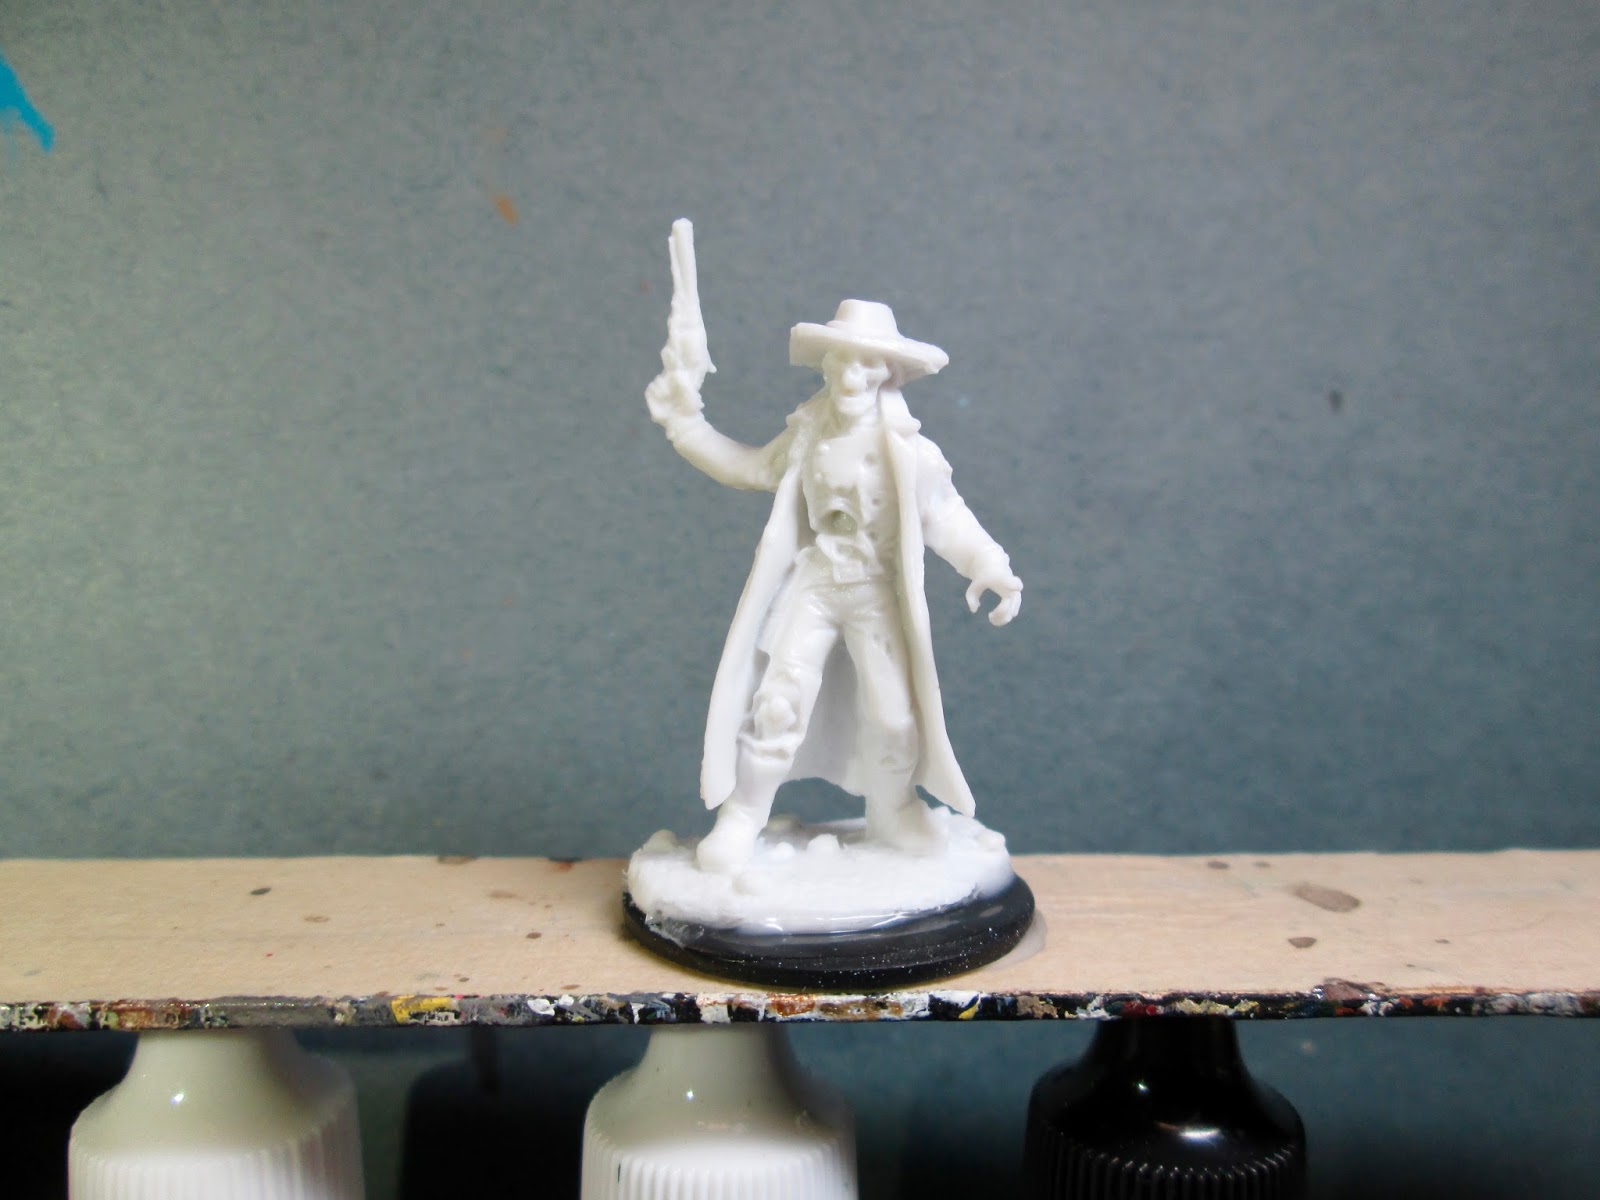
I prepped these figures in the usual way; soaking them in a dish of water with a couple drops of dish-soap added, then giving them a light scrub with a soft toothbrush, and then rinsing and drying them.
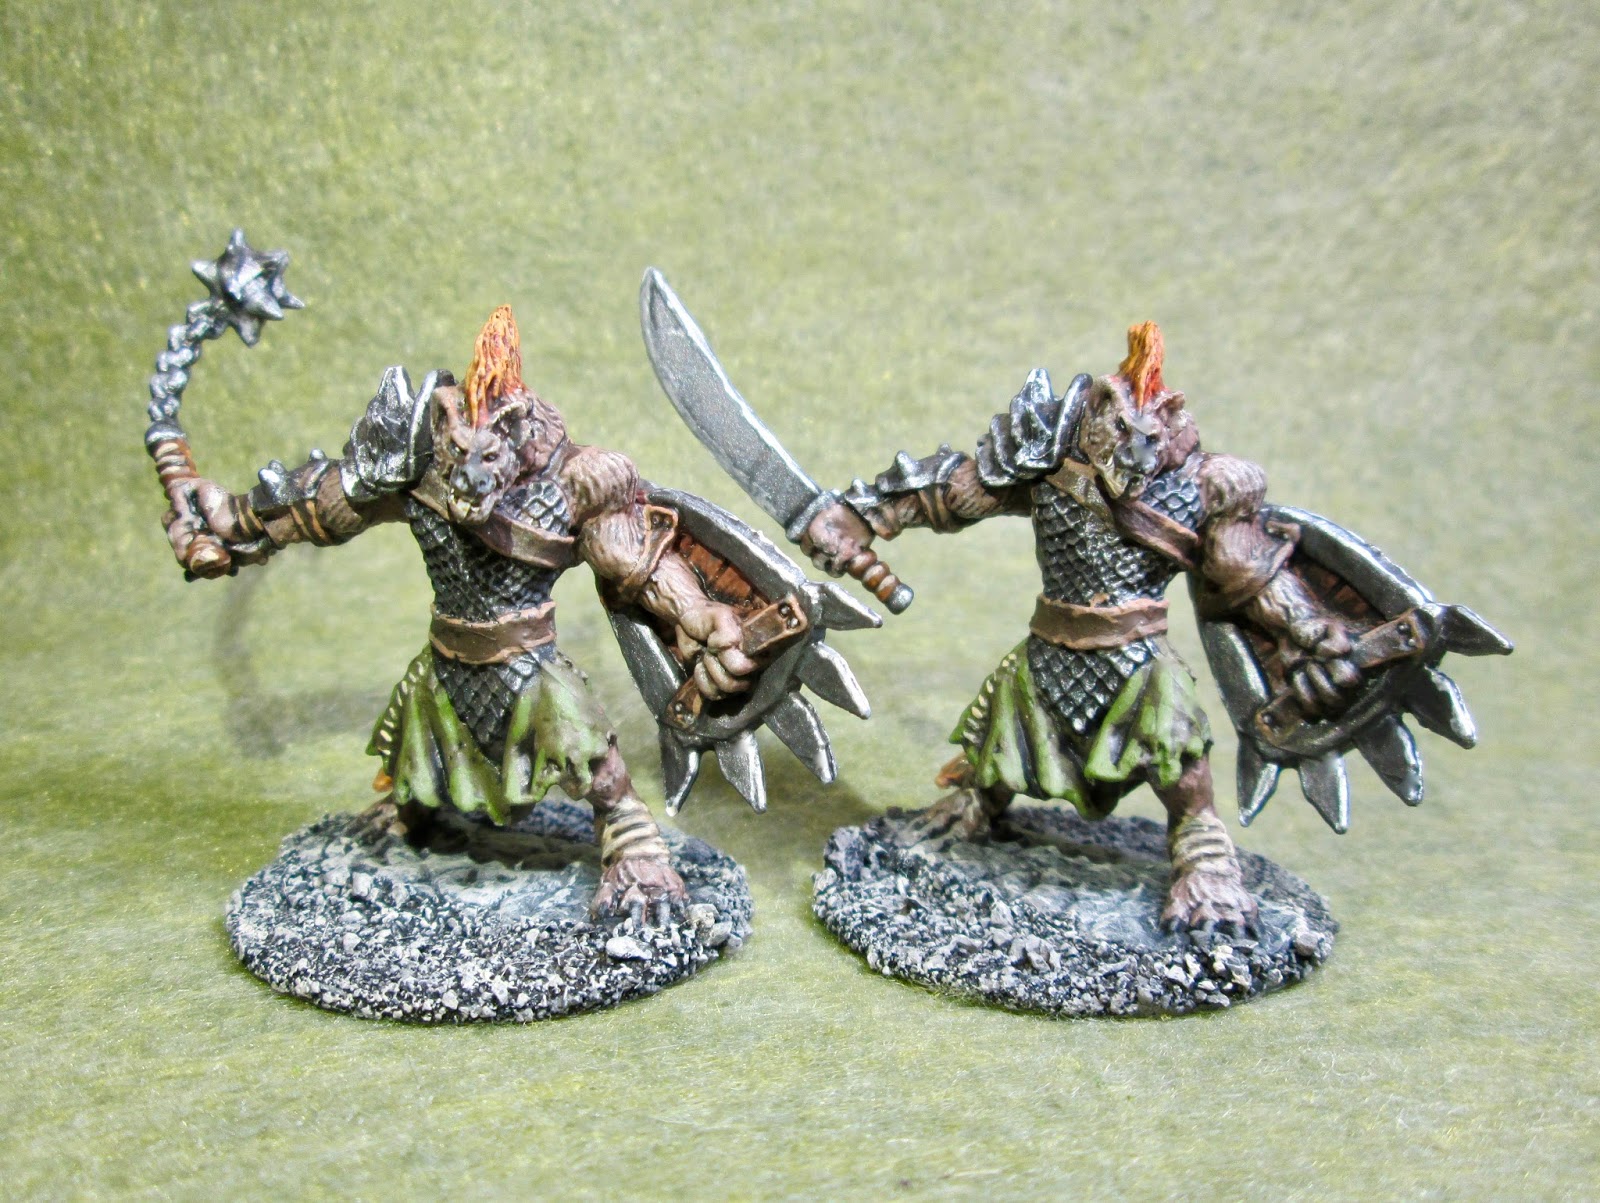
I wanted to make these look a little different than
the other two I did a few weeks ago; so for the one on the left, I cut his hand off at the wrist, and then rotated backwards and super-glued it back on, so it would look more like he was on the back part of his swing rather than the forward part. For the one on the right, I sliced off his hand, and replaced it with a sword wielding one from the Bones 1
Orcapocalypse figures; left over from when I was converting some of those a year or so ago.
I then glued the figures to black-primed 1.5" fender washers with Aleene's Tacky glue, and then glued the washer-mounted figures to a tongue depressor with a couple drops of the Elmer's glue under each washer.
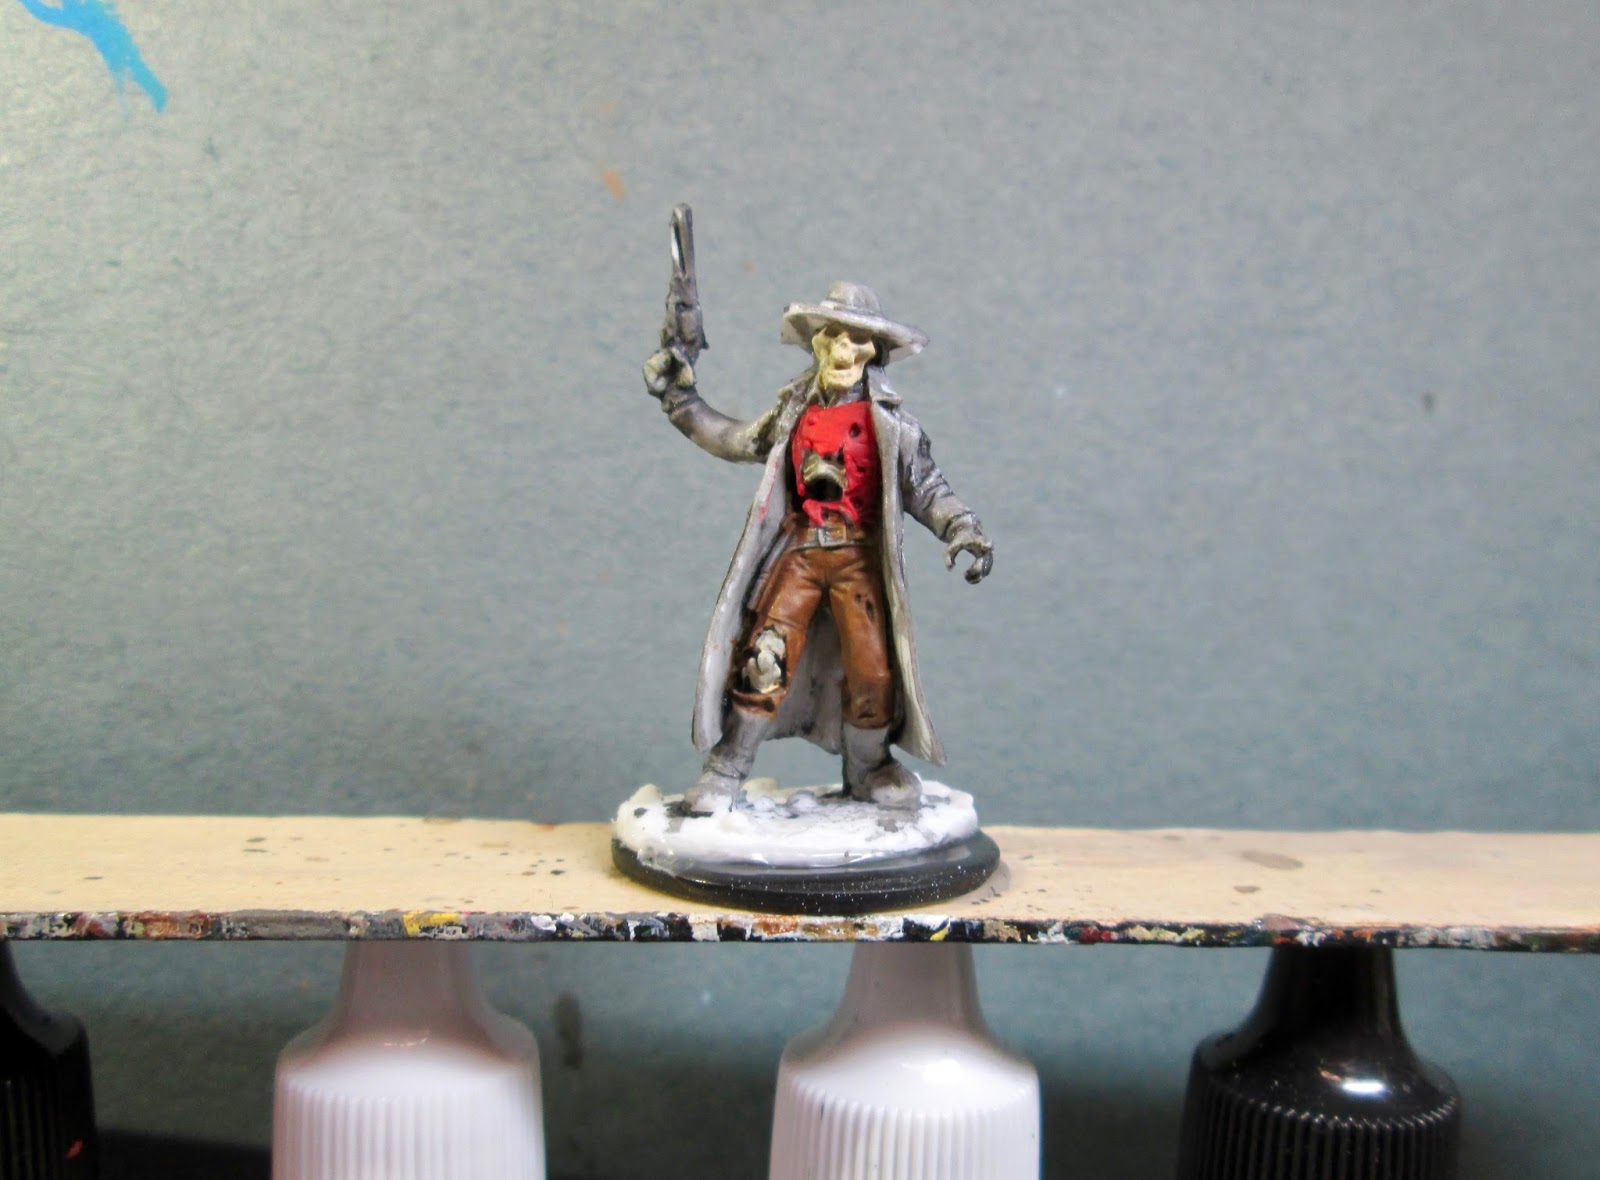
I began by giving the figure a wash with heavily thinned Reaper "Brown Liner" using a wet brush.
Next, I painted their armor all Black, and when it was dry I drybrushed it with Folk Art Metallics "Gunmetal Grey". I then passed over the armor with a lighter drybrush of Folk Art "Silver Sterling". Next, I painted heir fur with Americana "Mississippi Mud", and then painted their manes and the end of their tails with Games Workshop "Vermin Brown".
I then painted their kilts with Vallejo "Brown Violet", and then did the inside of their shield backs with Folk Art "Teddy Bear Brown". After that, I painted all their straps and belts with Americana "Raw Umber", and then painted the handle of their morning stars with Crafter's Acrylic "Cinnamon Brown" and their teeth with Americana "Antique White".
Next, I painted alternating stripe patterns on their shields with Ceramcoat "Black Cherry", and Apple Barrel "Yellow". I then painted the shield metalwork, and the morning star metal parts with Americana Zinc. After that, I painted the patch of material under the strap on their left shoulder blade and the wraps on their feet, with the "Antique White" again.
I then repainted the shield metalwork, and morning star metal parts with the "Gunmetal Grey", and then let everything dry for a while. When I returned to the figures, I gave them both a wash with Citadel "Nuln Oil" wash using a wet brush. When the wash was dry, I highlighted their fur with Folk Art "Barn Wood", and their manes, and the end of their tails, with Accent "Golden Oxide". After that, I painted their muzzles, noses, eyes, claws, and the bases, Black.

Next, I highlighted their kilts with Americana "Avocado", and then painted the stitching on the kilts with Americana "Buttermilk". After that, I highlighted all the straps and belts with Americana "Sable Brown", and then highlighted the front of the shields with Reaper MSP "Holly Berry" for the red stripes, and Reaper MSP "Golden Glow" on the yellow stripes. I then highlighted the handle of the morning stars and the feet wraps with Folk Art "Butter Pecan", and then did the teeth with Crafter's Acrylic "Light Antique White". I then went back over the metal parts adding highlights with Ceramcoat "Metallic Silver".
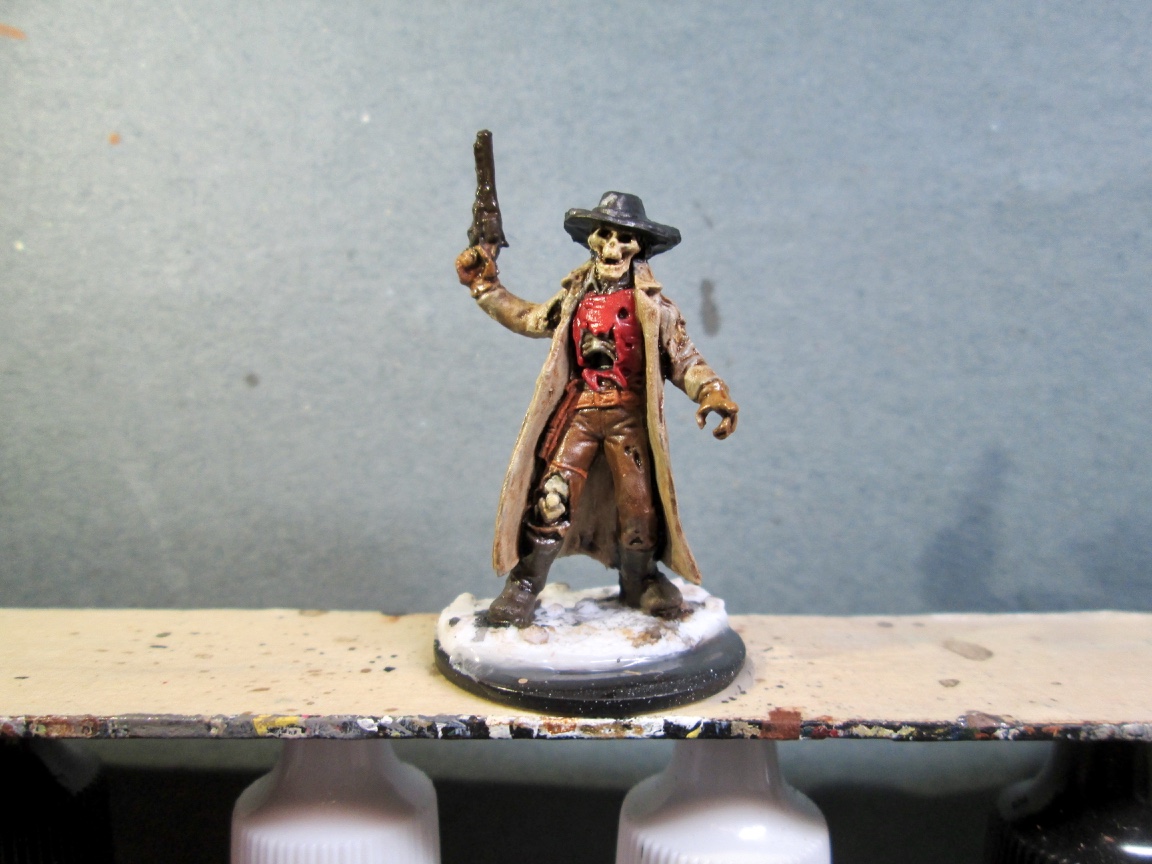
Lastly, I used some white glue to glue a little sand to the bases. When this was dry, I painted it all Black. When the Black was dry, I drybrushed it, and the Gnolls' bases, with Americana "Neutral Grey", and then some Folk Art "Platinum Grey". I let the figures dry overnight and the next day I gave them a coat of Americana "DuraClear Matte" varnish. Another overnight dry, and I sprayed them with Testor's Dullcote".
I'm happy with how these turned out as well. And I think the conversions ended up looking pretty good too. Here is a photo of all the Gnolls from Bones II together.