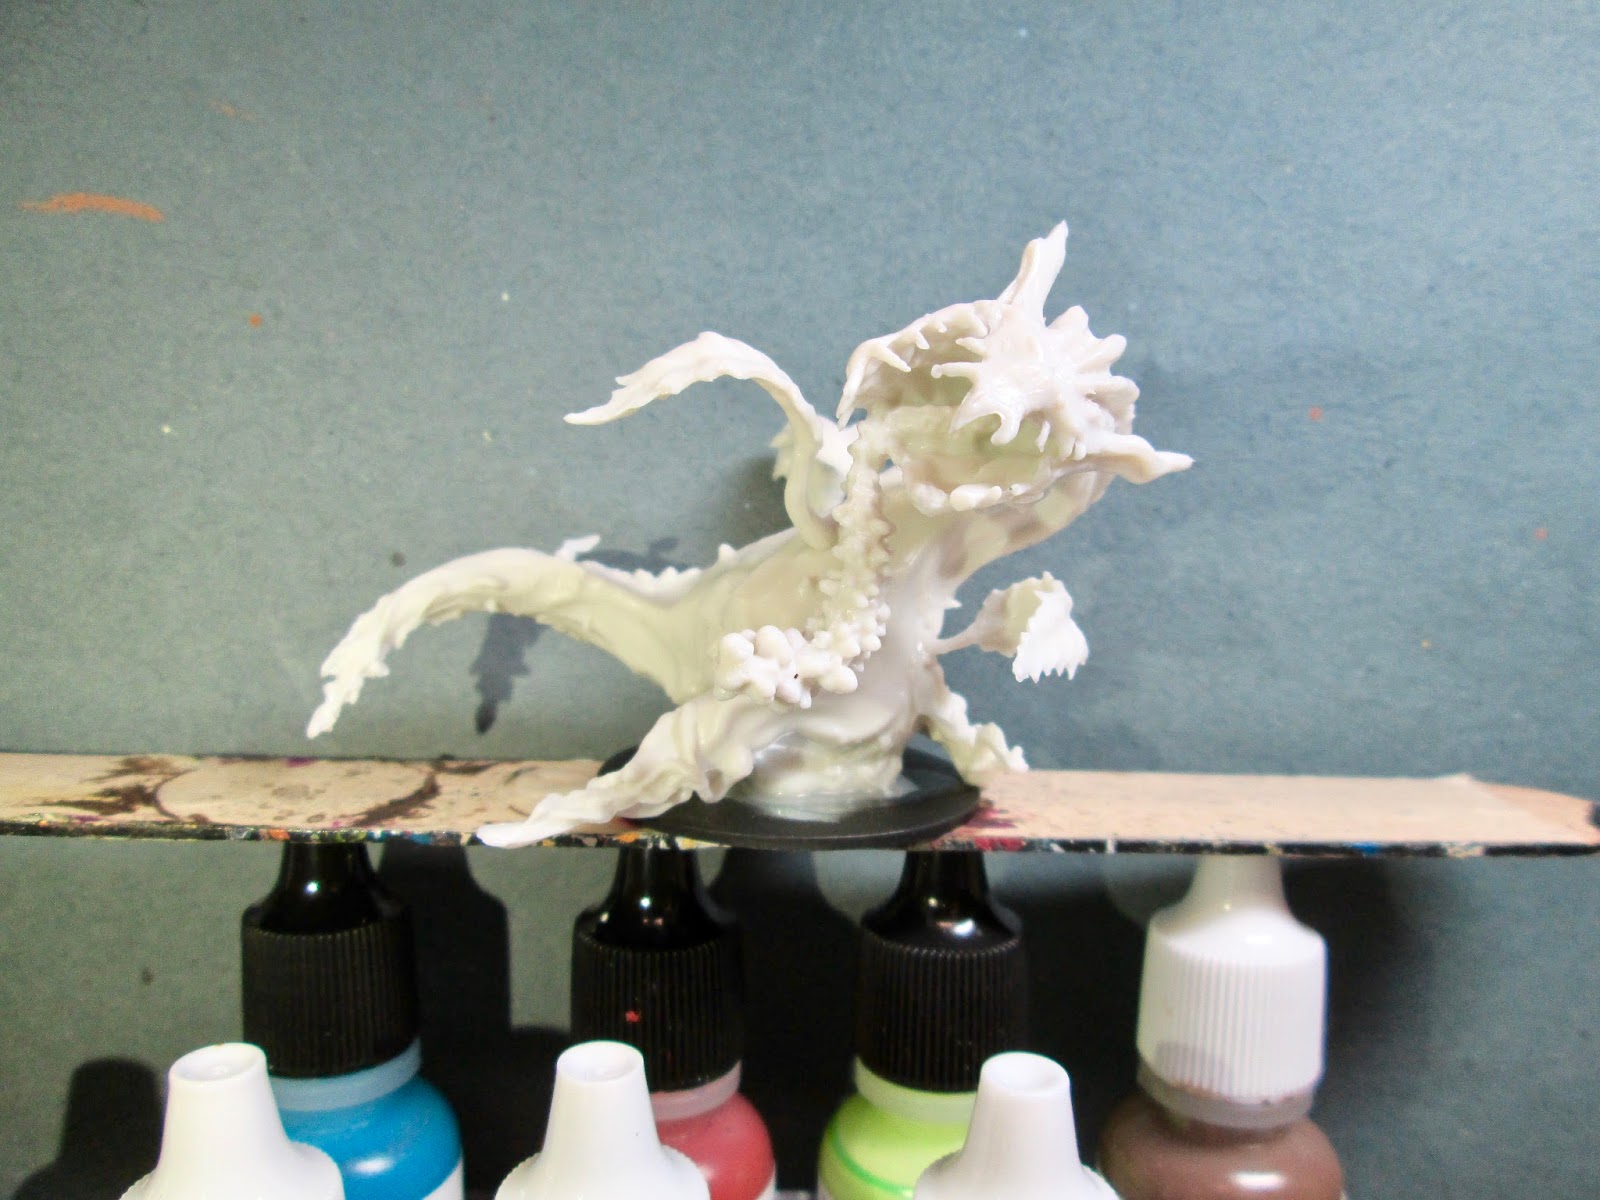
This past week I finished up the Dragon Plant figure from the Bones 3
Stoneskull Expansion set. Since I had really liked how
my Death Star Lilies had turned out, I thought I would use a similar color scheme. This would also give me the option of using them as a mother and babies at some point.
I prepped the figure in the usual way; soaking the parts in a dish of water with a couple drops of dish-soap added, then giving them a light scrub with a soft toothbrush, and then rinsing and drying them. When dry, I assembled the figure with Gorilla Superglue. I then glued the figure to a black-primed 2" fender washer with Aleene's Tacky glue, and then glued the washer-mounted figure to a tongue depressor with a couple drops of the Elmer's glue.
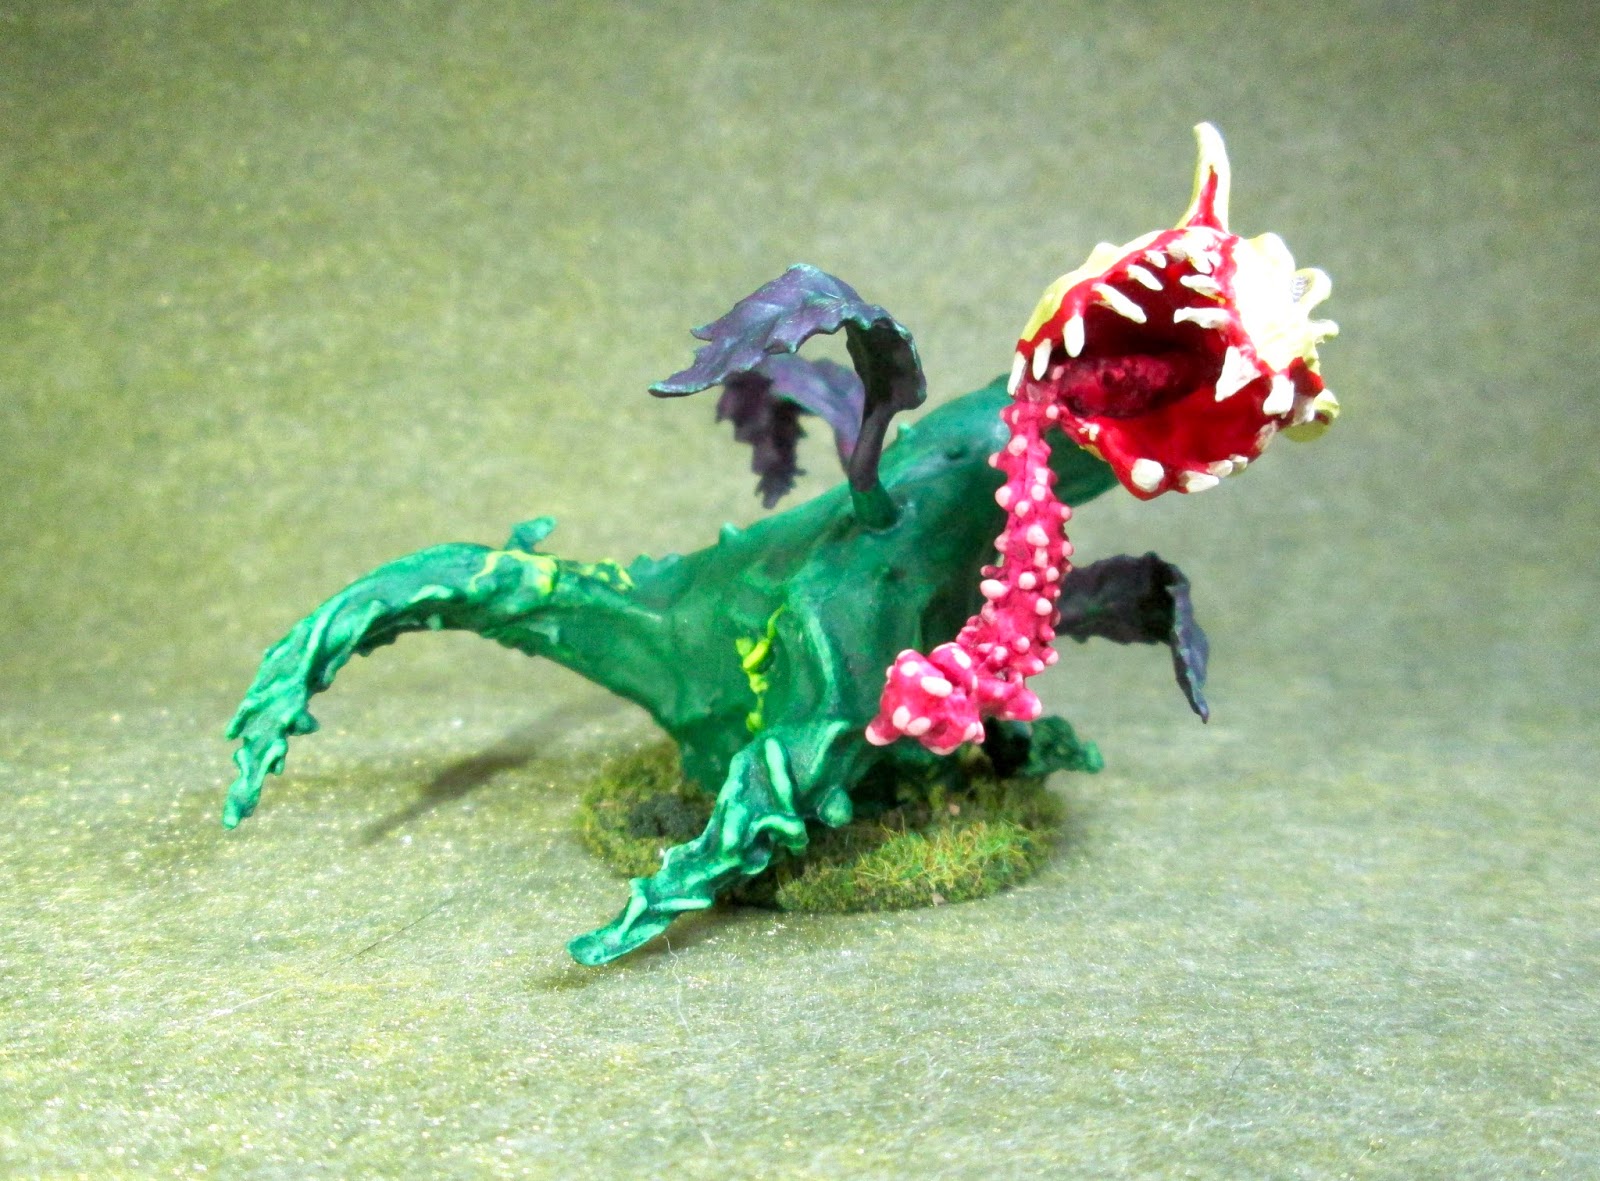
I began by painting the body of the plant with Americana "Forest Green". When dry, I drybrushed it with some Crafter's Acrylic "Holiday Green", and then some Crafter's Acrylic "Wild Green". I then used some of the "Wild Green" to highlight some of the tendrils on the plants appendages.
Next, I painted the vines on the plant with Crafter's Acrylic "Citrus Green" and then painted the Leaves with Crafter's Acrylic "African Violet".
After everything had a few hours to dry, I gave the entire body a wash with Citadel "Dark Green" ink using a wet brush. When the ink wash was dry, I went back over the tendrils with the "Wild Green", and back over the vines with the "Citrus Green". I then drybrushed the leaves with the "Forest Green".
I moved to the "head" and this point, painting the outside of the bloom with Americana "Margarita". I then applied some thinned Crafter's Acrylic "Purple Passion" to the ribbed areas on the bloom. When this was dry, I drybrushed over it again with the "Margarita", and then drybrushed the whole bloom with some Apple Barrel "Lemon Chiffon". After that, I painted the inside of the bloom, the edges of the "petals", and the base of the pistil "tongue", with Ceramcoat "Opaque Red".

Next, I took some Crafter's Acrylic "Tutti Frutti", and blended it into the red base of the pistil, and then painted the rest of the pistil with it as well. When dry, I gave the entire pistil a wash with some Iron Wind Metals "Purple" ink using a wet brush. While this dried, I painted the "teeth" along he edge of the petals with Americana "Bleached Sand", and then went back over them with White highlights. When the pistil wash was dry, I went back over it and did highlights on each of the little bumps using Crafter's Acrylic "Cherry Blossom Pink".
Lastly, I painted the washer base with Ceramcoat "Walnut".
I let the figure dry overnight and the next morning I gave it a coat of Americana "DuraClear Matte" varnish. When that was dry, I flocked the base. Another overnight dry, and I sprayed it with Testor's Dullcote".
I can't say that I am a huge fan of this figure. I find the pose and sculpt in general to be rather awkward and simplistic. And, this is another one of those really hard figures to photograph, as there is no true "front". I think it could have been executed better. That all being said, my heart wasn't in the paint job, and while I think it turned out okay, I'm not to thrilled with it.


It's a disappointing sculpt, but you made it look pretty good. I will use this post as a guide for mine when I paint it.
ReplyDeleteThanks, Peter!
Delete