Monday, February 26, 2018

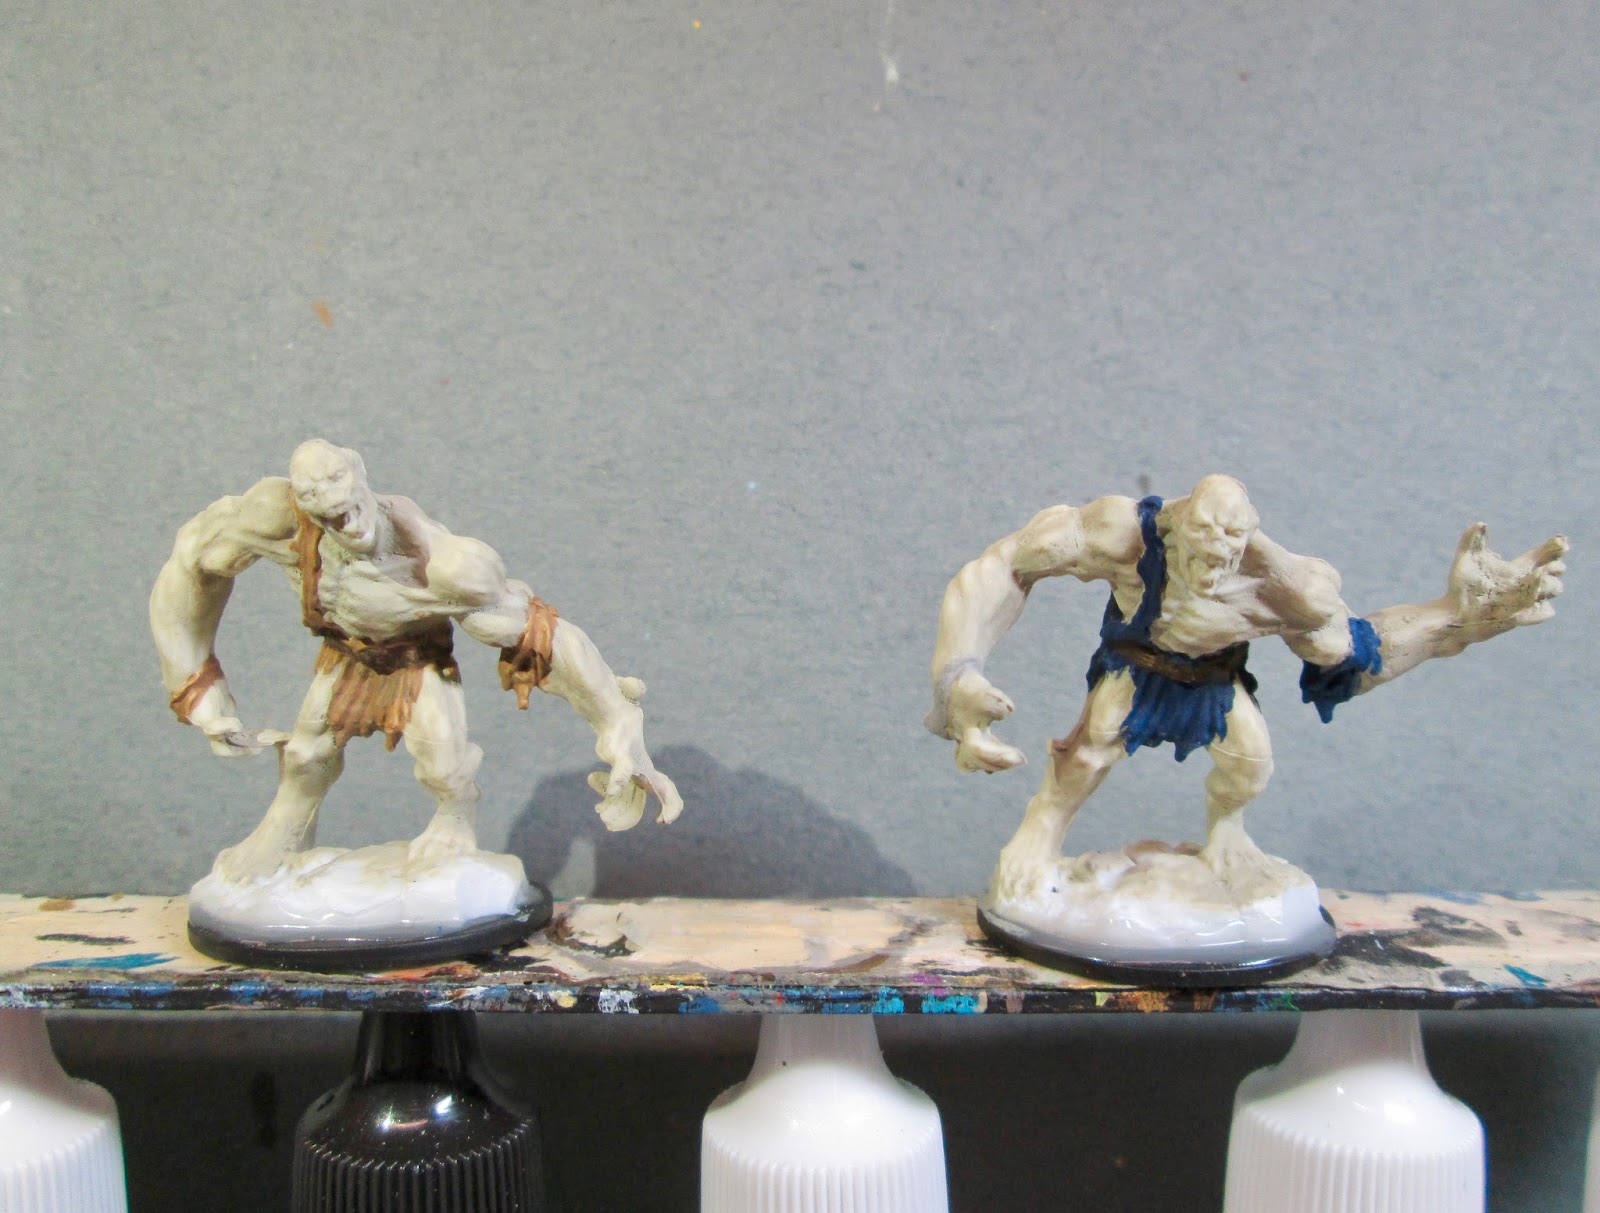
A Pair of Ghasts Painted up as Ghouls for Ghost Archipelago.

    This past week I painted up a pair of Ghasts to represent some Ghouls for Ghost Archipelago.   These figures were from the Bones 2, 24 Bonus Figure Set.
     I prepped these figures in the usual way; soaking them in a dish of water with a couple drops of dish-soap added, then giving them a light scrub with a soft toothbrush, and then rinsing and drying them.   I then did some conversion work on one of them, turning his head, and repositioning his left arm.  Afterward, I glued the figures to black-primed 1" fender washers with Aleene's Tacky glue, and then glued the washer-mounted figures to a tongue depressor with a couple drops of the Elmer's glue under each washer.   
     I began by painting the entire body with Folk Art "Grey Green".  I then painted the scraps of remaining tunic on the left one with Ceramcoat "Territorial Beige", and on the right one with Crafter's Acrylic "Navy Blue".   After that, I painted their belts with Americana "Raw Umber".
Next, I painted their teeth with Americana "Antique White", and their tongues with Black.  Then, when everything had time to dry, I gave the entire figure a wash with Citadel "Agrax Earthshade" wash.  When the wash was dry, I painted their eyes with Crafter's Acrylic "Light Antique White", and highlighted their teeth with Americana "Bleached Sand". 
    I decided I didn't like the plain white eyes, so I added pupils with Crafter's Acrylic "Storm Cloud Grey".   I then highlighted their skin with Folk Art "Porcelain White".  After that, I highlighted the left tunic with Reaper MSP "Ginger Cookie", and the one on the right with Ceramcoat "Denim Blue".   Next, I highlighted their belts with Americana "Sable Brown", and painted the belt buckles with Americana "Terra Cotta".  Lastly, I painted the figures' bases with Americana "Bittersweet Chocolate".
     I let the figures dry overnight and the next day I gave them a coat of Americana "DuraClear Matte" varnish.    Then, when  the varnish was dry, I used some white glue to flock the bases.  Another overnight dry, and I sprayed them with Testor's Dullcote".

     They're nothing wonderful, but will serve well in their rolls as Ghouls for Ghost Archipelago.  I'm not convinced I like how the milky eyes turned out, and may try something else next time.

Monday, February 19, 2018

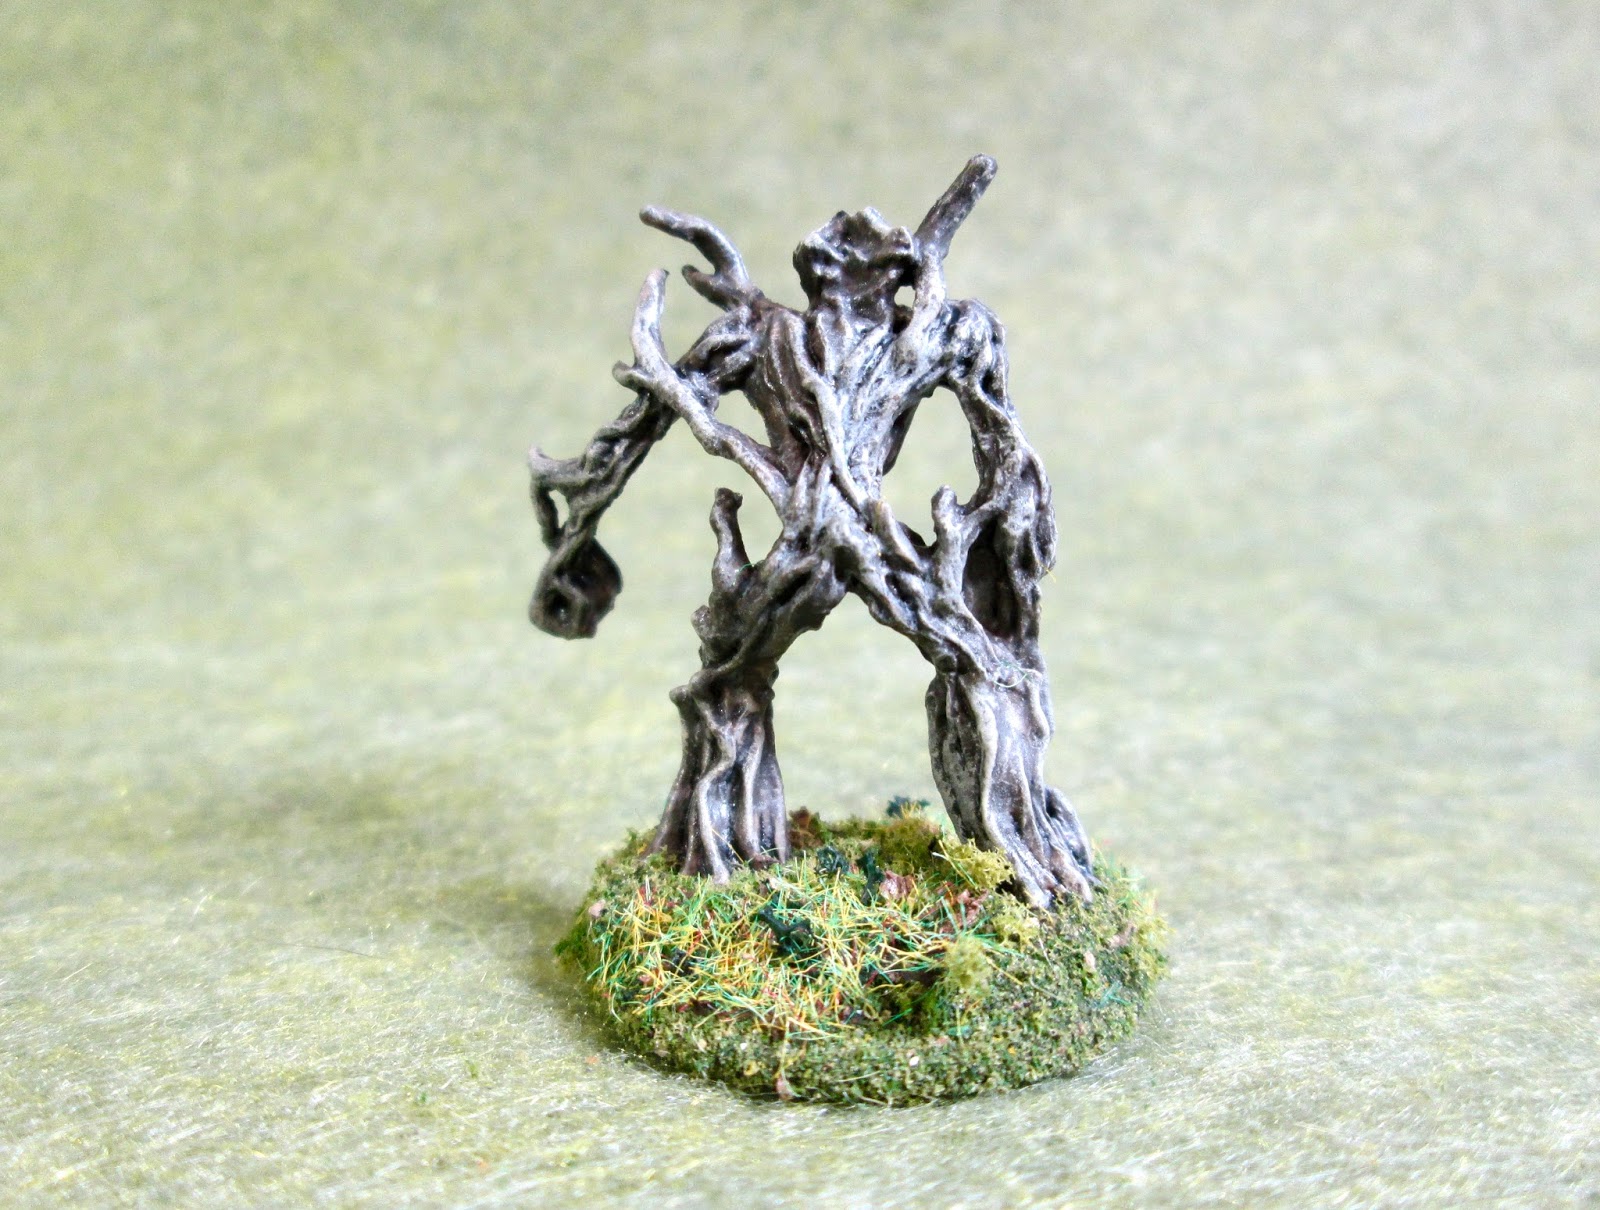
Saproling Warrior: Bones 3 Figure, as Ghost Archipelago Cortiki

     Along with the Shadow figure I posted last Thursday, I also painted this past week the Saproling Warrior from the Bones 3 Stoneskull Expansion.     I painted this to use as a Cortiki for Ghost Archipelago.  The rules describe the Cortiki as a demon resembling the crude figure of a man carved into a log.  So, this doesn't quite capture the "carved" aspect, but covers the log-man aspect. 
     I prepped the figure in the usual way; soaking it in a dish of water with a couple drops of dish-soap added, then giving it a light scrub with a soft toothbrush, and then rinsing and drying it.    I then glued the figure to a black-primed 1" fender washer with Aleene's Tacky glue.   And, when the glue was dry,  I put it in my Citadel painting grip.
 
      I began by painting the entire figure with Americana "Charcoal Grey".  When dry, I gave the entire figure a wash with Citadel "Nuln Oil" wash.
    When the wash was dry, I drybrushed the entire figure with Folk Art "Barn Wood".  Next, I painted his eyes with Crafter's Acrylic "Wild Green".  I then painted the centers of the eyes with Reaper MSP "Dungeon Slime", and then added pupils with White. 
       Lastly, I painted the figure's base with Americana "Raw Umber".
     I let the figure dry overnight and the next day I gave it a coat of Americana "DuraClear Matte" varnish.    Then, when  the varnish was dry, I used some white glue to flock the base.  Another overnight dry, and I sprayed it with Testor's Dullcote".


   While not the perfect Cortiki, I like how this figure turned out; and it was a nice simple one to paint up that responded well to drybrushing.  

Thursday, February 15, 2018

Shadow Painted as a Ghost Archipelago Souldweller

   I thought I'd throw in a bonus Thursday figure since it ended up being a really quick one to complete.    I just finished painting up one of the Reaper purple translucent "Shadow" figures to represent a Souldweller from the Ghost Archipelago rules.  This figure was originally released as part of the Bones 2, Expansion 2, set; though I got mine via a regular order from Reaper.   A Souldweller is an immaterial demon, described in the rules as a human form made up of black smoke.  I thought the translucent figure would be perfect for representing this.
     I prepped the figure in the usual way; soaking it in a dish of water with a couple drops of dish-soap added, then giving it a light scrub with a soft toothbrush, and then rinsing and drying it.    I then glued the figure to a black-primed 1" fender washer with Aleene's Tacky glue.   And, when the glue was dry,  I put it in my Citadel painting grip.
      I began by giving the enitre figure a coating of Black ink.
     Then when the ink was dry, I lightly drybrushed the figure with a 50/50 mix of Crafter's Acrylic "Storm Cloud Grey" and Apple Barrel "Apple Lavender". Next, I painted it's eyes with Reaper MSP "Holly Berry", and then added pupils with Reaper MSP "Golden Glow". 
     Lastly, I painted the figure's base with Ceramcoat "Walnut".
     I let the figure dry overnight and the next day I gave it a coat of Americana "DuraClear Matte" varnish.    Then, when  the varnish was dry, I used some white glue to flock the base.  Another overnight dry, and I sprayed it with Testor's Dullcote".

I really like how this turned out.   It's probably too "material" looking to truly look like a demon made of smoke, but I think it comes as near as you can, and still use a solid figure.  It might not look smokey, but it does sure looks spooky, in my opinion!

Monday, February 12, 2018

Gruff Grimecleaver, Dwarf Pirate Conversion

    A friend was getting rid of some of his extra Bones Kickstarter figures, so I was able to pick up a few extra copies of some of the old favorites I already had.   One of the ones I got, was the Gruff Grimecleaver, Dwarf Pirate, figure from the Bones 1 Pirates set.    I'm in need of a few more height-challenged crew members for the Halfling crew I'm working on, and I figured with a little conversion work I might be bale to have this fellow fitting in as some sort of half-Dwarf and half-Halfling  (Quaterling? :)   ) character.  (Hey, why should Elves and Orcs have all the interspecies fun! :)  ) Maybe his Dad was a sailing Dwarf working one of the beer barges, and mom was a Halfling waitress working in one of the dockside taverns. Who knows where true love will blossom! :)
(Note:  The original version of this figure I painted, from my own Bones 1 Vampire Box, can be seen here: Gruff Grimecleaver.
      Anyway, first thing I needed to do was make him a little more pre-gunpowder in his technology level; so that mean I had to remove the gun.  I decided since Halflings and Dwarves are both notorious eaters, the simplest thing I could do with the gun was to convert it into a drumstick by using a little greenstuff.  I also, trimmed his large mustache way back, since I don't think Halflings are quite as known for large facial hair as dwarves are.  I also tried to trim his boot a little to make it look more like a sandal with bare toes sticking out.  (Assuming he would still have a little of the Halfling urge to have his feet free to the open air.
  Of course, before I did any of the conversion work, I prepped the figure in the usual way; soaking it in a dish of water with a couple drops of dish-soap added, then I gave it a light scrub with a soft toothbrush, and then rinsed and dried it.  Then, after the converting was done, I glued the figure to a black-primed 1" fender washer with Aleene's Tacky glue, and when dry, put it into my Citadel painting grip.
      I began by painting his head, arms, and leg with Reaper MSP "Tanned Skin".  I then painted his shirt with Crafter's Acrylic "Navy Blue", and his pants with Ceramcoat "Territorial Beige".
    Next, I painted his beard and hair with Crafter's Edition "Spice Brown", and then did his bandana with Apple Barrel "Apple Maple Syrup".  I then painted his apron with Americana
"Neutral  Grey", and then did his belts and pouch with Nicole's "Brown".  After that, I painted his sandal with Folk Art "Teddy Bear Brown", and then did his wooden leg and cleaver handle with Americana "Asphaltum".  I also did his pipe using Americana "Dove Grey".
      I then painted polka dots on his bandana with "Deep Tomato Red", and then painted his knife handles and spice pouch with Americana "Raw Umber.  Next, I painted the top of the drumstick with Reaper MSP "Turkey Brown", and the bone part with Americana "Bleached Sand".  After that, I painted the cleaver blade, belt buckle, sharpener(?) hanging from his belt, and knife hardware with Americana "Zinc"; and also painted his wristband and bracelet withAmericana "Terra Cotta".   I let everything dry for a while, and then I gave the entire figure a wash with Citadel "Agrax Earthshade" wash.
      When the wash was dry, I painted his eyes, and then highlighted his skin with Reaper MSP "Tanned Highlight". I then highlighted his beard and hair with Americana "Sable Brown", then highlighted his bandana with Apple Barrel "Apple Parchment".  After that, I added a little highlight to the dots on the bandana with Reaper MSP "Holly Berry".  I then highlighted the pipe with the base "Dove Grey", and highlighted the top of the drumstick with Accent "Mustard Seed", and the bone with the base "Bleached Sand".
     Next, I highlighted his shirt with Americana "True Blue", and highlighted his pants with Folk Art "Butter Pecan".   I then highlighted his apron with the base "Neutral Grey", and his belt, pouch and sandal with the"Teddy Bear Brown".   I highlighted the axe handle with Americana "Mississippi Mud".
    I then painted the axe, belt buckle, knife fittings and knife sharpener(?) hanging from his belt all with "Gunmetal Grey", and when dry, highlighted those pieces with  Ceramcoat "Metallic Silver".
     Lastly, I painted the figure's base with Ceramcoat "Walnut".
     I let the figure dry overnight and the next day I gave it a coat of Americana "DuraClear Matte" varnish.    Then, when  the varnish was dry, I used some white glue to flock the base.  Another overnight dry, and I sprayed it with Testor's Dullcote".

      I like how the figure turned out.   I can just hear him saying, "Now, here's some treasure!", as he eyes the big drumstick! :)

Monday, February 5, 2018

Dingo, Halfling Rogue: Bones 3 Figure

   I continued to work on my Halfling Crew this week, and Painted Dingo, Halfling Rogue, from the Bones 3 Core set.    I was a bit surprised as I studied this figure to see that it is the same base figure as Woody Stumpwimple, Halfling Ranger, that I painted last week; with the both the torso and legs being exactly the same.   I wonder how often Reaper does this kind of reuse with figure bodies?
        I prepped the figure in the usual way; soaking it in a dish of water with a couple drops of dish-soap added, then giving it a light scrub with a soft toothbrush, and then rinsing and drying it.    I then glued the figure to a black-primed 7/8" fender washer with Aleene's Tacky glue.   And, when the glue was dry,  I put it in my Citadel painting grip.
      I began by giving the figure a thinned wash of Reaper MSP "Brown Liner".  When the wash was dry, I painted the lower armor with Black, and when the Black was dry, I drybrushed it with Folk Art Metallics "Gunmetal Grey".  I then painted his (or her?  I'm not sure!) face, feet, and hands with Reaper MSP "Tanned Skin."
     Next, I painted the shirt with Accent "Golden Harvest", and then the torso armor, and wrist guards with Americana "Asphaltum".   I then painted the sash with Ceramcoat "Black Cherry", and his/her hair with Americana "Terra Cotta".
     Next, I worked on all the stuff the figure is carrying.  I realized at this point the figure was carrying a bow and quiver (A rogue?), so I carefully cut off the fletchings on the quiver, and tried to make it look like some sort of long thin case.  I also lopped the end off the bow, and figured I treat the lower half of the bow case as his/her scabbard.   I then painted the backpack with Accent "Real Umber", and the blanket roll with Folk Art Dapple Grey".  After that, I painted the ex-quiver with Reaper MSP "Turkey Brown", and the canteen with Crafter's Edition "Spice Brown".  Where I cut away the fletchings and there was little lumpy spot left, I just covered it with some Americana "Mississippi Mud".   I then painted the "scabbard" with the Black Cherry", and then painted the sword and the metal bits on the scabbard with Americana "Zinc".
        Then, after everything had a while to dry, I gave his body a wash with  Citadel "Agrax Earthshade" wash, and the face hands, and legs a wash with Citadel "Reikland Fleshshade" wash.   When the washes were dry, I painted his eyes, and then highlighted the face with Reaper MSP "Tanned Highlight", then did some further detial highlights by adding a little White to the "Tanned Highlight".  Next, I highlighted his/her hair with some Accent "Golden Oxide", and then mixed a little Ceramcoat "Maple Syrup Tan" to do lighter highlights.
       Next, I highlighted his shirt with Crafter's Acrylic "Bright Yellow", and his sash with Folk Art "Burgundy".   I then highlighted his leather armor with the Accent "Golden Oxide", and his belts and backpack with the "Mississippi Mud".  After that, I highlighted his blanket roll with Folk Art "Gray Green",  and his ex-quiver and canteen with Americana "Sable Brown".   I then painted the sword, scabbard fittings, and the small oval plate on his/her chest with the "Gunmetal Grey", and when dry, highlighted it with  Ceramcoat "Metallic Silver".
     Lastly, I painted the figure's base with Ceramcoat "Walnut".
     I let the figure dry overnight and the next day I gave it a coat of Americana "DuraClear Matte" varnish.    Then, when  the varnish was dry, I used some white glue to flock the base.  Another overnight dry, and I sprayed it with Testor's Dullcote".

    I'm happy with how this Halfling turned out.  I think he'll make a good edition to my Halfsized-Heroes Crew.

Monday, January 29, 2018

Woody Stumpwimple, Halfling Ranger: Bones 2 Figure

     This past week I painted the Woody Stumpwimple, Halfling Ranger, figure from the Bones 2 Core Set.   I plan to use this figure as a Scout in a Ghost Archipelago Crew I am building made up of Halflings and Gnomes.
      I prepped the figure in the usual way; soaking it in a dish of water with a couple drops of dish-soap added, then giving it a light scrub with a soft toothbrush, and then rinsing and drying it.    I then glued the figure to a black-primed 7/8" fender washer with Aleene's Tacky glue.   And, when the glue was dry,  I put it in my Citadel painting grip.
     I began by giving the figure with a thinned wash of Reaper MSP "Brown Liner".  When the wash was dry, I painted the lower armor with Black, and when the Black was dry, I drybrushed it with Folk Art Metallics "Gunmetal Grey".  I then painted his face, feet, and hands with Reaper MSP "Tanned Shadow" and his torso armor with Citadel "Snakebite Leather".
     Next, I painted his coat with Reaper MSP "Christmas Wreath", and his gloves with Ceramcoat "Territorial Beige".  I then painted his belts and quiver with Americana "Sable Brown", and his pouch with Americana "Khaki Tan".  After that, I painted his bow with Crafters Edition "Spice Brown", and the fletchings on his arrows with Americana "Dove Grey".
    I painted his hair (both head and feet) with Crafter's Acrylic "Cinnamon Brown",  and the fasteners on his coat with Folk Art "Barn Wood".  Then, after the figure had a while to dry, I came back and I gave the body a wash with Citadel "Agrax Earthshade" wash, and the face a wash with Citadel "Reikland Fleshshade" wash.   When the washes were dry, I painted his eyes, and then highlighted the face with Reaper MSP "Tanned Skin" and some Reaper MSP "Tanned Highlight".  After that, I painted his sword, first with Americana Zinc", and then with the "Gunmetal Grey".
     I then worked on the highlighting his coat using Americana "Leaf Green", and his leather armor with Ceramcoat "Maple Sugar Tan".  I highlighted the gloves with the "Khaki Tan", and the belts and quiver with Americana "Mississippi Mud".  I highlighted the bow with Folk Art "Teddy Bear Fur", and the Fletchings with White. The pouch I highlighted with Crafter's Edition "Taupe", and the coat's fasteners I highlighted with the base "Barn Wood".   I finished up by highlighting the metal with Ceramcoat "Metallic Silver".
     Lastly, I painted the figure's base with Ceramcoat "Walnut".
     I let the figure dry overnight and the next day I gave it a coat of Americana "DuraClear Matte" varnish.    Then, when  the varnish was dry, I used some white glue to flock the base.  Another overnight dry, and I sprayed it with Testor's Dullcote".

     I'm really happy with how this little guy turned out, though I don't think his Dullcote dried dull enough.  I may have to respray him.

Monday, January 22, 2018

Spikeshell Warrior Converted to Snapping Turtle

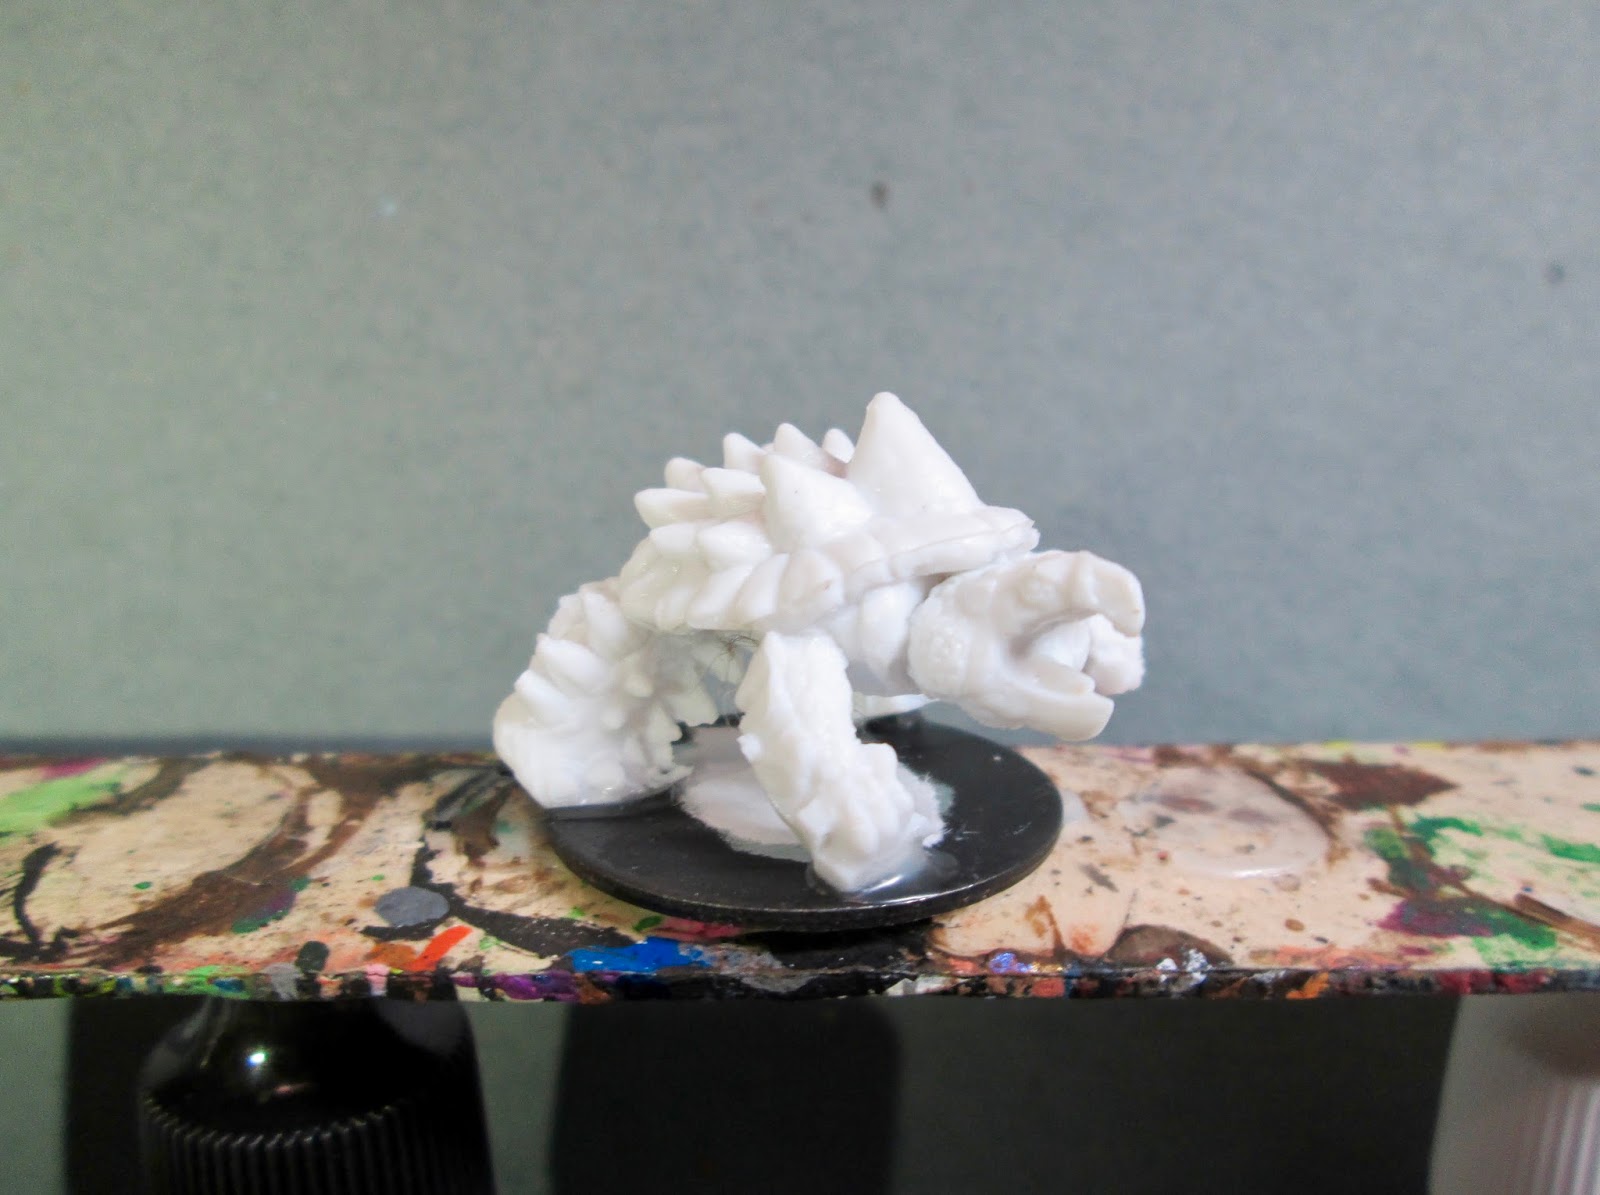
    I needed a snapping turtle for the Ghost Archipelago Bestiary, and the easiest way I could think of to get one was to simply convert one of the Bones 2 Spikeshell Warrior figures (from the Swamp Things set) that I still had lying around.
The one on the left is the one I used.

      I prepped the figure in the usual way; soaking it in a dish of water with a couple drops of dish-soap added, then giving it a light scrub with a soft toothbrush, and then rinsing and drying it.  I then carefully cut off his arms, legs, and head.  I also cut away his shield and club.
     Next, I trimmed the underside of his shell so it would sit flatter on a base.  After that I trimmed his head and his limbs so they would fit the shell better in what would be it's new horizontal orientation.  I then glued all the parts back together.   I then glued the figure to a black-primed 1" fender washer with Aleene's Tacky glue, and then glued the washer-mounted figure to a tongue depressor with a couple drops of the Elmer's glue.
    I began by painting the whole figure with a 50/50 mix of Americana "Avocado", and Apple Barrel "Apple Black Green".   When they were dry, I gave the entire turtle a wash with Citadel Agrax Earthshade" wash.
      When the wash was dry, I drybrushed the turtle with Folk Art "Grey Green".  After that I painted his eys with Reaper MSP "Holly Berry", and then painted the inside of his mouth with Apple Barrel "Flesh".  Then, when the flesh was dry, I agve his mouth a wash again with the "Agrax Earthshade".  When the wash was dry, I  added some quick highlights to his tongue with the base "Flesh".
     Lastly, I painted the base with Americana "Raw Umber".
     I let the figure dry overnight and the next day I gave it a coat of Americana "DuraClear Matte" varnish.    Then, when  the varnish was dry, I used some white glue to flock the base.  Another overnight dry, and I sprayed it with Testor's Dullcote".

     I'm pleased with how this little fellow came out.  It was just a quick conversion, but I think he makes a snappy little snapping turtle! :)