This past week I painted the "Burrowing Behemoth" from the Bones 4 Darkreach Expansion. This is apparently Reaper's version of an Umber Hulk, so I consulted my old original Monster Manual for color inspiration.
I prepped the "Burrowing Behemoth" in the usual way, soaking the pieces in a dish of water with a couple drops of dish-soap added; then giving the pieces a light scrub with a soft toothbrush, and then rinsing and drying everything. I then glued the arms, legs, head, and mouth into place using Gorilla Superglue gel. I didn't glue this figure to a washer because I planned to sell it, and it already had an effective circular base build onto it. The feet didn't fit as snugly onto the base as I would have liked, so I added a little white glue around the feet and here and there on the base; and sprinkled some sand on the glue, to help hide the feet joints and add a little more texture to the base. When dry, I shook off the extra sand, and I then affixed the integral base to the top of a large pill bottle with a couple blobs of blue-tac.
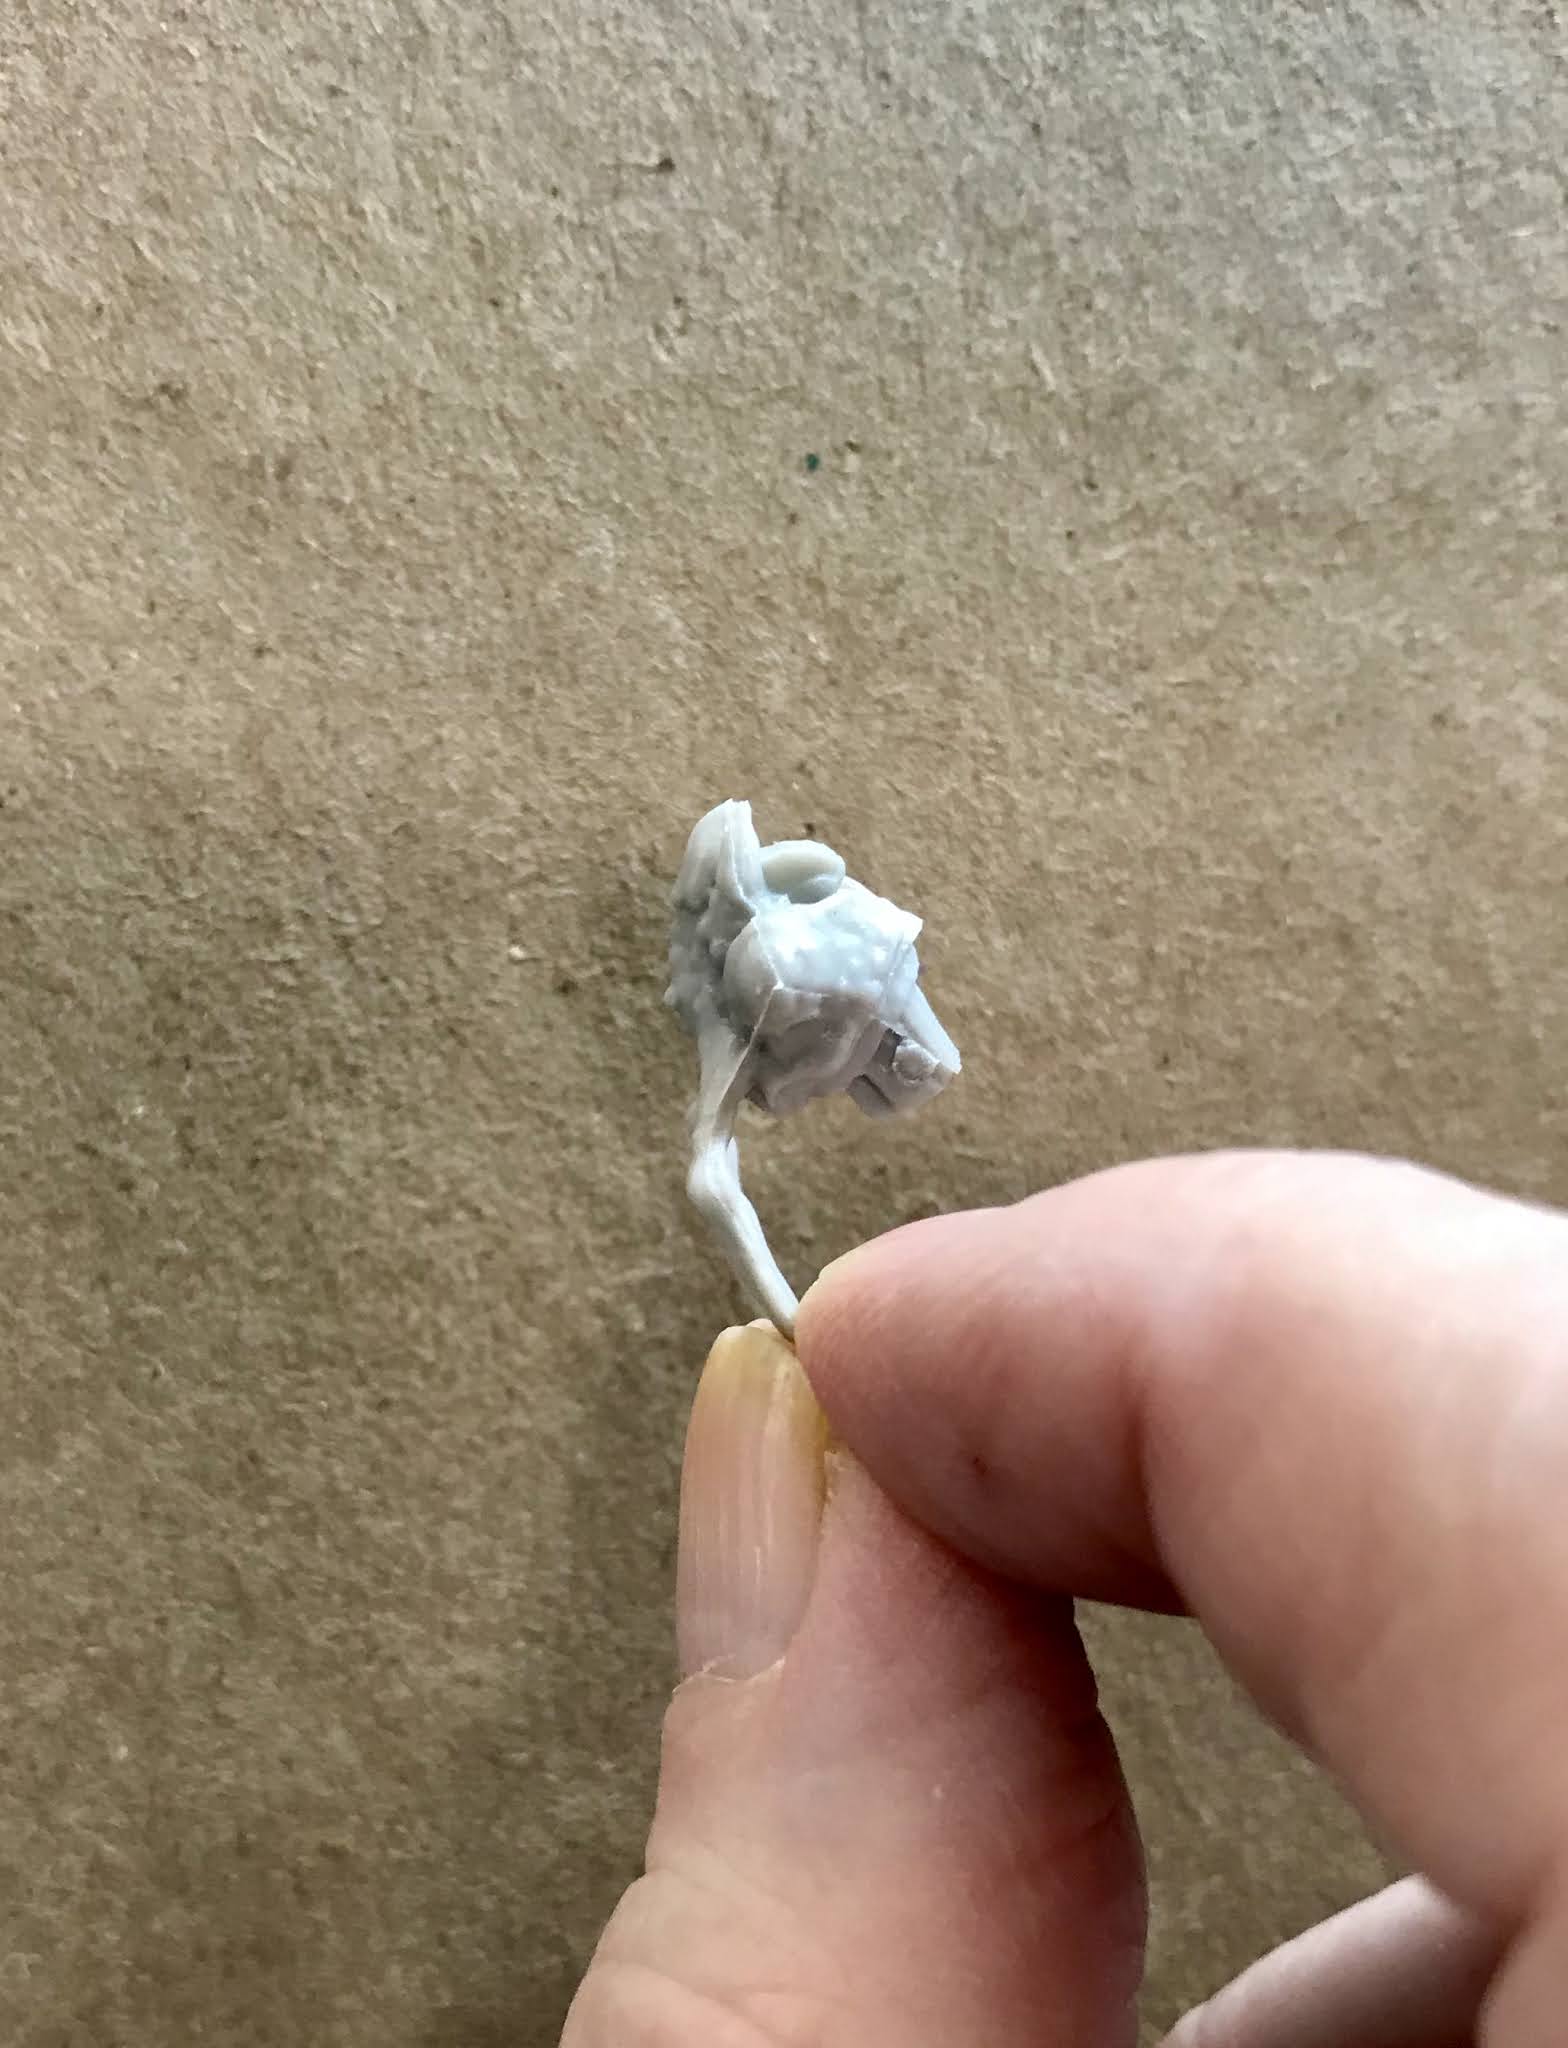 |
| This was another figure with terrible mold lines on hard to reach and uneven surfaces. Who's idea was it to have three intersecting mold lines meet in the middle of each eye ball! |
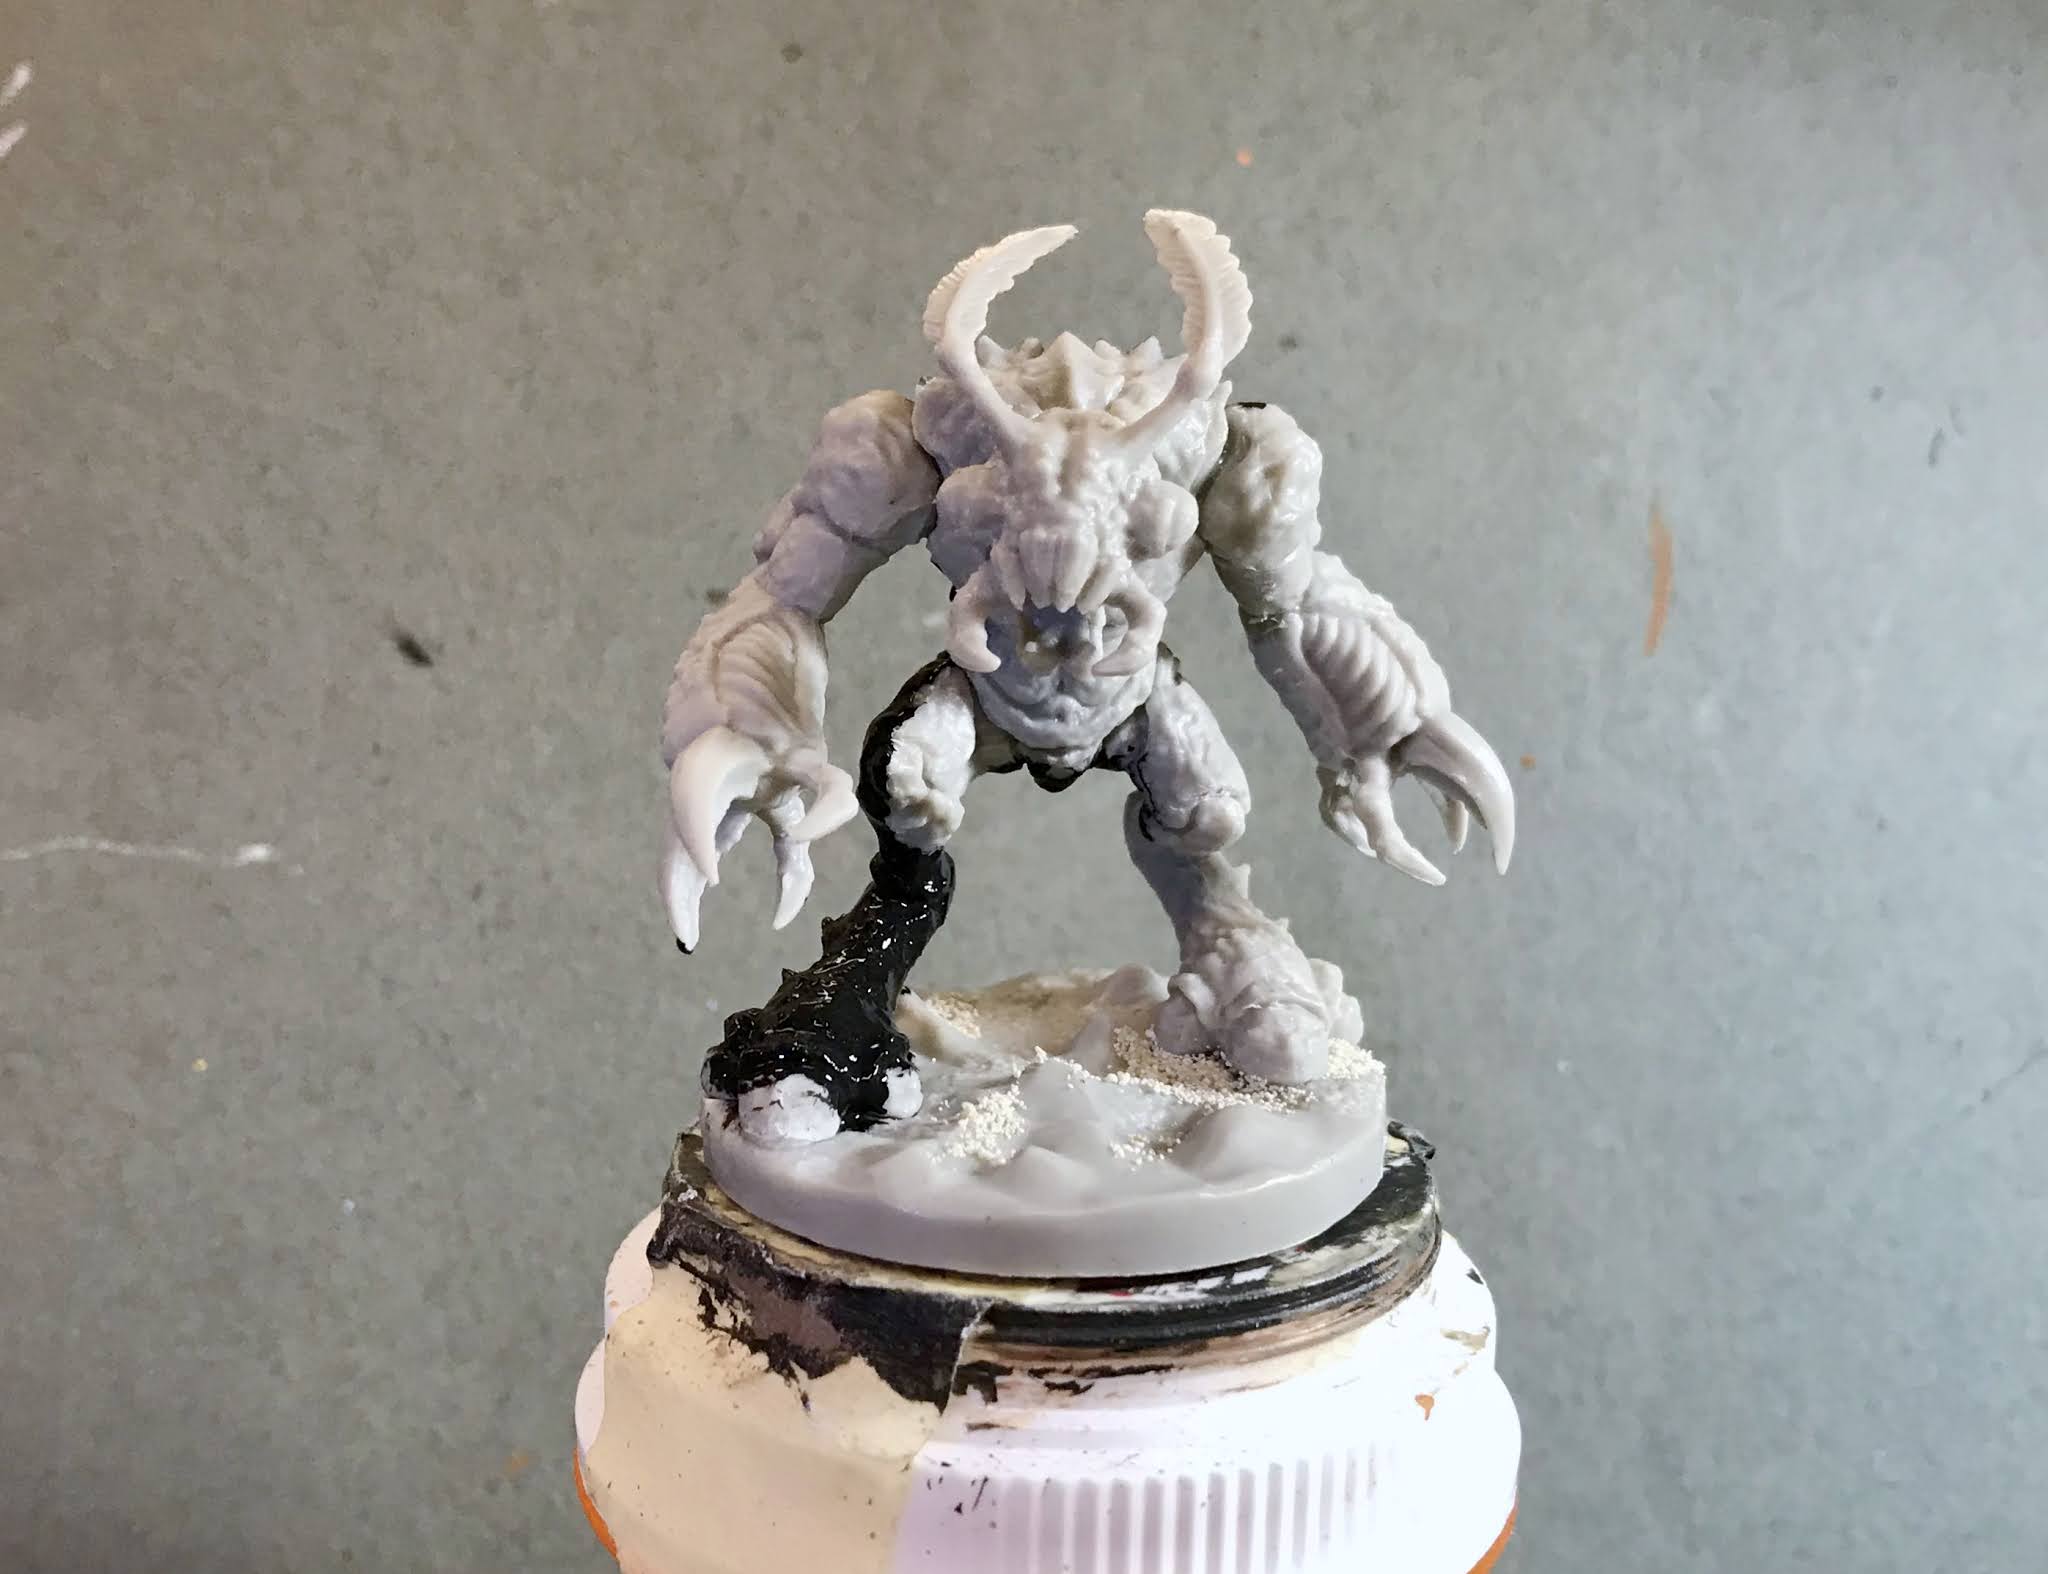 |
| (Oops! I started my black base coat on the leg before I realized I hadn't taken a "beginning" picture) |
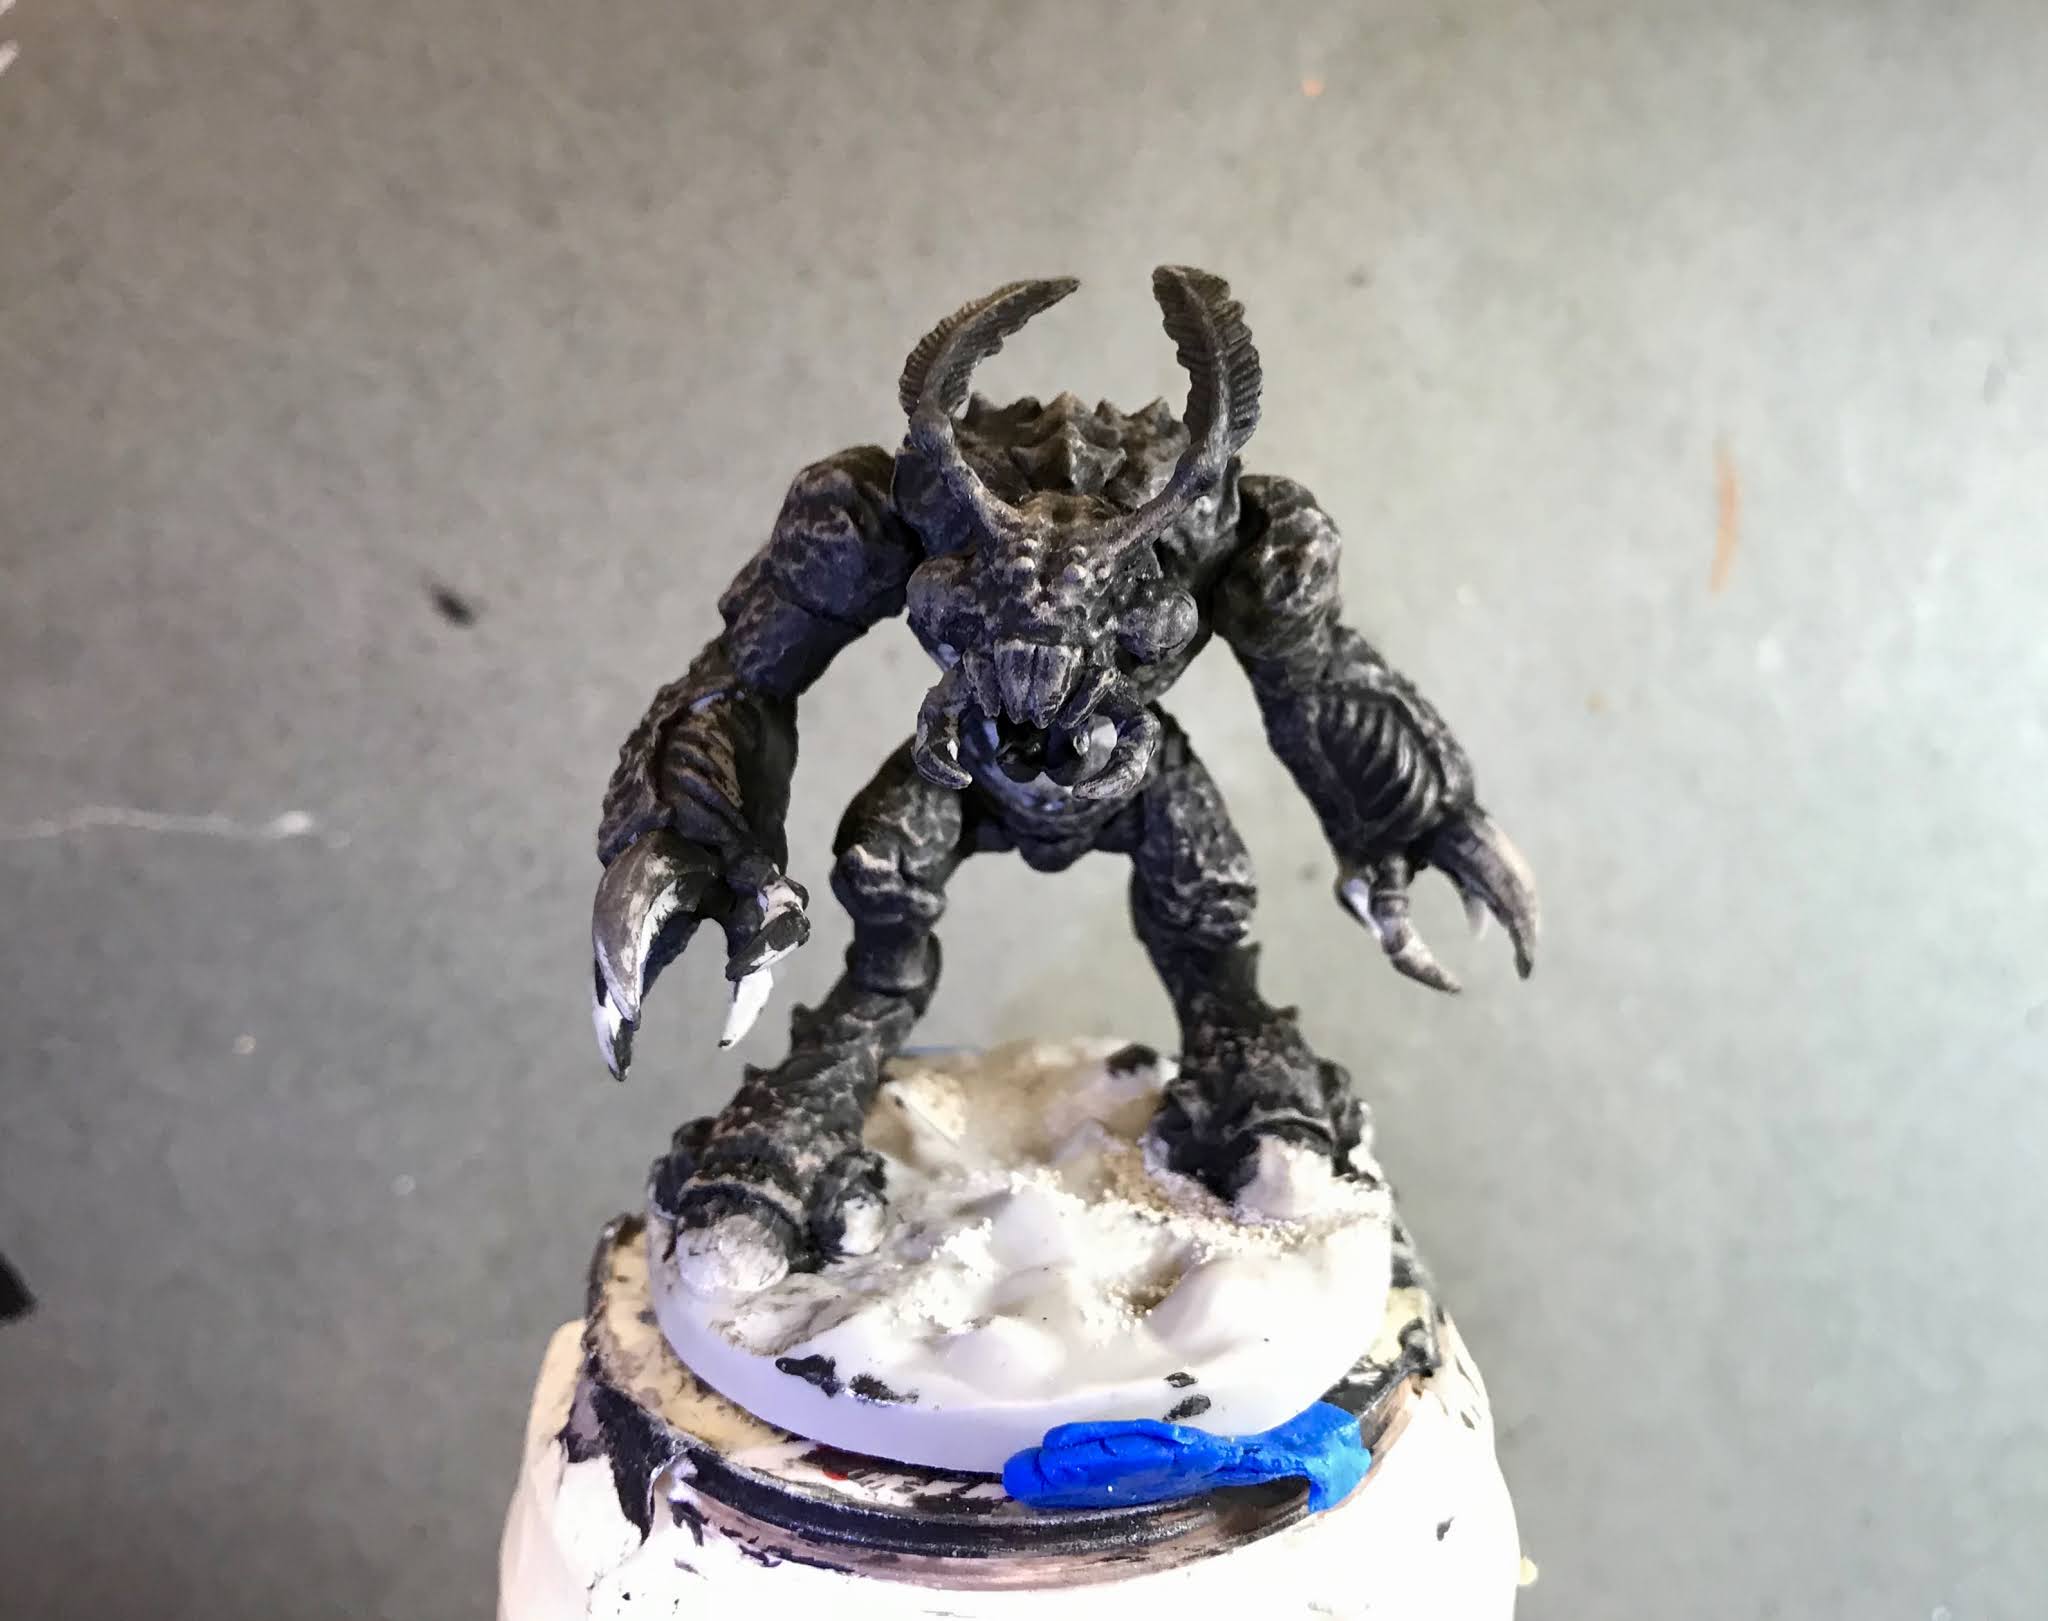
I began by giving the entire figure a base coat with Ceramcoat "Black". I then drybrushed it with Americana "Charcoal Grey", followed by a lighter drybrushing with "Americana "Mississippi Mud", and lastly a highlight drybrush with a little Americana "Fawn".


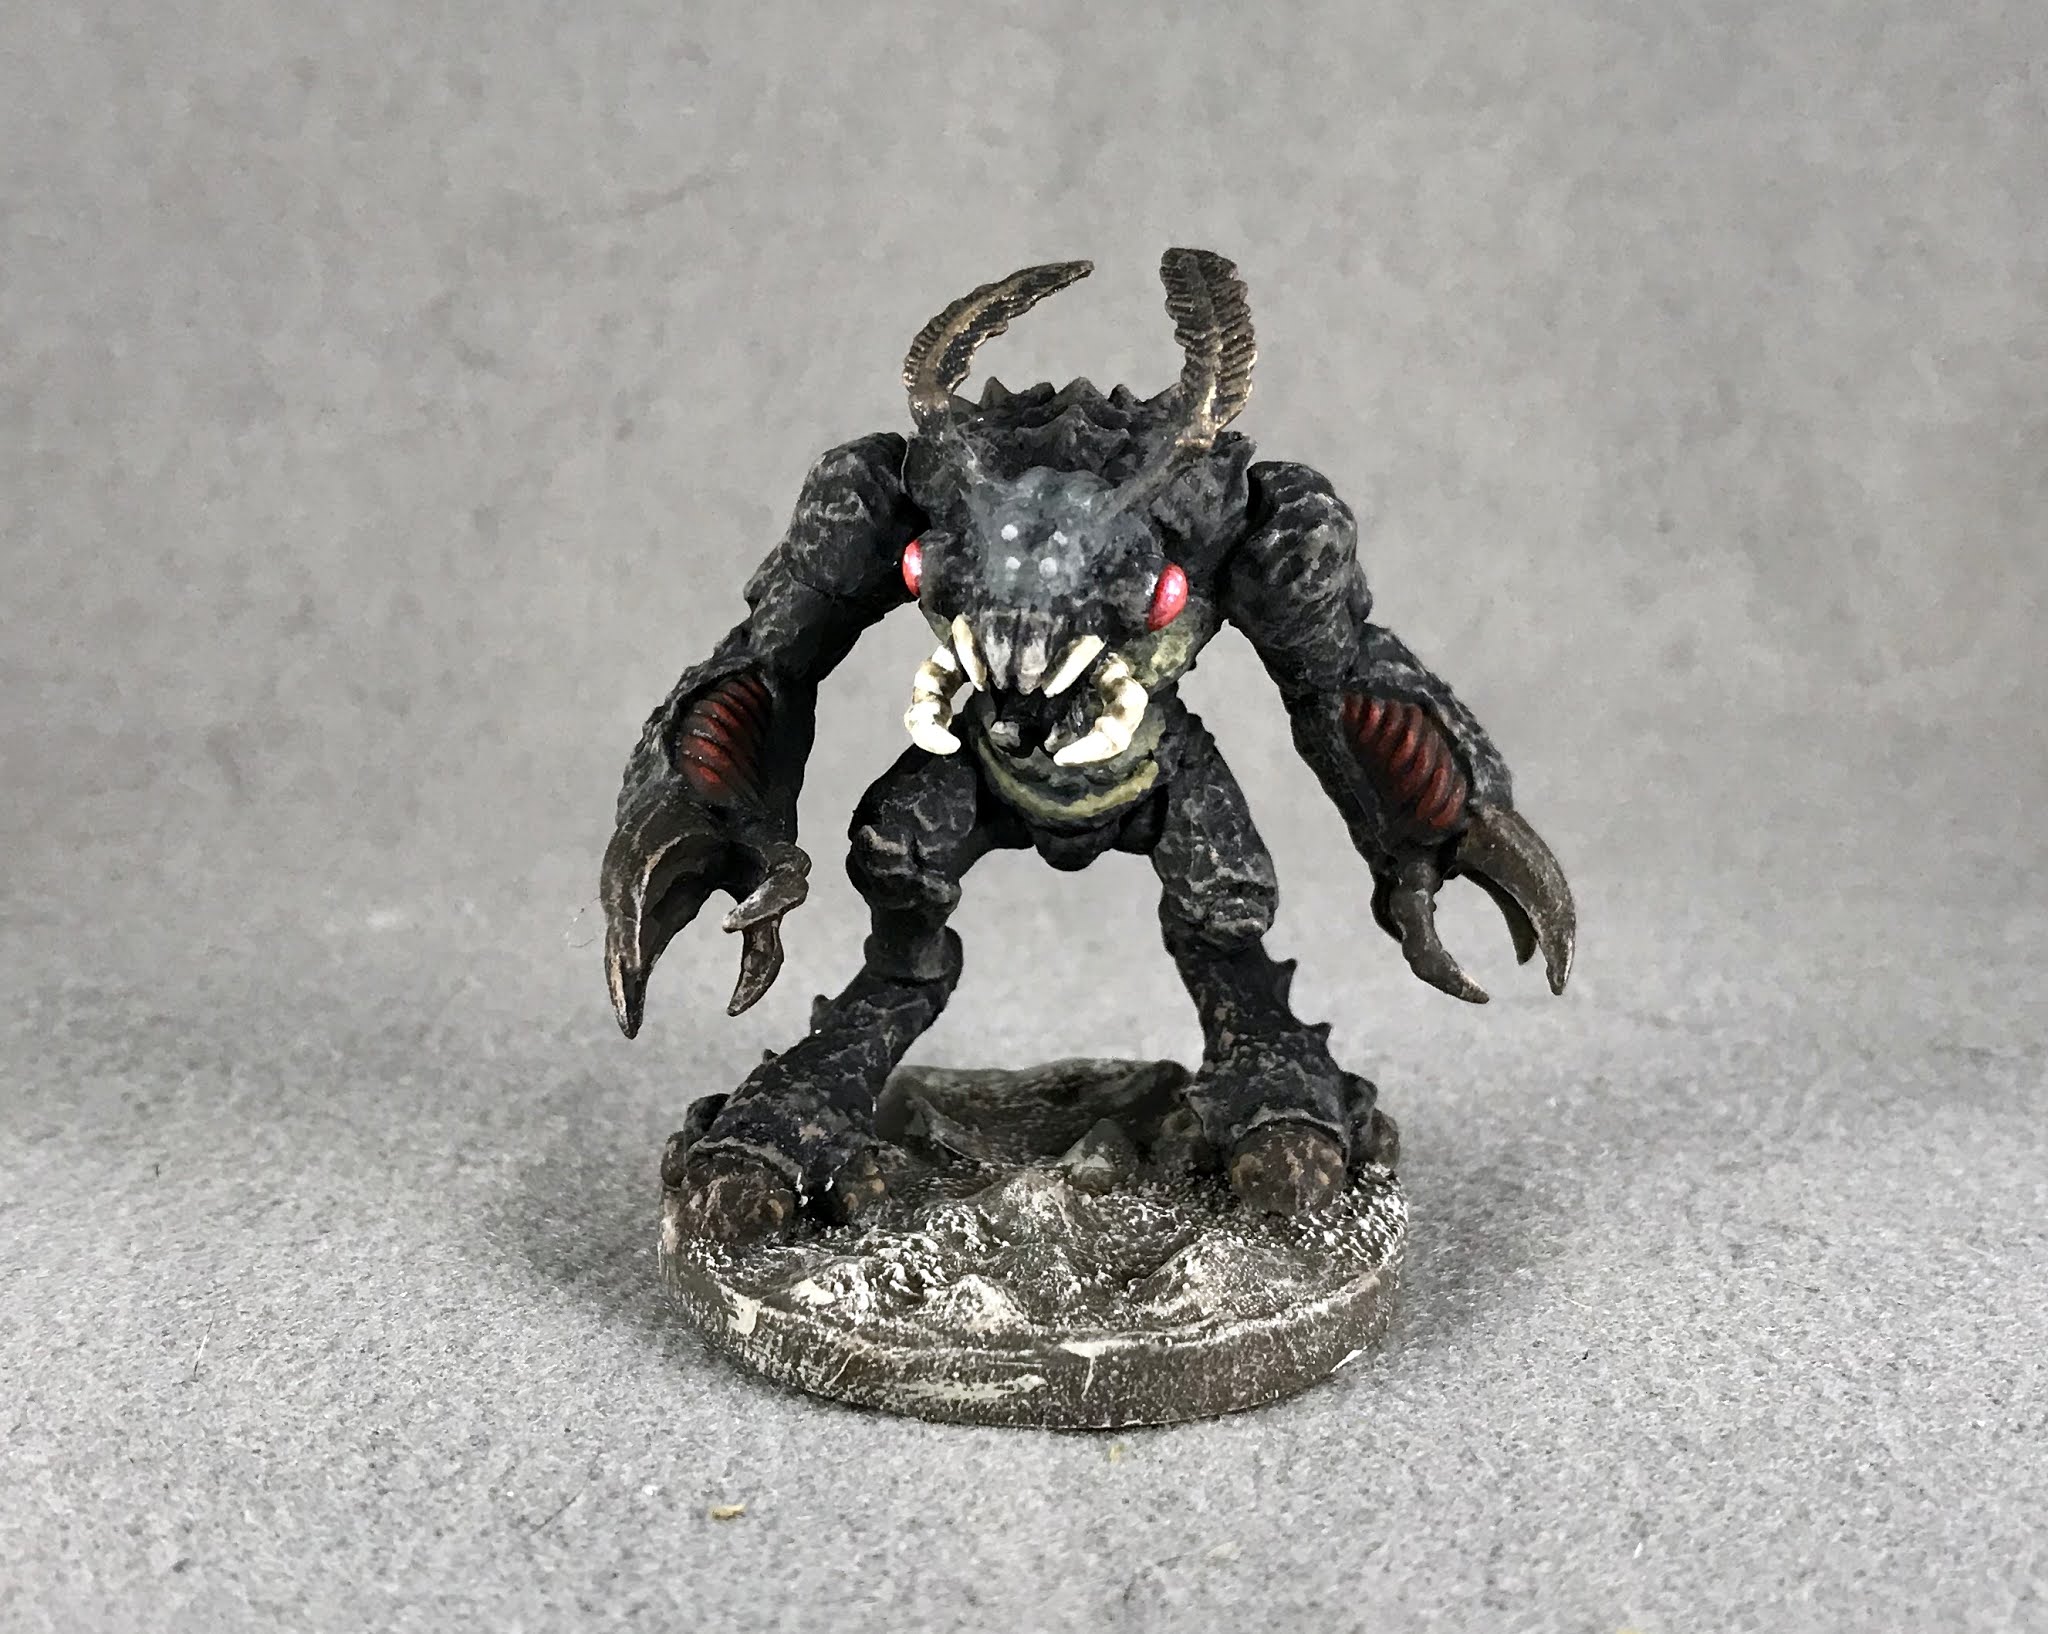
I let the figure dry overnight and the next day I gave it a coat of Americana "DuraClear Matte" varnish. When the varnish was dry, I painted the base with a coat of Americana "Charcoal Grey". When this was dry, I drybrushed the base with some of the "Mississippi Mud", and then with some Apple Barrel "Rock Grey"; lastly I drybrushed it with a little Americana "Dove Grey".
Another overnight dry, and I sprayed the figure with Testor's Dullcote". When the "Dullcote" was dry, I went back and repainted the eyes with a little Americana "DuraClear Gloss" varnish.


Great color scheme!
ReplyDeleteI actually have this guy in a drawer, although I am going to convert mine slightly to be an Ambull... which is of course also based on an Umber Hulk!
Thanks, Lasgunpacker! I give credit to the Original Monster Manual for the base color ideas.
Delete