Welcome to a special Thursday blog post! I was excited to get the
Stygian Barge Add-On from the recent Bones 4 Kickstarter, and I was not disappointed in the model when it arrived. It is a truly beautiful and big ship.
However, I didn't necessarily want to use the barge in all its Stygian glory; it looked more like a Necromancer's fancy yacht than anything else. I wanted more of a plain everyday working barge. I figured a plain barge would have much more game use than one specifically decked out in death-related motifs. So, the first thing I set about doing was looking over the pieces to see just what removing all the skulls, etc. would involve. With a little effort it seems like it just might work
 |
| All the Barge pieces minus the figurehead pieces and the crew and passengers. |
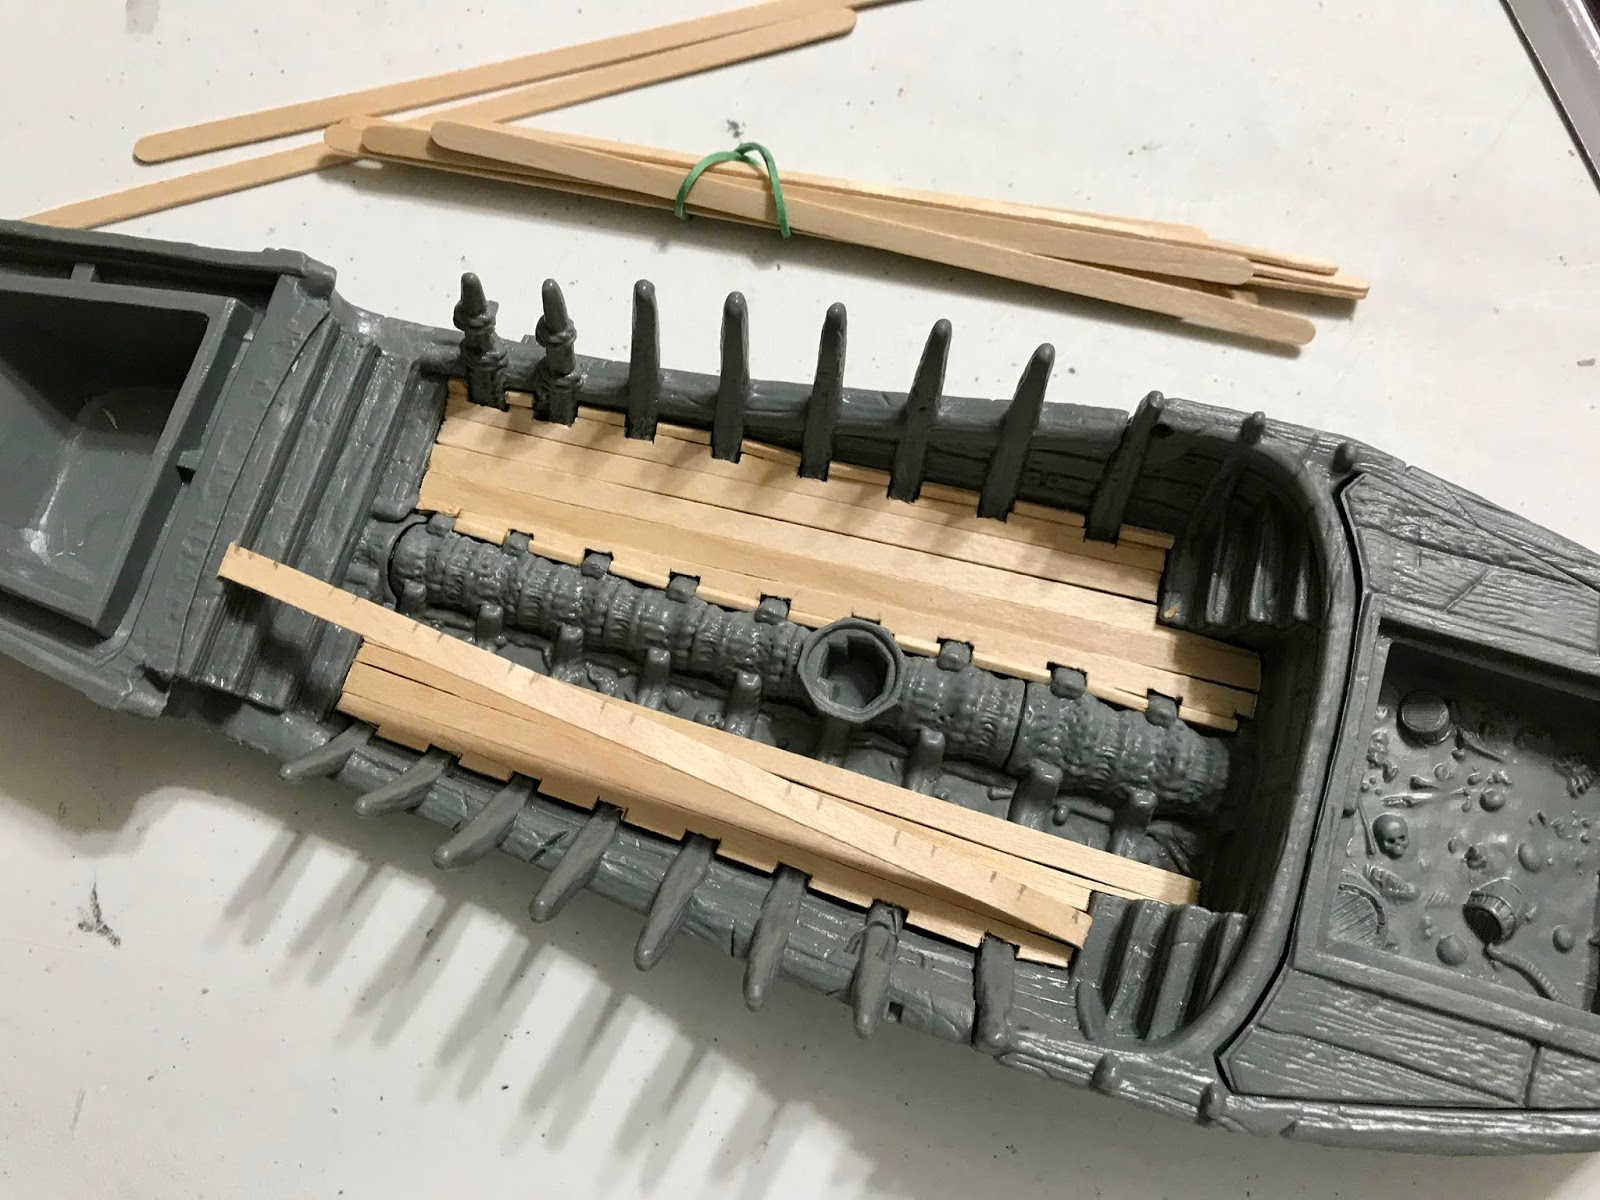
The first thing I did was to glue the front middle and rear hull sections together using Gorilla Superglue Gel. I then used coffee stirrers and toothpicks to lay down a new deck and trim in the middle hull section to cover over the bone strewn deck that is molded onto the model.
I then cut off the two skull decorations on the front protrusions of the rear deck piece, and replaced them with two round wood beads. When they were dry, I glued the rear deck and front deck into place. I then painted the hold interior on the front deck with Ceramcoat "Black".
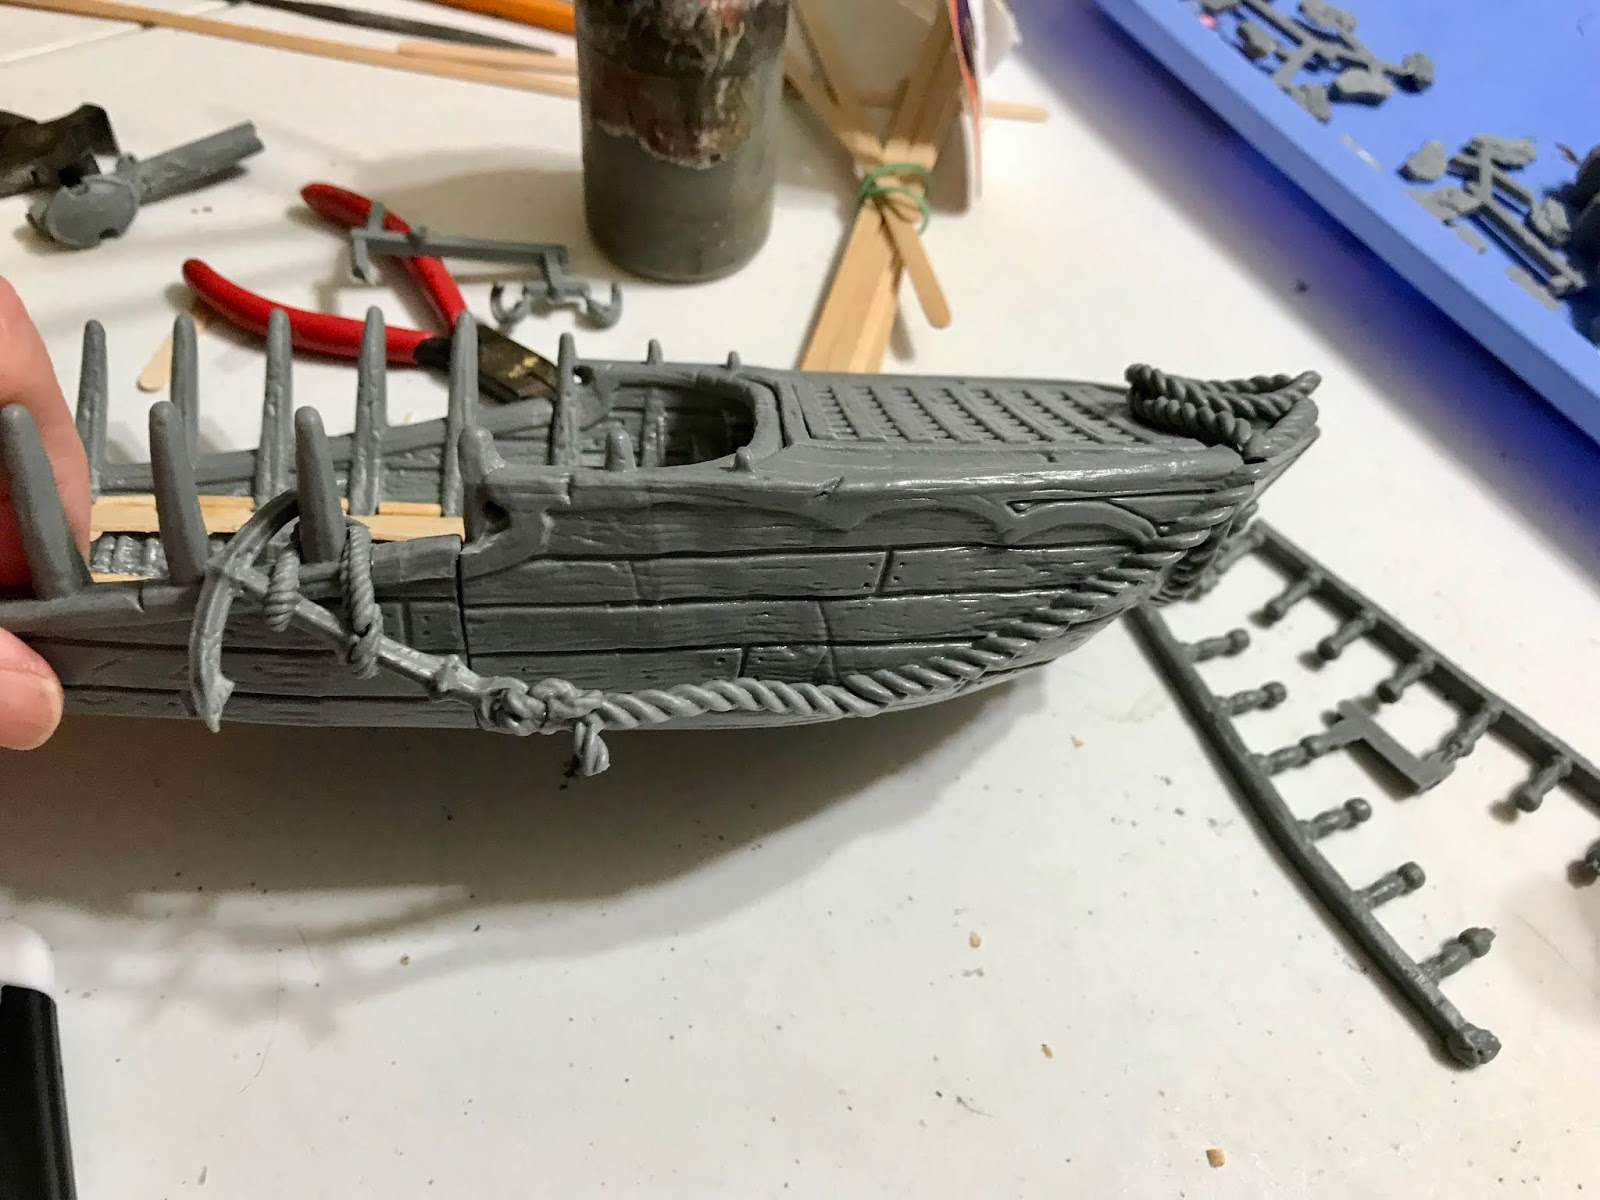
When the Black was dry I glued the hold cover over it, and then worked on putting together the rope and anchor assembly. I then glued the barrel assembly to the other side
After that, I worked on gluing in the rear deck bracers.
I then began trimming the vertebrate spines off of the rear deck roof, and trimming the skeletons off of the roof supports.
Next, I glued the rudder into place, and then the mast. I left the skull on the mast, figuring it looked like some kind of trophy or oddity the crew came across, rather than strictly saying "necromancer's boat".
When these ware dry, I glued the roof supports to the deck, setting the roof in place to keep them aligned while the glue set, but not actually gluing the roof. I don't want to permanently glue the roof until after I have painted the underside.
After the roof supports were dry, I worked on fixing where the skeletal mermaid figurehead was supposed to go. I used a bit of bamboo skewer to make a bowsprit, and a little nail in the center of the rope circle to make it look like it was actually hanging from something.
Lastly, I cut the skulls off of the ends of the railings, and once de-skulled, glued them into place
And here is the finished boat; ready for painting! I'm very pleased with how it turned out, and think it will look suitably like a regular workaday barge. Hopefully I will get it painted in time to use it in our June
Ghost Archipelago game.


So it is not just GW models that need to be de-skulled... ;)
ReplyDeleteNice work, and it really does look more like a normal vehicle, rather than something so specific.
Thanks, Lasgunpacker!
DeleteVery nice conversion-construction.
ReplyDeleteThanks, Jay!
DeleteThat looks great. I'm looking forward to seeing how you paint it.
ReplyDeleteI wish I'd gone for one of these, ships and boats are becoming very important in our D&D campaign.
Thanks, misterc! Yes, well, painting something so big is always daunting. I'm planning a to use it in our June "Ghost Archipelago" game, so I am forcing myself to face the intimidating job of applying that first bit of paint... I don't know why I fear these big models; in the end they usually turn out to never be as bad as I anticipated.
DeleteI think I may go with just a plain black outer coat and natural wood colored decking. Maybe a white, yellow, or red stripe running around the outside for a splash of color.
That is looking good!
ReplyDeleteThank you, Joe!
DeleteGreat job. Are you putting anything under the boat? I'm worried about mine coming apart without a base of some sort.....
ReplyDeleteThank you, Dave! No, I do not plan to put anything under it. The superglue join should be able to take any game play stress easily. For the most part the boat will be sitting in a box or sitting on the table, so there shouldn't be an inordinate amount of stress on the joints. between the three hull sections. And my experience with superglue and Bones is that the connections are extremely strong. Be sure to wash all the pieces in a bowl with water and a few drops of liquid dish soap, using a soft toothbrush, before assembly and painting to remove any mold release residue.
Delete