Since I got a number of the new hard plastic weapon sprues in
my recent Bones 3 Kickstarter shipment, I was eager to play with some of them and do some simple conversions on a couple of the new figures.
As shown in my previous post I got two types of weapons sprues from the KS; a grey plastic set that came with the Core set, and a clear plastic set that was a additionally purchased add-on set. Each of these sets came with four different sprues: The Arsenal, The Armory of Virtue, The Armory of Vice, and the Armory of Death.
 |
| All four clear sets. |
 |
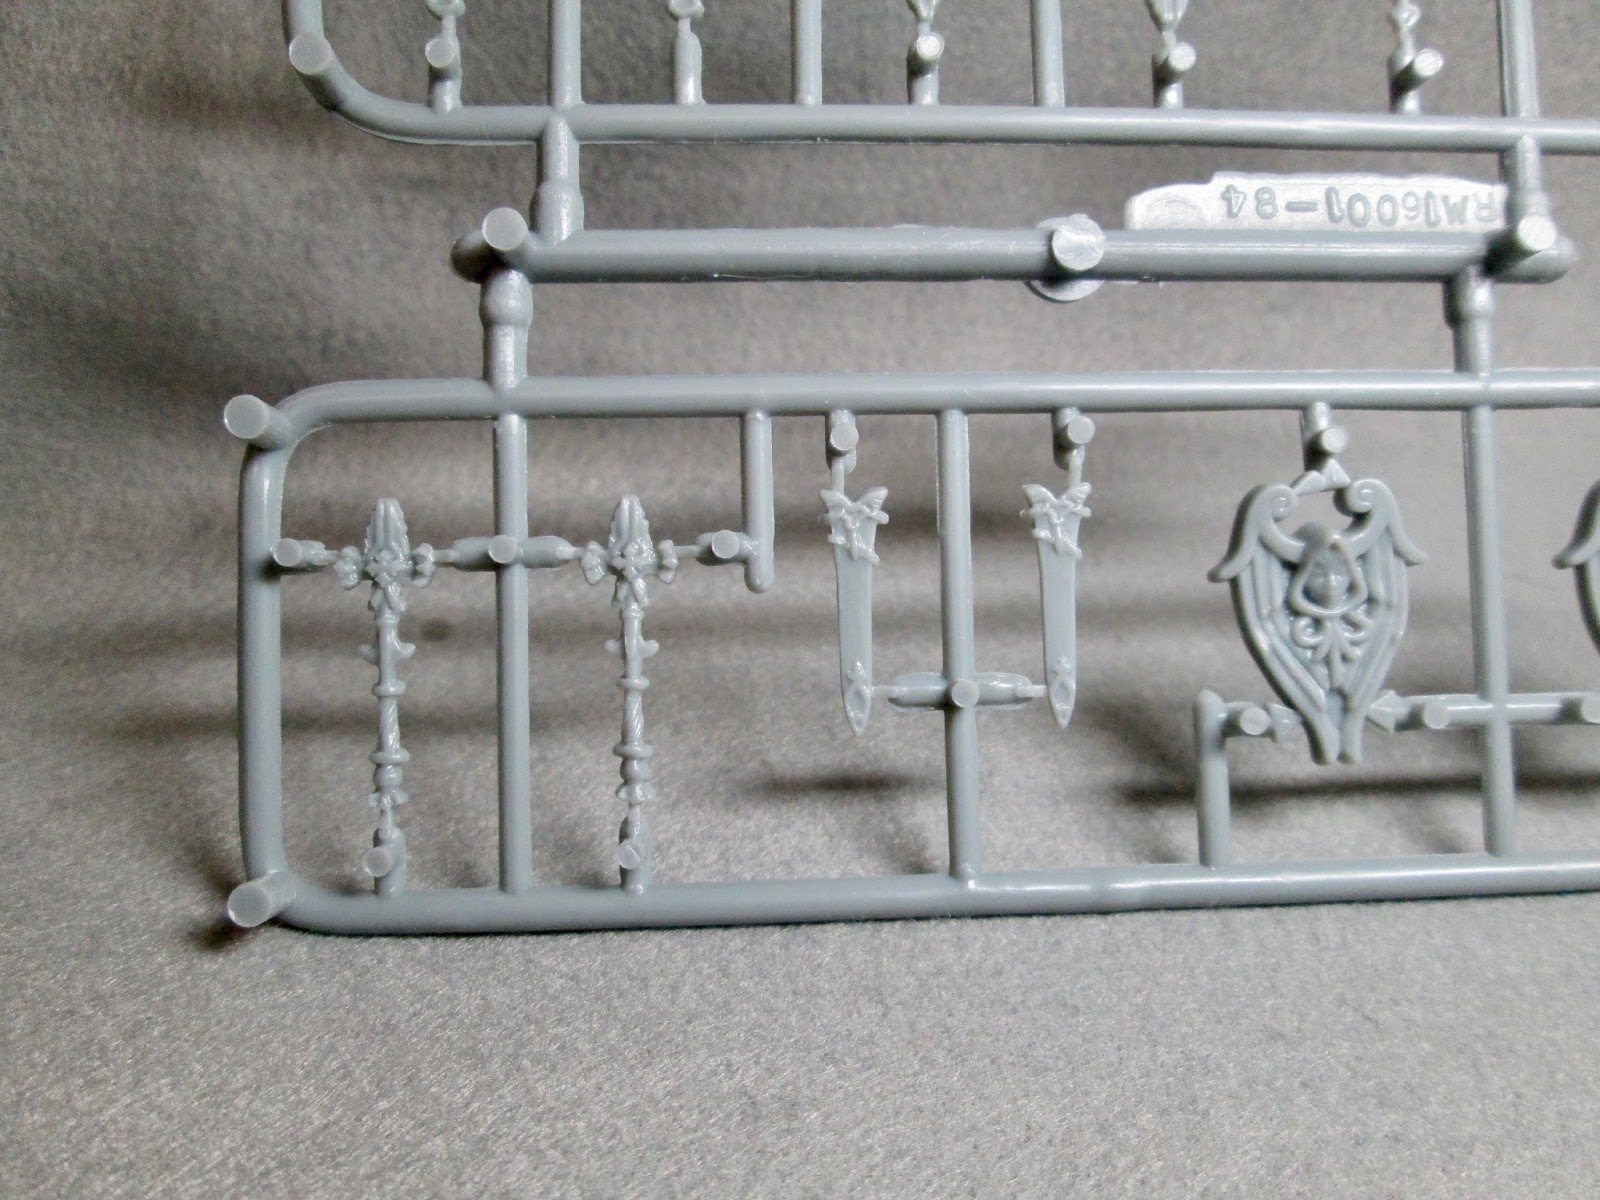
| A section of the Armory of Virtue. |
I began by selecting three figures that I thought would be simple ones to do conversions on; with weapon wielding hands accessibly placed on outstretched arms: Galadanoth, Elf Sniper, from the original Core Set, one of the Bandits from the Stoneskull set, and Jurden, Half-Orc Paladin from the Heroes I Set. I also selected three weapons, a clear bow from the Arsenal Set, a hammer from the Armory of Death set, and a sword from the Armory of Virtue.
I began by slicing off the existing weapons directly above and below the hand, trying to leave nice flat cuts perpendicular to the alignment of the hand. I then drilled small holes through the hands with my Dremel tool.
 |
| You can see here I slipped on the archer's hand and accidentally drilled through part of it. |
Then I used a hobby knife to make a small slice through the hand right at the end of the fingertips and base of the thumb. You need to be extra careful to only cut though one side of the drilled hole, and not slice the whole end of the hand off.
I then test fit the weapons into the hands to make sure the hand would close again around the grip of the weapon. If they were too big, rather than risk drilling a larger hole, I simply filed down the handle of the weapon a little to make its diameter smaller.
I then super glued the weapon into place, and held the hand closed until the glue set. For the archer with the missing section of hand, I tried to apply some extra superglue to fill in where the missing fingers would be. I'll then attempt to hide the mistake with paint.
I'm happy with how these turned out, and look forward to painting them up. It may be a while though, as my Bones 3 painting queue is beginning to get quite extensive as I keep picking out one cool figure after another to paint "next". :-D


As a hobbier who works with 40k a fair bit, a common approach to do a weapon swap is to take a hand holding a boltgun or such, to simply slice the weapon off at the top of the hand, remove the handle of the new weapon, and simply glue into place. Rather than risk dremelling and slicing, couldn't you leave the closed hand as is, and simply slice the weapon to fit to the previous hand?
ReplyDeleteYes, with the plastic 40K minis are made from your method is a good idea (and one I have used with plastic figures before), as the plastic cement used actually fuses the pieces and makes a nice strong bond. With the Bones minis, however, plastic cement doesn't work as it is a very different type of plastic; so superglue has to be used. I don't trust the strength of superglue on the small surfaces that would result when doing such sectionalized weapon swaps, especially with gaming minis. So I opted to do this procedure to make things a little more safe and secure.
DeletePinning would be another option, but here again would have required drilling even smaller holes than I had too, and given the cross section size and curve of these weapons, I didn't feel that was a good option either.