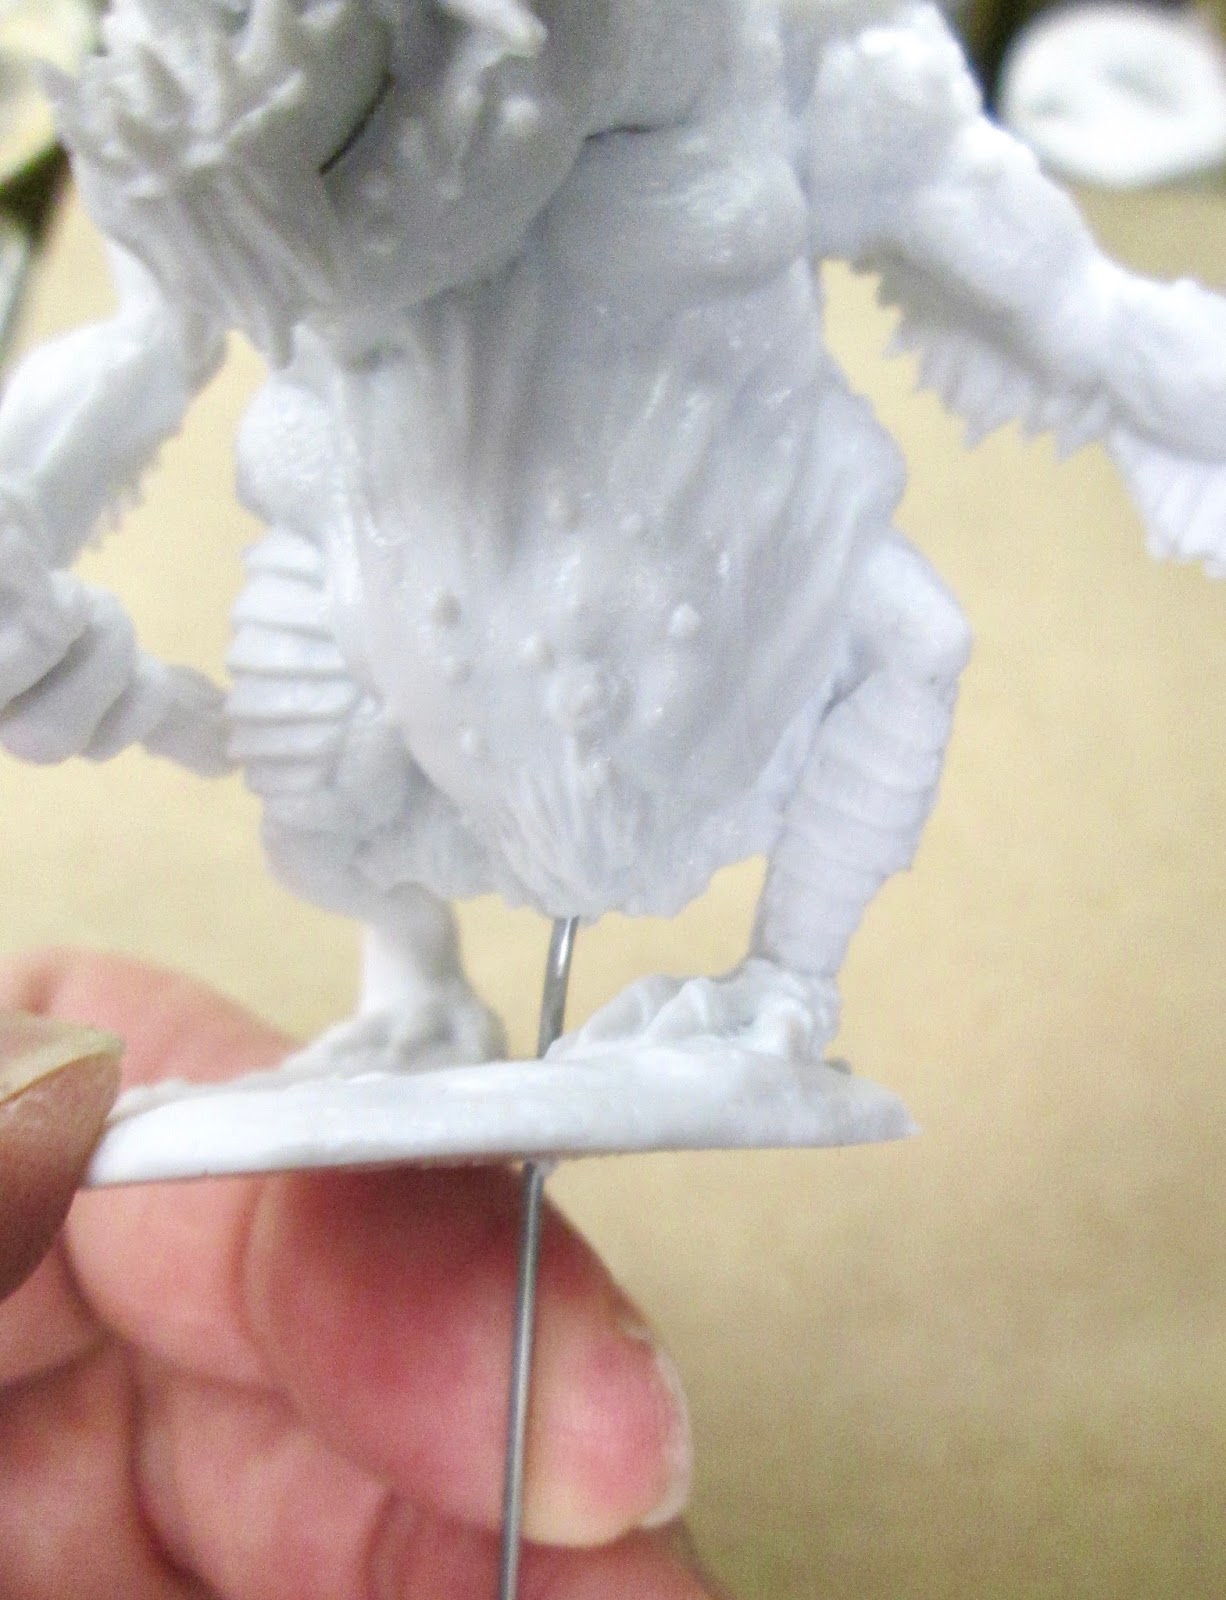
I prepped the figure in the usual way; soaking it in a dish of water with a couple drops of dish-soap added, then giving it a light scrub with a soft toothbrush, and then rinsing and drying it. I was a little worried about this sculpt, as it has a tendency to lean forward due to the large gut, and very small ankles to support it. My concern was that even if I set him upright again using the hot water method, the weight of his stomach would just pull him forward again.


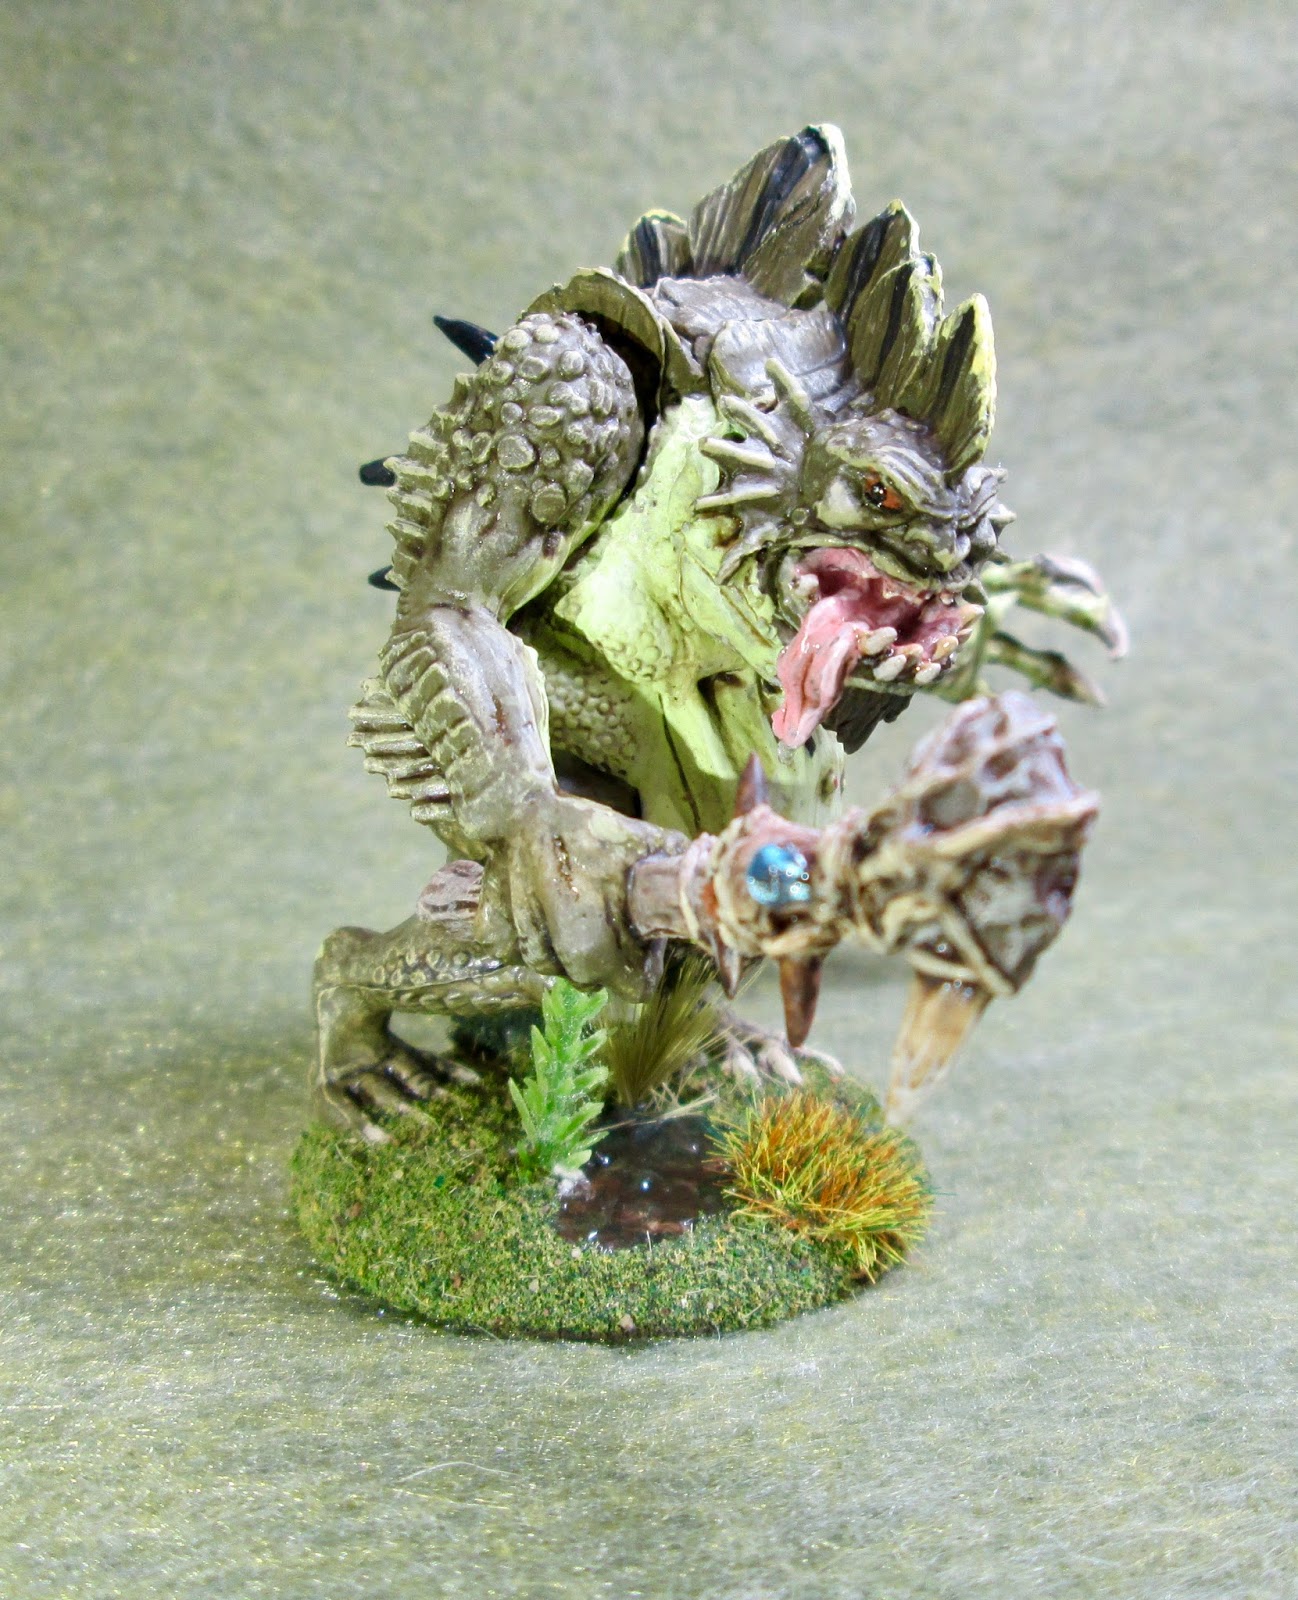
Next, I painted the inside of his mouth with Apple Barrel "Apple Lt. Pink", and his teeth with Americana "Antique White". I then painted his club handle with Americana "Mississippi Mud", and the rock at the end of it with Americana "Neutral Grey". After they dried, I went back and painted the rope wrapped around it all with Folk Art "Butter Pecan", the spikes with Americana "Raw Umber", and the fang at the end with more of the "Antique White". His claws were next, and I did them with Folk Art "Barn Wood".


Next, I highlighted his belly with a mix of the "Dungeon Slime" and some White. I then painted his eyes with Crafter's Acrylic "Pumpkin Orange", and then gave them Black pupils and White highlight dots. I then did highlights on the teeth, and the fang in the club, with Americana "Bleached Sand", and the tongue with some of the base "Lt Apple Pink" mixed with a little White. After that I worked on the pustules, painting them with Crafter's Acrylic "Tutti Frutti" highlights, and then highlighted the claws with Folk Art "Porcelain White". I moved to the club next, giving the handle highlights with the "Barn Wood", and the stone at the end with Folk Art "Platinum Grey". For the spikes I used Folk Art "Teddy Bear Brown" to do the highlights, and for the robe I used "Antique White". I highlighted the spikes on his back with the "Neutral Gray".
I felt he looked a little plain, so I decided to add some Black stripes on his head and neck plates, and then drybrushed some Crafter's Acrylic "Daffodil Yellow" onto the top edges. Lastly, I painted the figures integral base (and the paperclip support) with Ceramcoat "Walnut.
I let the figure dry overnight and the next day I gave it a coat of Americana "DuraClear Matte" varnish. When that was dry, I decided I would try to make his base look a little marshy, so I dabbed on some Apple Barrel "Apple Black Green", and then applied some Woodland Scenics Water Effects with a brush to a small area. (Not realizing at that point the Dullcote spray would take away the shine.) When the Water Effects was dry, I added some flock to the base, and then some tufts; one strategically placed to hide his paperclip support. Another overnight dry, and I sprayed the figure with Testor's Dullcote". When the Dullcote was dry, I went back and applied some Americana "DuraClear Gloss" varnish to the Water Effects area, his eyes, and the inside of his mouth as well as his tongue. I also took a little bit of the Water Effects and tried to do a little drop of spit coming off the end of his tongue.


On Thursday I think I will post an article on doing some weapon conversions, since I have all those cool new weapon sprues. Then on next Monday I will post my first Bones 3 figure.
No comments:
Post a Comment