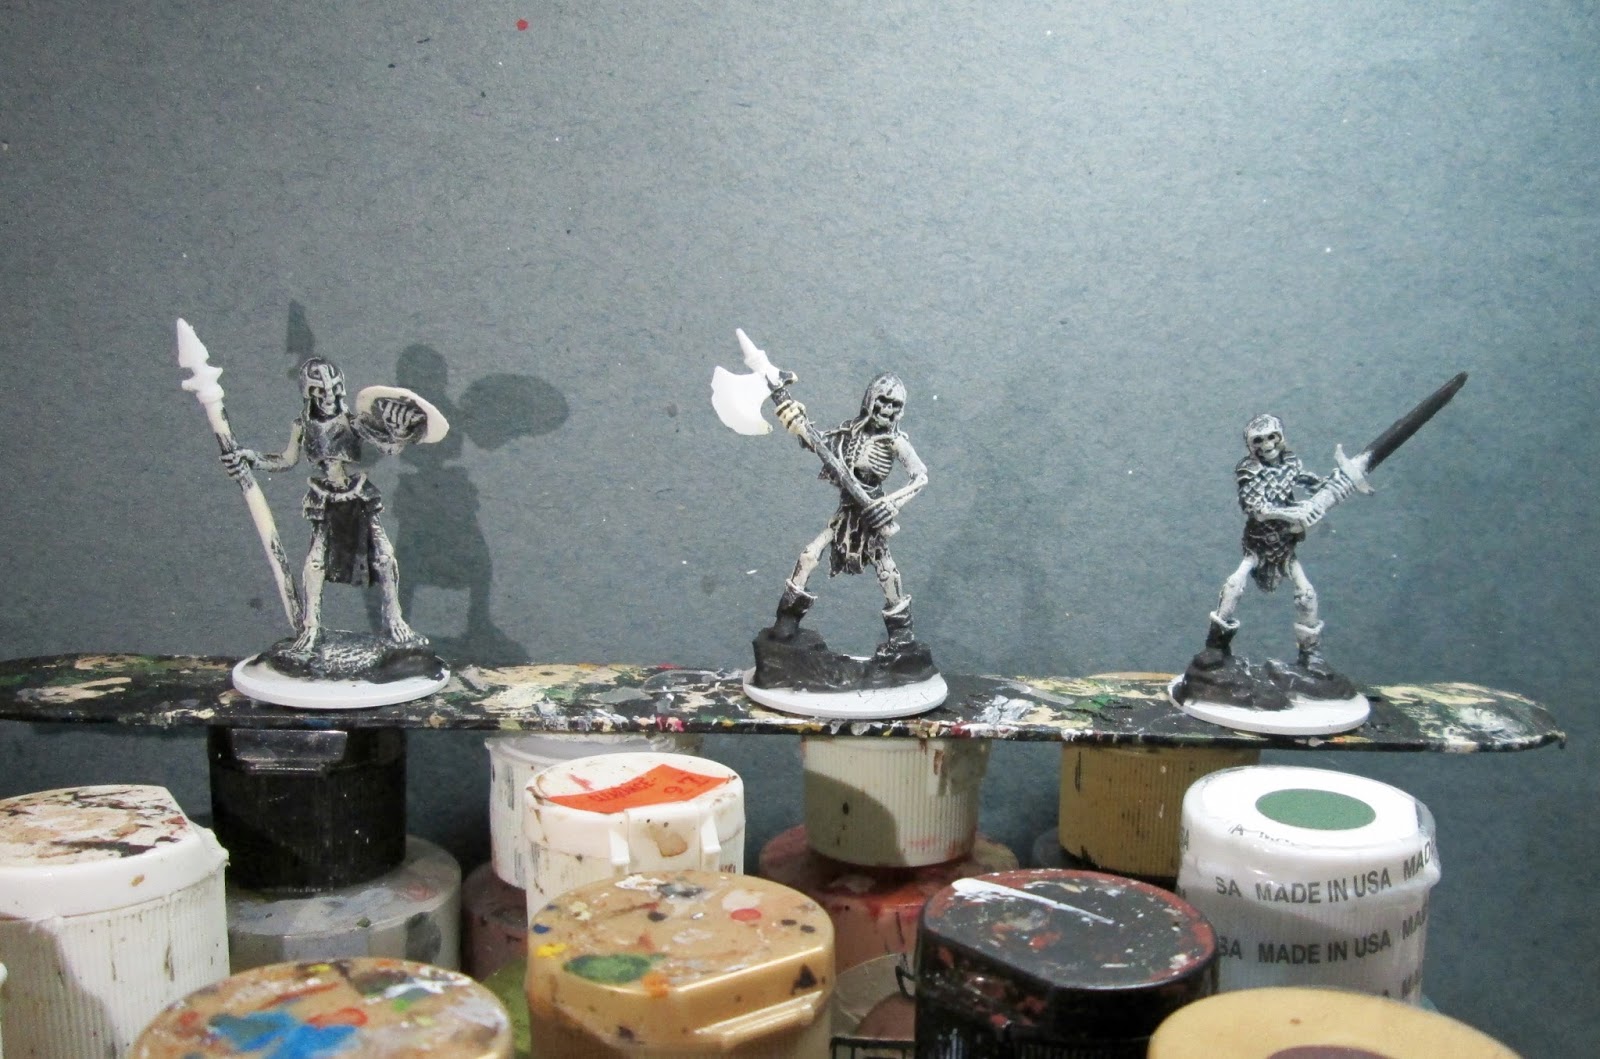
Last week I finished these three armored skeletons from the Bones II Shambling Dead set for use in my Frostgrave games. I had hoped to post these last Thursday (but didn't finish them in time), then I was so busy yesterday I forgot to finish up this article, so I am posting them today.
I prepped the figures in the usual way; soaking them in a dish of water with a couple drops of dish- soap added, then giving them a light scrub with a soft toothbrush, and then rinsing and drying them. I then glued the figures to white-primed 1" fender washers with Aleene's Tacky glue. I then glued the bases of the figures to a tongue depressor with a couple drops of the Elmer's glue each.
I began by painting all the skeletons Black. When the Black was dry, I drybrushed them first with Americana "Buttermilk", then with Crafters Acrylic "Light Antique White".
I then painted their armor, the sword, axe head, and spear point, as well as the shield, with Ceramcoat "Walnut". I then added splotches of Crafters Edition "Spice Brown", and then some lighter splotches of Accent "Golden Oxide" to give the impression of rust.
I then finished up the rust effect by drybrushing the rusted surfaces with Folk Art "Gunmetal Grey". Next, I painted the garment remnants on the first skeleton with Crafter's Acrylic "Navy Blue, the second skeleton with Apple Barrel "Apple Blue Spruce"for the bottom and Apple Barrel "Apple Maple Syrup" for the head piece, and the third with Anita's "Burnt Sienna". I then highlighted the first with Americana "True Blue, the second's bottom with Folk Art "Hunter Green", and the third with Reaper MSP Bones "Cinnamon Red". I then painted the rocky bases with Americana "Neutral Grey".

I then dry brushed the rocky bases with Crafter's Acrylic "Storm Cloud Grey", followed by Folk Art "Platinum Grey". Then I did the boots on the second and third skeleton with Americana "Asphaltum". After painting the boots, I painted the spear shaft and axe handle with Americana "Mississippi Mud", then did the sword grip and any belts or straps the skellies had with Americana "Charcoal Grey" When these were dry, I gave the boots, spear shaft, axe handle, sword grip, and the head cloth on the second skellie, a wash with GW "Agrax Earthshade" wash using a wet brush. I also applied a wash of GW "Badab Black " wash around the tops of the boots on the second and third skellies to give the impression of them being open and having depth.
When everything had overnight to dry, I gave the figures a coat of Ceramcoat "Matte Varnish". That afternoon I flocked the base with Woodland Scenics "Snow" flock. The next day, I sprayed the figures with Testor's Dullcote.
I recently had a discussion with a follower of this blog named Jici, in the comments section of
this recent article I posted featuring a couple skeletons, about the quality of my skeletons. While perfectly suitable for the gaming use I intend them for, I've never been a hundred percent happy with them because, as Jici, pointed out, the heavy initial drybrushing obscures a lot of the detail. So, I'm going to work on a couple skeletons for next week, using a method Jici recommends, using a white base first wth a black wash, instead of my usual method of black undercoat with a white drybrush. I'm interested to see how it works for me.


Love the extra rusty weapons. I saw a wash which gives a green/yellow glow and thought it might work on bone fantasy figures. Kind of like a theory magic is holding them together and once they are defeated they fall apart. You think this might work, you have a wide selection of colors so you might have tried this somewhere.
ReplyDeleteThanks! That wash sounds very interesting. I've never had much luck getting that glowing-from-the-inside look, so a simple way to do it would be great.
DeleteSecreatweaponminiatures has a wash called Fallout wash which has a green/yellow glowing pigment. I have seen the wash bottle and the color I think would give fantasy skellies the perfect glow look.
Deletehttp://www.secretweaponminiatures.com/index.php?main_page=product_info&cPath=54&products_id=296
Thanks for the link. That looks really cool.
DeleteBeautiful modeling, sir!
ReplyDeleteThanks, Jay!
DeleteInstead of doing a black wash, you should maybe try a brown one. Give it a dirty look. That's my usual strategy.
ReplyDeleteHmmm...brown wash...that sounds good too. Does it darken the shadows enough?
DeleteSometimes takes a couple of applications, but yeah.
DeleteBecause the focus is on the armor on these one, your technique works since the lost details do not matter that much as the eye focuses on the armor, helmets and weapons. Very well done.
ReplyDeleteA brown wash could also do the job, especially if it has a yellowish look like the old Delvan mud.
The only reason I used black was to make sure that I only need one application.
Thanks for the comments, Jici! I loved Devlan Mud. I still use it's replacement, but not quite the same.
Delete