When I got the figure, I was a little disappointed in a couple things. First, it's a very cartoony looking figure; sculpted more in big broad strokes than in the fine detail I expect from Reaper. Secondly, for some reason, they made the sword so it attached to the figure in a reversed and inverted position from the initial concept art (Compare the illustration above with the production example figure photo below.) Now I have no problem with the Djinni being a lefty but the the sword now hung incorrectly with the bird's head beak pointing up (A good way to impale your palm when reaching quickly for the sword), and the end curve pointed down. One third and last quibble, the sword is just attached to her butt, without any sculpted straps to show where it would attach to her belt.
 |
| (Photo from Reaper Kickstarter Update) |
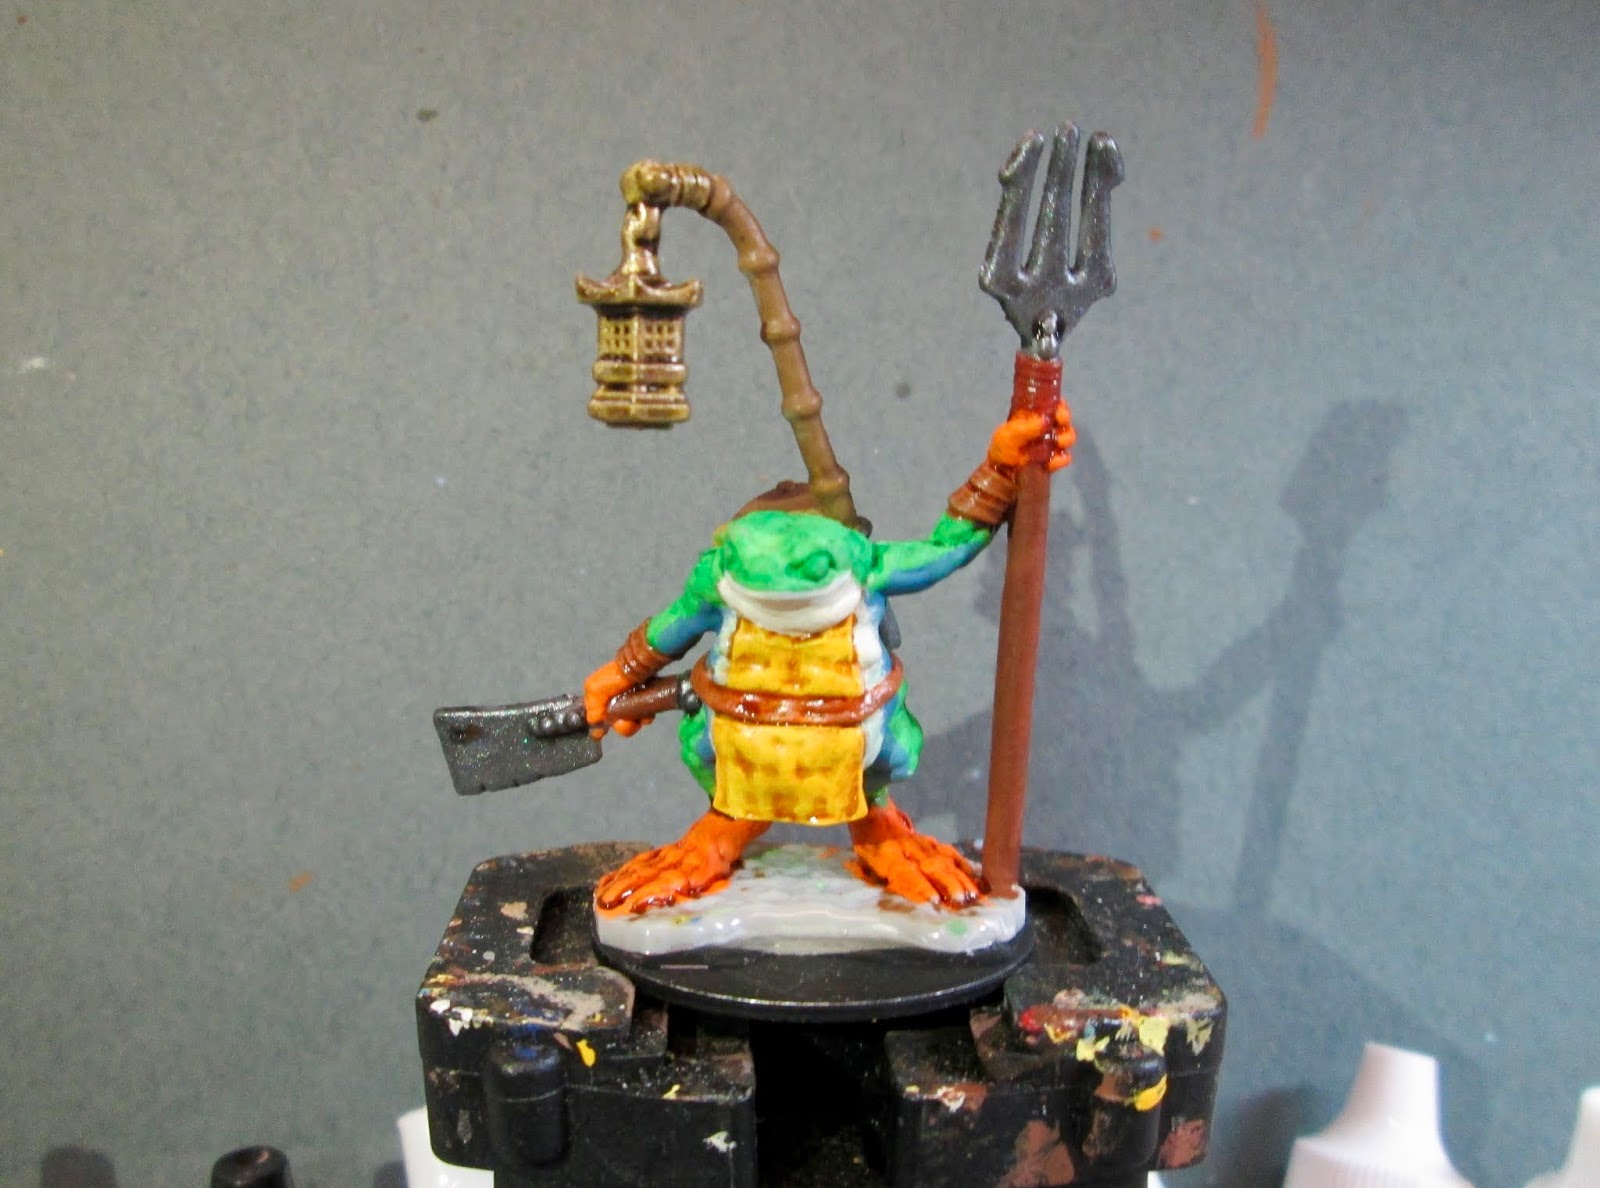
I prepped the figure in the usual way, soaking the parts in a dish of water with a couple drops of dish-soap added, then giving them a light scrub with a soft toothbrush, and then rinsing and drying them. The next thing I did was cut off the lamp from the trail of smoke (It is cast as one piece as you can see in the above photo.) I wanted to mount them separately, so I could use the lamp and or Djinni as unique pieces. I then sliced the tab off the sword, so I could glue it to the figure in the correct position as shown in the concept illustration. Lastly, I cut the base that comes with the figure into two pieces, and glued the figure to its part of the base, minus the part I trimmed off where the lamp mounts.
I then glued the figure to a black-primed 1.5" fender washer with Aleene's Tacky glue after trimming the base so it would fit. I also glued the lamp to its piece of base, and then glued it to a black primed 1" fender washer. I then placed the Djinni figure in my painting grip.


After the "Metallic Silver" had a while to dry, I went over the metal parts with Citadel "Nuln Oil" wash. Then when the wash was dry, I painted her eyes and lips, and highlighted her teeth with Americana "Snow White". I then highlighted her skin and corrected any errors with various mixes of the base "Rosy Skin" along with Reaper MSP "Rosy Highlight" and "Rosy Shadow".

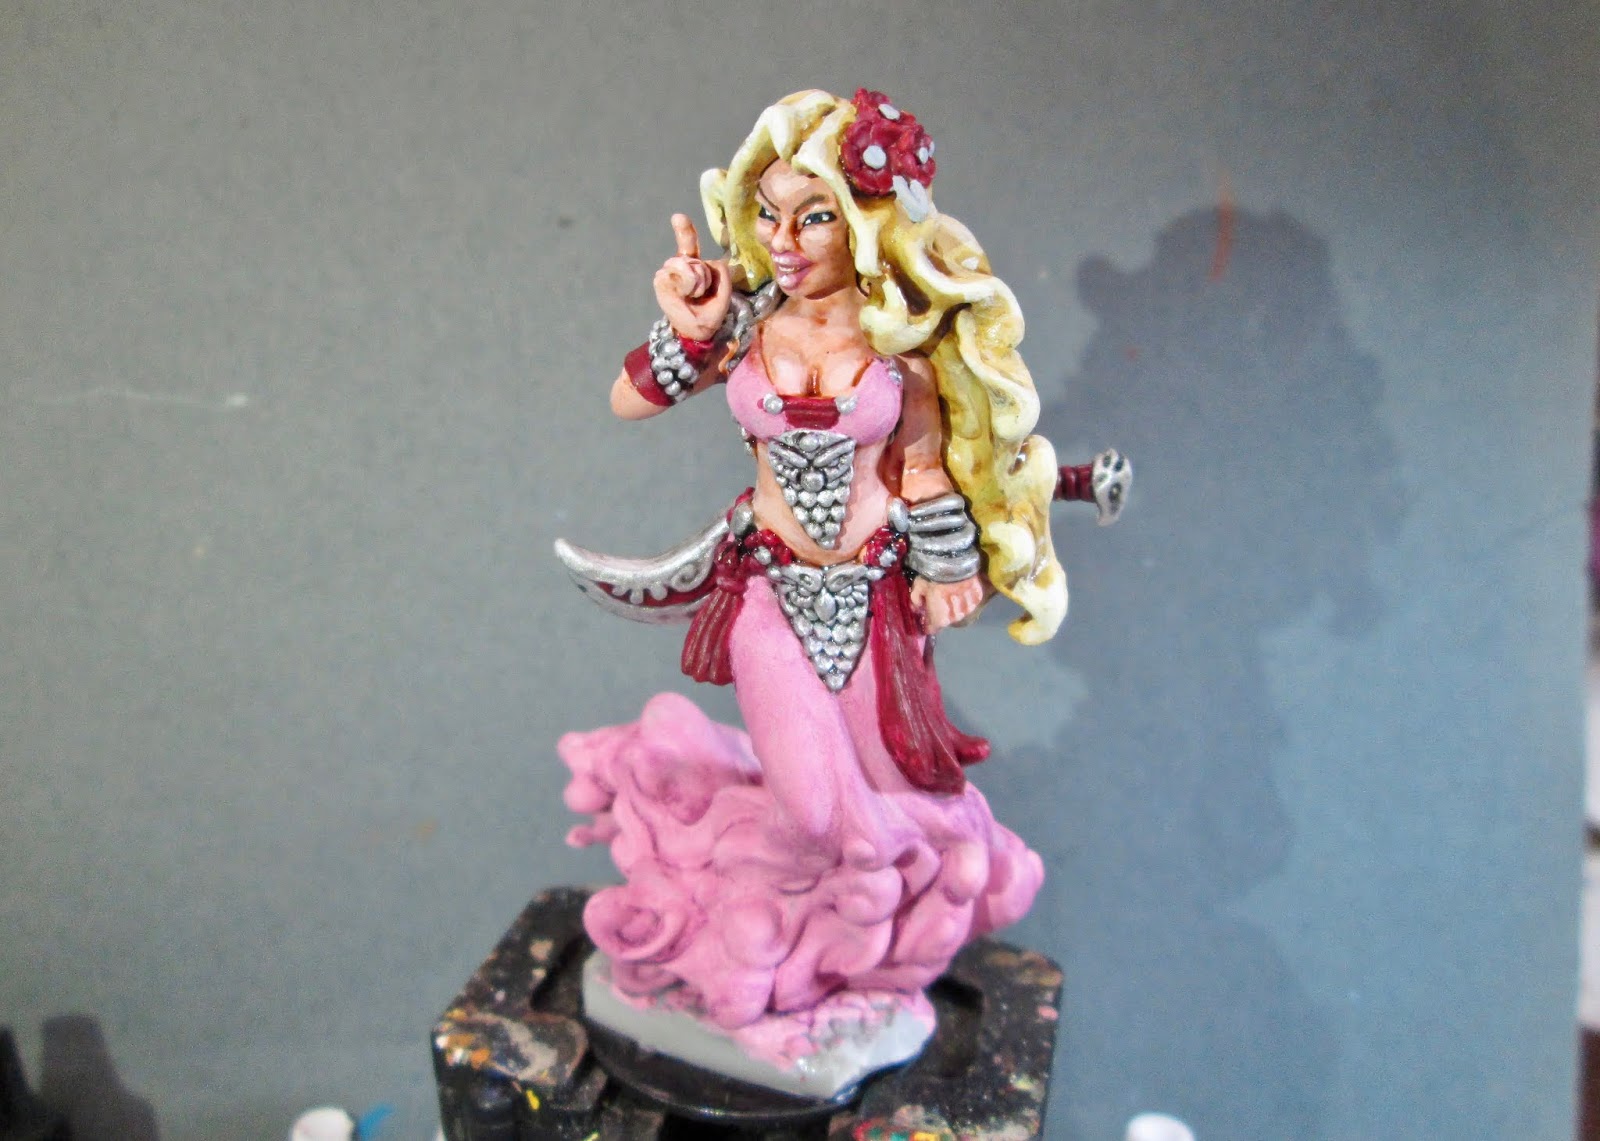
I then worked on the pants/smoke cloud, highlighting them with the base "Cherry Blossom Pink", and then with the "Cherry Blossom Pink" mixed with some "Snow White", and lastly, a few hits with just the pure "Snow White". I then highlighted the dark pink "True Burgundy" areas with a mix of Americana "Burgundy Wine", and Crafter's Acrylic "Tutti Frutti. After that, I painted the leaves and flower centers in the hair with the "Metallic Silver", and wen dry, I went over them with a little of the "Nuln Oil" wash. My next step was to highlight all the metal, using the base "Metallic Silver", and then Metallic Silver mixed with some of the "Snow White", and then just a little of the pure "Snow White". Lastly, I painted the entire base with "Americana "Mississippi Mud".
I let the figure dry overnight and the next day I gave it a coat of Americana "DuraClear Matte" varnish. Then, when the varnish was dry, I used some white glue to flock the base. Another overnight dry, and I sprayed it with Testor's "Dullcote".
It was now time to work on the lamp, so I placed it in my painting grip next.

I began by painting it with Accent "Mustard Seed".

I let the lamp dry overnight and the next day I gave it a coat of Americana "DuraClear Matte" varnish. Then, when the varnish was dry, I used some white glue to flock the base. Another overnight dry, and I sprayed it with Testor's "Dullcote".
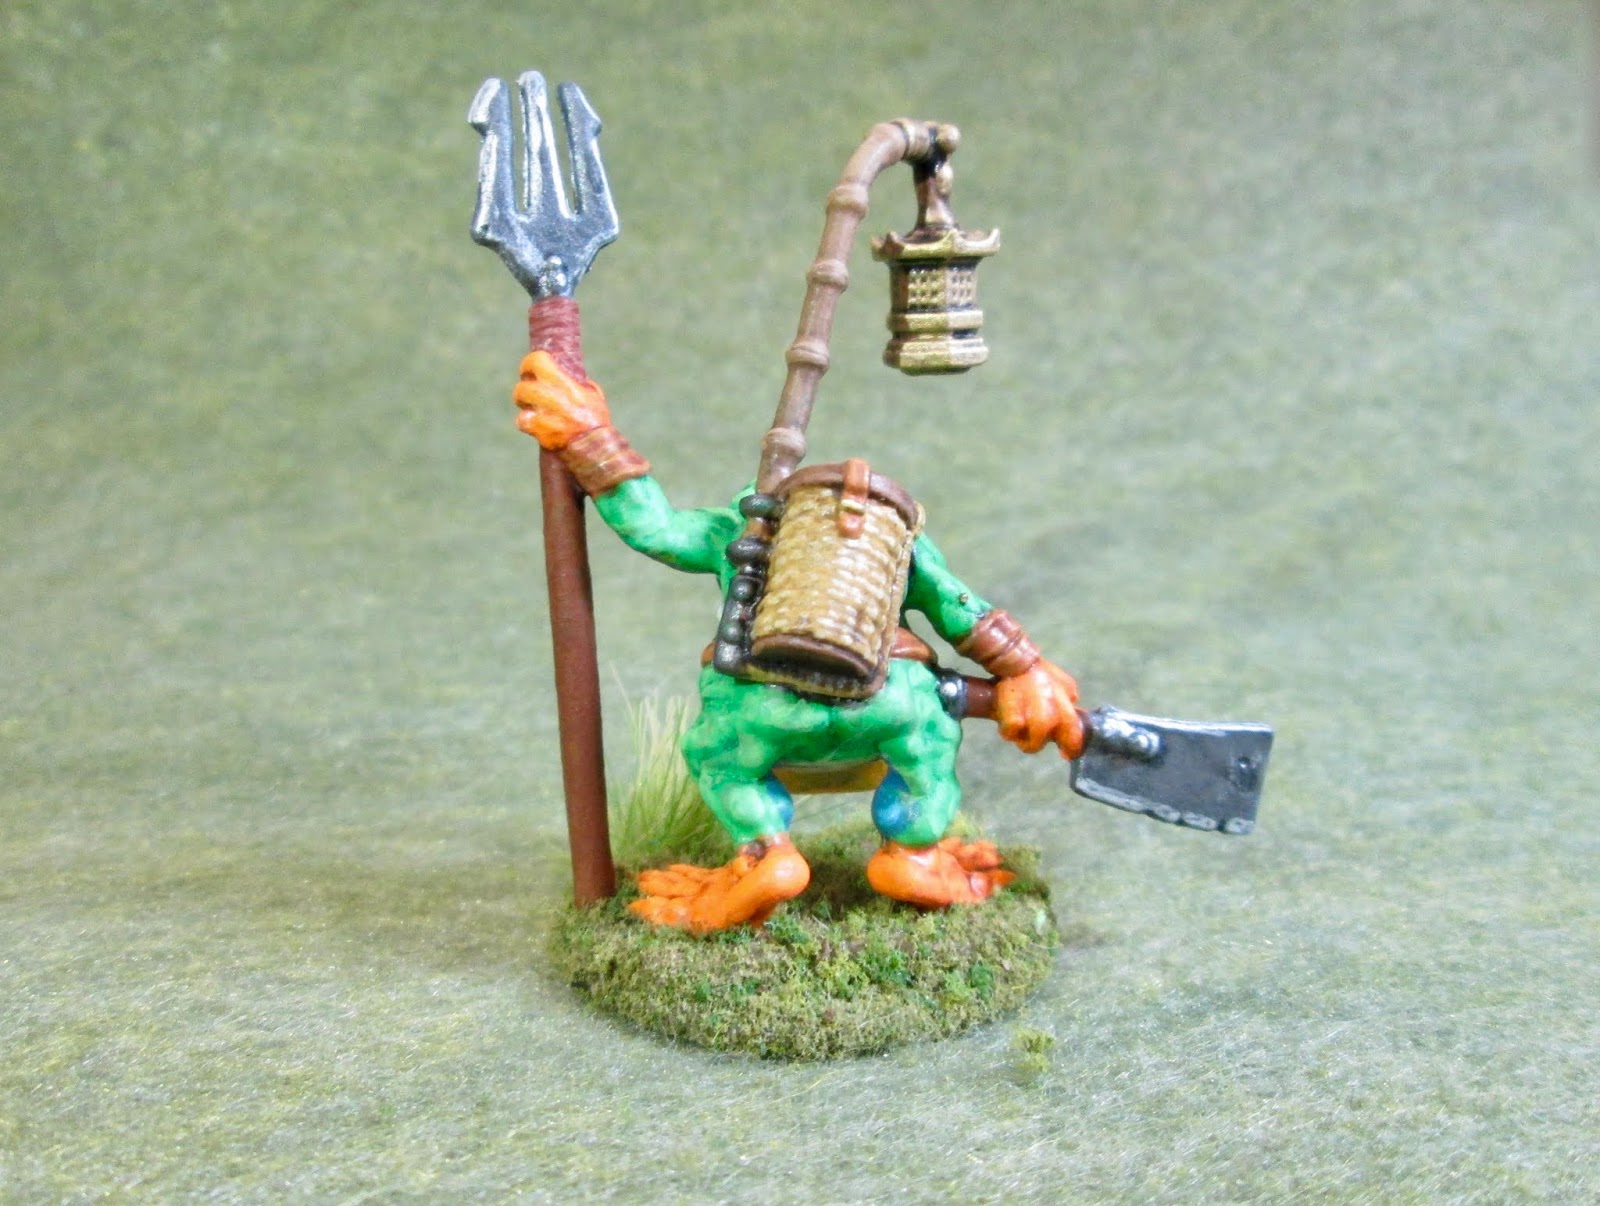
And here's the final outcome:


And, once again, please check in Thursday for another bonus post!