Monday, March 27, 2017

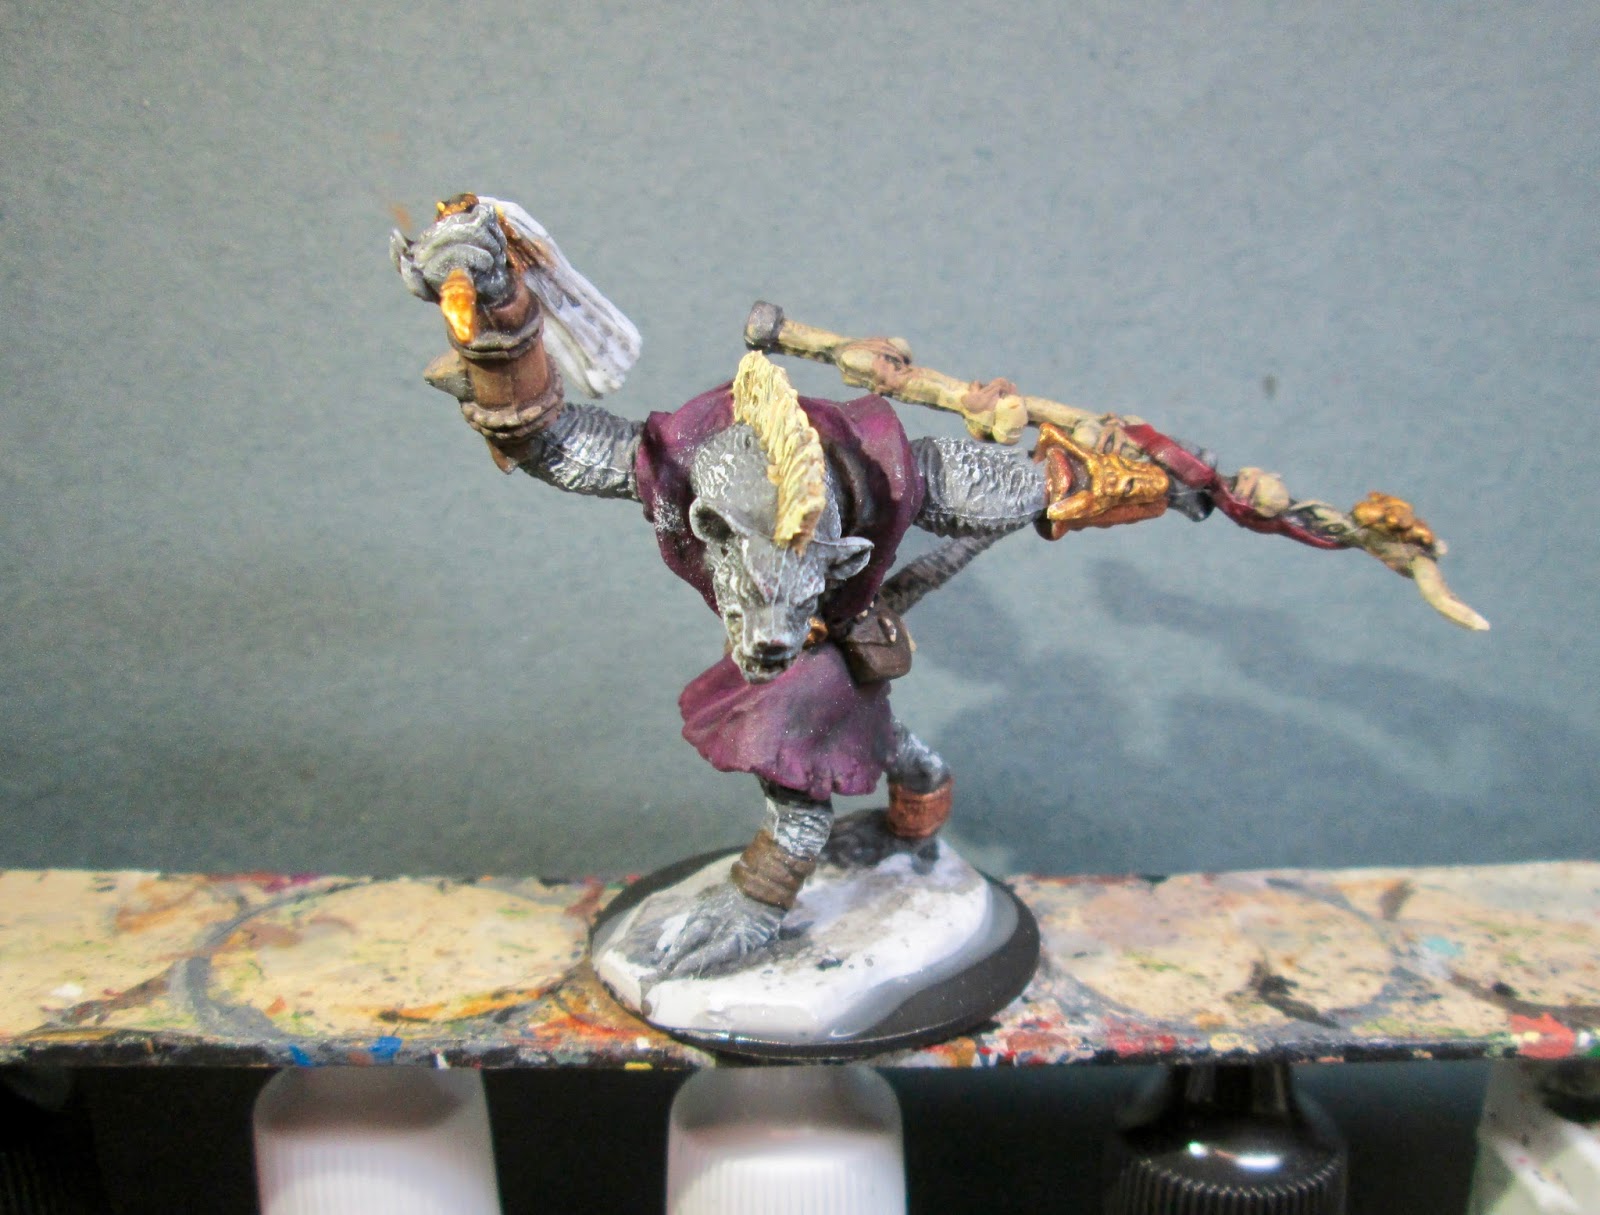
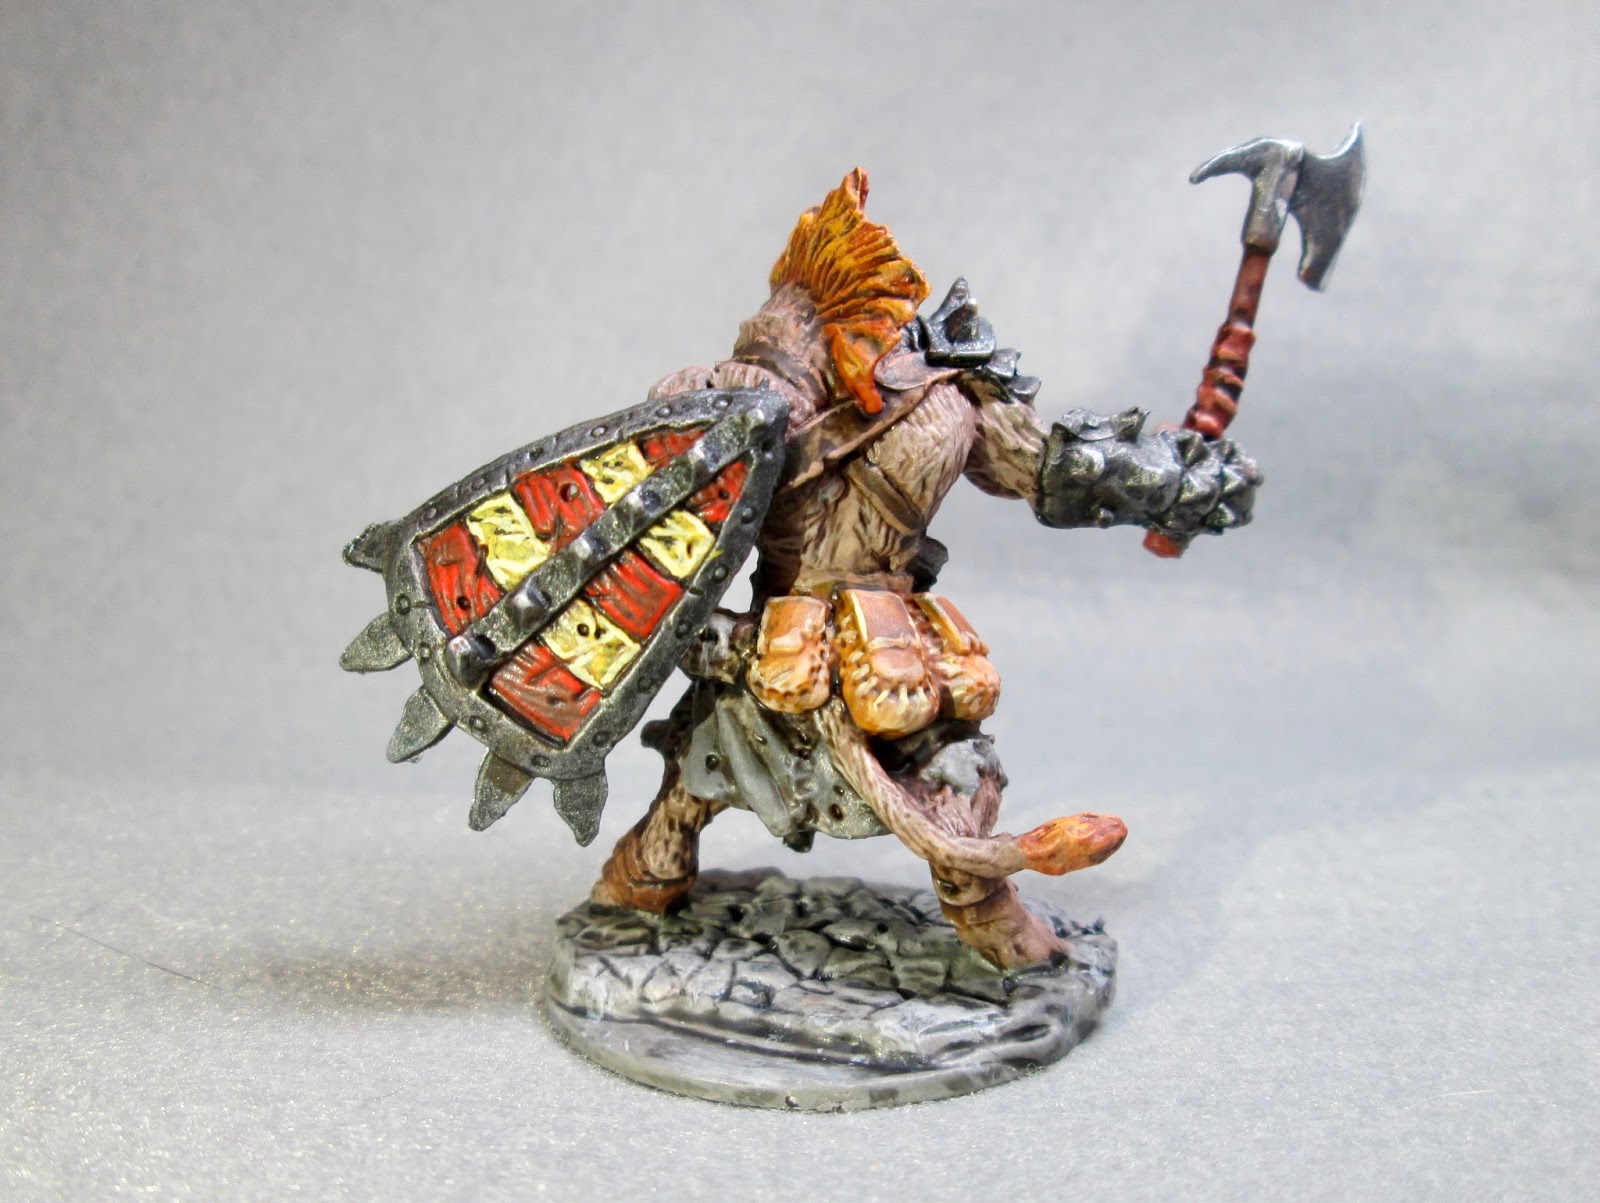
Toghra, Gnoll Leader: Bones II Figure

   This past week I painted up the Toghra, Gnoll Leader, figure from the Bones II Gnolls & Bugbears set.  My second Gnoll to complete as I work my way through them in the eventual expectation to play the scenarios in the Frostgrave "Into the Breeding Pits" supplement book.
         I prepped the figure in the usual way; soaking it in a dish of water with a couple drops of dish-soap added, then giving it a light scrub with a soft toothbrush, and then rinsing and drying it.    I then glued the figure to a black-primed 1.25" fender washer with Aleene's Tacky glue, and then glued the washer-mounted figure to a tongue depressor with a couple drops of the Elmer's glue.
  I began by giving the figure a wash with heavily thinned Reaper "Grey Liner" using a wet brush.  When that was dry, I painted his fur and chest armor with Americana "Zinc", and then did his mane with Ceramcoat "Maple Sugar Tan".  I then painted his tunic with Crafter's Acrylic "African Violet".
     I then painted his bone staff with Americana "Antique White" and the guard on his right forearm with Americana "Sable Brown".  After that I painted his belt, pouch, and the wraps around his left foot with Americana "Raw Umber", and the bag tucked in his belt with Americana "Mississippi Mud".  I also used the "Mississippi Mud"  to paint the ropes on the  right forearm guard, and the bones staff.  Next, I painted the left forearm guard with Apple Barrel "Burnt Senna"; and then the handle of the horse hair rod, the dogs head on the  left forearm guard, the belt buckle, and the decoration on the head of the staff, with Accent "Golden Harvest". I then painted his teeth and teeth in the jaws on the staff's head with Americana "Buttermilk". I painted the ribbon on the staff with Ceramcoat "Black Cherry",  and then hit the base of the staff, and spike on the right forearm guard with the "Zinc".
    Next, I went back and painted his chest armor, the base of the staff, and spike on the right forearm guard with Folk Art Metallic's "Gunmetal Grey".  I then went back and repainted the parts I had painted with the "Golden Harvest" with Ceramcoat "Bronze".   Next , I repainted the left forearm guard and the band on the right foot with Ceramcoat "Copper".  
     Then, after everything had time to dry, I gave the entire figure a wash with Citadel "Nuln Oil" wash using a wet brush". When the Wash was dry, I highlighted his mane with ,Americana "Moon Yellow", and then drybrushed his fur with Americana "Grey Sky".
     I then painted his eyes and muzzle, as well as the tip of his tail with Black.  Then, while I had the Black out, I painted the horse hair rod, and his claws.   After that, I worked on highlighting his tunic using a mix of the base "African Violet" mixed with some Apple Barrel "Apple Lavender".  I then worked on the staff, I highlighting the bones with Americana "Bleached Sand". I moved from there to highlighting the teeth on the staff's head and in his mouth with Crafter's Acrylic "Light ANtique White".  Next, I highlighted his belt, straps, and pouches with Americana "Territorial Beige, and then highlighted all the rope with Americana "Khaki Tan" and the ribbon on the staff with Crafter's Acrylic "Christmas Red". At that point I went back and highlighted the horse hair with Citadel "The Fang", and his claws with Americana "Neutral Grey".
    I then highlighted the parts I had painted "Bronze" with Ceramcoat "14K Gold", and highlighted the he parts I had painted with the "Gunmetal Grey" using Ceramcoat "Metallic Silver".  The parts I had painted with the "Copper", I simply highlighted with the base "Copper".
   When I was done painting the figure, I used some white glue to glue a little sand to the base.  When this was dry, I painted it all Black.  When the Black was dry, I drybrushed it with some of the "Neutral Grey", and then some Duncan "Slate Grey".
    I let the figure dry overnight and the next day I gave him a coat of Americana "DuraClear Matte" varnish.  Another overnight dry, and I sprayed him with Testor's Dullcote".

I'm really happy how this fellow tuned out, though I'm not particularly a fan of the sculpt;  while it's wonderfully dynamic, it lacks a real focal point, or an easily determined front, making it difficult to get a good photo of it.

Monday, March 20, 2017

Crates & Barrels: Bones II Pieces

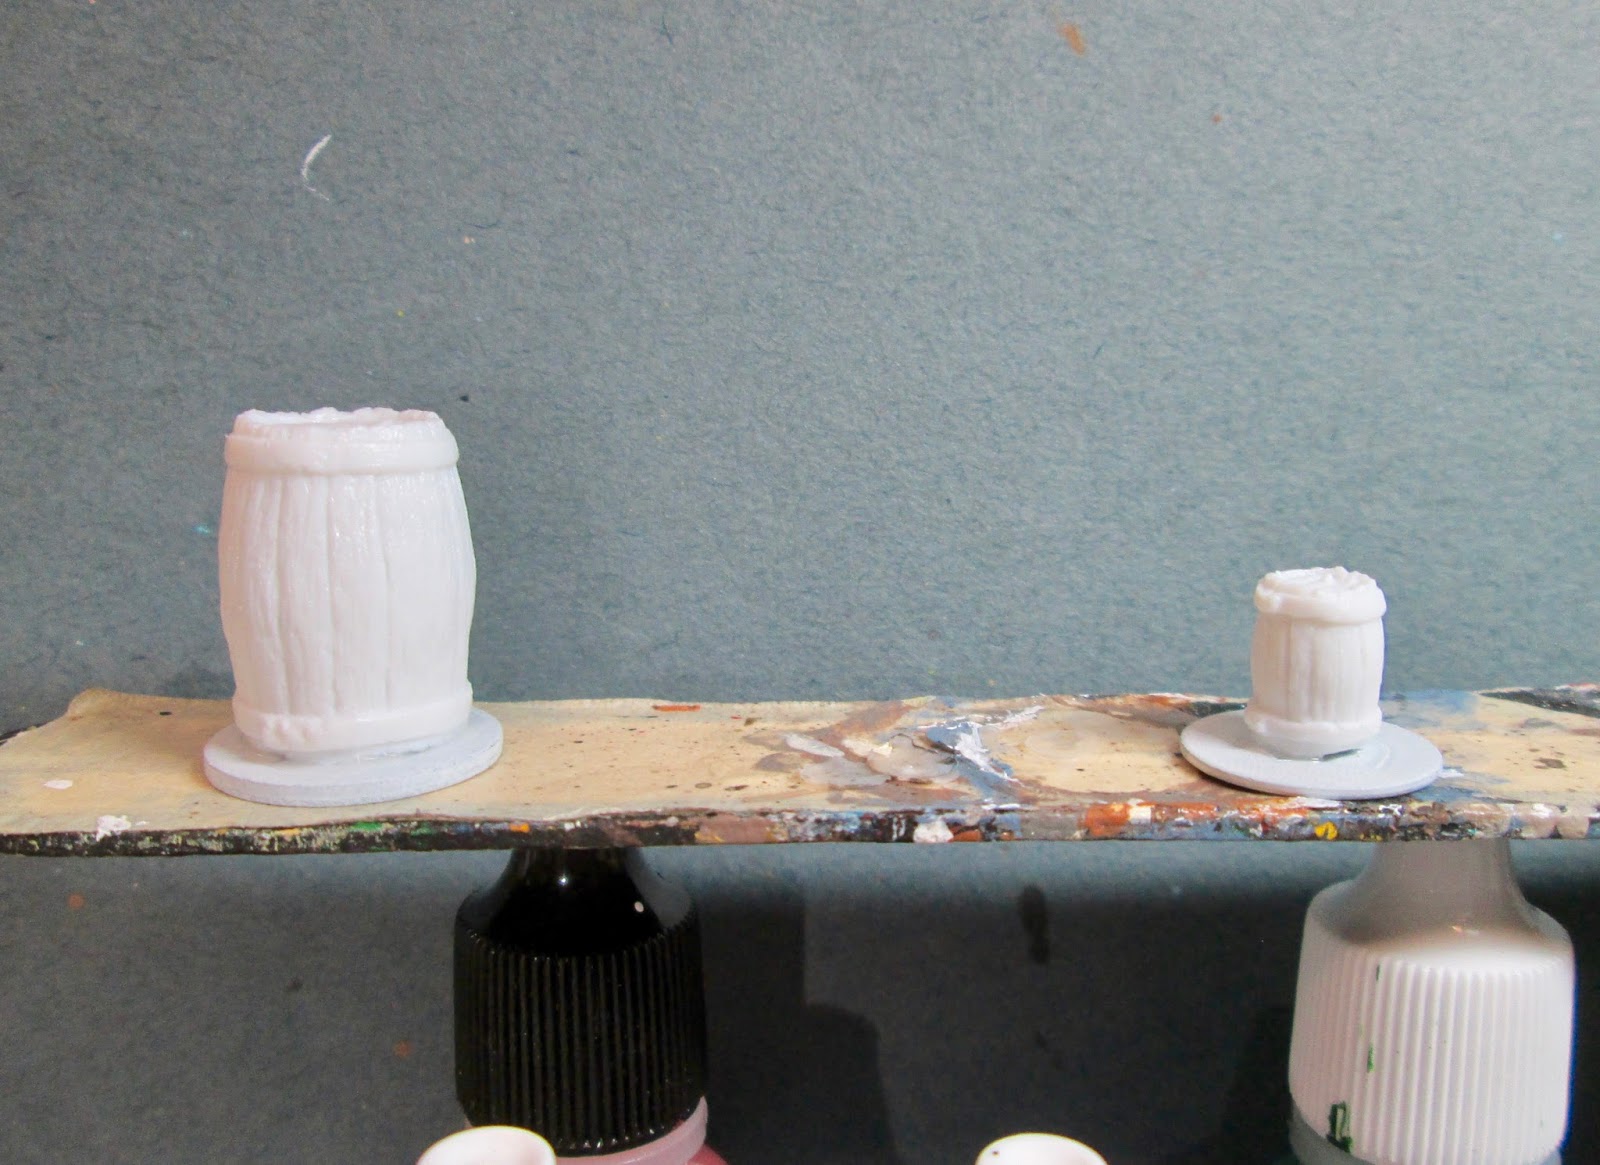
     This past week I painted the crates and barrels from the Bones II Dungeon Decor set to use in the Frostgrave Loot Cart scenario we will be doing this weekend.
        I prepped the crates and barrels in the usual way; soaking them in a dish of water with a couple drops of dish-soap added, then giving them a light scrub with a soft toothbrush, and then rinsing and drying them.    I then glued the crates to a white-primed 1"x.5" steel base, and the large barrel to a 3/4" fender washer, and the small crate to a 5/8" fender washer with Aleene's Tacky glue, and then glued the steel base and washers to a tongue depressor with a couple drops of the Elmer's glue.

     I began by painting one crate and one barrel with Americana "Territorial Beige", and the second crate and barrel with  Folk Art "TeddyBear Brown".   I then gave everything a wash with Citadel "Agrax Earthshade" wash.

     When the wash was dry, I drybrushed all the pieces with Americana "Khaki Tan", and then a little Americana "Bleached Sand".   After that, I painted the bases with Americana "Mississippi Mud".
     I let the crates and barrels dry overnight and early the next morning I gave them and their bases a coat of Americana "DuraClear Matte" varnish.   I let it dry all day, and late that afternoon I sprayed it with Testor's Dullcote".

Monday, March 13, 2017

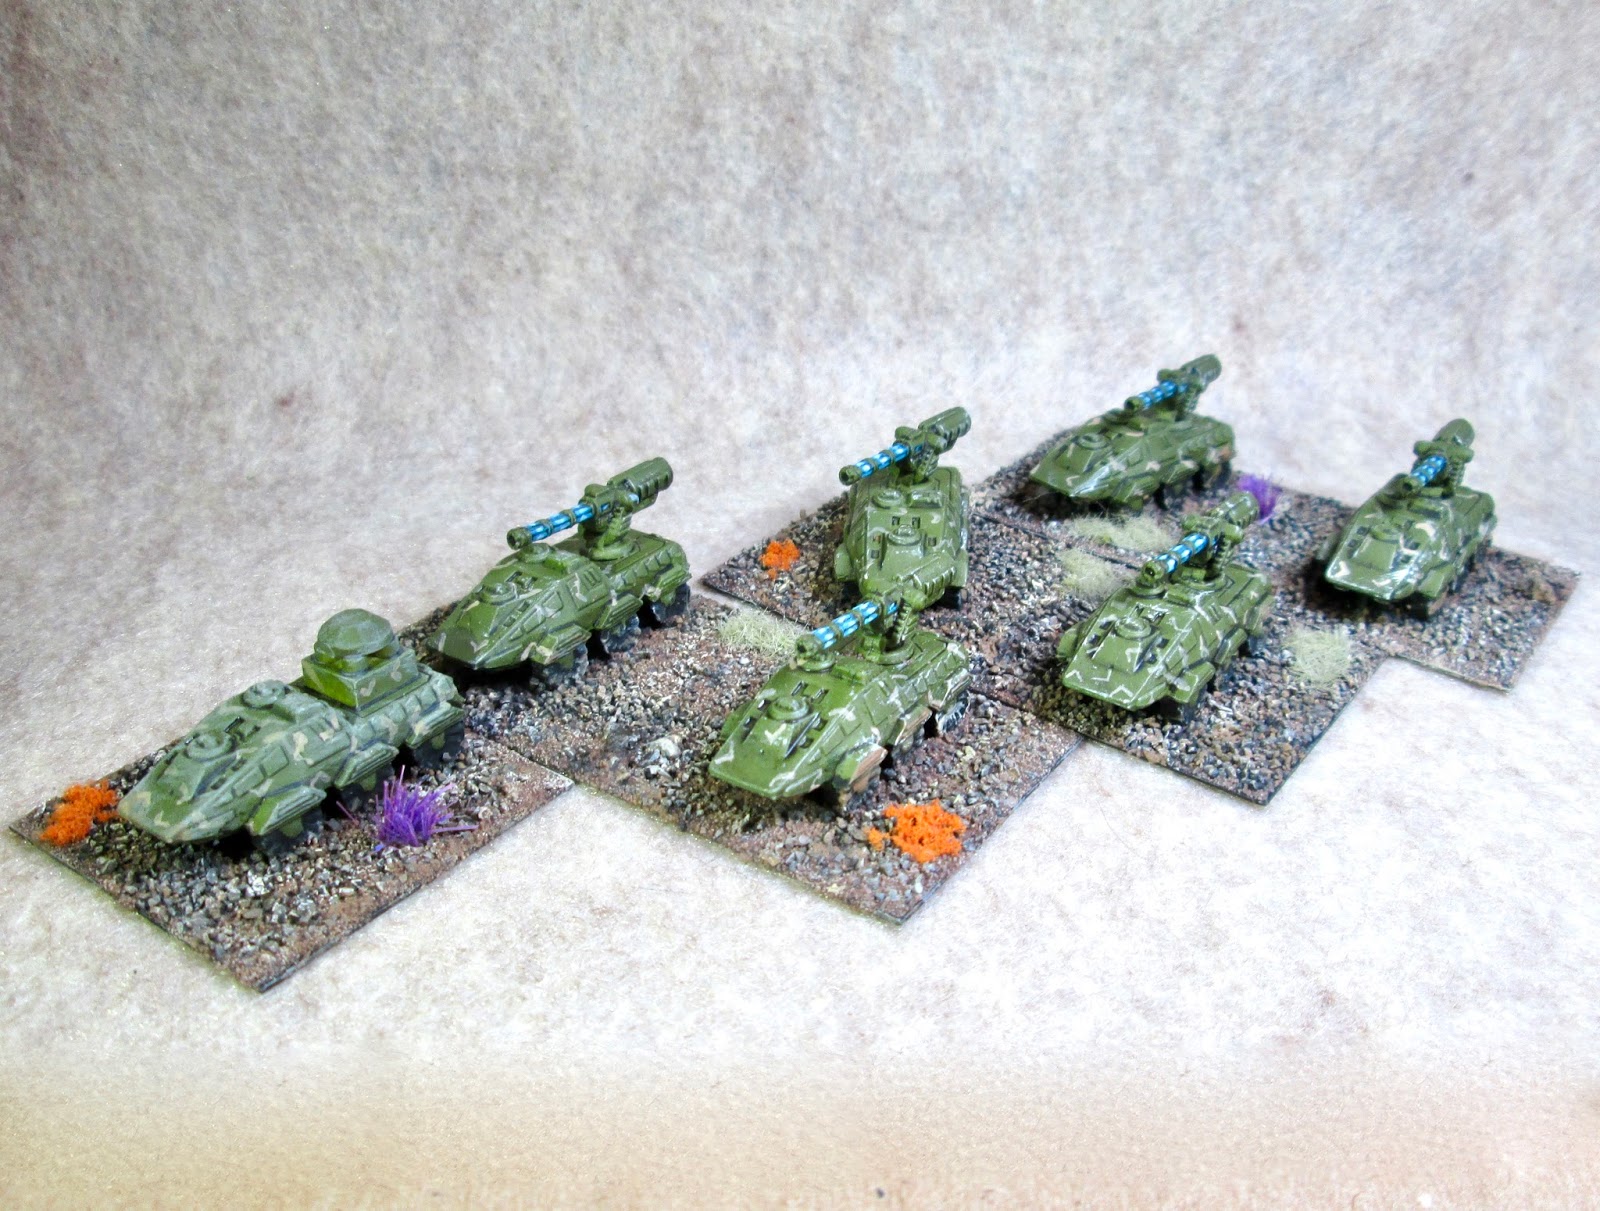
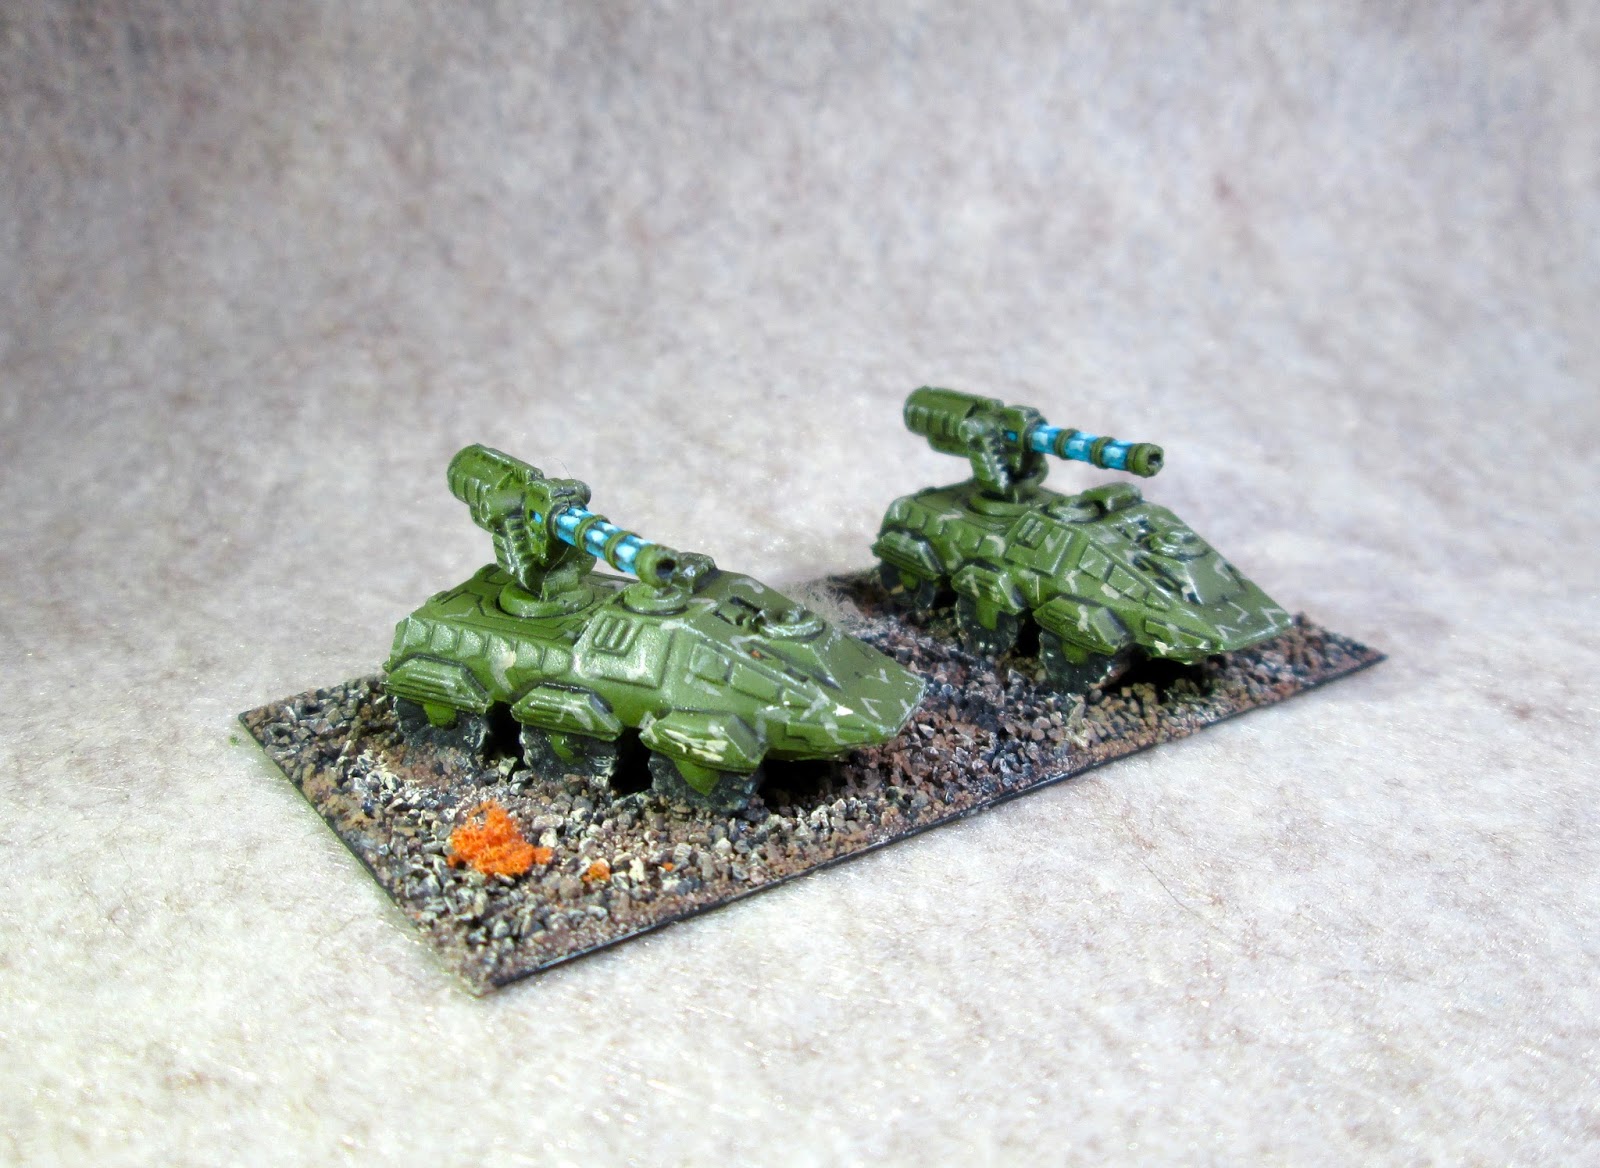
CAV Warden Unit: CAV 1 Kickstarter

    This week I decided for a change of pace to work on some of the CAV Bones minis I got from the first CAV Kickstarter, and complete a company of Warden vehicles.  These are being based up for the upcoming version of "Look, Sarge, No Charts: Near Future & Sci-Fi" rules we will begin working on soon.  So, my company will consist of three 2-vehicle platoon bases, and a single-vehicle HQ base.
      I prepped the vehicles in the usual way for Bones; soaking them in a bowl of water with a couple drops of dish-soap added, then giving them a light scrub with a soft toothbrush, and then rinsing and drying them. I then glued the laser in place with superglue on 6 of the vehicles, and on the 7th, HQ vehicle, I scratchbuilt a simple radar/communication unit to sit on the back using a piece of mini lego and a plastic gem.
     I first sprayed the vehicles with Krylon Camouflage with Fusion, Ultra Flat "Woodland Light Green".    When dry, I glued 6 of them onto 1.5" x 3" bases, and the HQ onto a 1.5" square base.   I then painted the big lasers on back with Crafter's Acrylic "Tropical Blue";  and when dry, I gave the all the vehicles a wash with Citadel "Nuln Oil" wash using a wet brush.
When the wash was dry, I painted the tires Black, and then highlighted the lasers; first with the "Tropical Blue", and then with Crafter's Acrylic "Cool Blue".  Next, I painted a simple camouflage pattern on the vehicles with Americana "Khaki Tan".  After that, I drybrushed the vehicles with Americana "Bleached Sand.  
    I let the vehicles sit overnight, and the next morning I varnished them with Americana "DuraClear Matte" varnish.  Later that day, when the varnish was dry, I applied a thin coat of white glue to the bases and dipped them in a mix of course black sand and fine brown sand.  When the glue was dry, I drybrushed the sand with Ceramcoat "Territorial Beige" and then Americana "Antique White", followed by the "Bleached Sand".  I then added some small bits of various static grass and other flocking.


     I'm very pleased with ho these turned out, and am looking forward to the chance in the near future of finally getting some of my CAV on the table. 

Monday, March 6, 2017

Bloodmane, Gnoll Warrior: Bones II Figure

    This week I painted up the Bloodmane, Gnoll Warrior, figure from the Bones II Gnolls & Bugbears set.   I ended up with a bunch of the Bones II Gnolls through trades and flea market purchases, so I thought it was about time to start work on them.    I'm going to need them eventually for the Frostgrave "In To The Breeding Pits" supplement, so rather than wait until the last minute, I thought I'd start now and allow myself the luxury of being able to work on them at a leisurely pace.
         I prepped the figure in the usual way; soaking it in a dish of water with a couple drops of dish-soap added, then giving it a light scrub with a soft toothbrush, and then rinsing and drying it.    I then glued the figure to a black-primed 1.25" fender washer with Aleene's Tacky glue, and then glued the washer-mounted figure to a tongue depressor with a couple drops of the Elmer's glue.
      I began by giving the figure a wash with heavily thinned Reaper "Grey Liner" using a wet brush.  When that was dry, I painted the armor and shield Black.  When the Black was dry, I drybrushed it with  Folk Art Metallics "Gunmetal Grey".  I then passed over the armor with a lighter drybrush of Folk Art "Silver Sterling".
     I then painted his fur with Americana "Mississippi Mud", and his mane and tail fringe with Crafter's Acrylic "Orange Spice".  Next, I painted his kilt with Americana "Zinc", and then painted the inside back of his shield with Teddy Bear Brown".  After that, I painted all his belts and straps with Americana "Bittersweet Chocolate".
Next, I painted the skulls with Americana "Antique White", and his teeth with Americana "Buttermilk". I then painted the wraps on his foot, the string holding the skulls, as well as his axe handle with Nicole's "Brown", and the wraps around the axe handle and his scabbard with Anita's "Burnt Sienna".
     I also used the "Burnt Sienna to paint three of the stripes on his shield, and Apple Barrel "Yellow" to paint the other two.  After that, I painted his pouches all with Ceramcoat "Raw Sienna".
     Then, when everything was dry, I gave the entire figure a wash with Citadel "Agrax Earthshade" wash using a wet brush.  When the wash was dry, I painted his eyes, and the highlighted his teeth with Crafter's Acrylic "Light Antique White".
     Next, I highlighted his fur with Americana "Khaki Tan", and then highlighted his mane and tail fringe with Americana "Tangerine". I then painted his nose, muzzle, claws and the grip on his short sword with Black.  I then highlighted his kilt with Apple Barrel "Rock Grey", and a little Folk Art "Platinum Grey"  fro the stitching.  After that, I highlighted all his straps and belts with Americana "Sable Brown", and then highlighted the front of his shield with Reaper MSP "Holly Berry" for the red stripes, and Reaper MSP "Golden Glow" on the yellow stripes.
     I then did the highlights on his axe grip an short sword scabbard with Americana "Shading Flesh", and on his pouches with Apple Barrel "Apple Maple Syrup". The rope holding the skulls I highlighted with Ceramcoat "Territorial Beige", and I then highlighted the skulls with the "Buttermilk", and then the "Light Antique White".   I then went back and highlighted his nose, muzzle, claws, and sword grip with Americana "Neutral Grey".   I then went back over the metal parts adding highlights with Ceramcoat "Metallic Silver".
     Lastly, I painted the base with the "Neutral Grey", and then gave it a wash with Citadel "Nuln Oil" wash.  When the wash was dry, I gave it a drybrush with Duncan "Slate Grey"
      I let the figure dry overnight and the next day I gave him a coat of Americana "DuraClear Matte" varnish.  Another overnight dry, and I sprayed him with Testor's Dullcote".

     As a test, subject, I'm really happy with how he turned out.  Now on to the rest of the pack!

Monday, February 27, 2017

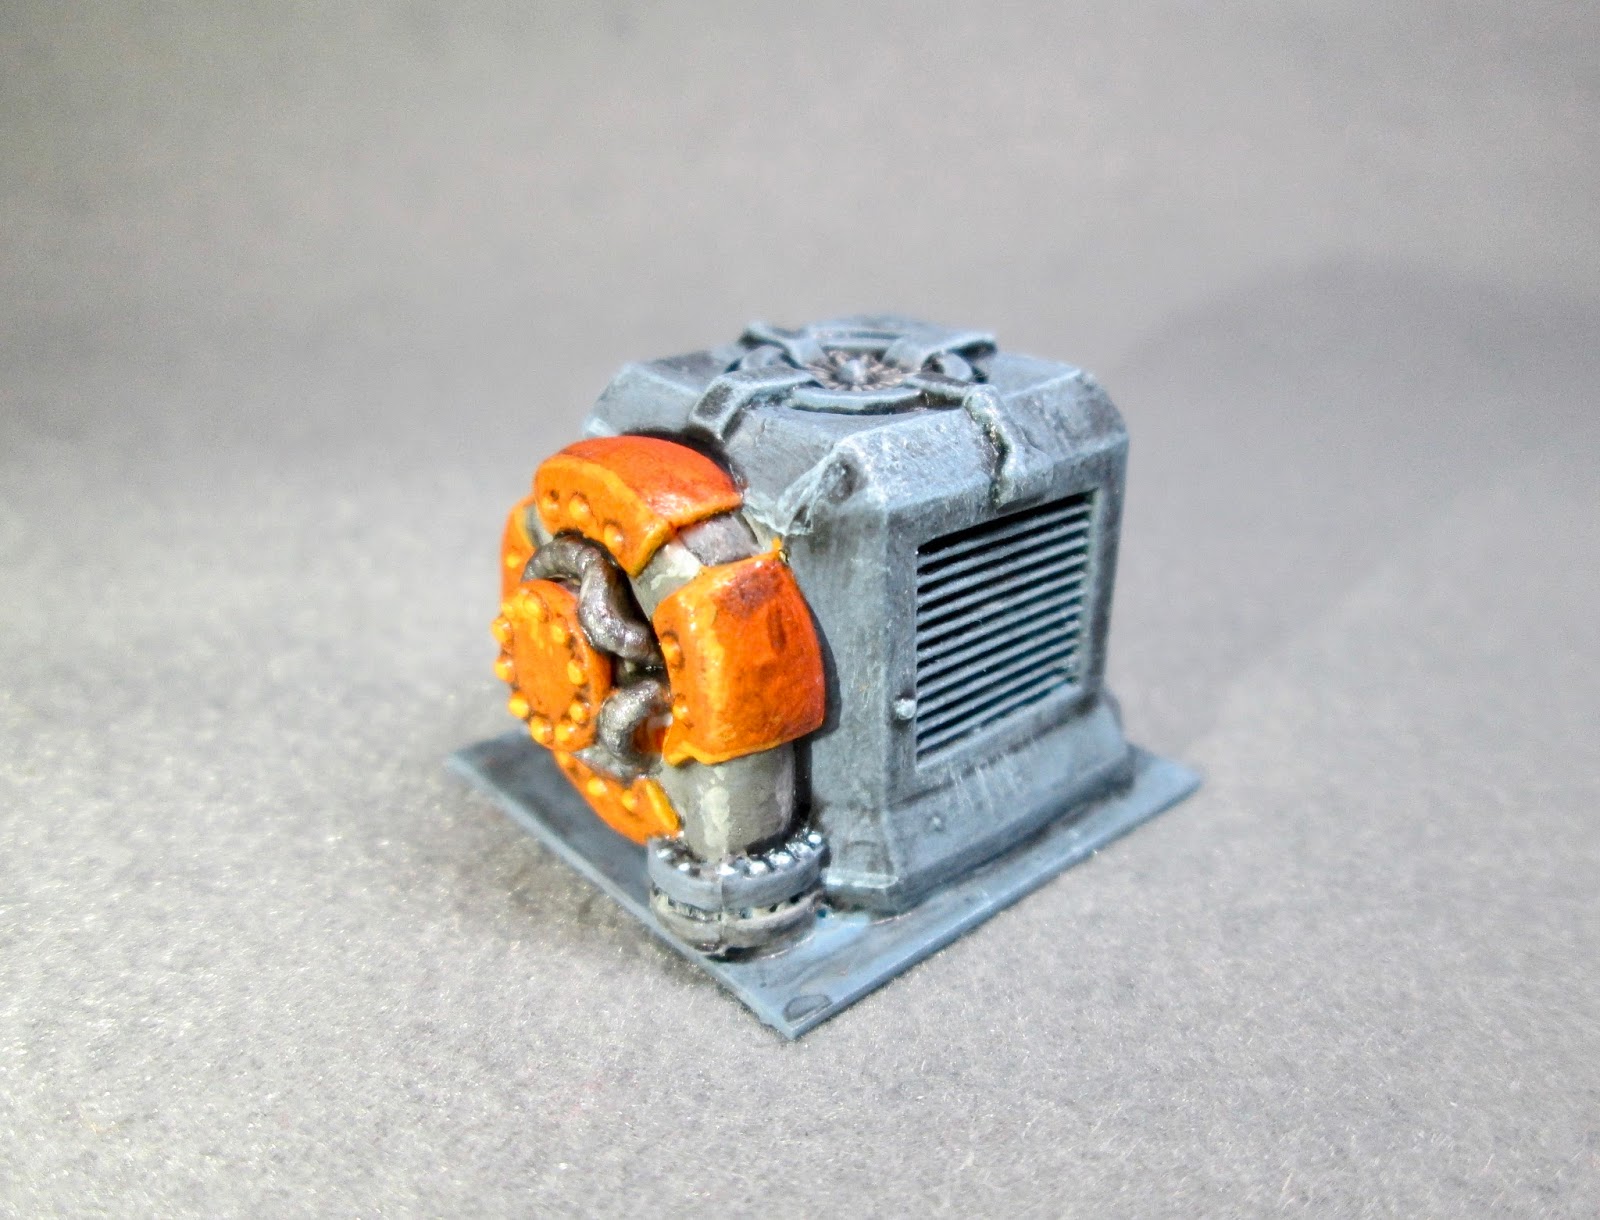
Starship Generator: Bones II Scenery Piece

  This past week I painted the Starship Generator from the Bones II, Expansion Set 3. Since we are planning a Rogue Stars playtest sometime in the future, I thought some more Sci-Fi scenery might come in handy.   
     I prepped the piece in the usual way; soaking it in a dish of water with a couple drops of dish-soap added, then giving it a light scrub with a soft toothbrush, and then rinsing and drying it.    I then glued it to a 1" square steel base with Aleene's Tacky glue, and when dry, I painted the base with some brush on metal primer.  I then glued the steel base to a tongue depressor with a couple drops of the Elmer's glue.
     I began by painting the bulk of the machinery, including the base, with Folk Art "Cloudy Day", and then painted the top fan, and then inner part of the side coil with Crafter's Acrylic "Storm Cloud Grey".  Next, I painted the outer coil housing with Crafter's Acrylic "Pure Pumpkin".
     I then painted the cables running from the side and up around the coil's center with Folk Art Metallics "Gunmetal Grey".  I let everything dry for a while, and then I gave the entire piece a wash with Citadel "Nuln Oil" wash suing a wet brush.   When the wash was dry,  I drybushed the main housing with Crafter's Acrylic "Cool Blue".  After that, I highlighted the top fan and the inner coil housing with Folk Art "Platinum Grey".  Lastly, I highlighted the outer coil housing with Americana "Tangerine".
    I let the generator dry overnight and early the next morning I gave it a coat of Americana "DuraClear Matte" varnish.   I let it dry all day, and late that afternoon  I sprayed it with Testor's Dullcote".

   A simple piece, but I am happy with how it turned out!

Monday, February 20, 2017

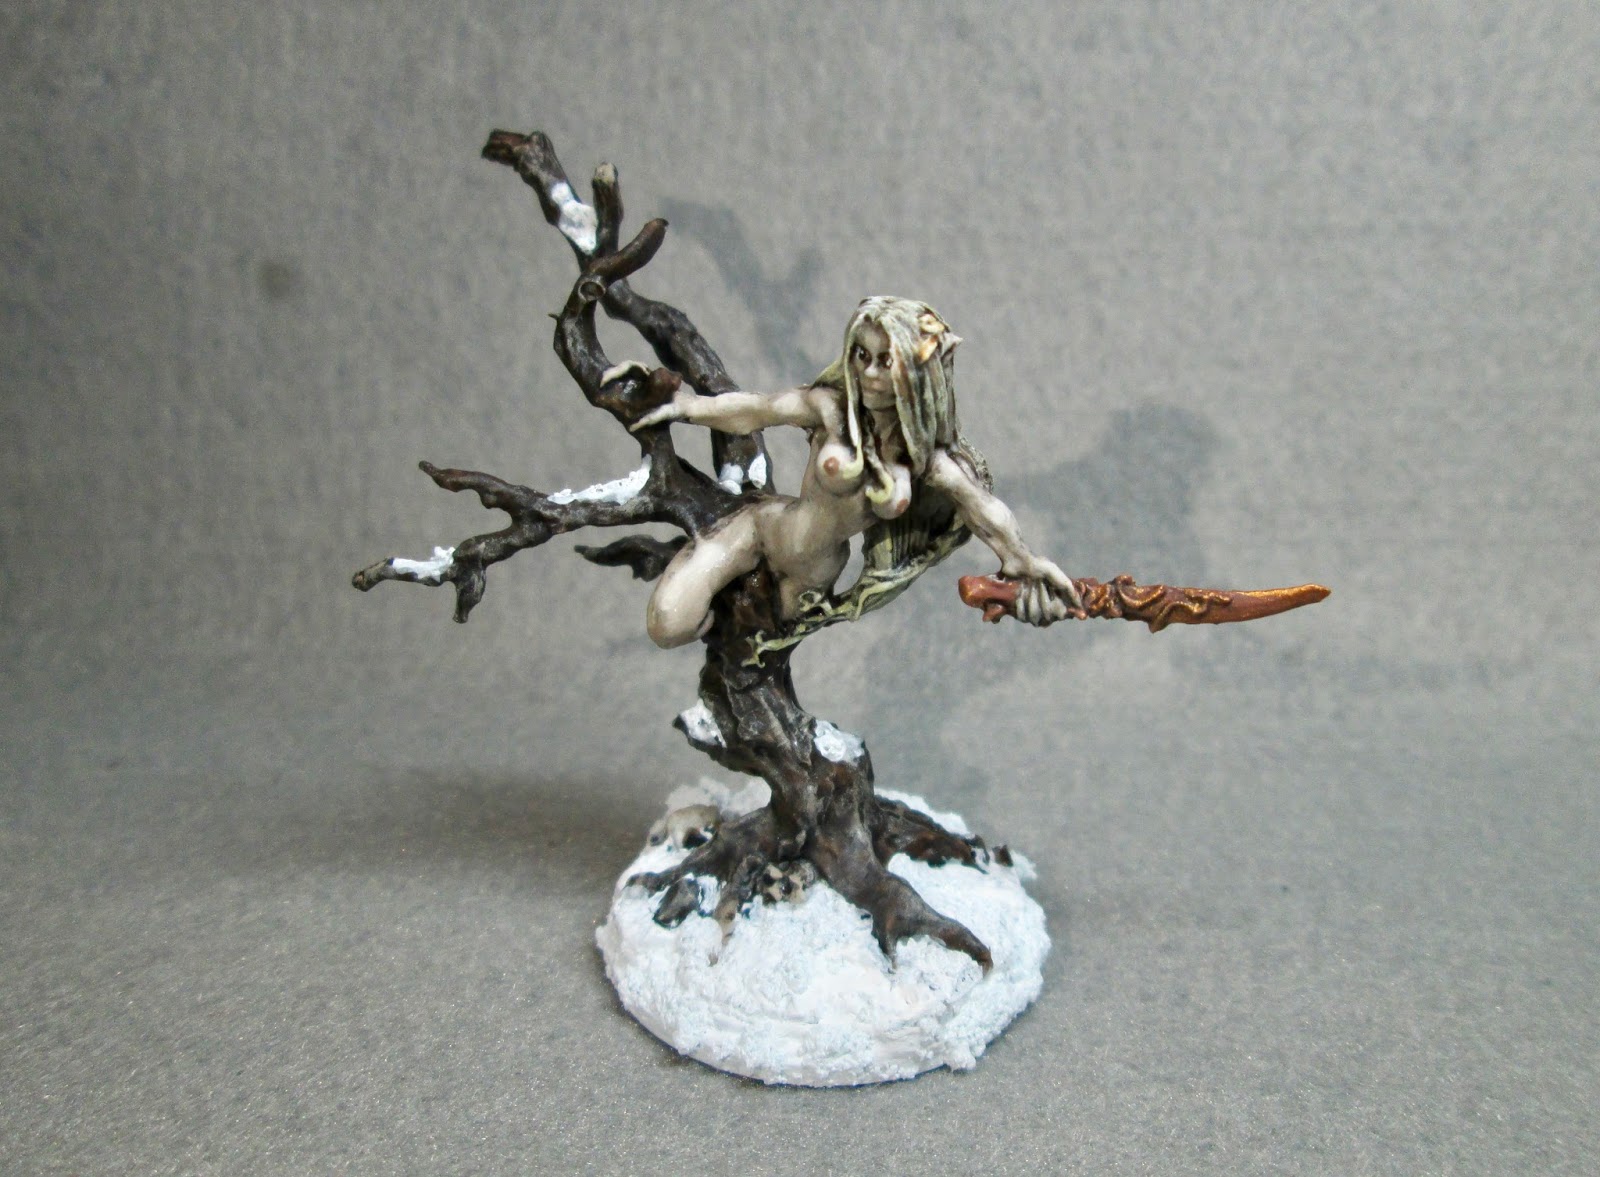
Drys, Dryad: Bones II Figure

     This past week I painted the Drys, Dryad, figure from the Bones II, Sylvan Creatures set.  Since I was in kind of a Frostgrave frame of mind when I was thinking about painting her, I decided I would try to paint her up in winter colors, like a dryad that has been unexpectedly awoken from her Winter sleep and is not happy about it;  so I attempted to give her a pale and cold look.
      I prepped the figure in the usual way; soaking it in a dish of water with a couple drops of dish-soap added, then giving it a light scrub with a soft toothbrush, and then rinsing and drying it.    I then glued the figure to a white-primed 1" fender washer with Aleene's Tacky glue, and then glued the washer-mounted figure to a tongue depressor with a couple drops of the Elmer's glue.
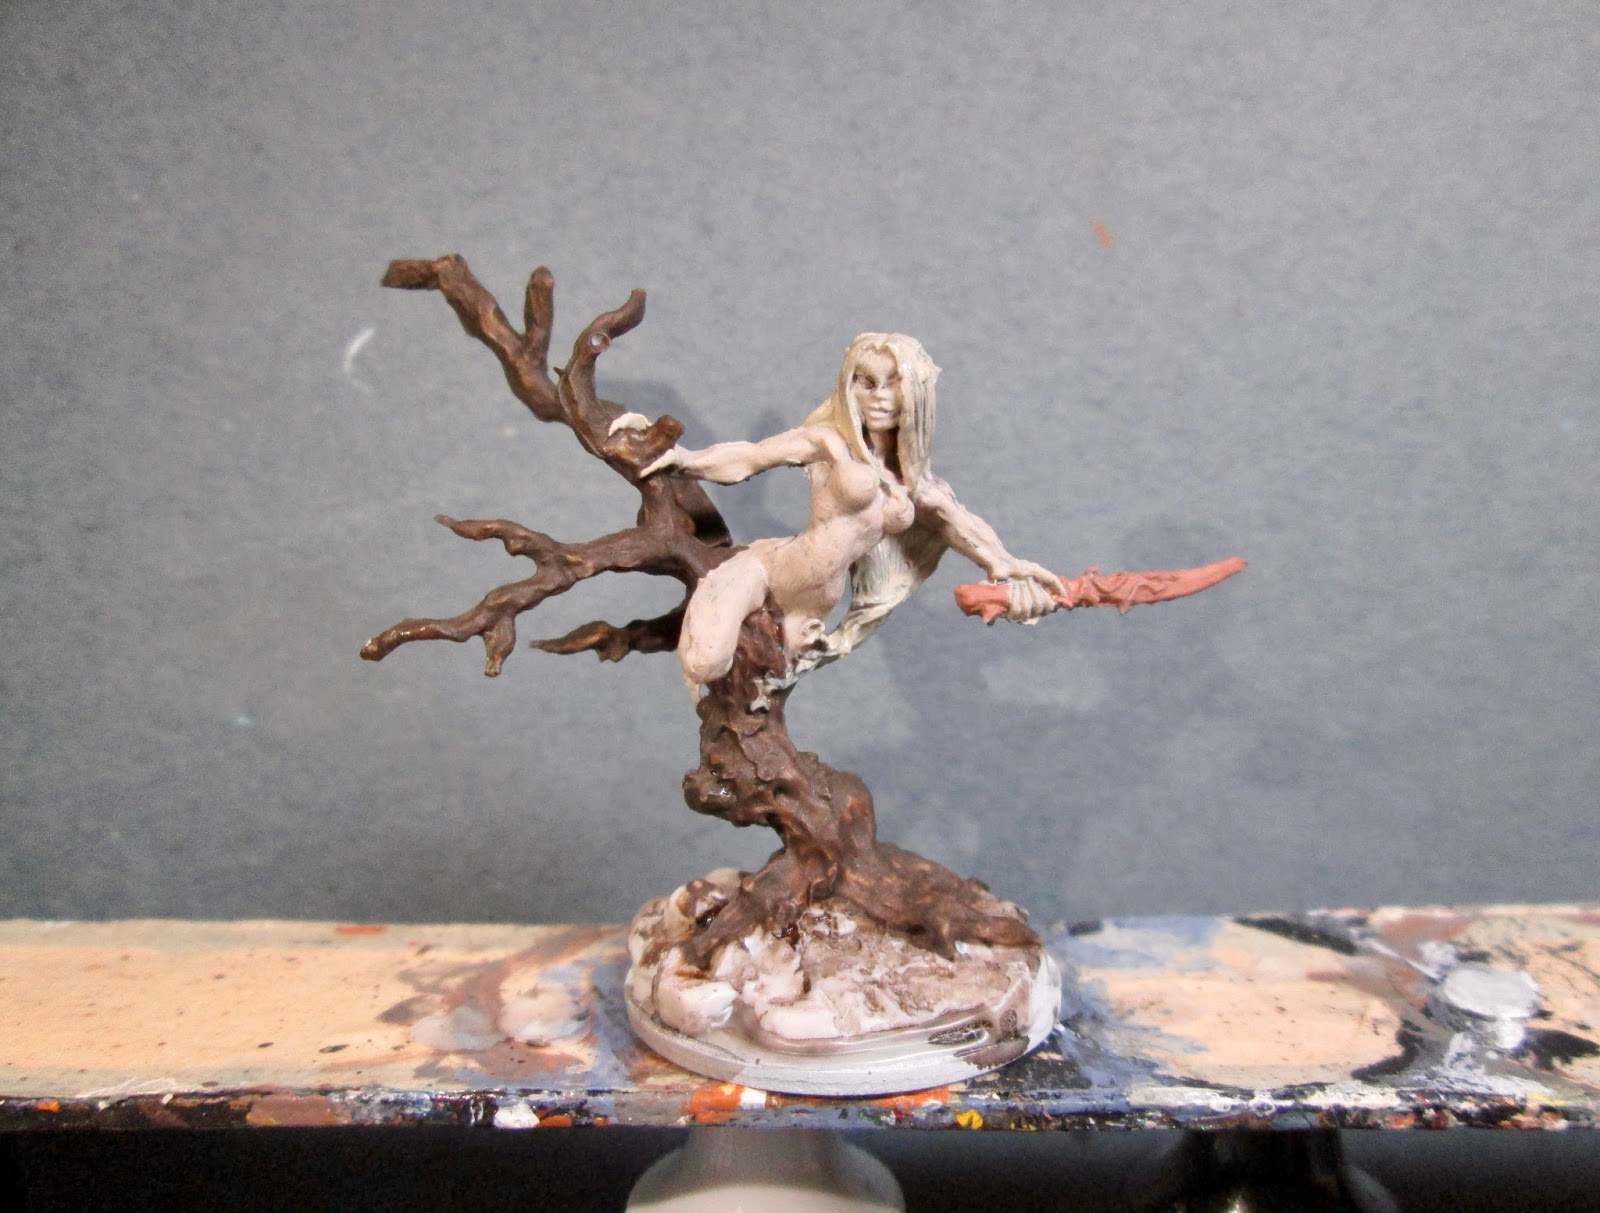
      I began by painting the tree with Americana "Bittersweet Chocolate", and then painted the dryad with Folk Art "Barn Wood".   I then painted her sword with Folk Art Teddy Bear Brown", and her hair with Folk Art "Gray Green".
      I then painted the leaves in her hair with Apple Barrel "Apple Maple Syrup".  Then, after everything had a while to dry, I gave the entire figure a wash using Citadel "Agrax Earthshade" wash using a wet brush.  When the wash was dry, I drybrushed the tree with Apple Barrel "Rock Grey".
     I then highlighted her skin with the base "Barn Wood", and then with the "Barn Wood" with a little "Crafter's Acrylic "Light Antique White" added to it.  After that, I painted her nipples with Americana "Mississippi Mud".   I then worked on highlighting her hair, first with Folk Art "Porcelain White", and then with Americana "Reindeer Moss Green".  I then did some detail highlights on the hair with the "Light Antique White".    Then I highlighted the leaves in her hair with Apple Barrel "Lemon Chiffon"and then I painted her eyes.
     I painted what I interpreted as rocks on the base with Americana "Zinc", and then painted what I thought was a skull, with Americana "Khaki".  While they dried, I worked on giving her sword a light drybrushing with Ceramcoat "Bronze".  I then went back and gave the rocks and skull a wash with Citadel "Nuln Oil" wash.  Then, when the wash was dry, I highlighted the rocks with the "Rock Grey", and the skull with the "Light Antique White".  Lastly, I painted the areas of the base that were't the roots, rocks, or skull, with White.
     I let the figure dry overnight and the next day I gave her a coat of Americana "DuraClear Matte" varnish. Another overnight dry, and I sprayed her with Testor's Dullcote". When the Dullcote was dry, I went back and applied the a mix of snow flock, white paint, and white glue to some of the branches and the base.


     I'm really happy with how this figure turned out.  I think it has the cold, awoken-in-the-middle-of-winter look I wanted.

Monday, February 13, 2017

Dragon Tortoise: Bones II Large Figure

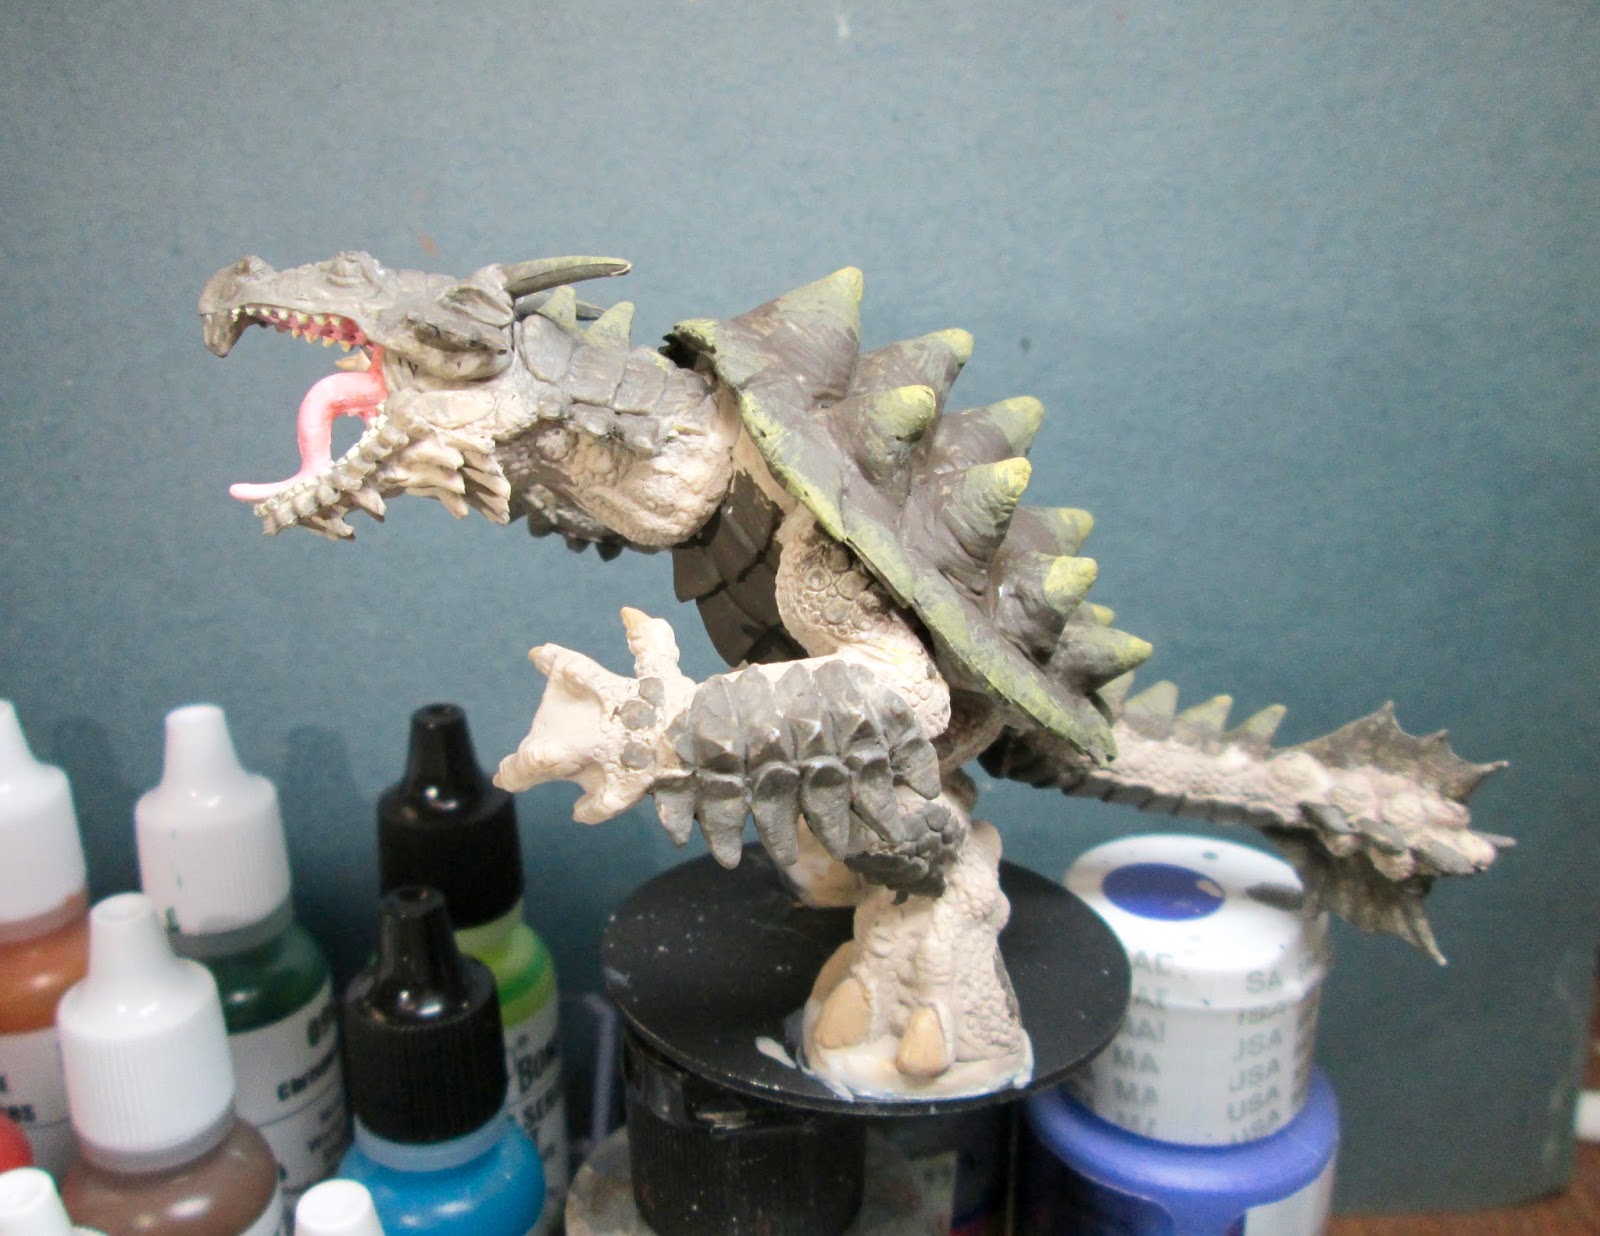
     This past week I painted the large Dragon Tortoise figure from the Bones II, Expansion Set 1.  In planning my color scheme for this, I Googled images of snapping turtles, and scrolled through those for a while to get an idea of what the real thing looked like.
       I prepped the figure in the usual way; soaking the pieces in a dish of water with a couple drops of dish-soap added, then giving them a light scrub with a soft toothbrush, and then rinsing and drying them.   I then assembled the model using Gorilla superglue. When the superglue was set, I then glued the figure to a black-primed 2" fender washer with Aleene's Tacky glue.
     I began by painting his skin with Folk Art "Barn Wood", and his shell with Model Color "USA Olive Drab".   I then made a mix of the two colors to paint his arm, leg, and tail scales, as well as the top of his head, blending it into the lower lighter part of the head.  After that, I painted the inside of his mouth with Apple Barrel "Apple Light Pink".
     Next, I painted his claws and toenails with Americana "Khaki Tan", and his teeth with Americana "Bleached Sand".   I then mixed some of the "USA Olive Drab" with some Accent "Golden Harvest", and blended the tops of his shell spikes as well as the edges of the shell, working from the base "USA Olive Drab" up to pure "Golden Harvest" on the tips and edges.
      After everything had a while to dry, I gave the entire model a wash with Citadel "Agrax Earthshade" wash using a wet brush.  When the wash was dry, I painted his eyes with Apple Barrel "Lemon Chiffon", and then mixed a little of the "Lemon Chiffon" with some of the "USA Olive Drab", and used that to paint a cross on the eye, followed by a Black pupil.  I then highlighted his teeth with Crafter's Acrylic  "Light Antique White."
    After the teeth,  I highlighted the tongue with the base "Light Apple Pink",  and then the "Light Apple Pink" with a little White added.  Next, I highlighted the skin with a drybrushing of the base "Barn Wood", and I highlighted the shell as well as the neck, head, arm, leg and tail  scales all with a drybrushing of  the "Golden Harvest". I then highlighted the claws and toenails with some of the base  "Khaki Tan" mixed with a little Americana "Bleached Sand".  Lastly, I painted the area of base around each food with some Ceramcoat "Walnut".
    I let the figure dry overnight and the next day I gave him a coat of Americana "DuraClear Matte" varnish. When dry, I flocked the base. Another overnight dry, and I sprayed him with Testor's Dullcote".


     He's not quite how I had envisioned it in my mind's eye before I started, but I'm generally happy nonetheless.  And it's always  great to get another of these large figures completed!