This week I decided to finish up the Stitch Golem set from the Bones 3
Stoneskull Expansion, and painted the second of the two Lesser Stitch Golems. You can find his brother here:
Lesser Stitch Golem, and the big one here:
Gutrags.
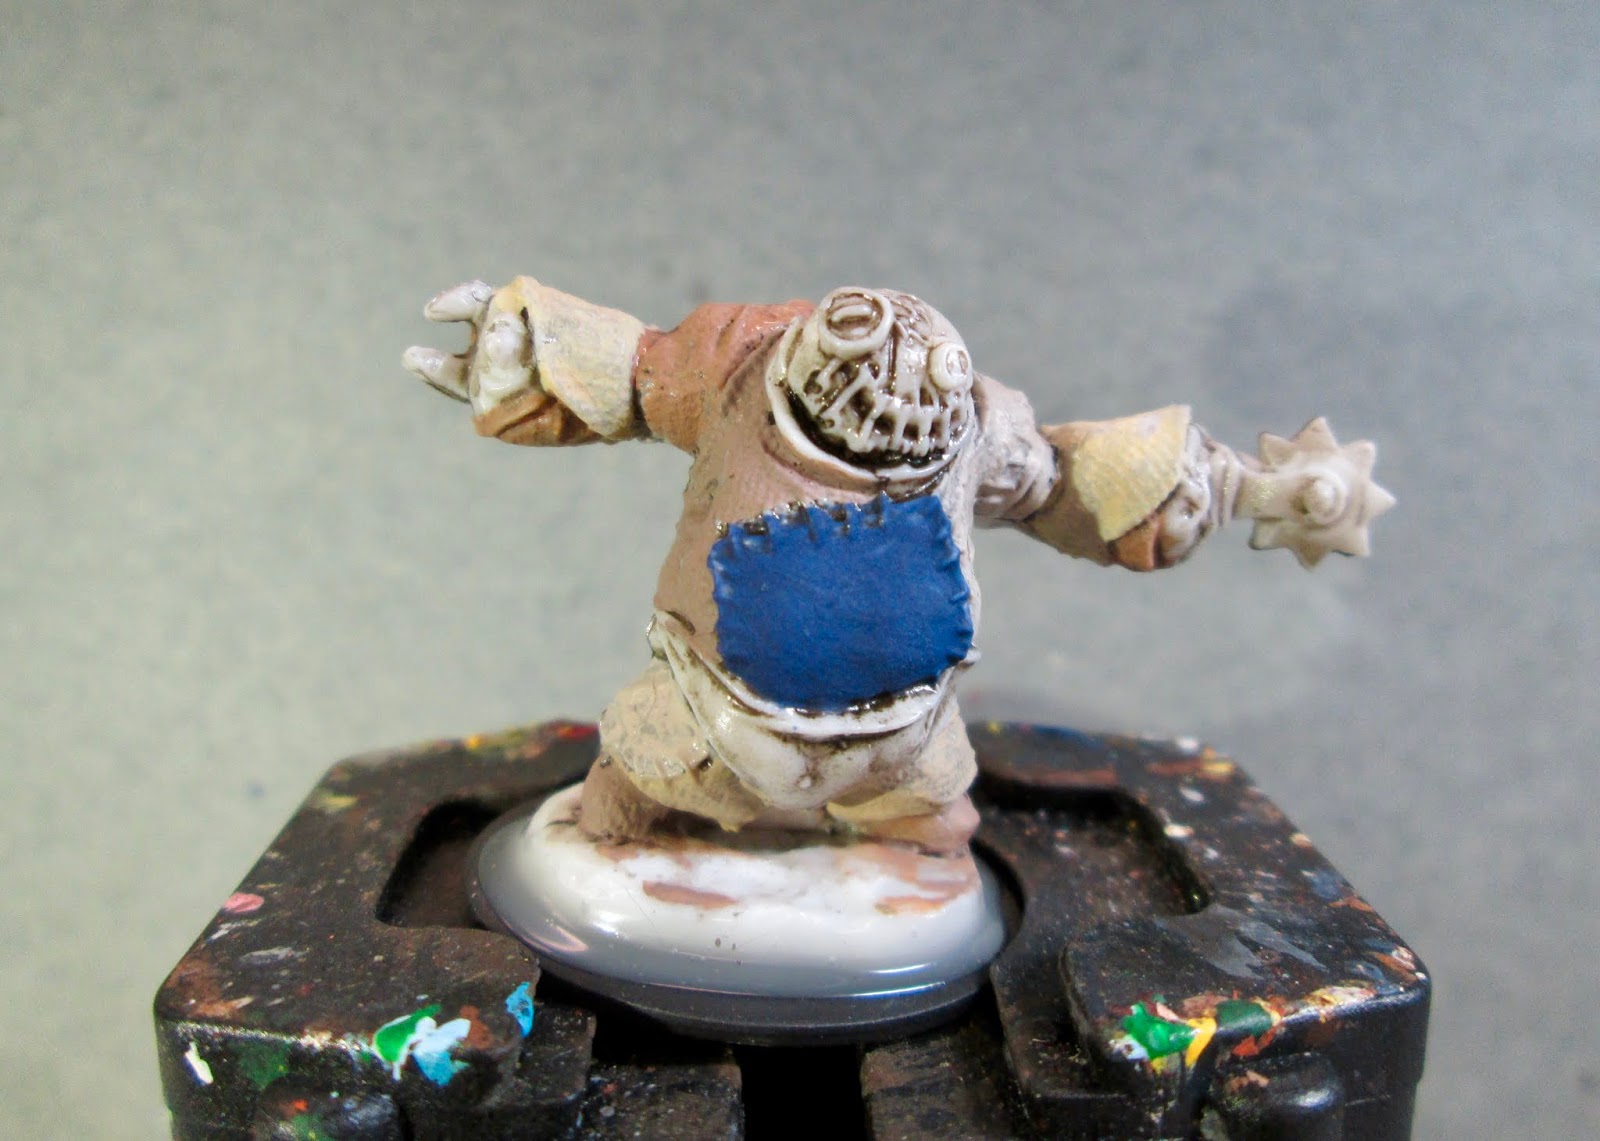
I prepped the figure in the usual way; soaking it in a dish of water with a couple drops of dish-soap added, then giving it a light scrub with a soft toothbrush, and then rinsing and drying it. I then glued the figure to a black-primed 1" fender washer with Aleene's Tacky glue, and then placed the figure in my painting grip.
I began by giving the figure a wash with Reaper MSP "Brown Liner"; and when that was dry, I started painting by doing the large square of fabric on his belly with Crafter's Acrylic "Navy Blue". I then painted some of the textured sections of fabric with Americana "Antique White", some textured section with Folk Art "Butter Pecan".
Next, I tried to finish painting the textured fabric bits, using Folk Art "Barn Wood", Americana "Mississippi Mud". and Americana "Sable Brown"
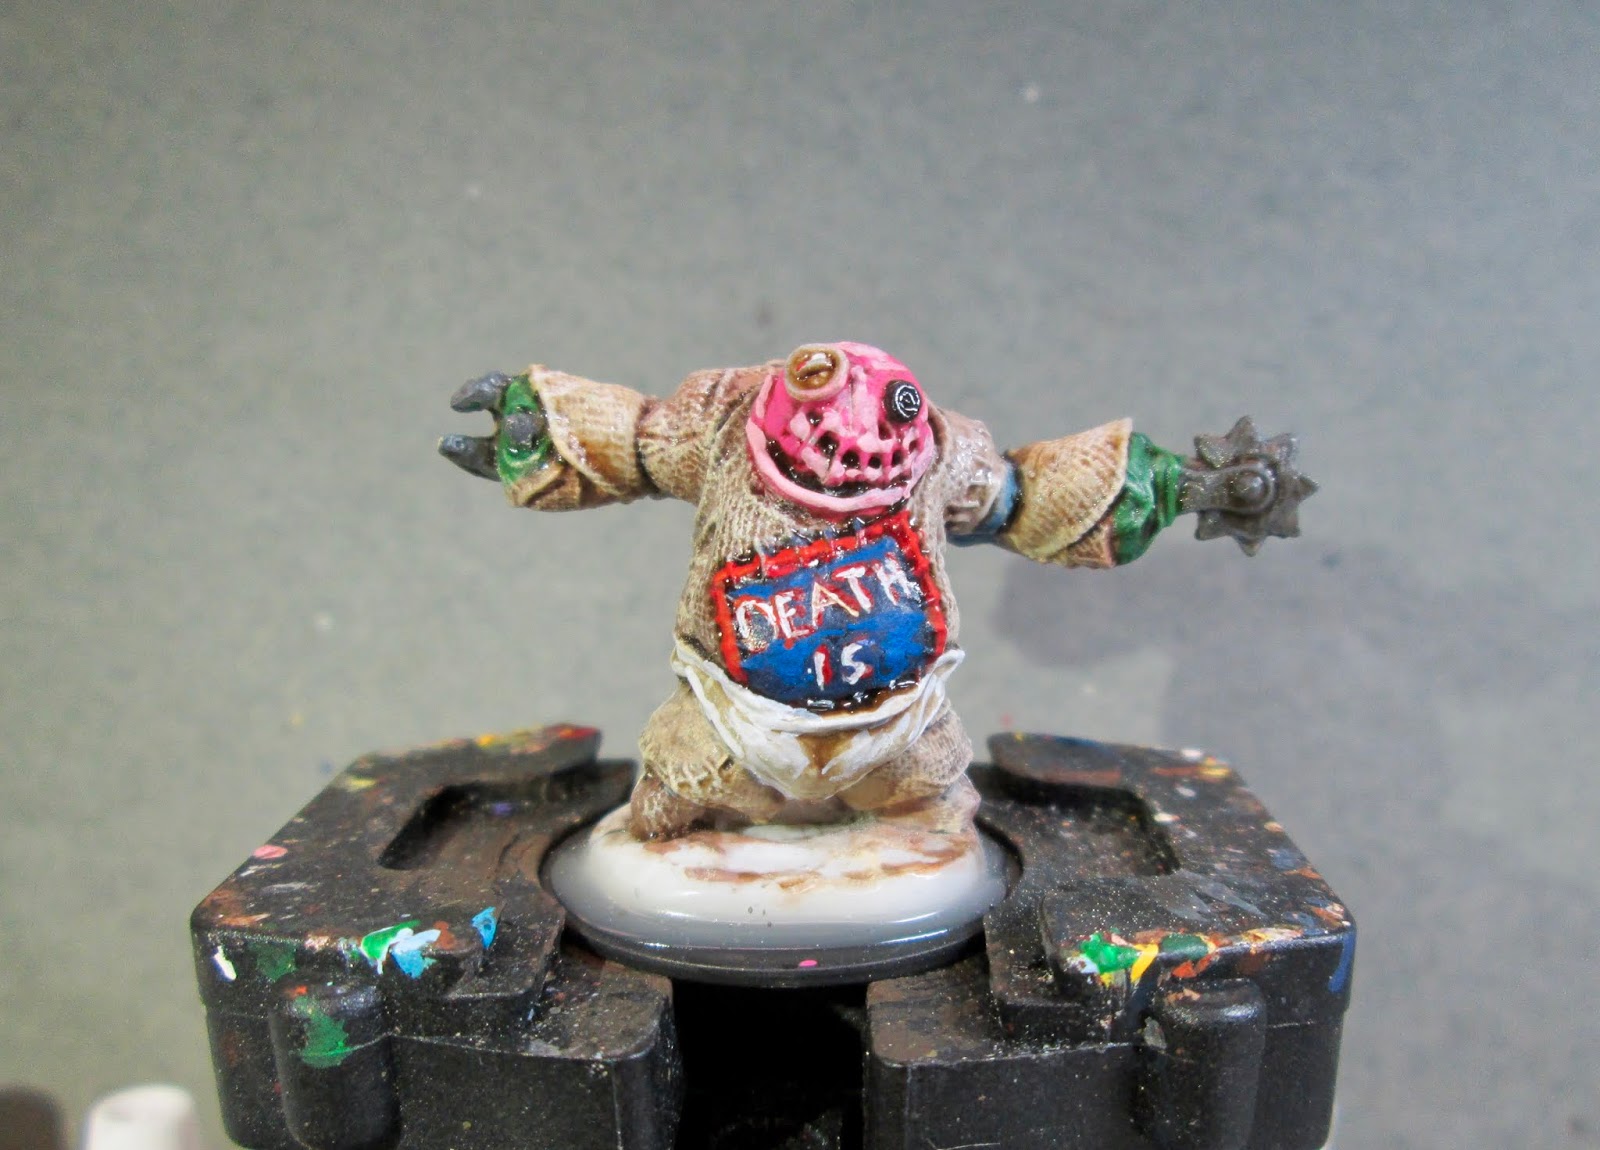
I then worked on painting the smoother fabric; painting his head with Crafter's Acrylic "Tutti Frutti", and his "diaper" with Folk Art "Porcelain White". Next I painted parts of his arms with Americana "Forest Green", and Ceramcoat "Denim Blue". After that, I painted the large square on hs back with Apple Barrel "Yellow".
Next, I painted the lettering and border on his belly to try and make it look like part of a flag, and then did some red polka dots on the "Yellow" square on his back. After that, I painted the buttons an assortment of random colors I had around the table, and his claws and pattern tracer with Americana Zinc. Then, after everything had time to dry, I gave the entire figure a wash with Citadel "Agrax Earthshade" wash.
After the wash was dry, I began highlighting by drybrushing all the brown/tan/beige colored cloth with the "Antique White", and then did a lighter drybrushing with Americana "Bleached Sand". This was followed with highlighting his head with Crafter's Acrylic "Cherry Blossom Pink" and highlighting the flag cloth on his belly with some Americana "True Blue" and highlighted the letters with the base colors. I also highlighted the polka dot section with some Crafter's Acrylic "Daffodil Yellow", and the dots with Ceramcoat "Bright Red".

Next, I highlighted the green on the arms with Americana "Festive Green", and then highlighted the "Rusty Red" sections with some Crafter's Acrylic "Orange Spice", and the blue section with Apple Barrel "Apple Scotch Blue". After that, I did the stitching, using both the "Bleached Sand", and Ceramcoat "Black" in different spots. I highlighted the buttons a variety of colors I had sitting around, and then painted the claws and needle with Folk Art Metallics "Gunmetal Grey", and then highlighted them with Ceramcoat "Metallic Silver".
Lastly, I painted the figure's integral base with Americana "Bittersweet Chocolate".
I let the figure dry overnight and the next day I gave it a coat of Americana "DuraClear Matte" varnish. Then, when the varnish was dry, I used some white glue to flock the base. Another overnight dry, and I sprayed it with Testor's Dullcote".
I'm really happy with how this last one turned out. They were fun figures to paint. And, to finish things off, here is a family photo of the completed trio from the
Stoneskull Expansion.
Also to note, since Reaper announced last week that there would be a slight delay in shipment of Bones 4, pushing it back one month to March; it looks like I'll have more time to get more of
Stoneskull completed. :)


Those look great, and very imaginative use of the colour patches. I'm definitely using my set as Frostgrave constructs.
ReplyDeleteThanks, misterc! Ys, I had fun choosing patterns to do in the plain fabric sections.
DeleteThey will make great constructs for Frostgrave!