To begin with, I soaked the figure in dish soap and water, and then gave it a light scrub with a soft toothbrush and rinsed it. I then glued it to a 1" black-primed fender washer with Aleene's Tacky glue. When dry, I glued the washer to a tongue depressor with a couple small dots of Elmer's white glue for ease of handing during painting.
I began painting by giving the head and hands/arms a wash with some GW Dark Green ink with a little water added. When dry I painted the body and the eye sockets with black paint.
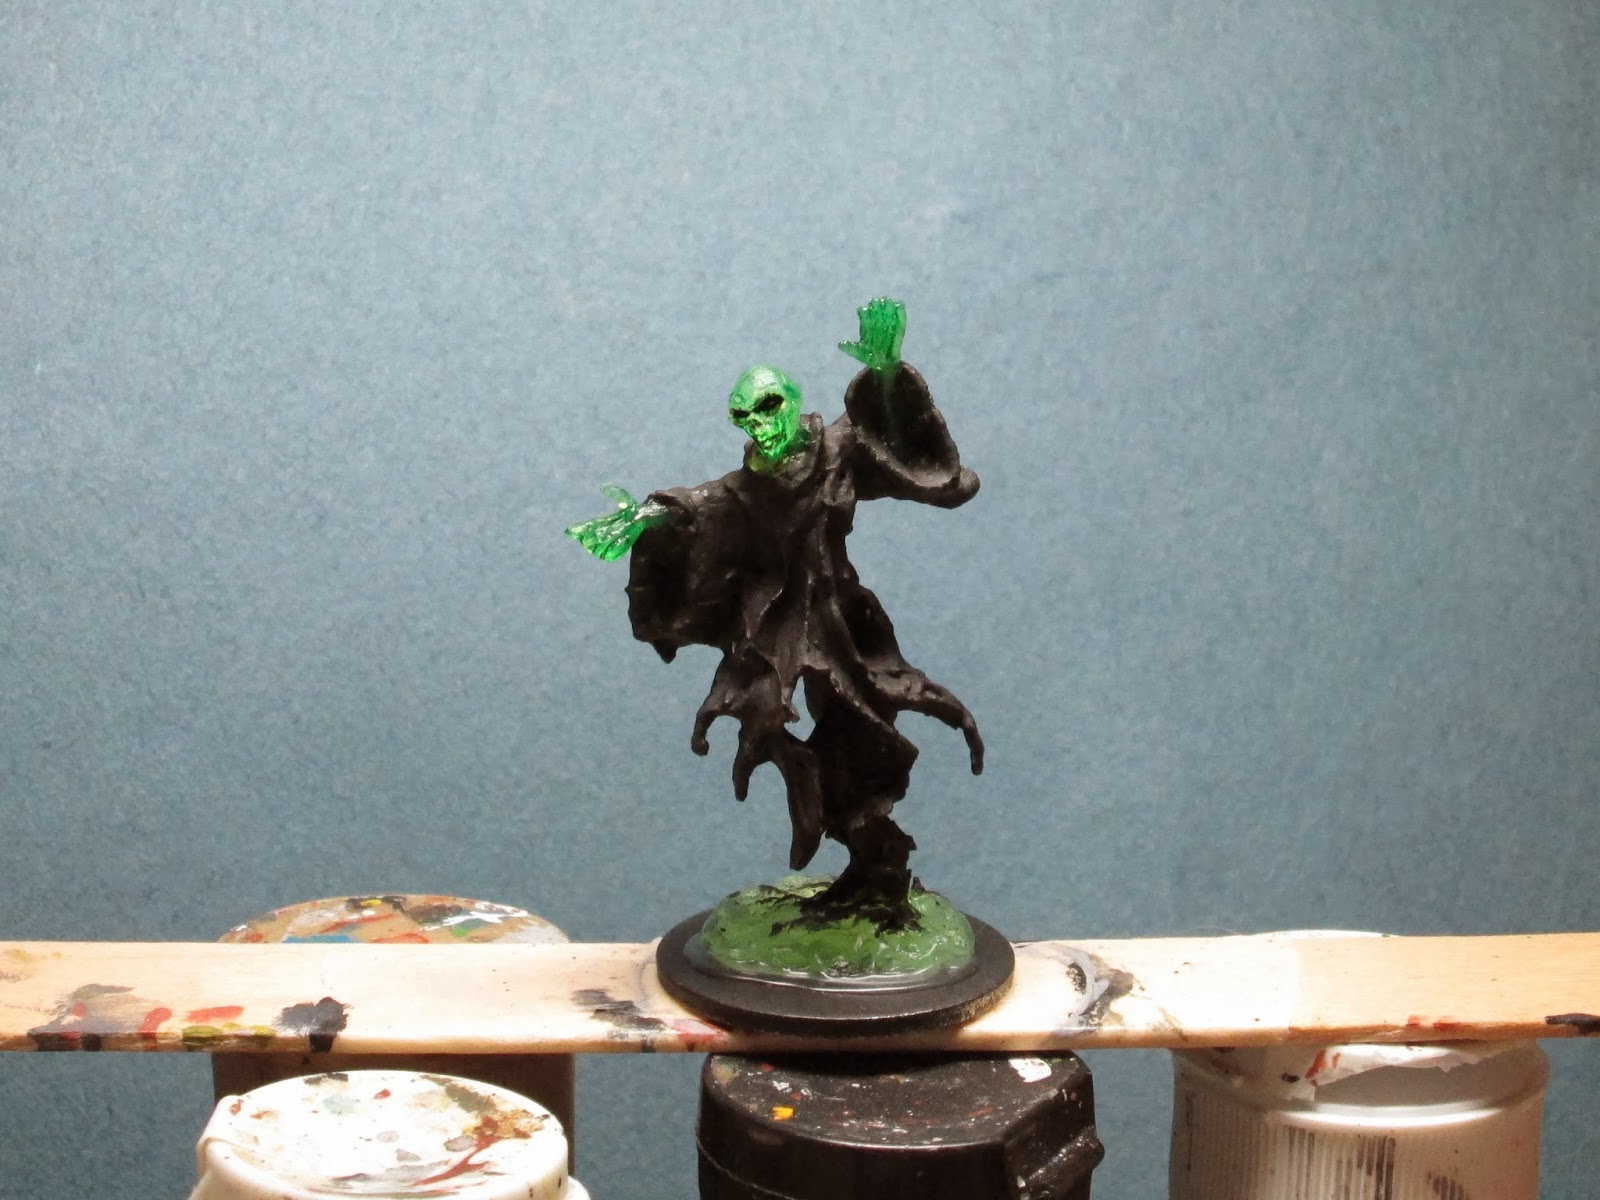
I was worried the face looked a little dark and flat, so I tried adding some light green highlights to it with Americana "Olive Green" paint. I also tried adding some very diluted black ink to the mouth to help delineate the teeth. Next I drybrushed the body with GW "Codex Grey".

Lastly, I added some dryrbushed highlights to the black body around the neck and sleeves, and some of the other upturned areas, using GW "Goblin Green", with a lighter drybrush of the "Jade Green" on top, to give the appearance of a glow coming from the figure.
I then painted the integral base of the figure with a dark brown paint to help obscure it after it was flocked. After the figure had dried overnight, I gave it a coat of Ceramcoat "Matte Varnish". When this was dry, I flocked the base. Finally, I sprayed the figure with Testor's "Dullcote"

I'm not saying its a terrible figure; it's still perfectly serviceable. It's just not the vision I had in my mind when I started with it.
Figure 58 of 265: Complete.
Be sure to tune in Thursday, when I hope to get another SoBaH Bones battle report posted from a pair of games I had this past Saturday.
Great work! Just have to base mine and I am done, we did similar techniques.
ReplyDeleteThanks! Glad to hear you like it, and that you did something similar.
DeleteI stripped this guy about five times so... yeah. A coat of Pledge FloorCare Finish (aka. Future Floor Wax) makes the translucents nicely glassy.
ReplyDeleteWow, I admire your perseverance. I'm curious what you used to safely strip the translucents.
DeleteThankfully, if your first coat is Pledge, you can strip it with Pledge! (: Scrub with an old toothbrush to get rid of the last of the paint. I should try "priming" with Pledge then applying QuickShade!
DeleteCool! Thanks for the tip.
Delete