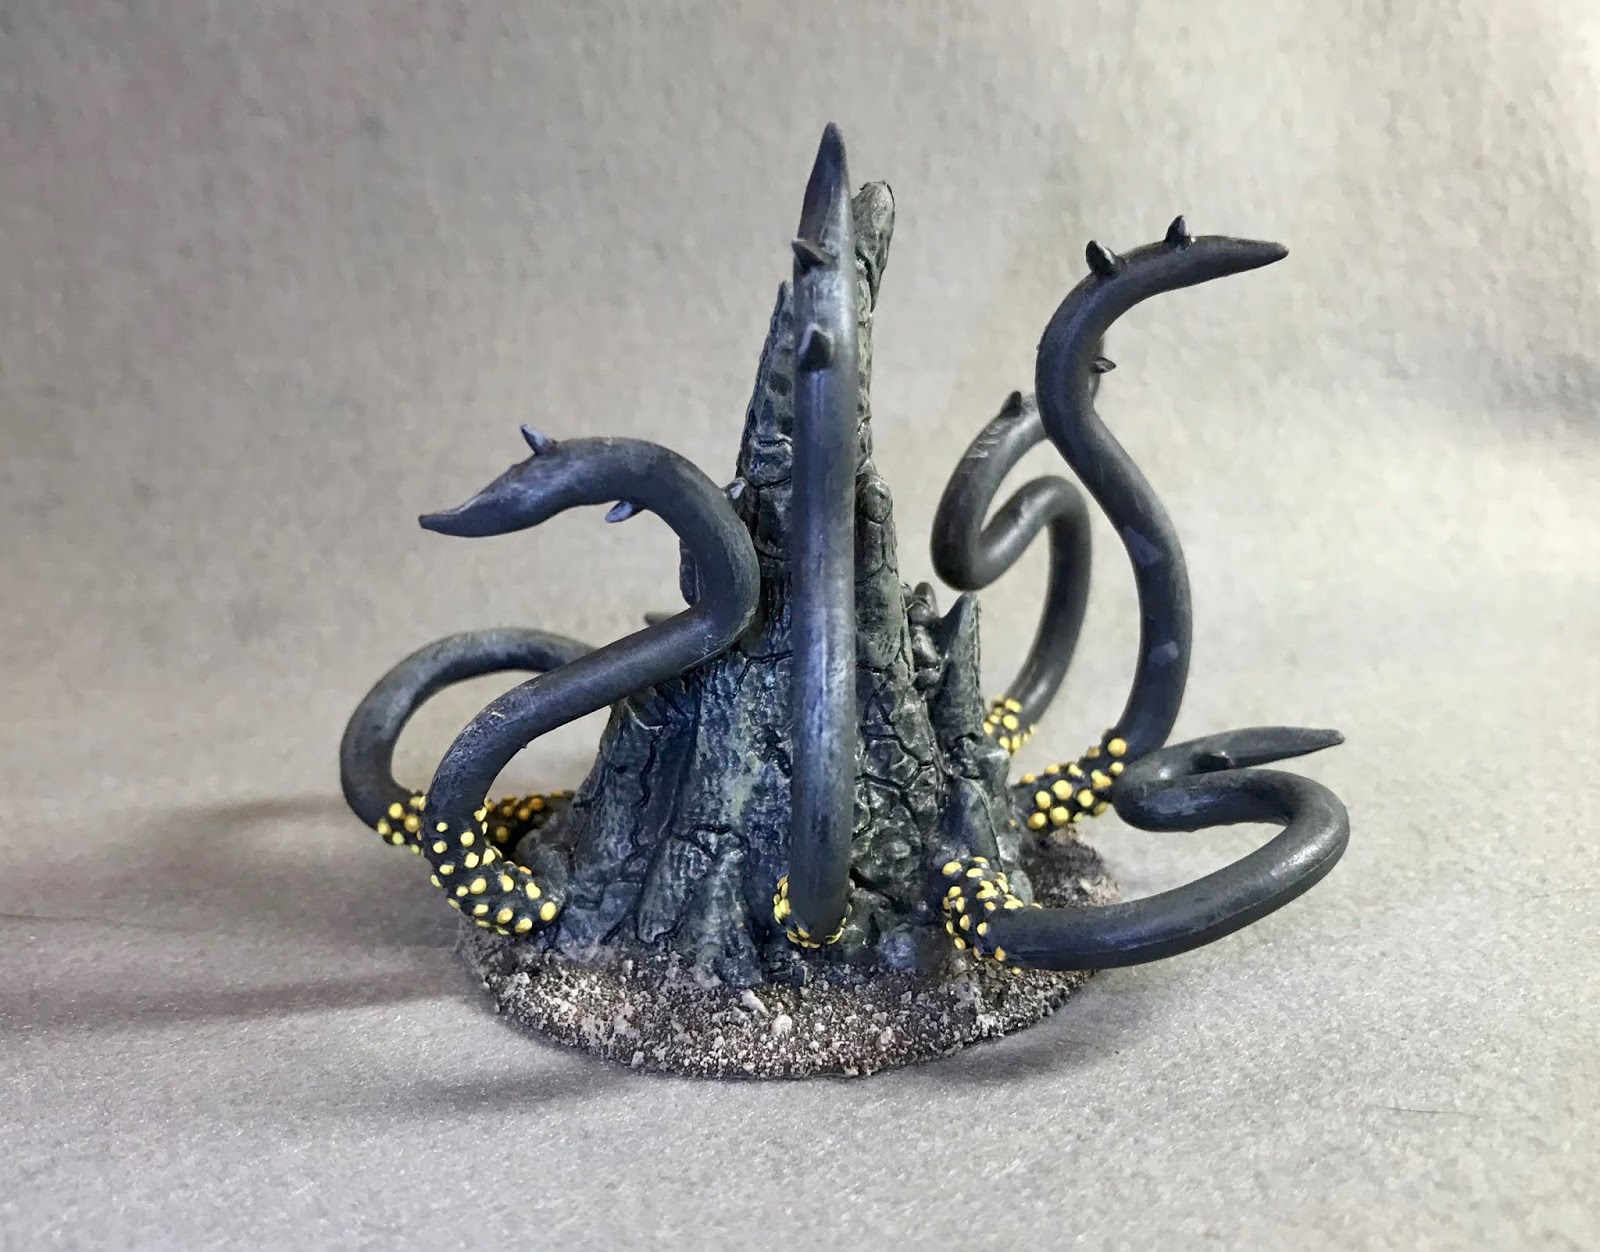
This past week I painted the "Stone Lurker" from the Bones 4
Darkreach Expansion.
I prepped the "Stone Lurker" in the usual way, soaking the pieces in a dish of water with a couple drops of dish-soap added; then giving the pieces a light scrub with a soft toothbrush, and then rinsing and drying everything. I then glued the two halves of the Lurker together, and then glued in the tentacles, using Gorilla Superglue gel. I then glued the figure to a black-primed 2" fender washer using Aleene's Tacky glue, and then glued the washer to the top of a large pill bottle with a couple drops of Elmers white glue.
As I then considered how I was going to tackle this figure, I realized I probably wanted to apply a sand coat to the base at this point instead of at the end, so I could better blend the coloring of the ground and the Lurker as I was painting.
So I then used some white glue to glue some mixed sand to the base. When the sand was dry, I painted it with a coat of Americana "Charcoal Grey". I then painted the Lurker with Ceramcoat "Charcoal", and tried to blend it into the "Charcoal Grey" on the base. After that, I painted the inside of the mouth with Ceramcoat "Black".
Next, I gave the entire figure a coat of Citadel "Nuln Oil" wash, and then let it dry for a while. When dry, I made a mix of the "Charcoal", and a little Crafter's Acrylic "Bright Yellow", and drybrushed the figure. I added a bit more of the "Bright Yellow", and then drybrushed again.
I then mixed some Americana "Zinc", and Crafter's Acrylic "Daffodil Yellow" together and did a further highlighting drybrush. I added a little more of the "Daffodil Yellow", and did one more level of drybrushing. After that, I used the "Daffodil Yellow" to paint the eyes, and then drybrushed the inside of mouth with Apple Barrel "Apple Maroon". I followed that by painting the "teeth" with Reaper MSP "Coal Black", and use this color to paint the enters of the eyes as well.

I decided I still wanted some slightly lighter highlights on the figure, so mixed some Americana "Grey Sky" with some of the "Daffodil Yellow" and tried painting some more specific highlights along the edges of the mouth and around the eyes. After that, I used some of the "Grey Sky" to paint shiny highlights on the teeth in a tempt to make them look like obsidian. Next I painted all the dots on the tentacles with Americana "Antique Gold" and then went around and highlighted them with the "Daffodil Yellow". I wrapped things up by painting the thorns on the tentacles with Ceramcoat "Black", and then highlighting them with Crafter's Acrylic "Storm Cloud Grey".
Next, I worked on the base, drybrushing the sand with Americana "Mississippi Mud", and then with some Apple Barrel "Rock Grey"; lastly I drybrushed it with a little Americana "Dove Grey".
I let the figure dry overnight and the next day I gave it a coat of Americana "DuraClear Matte" varnish. Another overnight dry, and I sprayed the figure with Testor's Dullcote". When the "Dullcote" was dry, I went back and repainted the "teeth" with a little Americana "DuraClear Gloss" varnish.
I'm really happy with how this guy turned out. For a monster that's basically a rock, it has a good bit of character.


Nice. That's a cool miniature and your contrasting yellow vs grey color scheme makes it look great.
ReplyDeleteThank you! I was originally just going to go all grey, but thought it needed something to make it pop a little.
DeleteThat is really great! The dots on the tentacles really pop.
ReplyDeleteand it looks like it could be converted to "evil tree" pretty easily too... might have to get a couple!
Thanks, Lasgunpacker! Yes, you could probably make that into a tree trunk with out a lot of effort.
Delete