Showing posts with label Chronoscope. Show all posts

Monday, April 25, 2022

Andromedan Hunter: Bones 4 Chronoscope Figure

      Over the past few weeks I have worked on the "Andromedan Hunter" figure from the Bones 4 Chronoscope Expansion, as a change of pace from doing the Dwarves last time.  
     I prepped the figure in the usual way, soaking it in a dish of water with a couple drops of dish-soap added, then giving it a light scrub with a soft toothbrush, and then rinsing and drying it.  I then trimmed the figure's integral base a little, and glued the figure to a 1" brown-primed metal washer with some Aleene's Tacky glue.  I then affixed the figure to the top of a pill bottle with some blue-tac.    
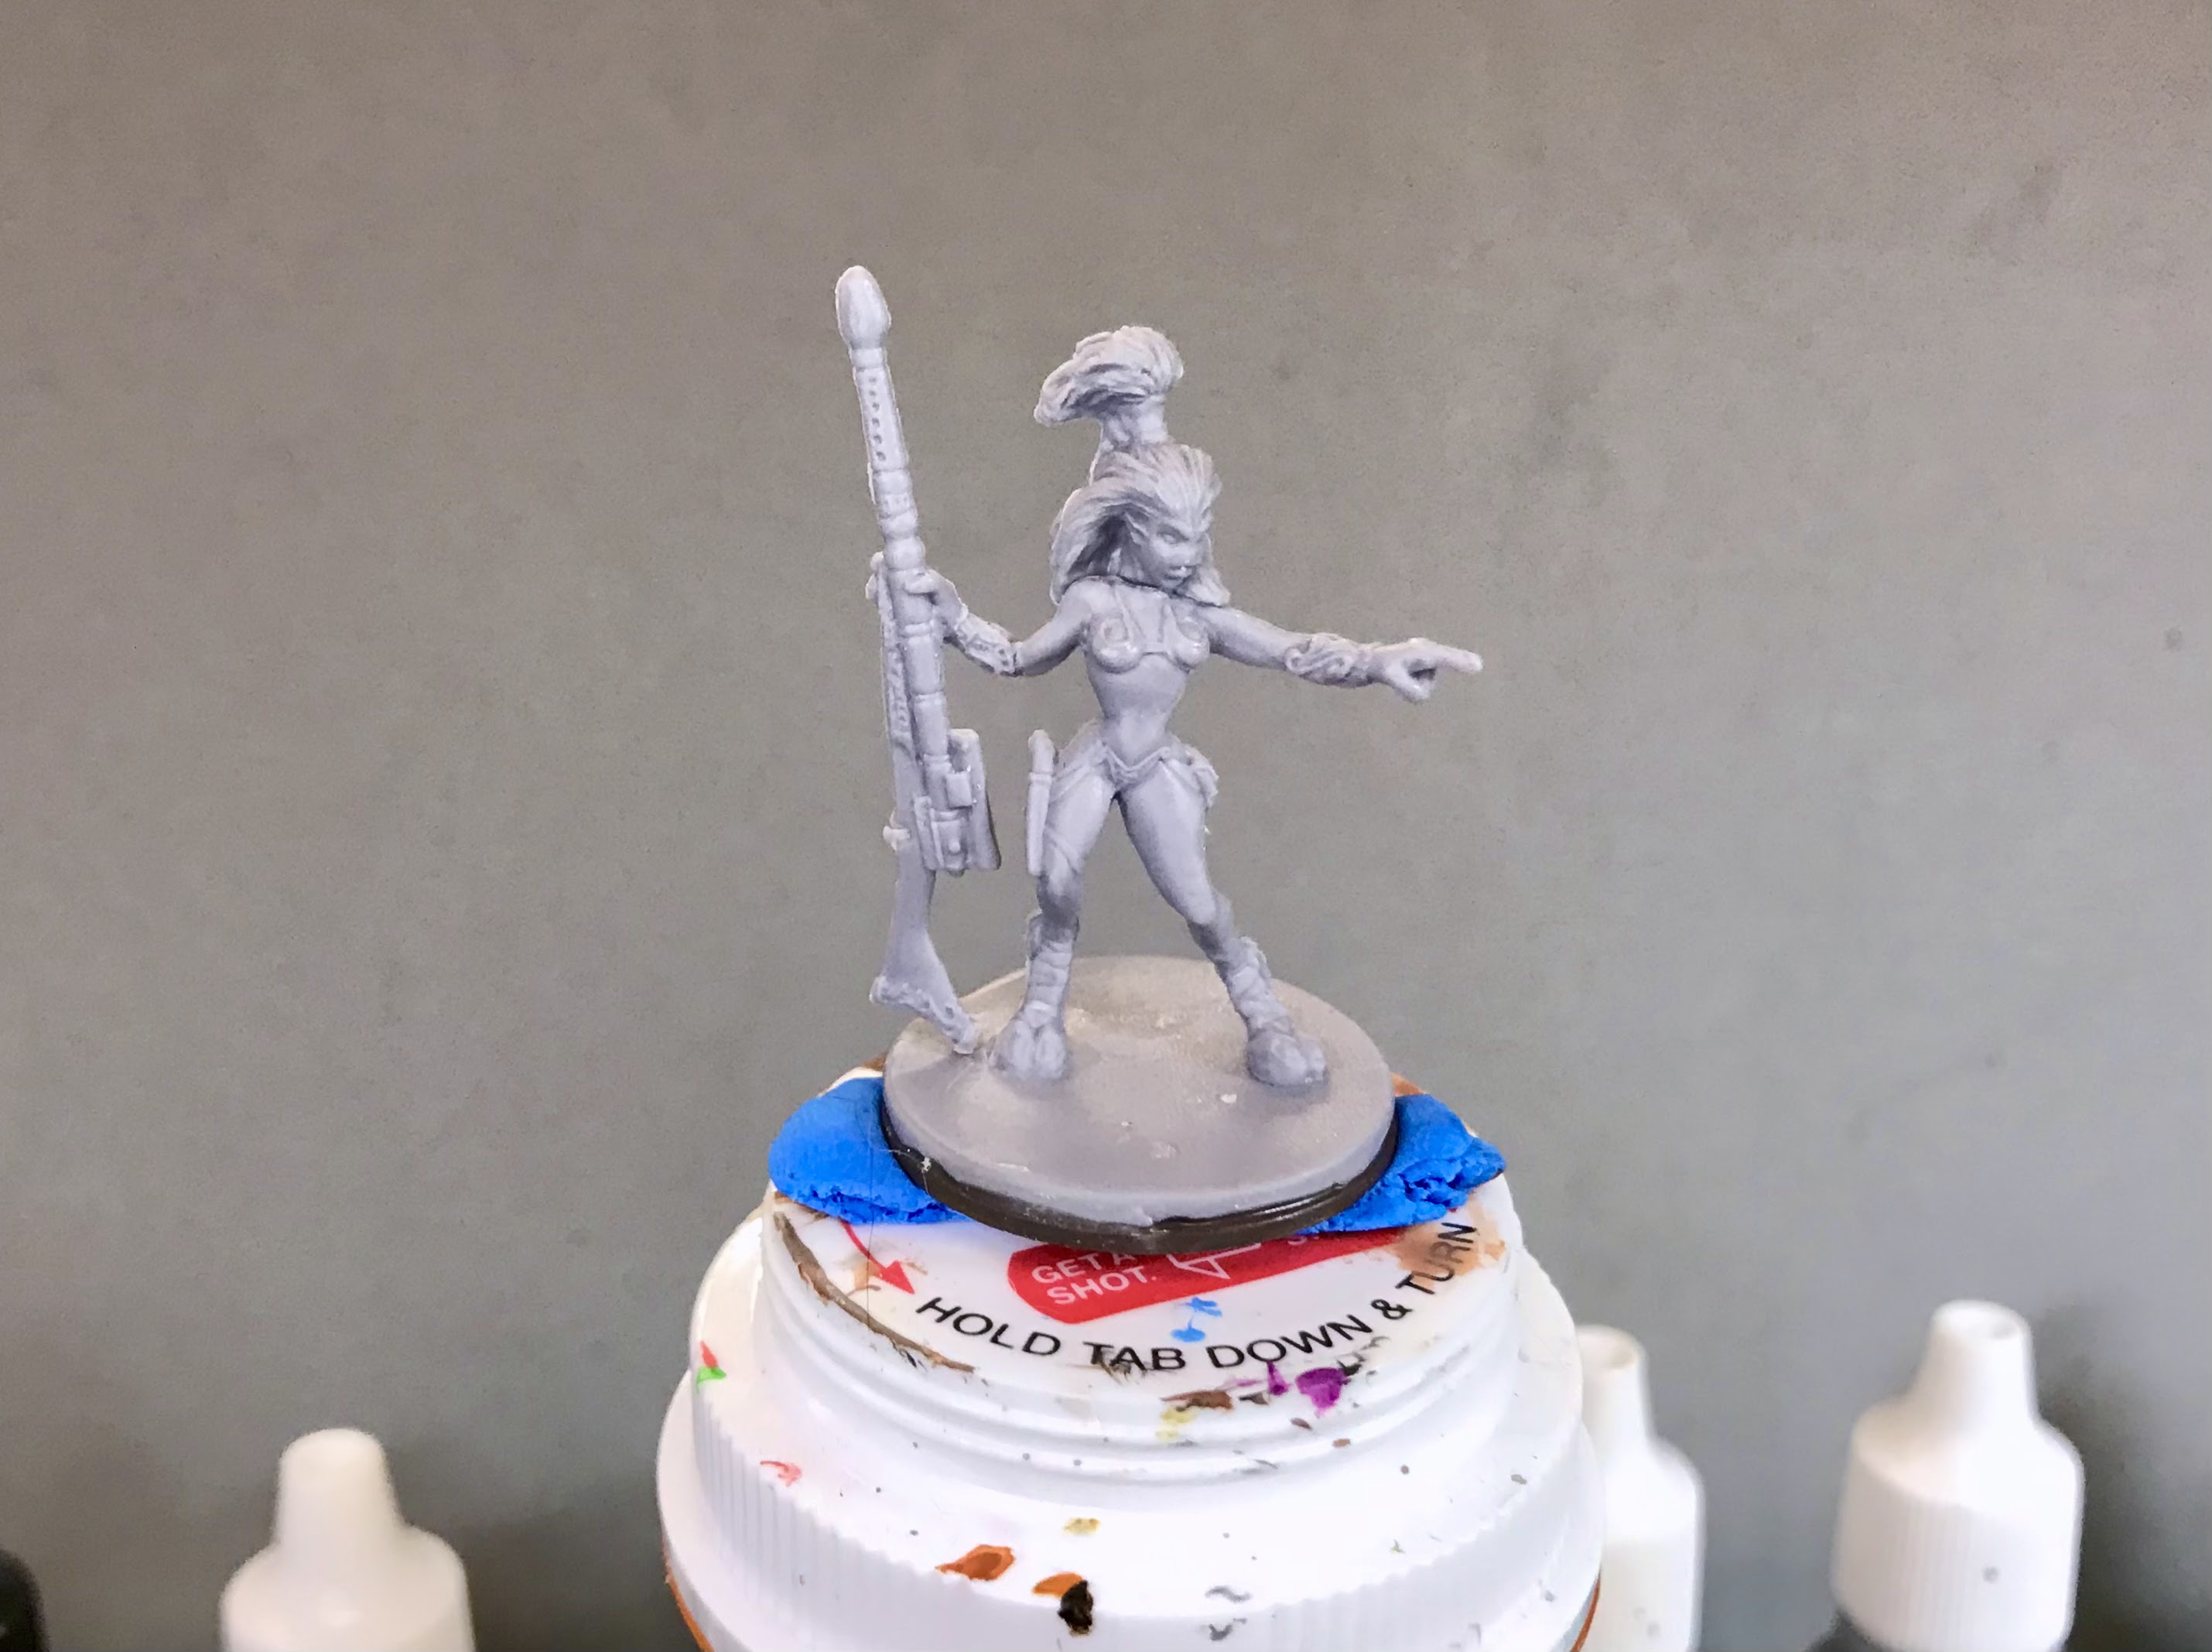
     I decided to go a little color craz on this one, and I wanted to try doing her skin with one of the Folk Art Color Shift Paints.  So, I painted her body with a base coat of Reaper MSP Bones "Dungeon Slime", and when dry, I went over it with Folk Art Color Shift "Green Flash". 
     Next, I gave her skin a thinned coat of Citadel Contrast "Creed Camo" to act as a wash.  It was not as effective at doing this as the purpose-designed Citadel Shades.  So, I went back and reapplied some to various spots to add a little more shadow.  I then painted her hair with Reaper MSP Bones "Heraldic Red"., and her clothing, bracers, shinguards/shoes, pouch, and holster with Reaper MSP "Auburn Shade".  After that, I painted her rifle with Reaper MSP "Spruce Green", and her hair tie, as well as the pompoms on the back of her shoes, with Reaper MSP Monarch Purple. 
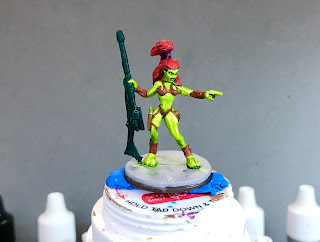
     I then painted the "U" shaped parts of her top, the front piece of her little bottom, and her bracers, with  Ceramcoat "Metallic Copper".  After that, I painted the metal parts of her rifle and pistol with Folk Art Brushed Metal "Brushed Bronze".   I let the figure dry for a while, and then gave her hair, clothing, and accessories, a wash of Citadel Shade "Reikland Fleshshade"; and then her rifle, hair tie, and shin pompoms a wash with Citadel Shade "Nuln Oil". 
     When the washes were dry, I painted her eyes (I used Crafter's Acrylic "Daffodil Yellow" for the "whites"), and then highlighted her skin with a mix of the base "Green Flash" and some Reaper MSP "Sophie Silver".  After that, I highlighted her hair with Crafter's Acrylic "Orange Spice", and some Crafter's Acrylic "Pure Pumpkin".   
     Next, I highlighted her clothing and accessories with a mix of the base "Auburn Shadow", and some Americana "Shading Flesh".  I then highlighted her hair tie and shin pompoms with Anita's "Violet", and followed with highlighting the guns with Folk Art "Hunter Green", and a little Americana "Sea Breeze".  After that, I highlighted the metal parts of her clothing with the base "Metallic Copper", some Reaper MSP "Rose Gold", and a little pf the "Sophie Silver". Finally, I highlighted the metal on the guns with Ceramcoat "Metallic Bronze", and some DecoArt Dazzling Metallics "Bright Brass".   Lastly, I painted the base with Americana "Neutral Grey".  
      I let the figure and base dry overnight and the next day I gave them a coat of Americana "DuraClear Matte" varnish.   Another overnight dry, and I sprayed the figure with Testor's "Dullcote". 


     Well, I had fun using some wild colors on her, and I don't think she looks half bad.  Unfortunately, any effect from the color shift paint was lost between the Contrast Paint wash, the non-color shift highlights, and the final Matt Varnish and Dullcote.  
Tuesday, June 29, 2021

Malvernis Soldier: Bones 4 Chronoscope Figure

        This week I painted the "Malvernis Soldier" from the Bones 4 Chronoscope Expansion.  Like the Rach Soldier I did earlier, I have no idea what the official CAV faction colors are, so I did what I found pleasing.
      I prepped the figure in the usual way, soaking it in a dish of water with a couple drops of dish-soap added, then giving it a light scrub with a soft toothbrush, and then rinsing and drying it.  I then trimmed the figure's integral base a little, and glued the figure to a 1" green-primed metal washer with some Aleene's Tacky glue.  I then placed the figure in my painting grip.    
     I began by painting the face and hands with a mix of Pathfinder MSP "Medusa Green" and Reaper MSP "Olive Skin".  I then painted the outfit with Crafter's Acrylic "Navy Blue"; and the boots, belts, straps, and pouches with Americana "Zinc".
     Next, because I found I had been painting all my Sci-Fi weaponry black and wanted a change, painted the gun with Pathfinder MSP "Urgathea Red".  A red gun; why not! :)   I then painted the hair with Apple Barrel "Apple Black Green".  When everything had time to dry I gave the skin a coat of Citadel "Reikland Fleshshade" wash; and when that was dry, I gave the outfit and gun a coat of Citadel "Nuln Oil" wash.
     When the washes were dry, I painted the eyes, and then highlighted the skin with a mix of the base "Medusa Green" and "Olive Skin".  I then mixed Reaper MSP "Olive Highlight" with the "Medusa Green" for lighter skin highlights.  After that, I highlighted the hair with Americana "Forest Green", and then did the outfit highlights with Reaper MSP "Ultramarine Blue".
     I decided the hair highlights weren't bright enough, so I added some Americana "Festive Green" to lighten them up a little.  I then highlighted the boots, belts, straps and pouches with the base "Zinc", and then mixed in a little Crafter's Acrylic "Storm Cloud Grey".   After that, I highlighted the gun with the base "Urgathea Red", then mixed in some Reaper MSP" Fresh Blood" for lighter highlights.  Lastly, I painted the base with Americana "Neutral Grey".  
      I let the figure and base dry overnight and the next day I gave them a coat of Americana "DuraClear Matte" varnish.   Another overnight dry, and I sprayed the figure with Testor's "Dullcote". 


    I'm happy with the figure, and I like the splash of color the gun provides.  I only gave this a quick spray of the Dullcote, as I held the figure just out the door, becuase it was very humid out.  I can see now that it as not enough, or I didn't shake the can well enough, as it's still very shiny.  I will have to respray it when the humidity lowers.

   In other news, I received my Bones 5 shipping notification!  So next Monday's post will be a Bones 5 show and tell.  If you have anything from Bones 5 you want to see, and I ordered it, I will happily post a photo of it.  Let me know in the comments here.

My Consolidated List of Purchases:

1)Core                                                  
2) Brinewind Expansion                                                                                     
3) Dark Depths Expansion x2
4) Chronoscope Expansion
5) Dungeon Dwellers Expansion X2                                
6) Brinewind Extras
7) Dwarf King Crypt X2
8) Catfolk 
9) Catapult x2
10) War Mammoth
11) Trebuchet
12) Balista
13) Henchmen
14) Boulderkin
15) Zombies
16) Elves                                                   
17) Gem Dragon
18) Charnel Pit      
19) Armory
20)Foerster’s Favorites Paint
21)Fan Favorites
22)Townsfolk
23)Shadow of Ravenhome
24) Constructs set
25) Mandupar Pass
26) Shadow Dragon
27) Boulderkin, 2 sets

Monday, June 21, 2021

Female Android: Bones 4 Chronoscope Figure

    This past week I continued painting Sci-Fi for Stargrave, and painted the "Female Android" from the Bones 4 Chronoscope Expansion.  I think this figure is a pretty close match for the iconic robot "Maria" in the classic 1927 film "Metropolis".
  I prepped the figure in the usual way, soaking it in a dish of water with a couple drops of dish-soap added, then giving it a light scrub with a soft toothbrush, and then rinsing and drying it.  I then trimmed the figure's integral base a little, and glued the figure to a 1" green-primed metal washer with some Aleene's Tacky glue.  I then placed the figure in my painting grip.           
      I knew I wanted to paint it in the silver tones of the figure's movie counterpart, so I began by giving it a base coat of Ceramcoat "White".   When dry, I gave the figure a coat of Citadel Contrast "Black Templar". 
     I let the Contrast paint dry, and then drybrushed the figure with, first, Folk Art Metallics "Gunmetal Grey", and then Ceramcoat "Metallic Silver".
     Next, I did lighter highlights with Reaper MSP "Sparkling Snow", and then some specific highlights with Reaper MSP "Sophie Silver".  After that I painted the eyes, using Crafter's Acrylic "Cool Blue", and adde Americana "Snow White" highlights.  Lastly, I painted the base with Americana "Neutral Grey".  
      I let the figure and base dry overnight and the next day I gave them both a coat of Americana "DuraClear Matte" varnish.   Another overnight dry, and I sprayed the figure with Testor's "Dullcote". 


    This was a quick paint, and I'm really pleased with the results.  Also like how the Contrast paint worked as a base for metallic drybrushing.  It should be good for knights as well.

Monday, June 14, 2021

Space Henchman: Bones 4 Chronoscope Figure

      This past week I painted the "Space Henchman" from the Bones 4 Chronoscope Expansion.  I thought he would be a good all-purpose crewman or rabble for Stargrave.
      I prepped the figure in the usual way, soaking it in a dish of water with a couple drops of dish-soap added, then giving it a light scrub with a soft toothbrush, and then rinsing and drying it.  I then trimmed the figure's integral base a little, and glued the figure to a 1" brown-primed metal washer with some Aleene's Tacky glue.  I then placed the figure in my painting grip.        
     There was something about this figure that made me think "potato", so that was the skin color I picked for him.  So I began by picking a nice potato color for his skin, and painted it with Reaper MSP "Shield Brown".  After that, I painted his shirt with Folk Art "Dove Grey", and his pants with Ceramcoat "Denim Blue".
     Next, I painted his boots with Americana "Charcoal Grey", his belts with  Raper MSP "Drow Elf Skin", and his gun and bracelets with Ceramcoat "Black".
     I then painted his teeth with Americana "Antique White", and his bracelets and buckles with Folk Art Metallics "Gunmetal Grey".   I let everything dry for a while, and then gave his head and arms a coat of Citadel "Agrax Earthshade" wash.  When that was dry, I have all his clothing and accessories a coat of Citadel "Nuln Oil" wash. 
     When the washes were dry, I highlighted his teeth with Americana "Bleached Sand:, and then painted his eyes, using Crafter's Acrylic "Daffodil Yellow" for the "whites".   I then highlighted his skin with a mix of the base "Sheld Brown" and some Ceramcoat "Territorial Beige".  Next, I highlighted his shirt, first with th base "Dove Grey", and then with Americana "Snow White".   After that, I highlighted his pants with a mix of the base "Denim BLue", and some Crafter's Acrylic "Cool Blue".
      I then highlighted his boots with Americana "Mississippi Mud", and his gun with Apple Barrel "Apple Scotch Blue".   After that, I highlighted his belts with Reaper MSP "Dark Elf Highlight", and his bracelets and buckles with  Ceramcoat "Metallic Silver".  Lastly, I painted the base with Americana "Neutral Grey".  
      I let the figure and base dry overnight and the next day I gave them both a coat of Americana "DuraClear Matte" varnish.   Another overnight dry, and I sprayed the figure with Testor's "Dullcote". 


     I'm happy with this guy.  He really looks the part of a Henchman I think.  I couldn't help but start referring to him as "Spuds MacKenzie" as I was painting him [an 80's name reference the older readers will recognize :) ], and I think that name may stick when he joins my crew.

Monday, June 7, 2021

Armorback Demolitionist: Bones 4 Chronoscope Figure

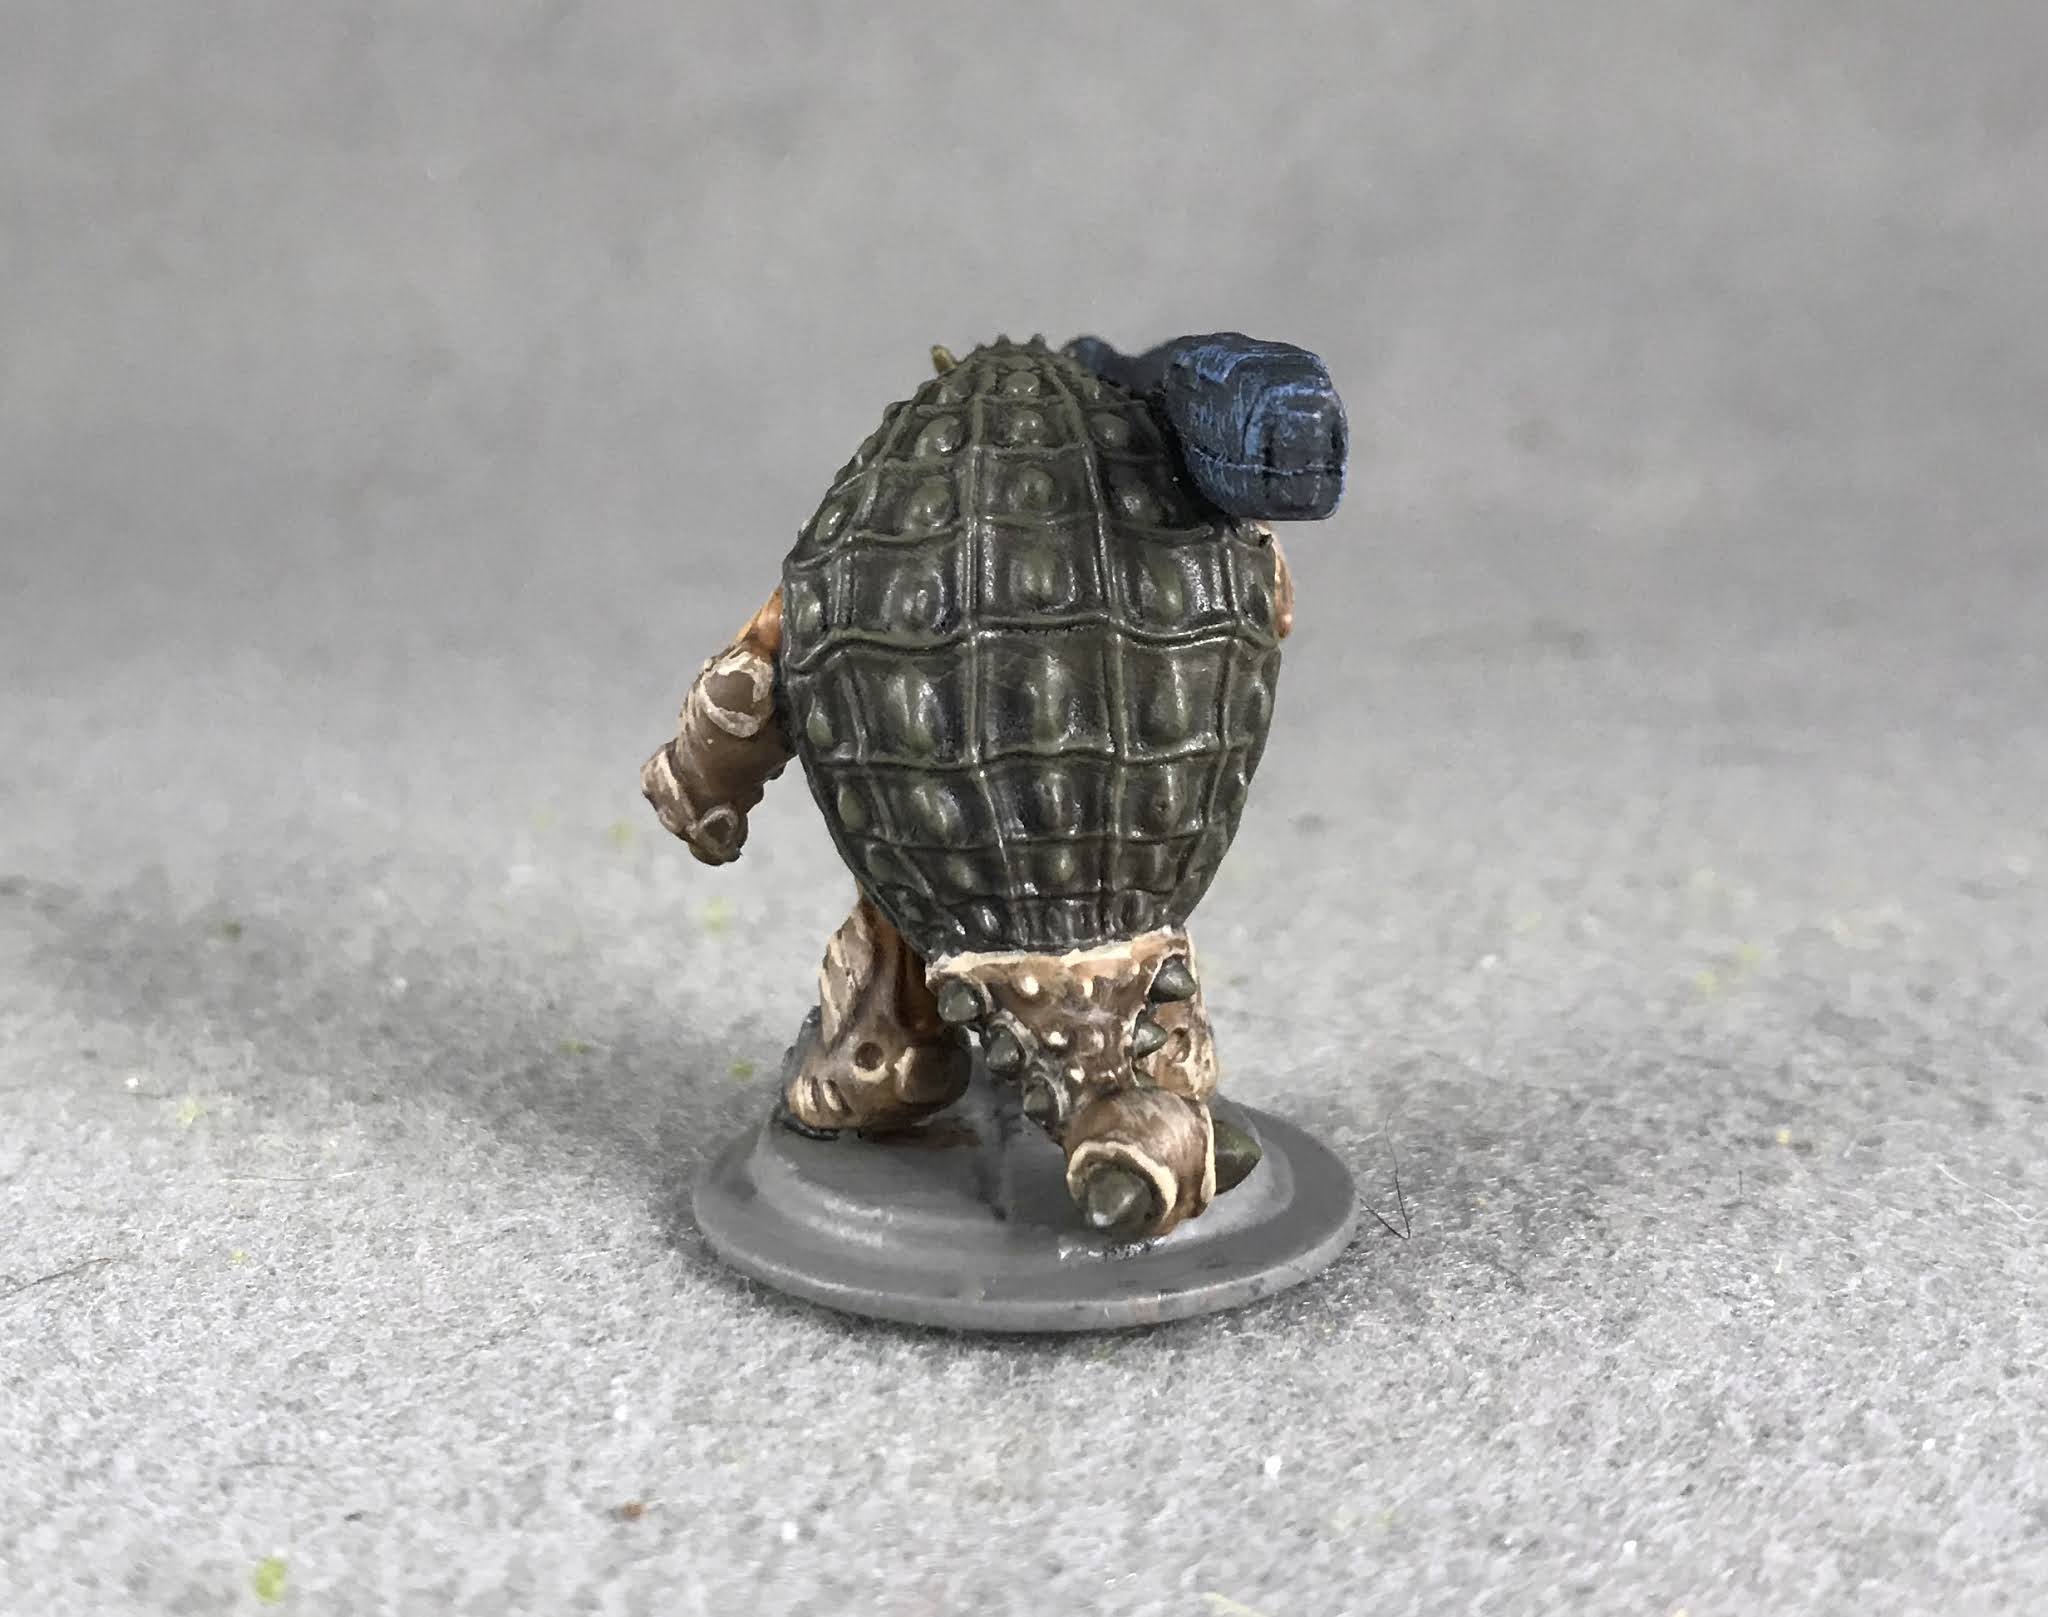
      This past week I painted the "Armorback Demolitionist" from the Bones 4 Chronoscope Expansion.  I plan to use him in my Stargrave crew as a Grenadier.
     I prepped the figure in the usual way, soaking it in a dish of water with a couple drops of dish-soap added, then giving it a light scrub with a soft toothbrush, and then rinsing and drying it.  I then trimmed the figure's integral base a little, and glued the figure to a 1" brown-primed metal washer with some Aleene's Tacky glue.  I then placed the figure in my painting grip.        
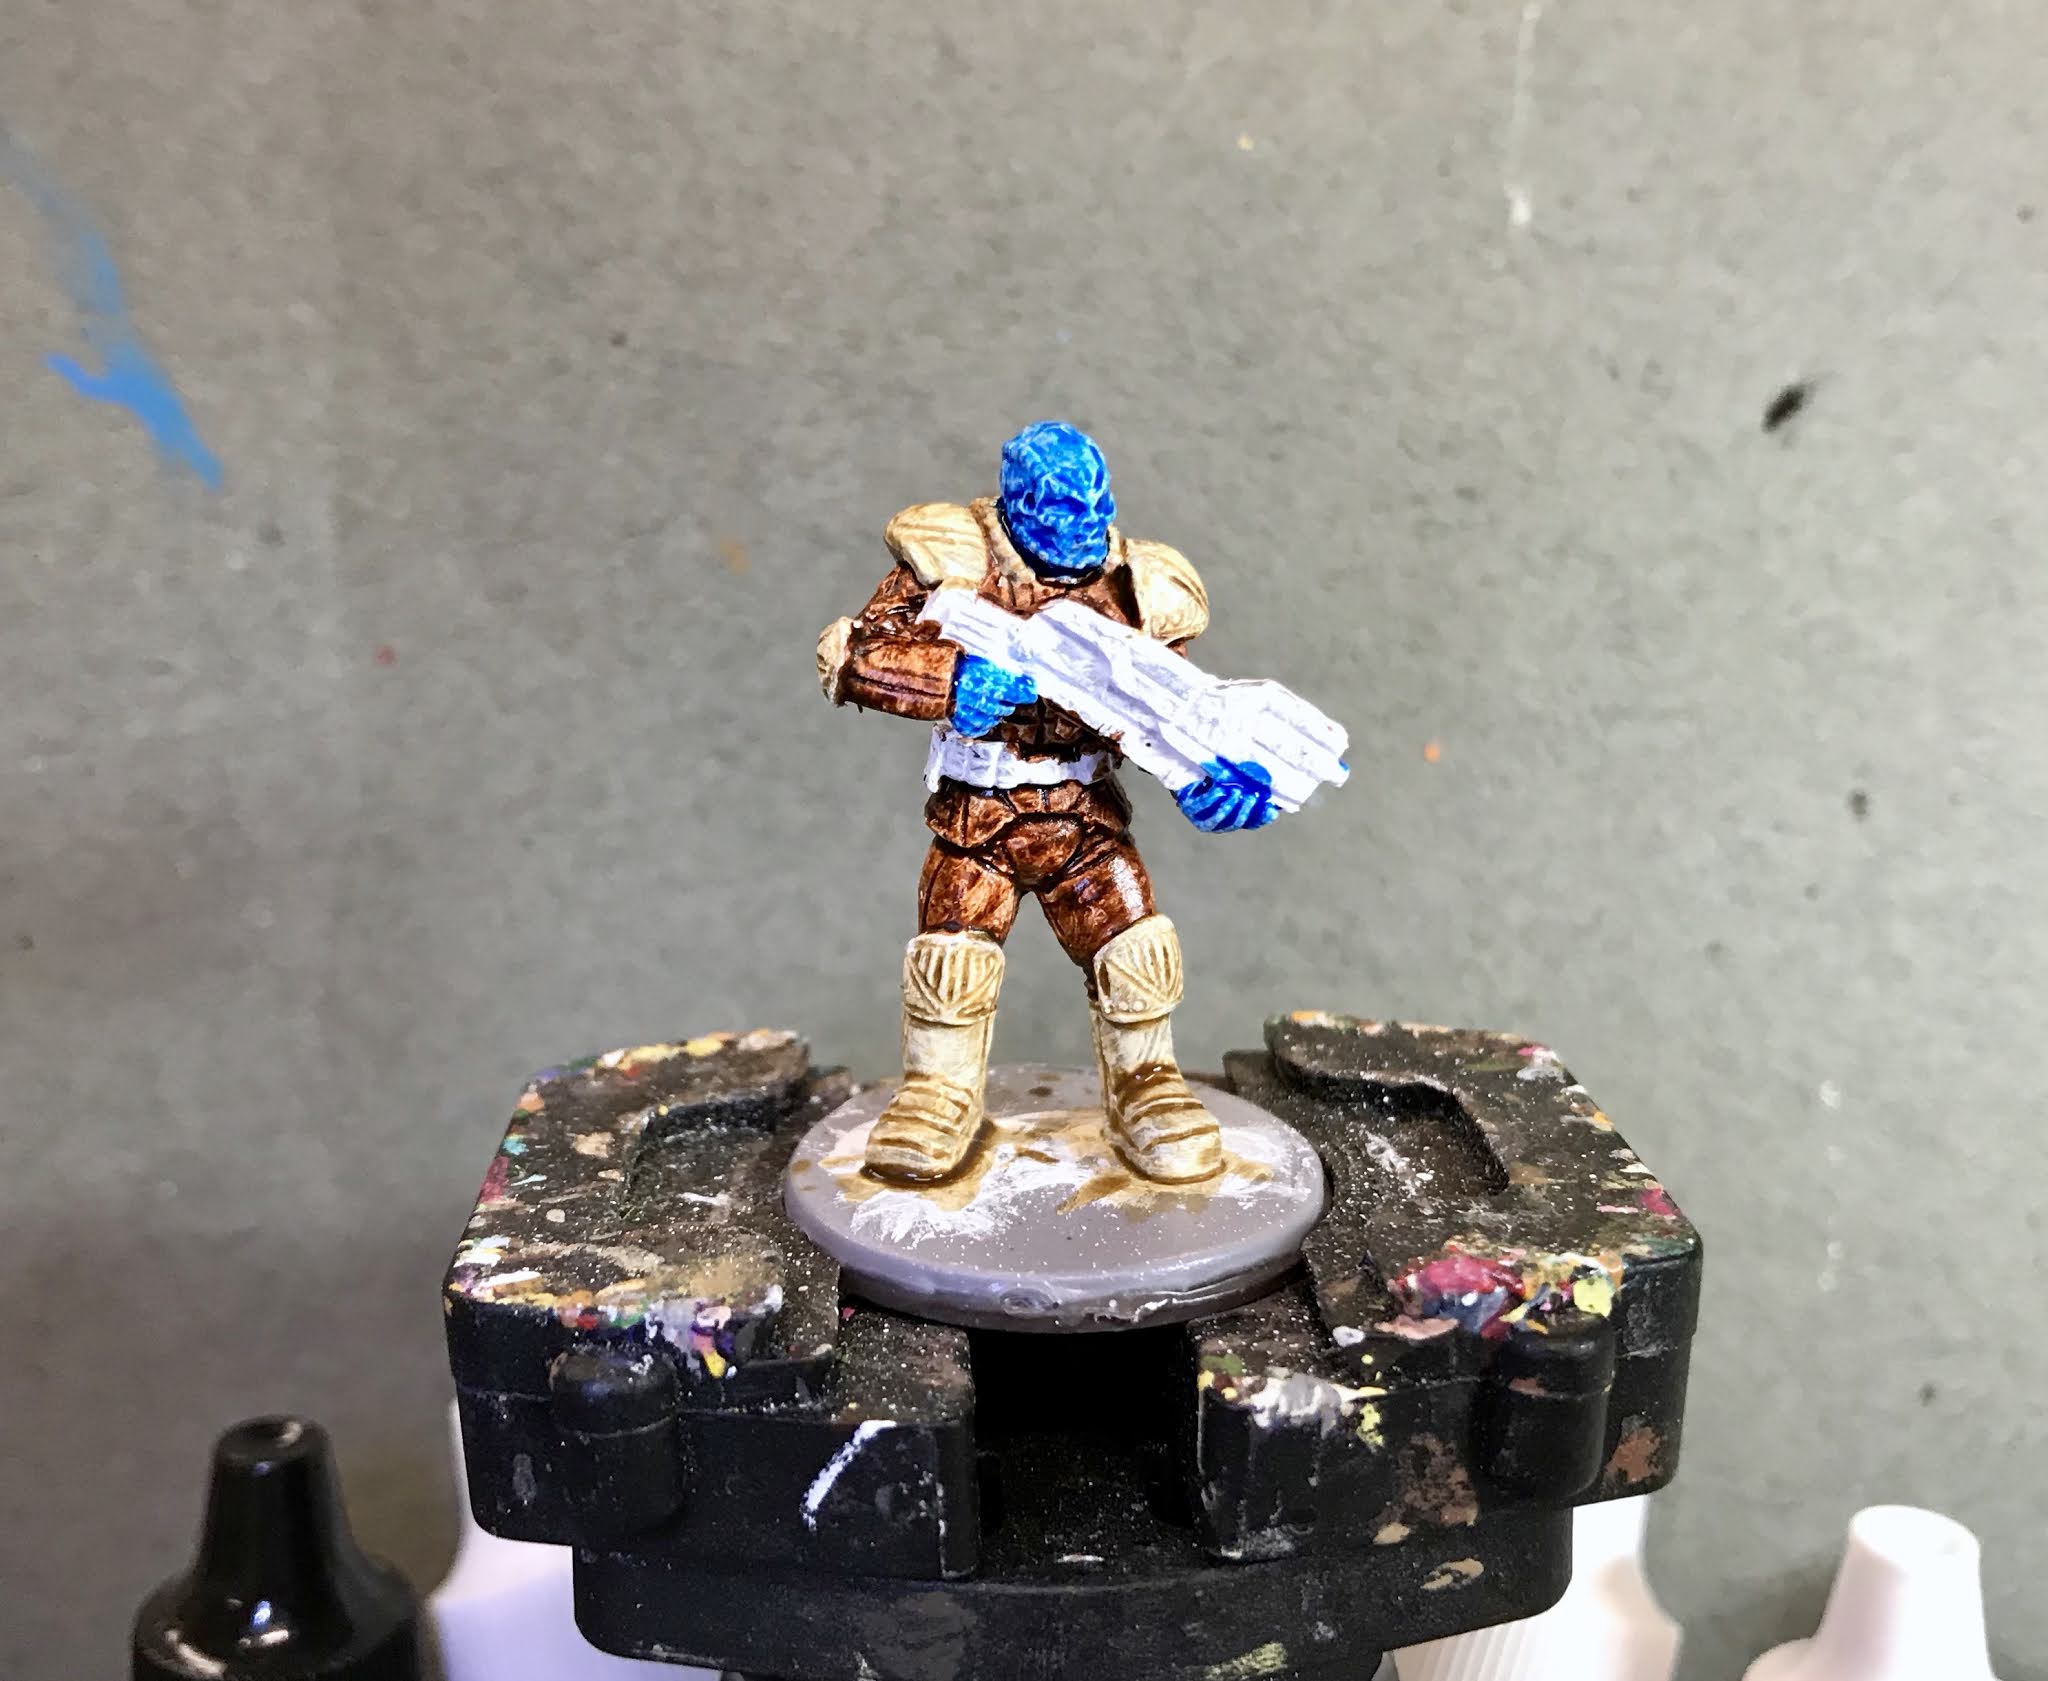
I forgot to take a beginning picture, so borrowed this from the Reaper website.
     
I began by painting the visible parts of his head and hands using Aleene's "Deep Khaki". I then painted his "shell" with Vallejo "USA Olive Drab", and his suit with Accent "Golden Oxide".
     Next, I painted the sectional plates, gauntlets, boots, head set, etc., on his suit using Ceramcoat "Territorial Beige".  I then let the figure dry for a while, and gave everything a coat of Citadel "Agrax Earthshade" wash.  When this was dry, I painted the "claw" plates on his boots, clasps on his suit, and the teeth-like sections on his mouth piece with Folk Art Metallic "Gunmetal Grey", and the weapon with Ceramcoat "Black. 
     I let everything dry again, and then gave the metallic parts a coat of "Citadel "Nuln Oil" wash.  Another drying period and I began the highlighting.  First I highlighted the visible parts of his head and hands with  a mix of the base "Deep Khaki" and some Aleene's "Dusty Khaki".  I then highlighted the "shell' with some Vallejo "Brown Violet" mixed with a little of the "Dusty Khaki".  After that, I highlighted the suit with Reaper MSP "Hallowed Orange".
     I then highlighted the sectional plates, gauntlets, boots, head set, etc., on his suit using Americana "Khaki Tan", and highlighted the weapon with Ceramcoat "Denim Blue".   After that, I highlighted the metallic parts using Ceramcoat "Metallic Silver".  Next, I painted the lens of the goggles with Folk Art Color Shift "Red Flash".  I let that dry a while and then added a little bit of Reaper MSP "Red Liner" in a corner of each lens.  When this was dry, I painted little highlight dots using Americana "Snow White". Lastly, I painted the base with Americana "Neutral Grey".  
      I let the figure and base dry overnight and the next day I gave them both a coat of Americana "DuraClear Matte" varnish.   Another overnight dry, and I sprayed the figure with Testor's "Dullcote". 


     I'm really happy with this guy.  I'm not a general fan of Reaper's Dinofolk, but this one grew on me as I worked on it. 

Monday, May 31, 2021

Rach Soldier: Bones 4 Chonoscope Figure

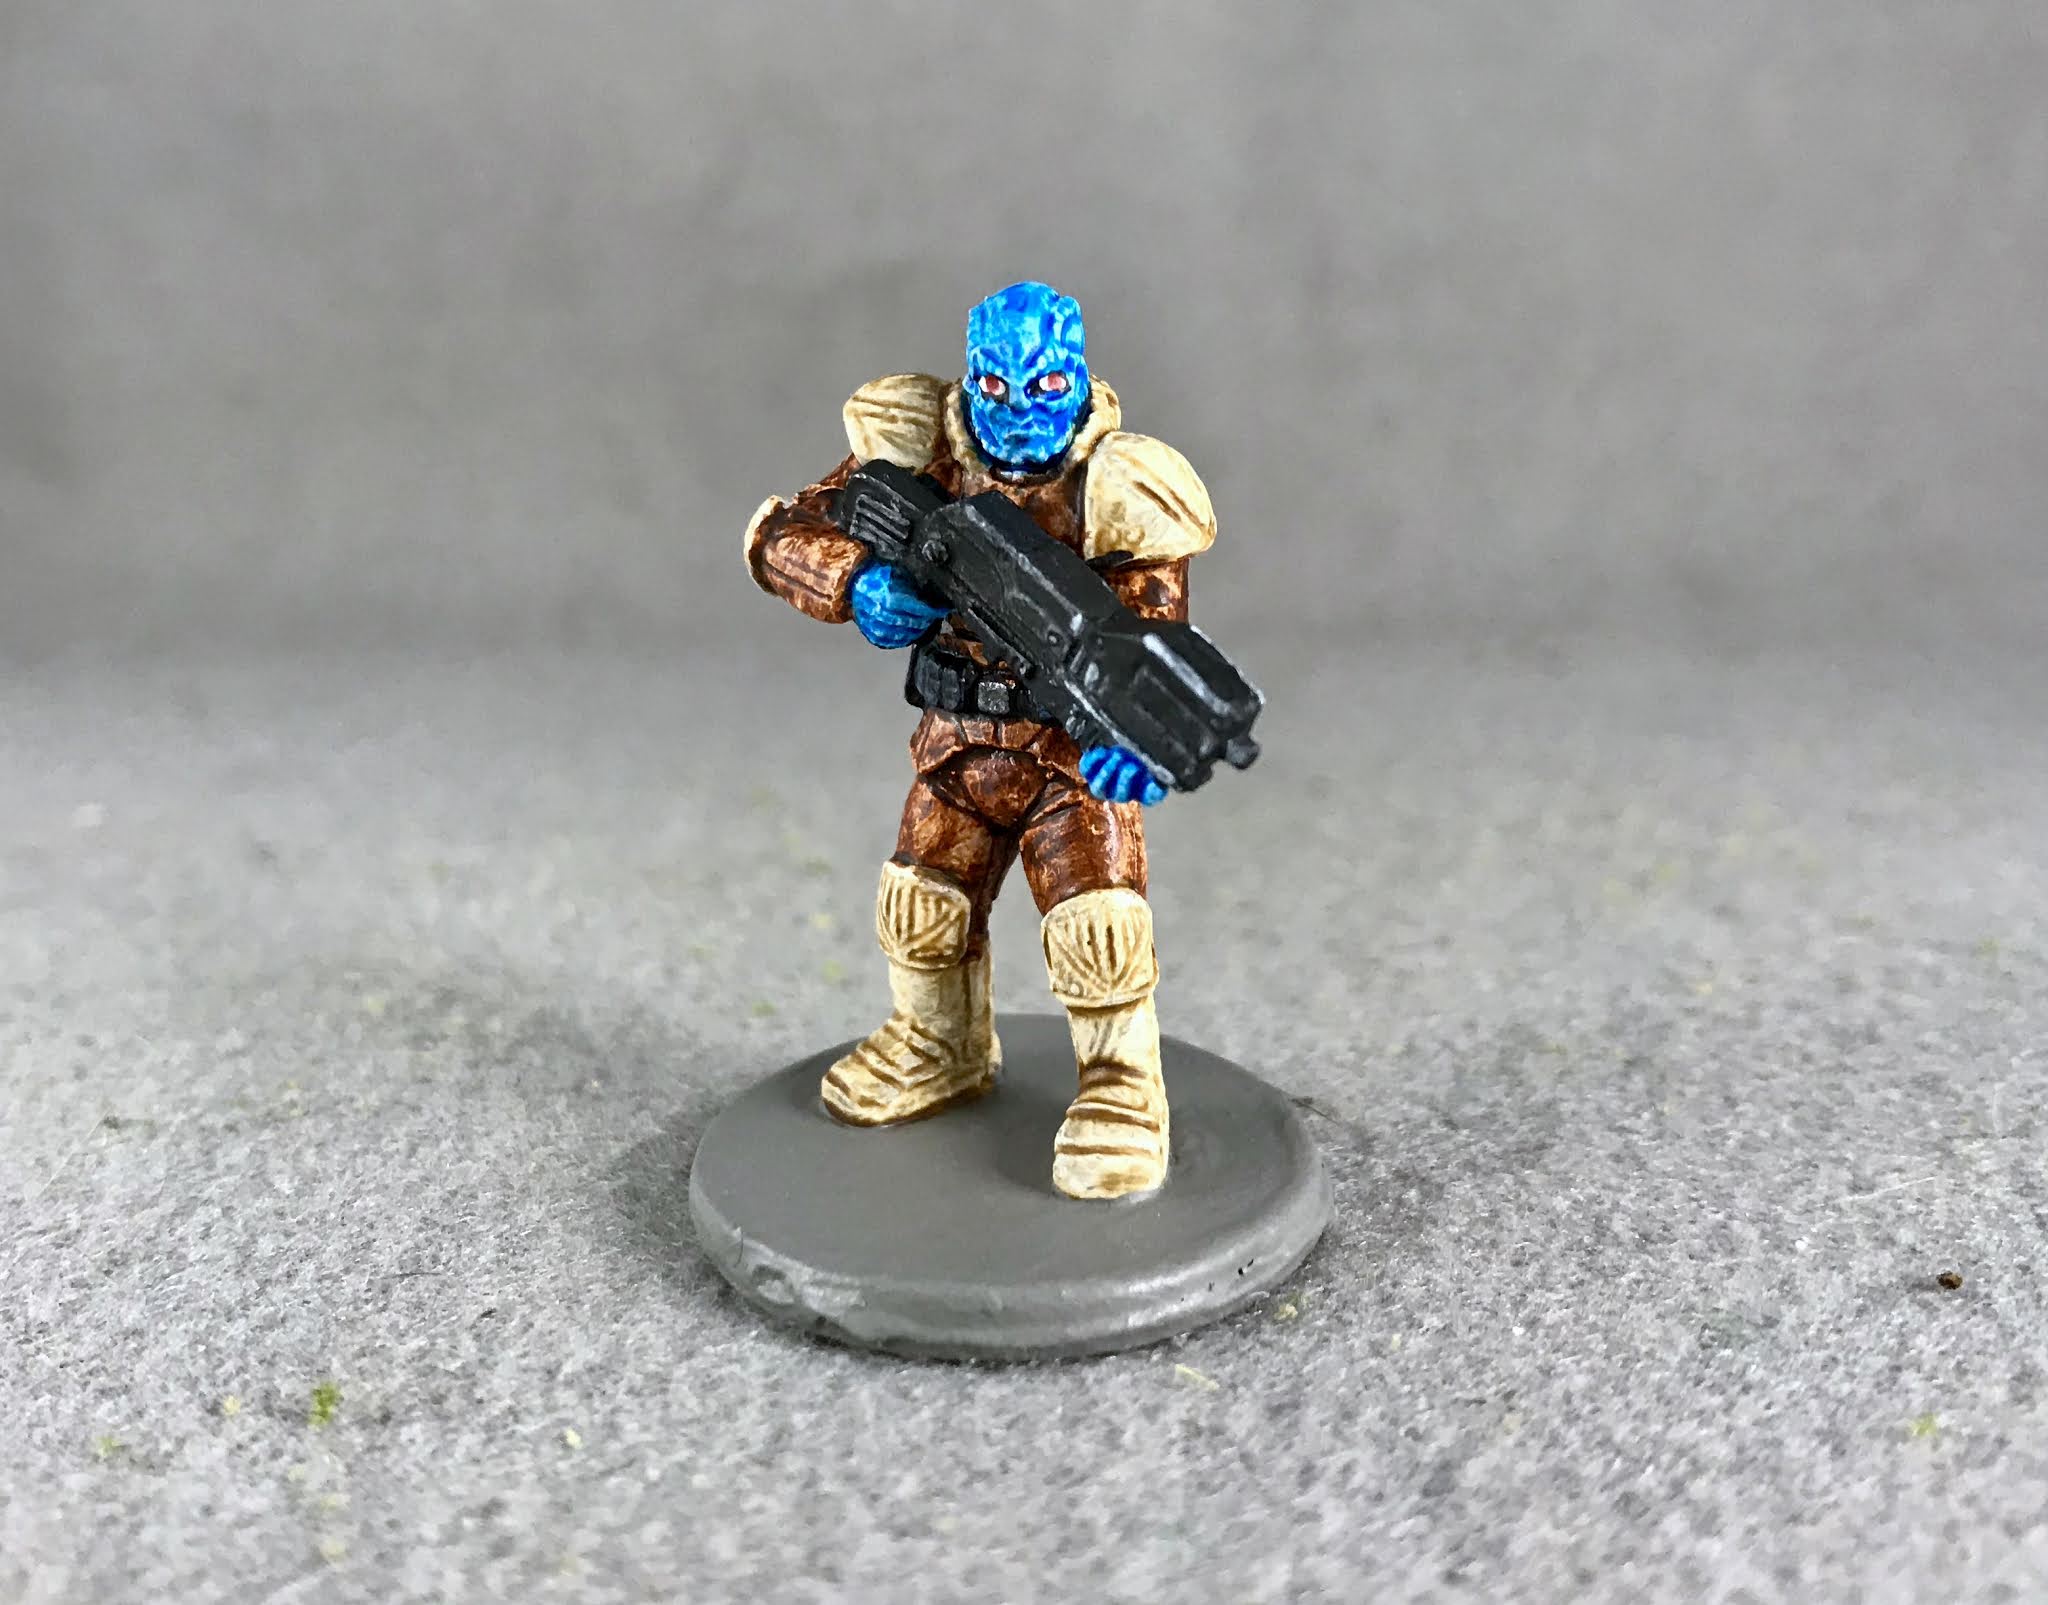
     This past week I painted the "Rach Soldier" from the Bones 4 Chronoscope Expansion.  I'm not very familiar with the particularities of the CAV factions, and just  plan to use this fellow as a random crewman in Stargrave, so did not attempt to follow any official color scheme that there may be for Rach soldiers.
     I prepped the figure in the usual way, soaking it in a dish of water with a couple drops of dish-soap added, then giving it a light scrub with a soft toothbrush, and then rinsing and drying it.  I then trimmed the figure's integral base a little, and glued the figure to a 1" brown-primed metal washer with some Aleene's Tacky glue.  I then placed the figure in my painting grip.        
     I began by painting the figure entirely with Ceramcoat "White", as I intended to use mainly Citadel Contrast paint on this guy.  When the "White" was dry, I painted most of his outfit with Citadel Contrast "Gor-grunta Fur".  I then painted his boots and collar, as well as his knee, elbow, and shoulder pads, with Citadel Contrast "Skeleton Horde". After that, I painted his head and hands with Citadel Contrast "Talassar Blue".
      Next, I painted the unit on his back with Americana Zinc, and the gun and belt with Americana "Black".  Then I painted his eyes and gave him red pupils using Reaper MSP "Holly Berry".   After that, I applied a coat of Citadel "Nuln Oil" wash to the unit on his back.        
     I meant to take a photo at this point, but forgot and continued painting without realizing it.  So my apologies for lack of step by step shots on this one.
     I then highlighted the unit on his back using Crafter's Acyrlic "Storm Cloud Grey", and then Americana "Grey Sky".  Next, I highlighted the belt with Ceramcoat "Denim Blue", and highlighted the gun with Crafter's Acrylic "Cool Blue".   There is a small circular area on one of the objects on his utility belt, and I painted that with Crafter's Acrylic "Wild Green", and then I painted his belt buckle with Folk Art Metallic "Gunmetal Grey".    Lastly, I painted the base with Americana "Neutral Grey".  
      I let the figure and base dry overnight and the next day I gave them both a coat of Americana "DuraClear Matte" varnish.   Another overnight dry, and I sprayed the figure with Testor's "Dullcote". 


     I'm happy with how this fellow turned out.  It's not great as a display piece, (I feel the Contrast paint comes out a bit too splotchy), but certainly good for the quick game table figure.


Monday, May 24, 2021

Small XAIRobot: Bones 4 Chronoscope Figure (Completed)

     This past week I began work on the small "XAIRobot"  from the Bones 4 Chronoscope Expansion.  Like many others, the recent release of Stargrave , the new Sci-Fi rules from the author of Frostgrave, has me on a bit of a science fiction bend.  So, I felt it was time to do a little work on my Chronoscope Expansion. 
    The late finish of last week's figure, and some weekend travel, once again leaves me with a work-in-progress figure for today.
       I prepped the figure in the usual way, soaking it in a dish of water with a couple drops of dish-soap added, then giving it a light scrub with a soft toothbrush, and then rinsing and drying it.  I then trimmed the figure's integral base a little, and glued the figure to a 7/8" metal washer with some Aleene's Tacky glue.  I then placed the figure in my painting grip.   
     I bean by painting the figure entirely with Ceramcoat "White".  When dry, I gave the figure a complete coat of Citadel Contrast "Apothecary White". 
     When the Contrast paint was dry, I drybrushed the figure with some Americana "Snow White".  I then painted some of the plates on the robot with Crafter's Acrylic "Pure Pumpkin".  After that I picked out some of the details with Reaper MSP "Holly Berry", and then painted the central "eye" sensor with Citadel Contrast "Talassar Blue".  
     ADDED THURSDAY

     I then highlighted the orange plates with some Americana "Tangerine", and after that painted the weapon in his hand with Ceramcoat "Black.   While I had the "Black" out, I also made sure all the exhaust ports on the backpack and ankles were filled in.  Next, I highlighted the gun with Ceramcoat "Denim Blue", and then highlighted the red triangles with Apple Barrel "Yellow".   After that, I painted the two lines on this right side of his head with Americana "Light Cinnamon" to provide some shadow, then went over them again with Folk Art Metallic "Pure Gold".  Lastly, I painted the buttons on its backpack with Nicole's "Neon Green", and then and then painted the base with Americana "Neutral Grey".  
      I let the figure dry overnight and the next day I gave it a coat of Americana "DuraClear Matte" varnish.   Another overnight dry, and I sprayed it with Testor's "Dullcote".  When the "Dullcote"  was dry, I wend back and painted the eye with  Americana "DuraClear Gloss" varnish.


     I'm happy with how this simple little robot turned out.  It's made me look forward to tackling some more Sci-Fi figures in the future.