Showing posts with label Steampunk. Show all posts

Tuesday, September 12, 2017

Wild West Wizard of Oz Wicked Witch and Winged Monkey: Bones 3 Figures

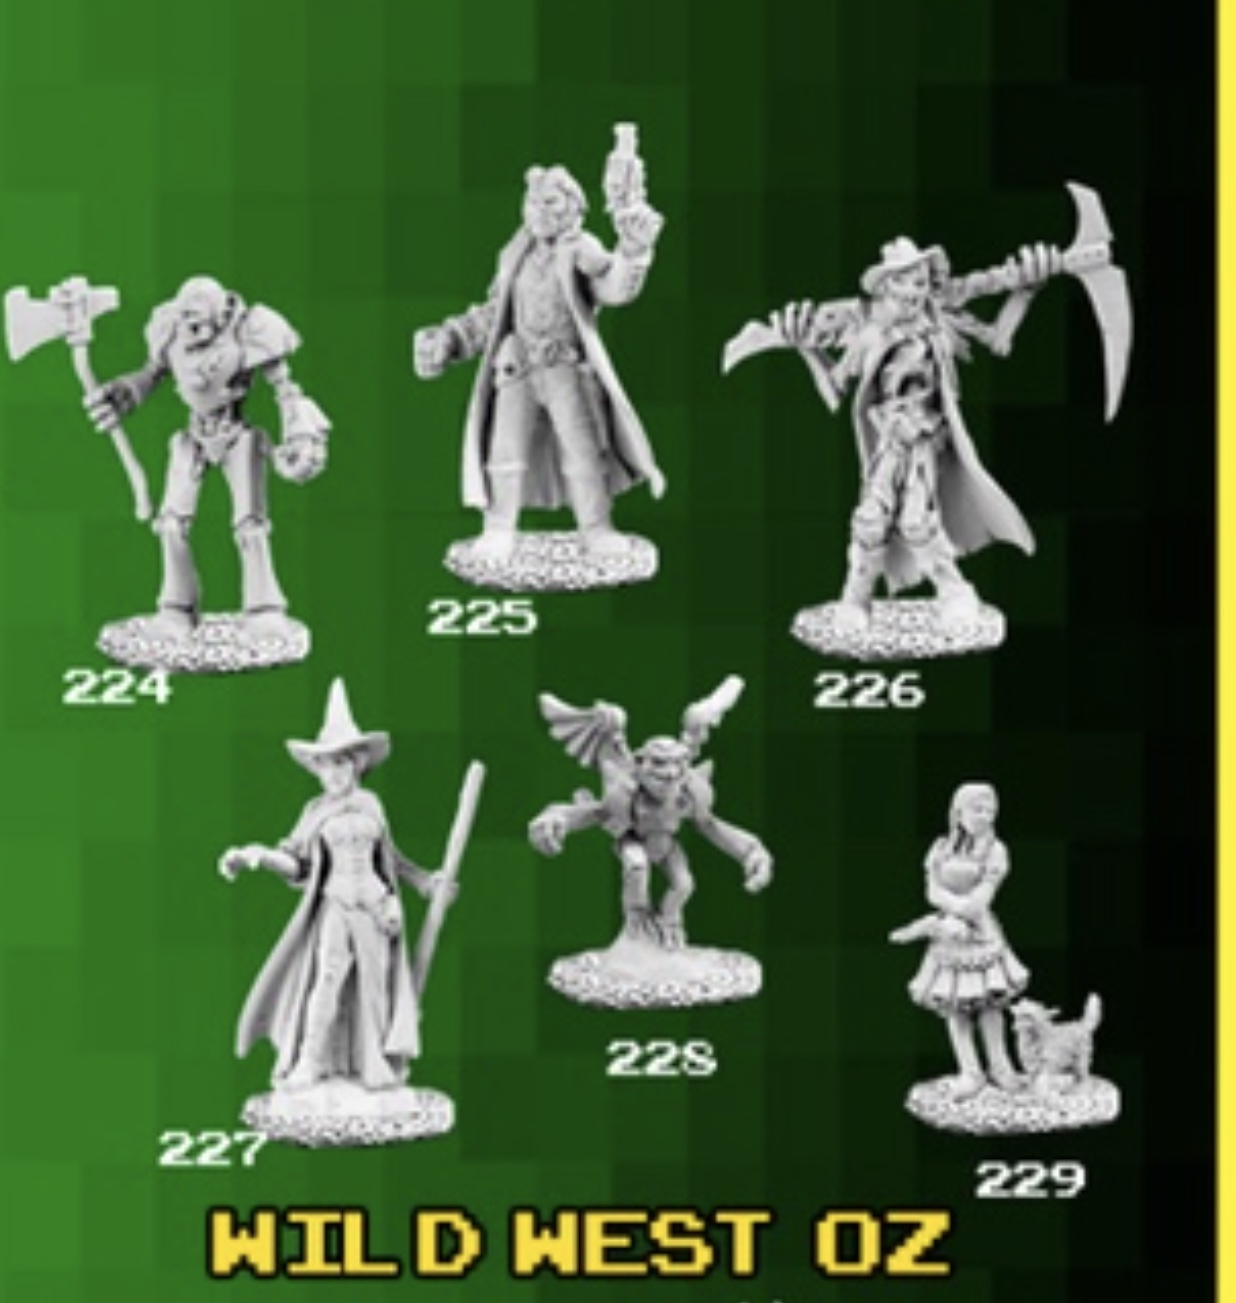
     Sorry we're a day late... I ran out of time yesterday to finish up.   Anyhow, this past week I finished the last two figures from the Bones 3 Wild West Wizard of Oz set and did the Wicked Witch and the Winged Monkey minis.  I don't know what particularly makes this set Wild West; it seems to me it would fit in in any kind of Steampunk, VSF, Pulp, or Post-Apocalyptic setting.
      These figures were actually cast in the newer grey Bones material, and are a bit stiffer than normal Bones.
      To see the figures from this set that I have already finished, see: Tin Man, Scarecrow, Lion, and Dorothy & Toto.
       Once again, I tried to as best I could copy the look of the corresponding character from the Wizard of Oz movie.   What I found interesting about the Wicked Witch was that her outfit was entirely black from head to toe.

       I prepped the figures in the usual way; soaking them in a dish of water with a couple drops of dish-soap added, then giving them a light scrub with a soft toothbrush, and then rinsing and drying them.    I then glued the witch figure to a black-primed 1" fender washer , and the monkey to a black-primed 7/8" fender washer, with Aleene's Tacky glue. I then glued each washer-mounted figures to a tongue depressor with a couple drops of the Elmer's glue.
     I began by painting the witch's clothes entirely with Black. When dry, I drybrushed them with Folk Art "Medium Grey".
      I then painted her face and hands with Crafter's Acrylic "Wild Green".  After that I painted her broom handle with Ceramcoat  "Territorial Beige", and the broom straws with Americana "Sable Brown".
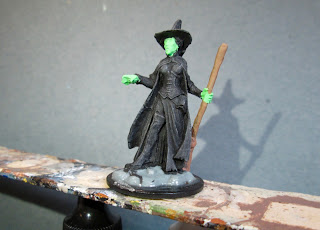
     When the face and hands had time enough to dry, I gave them a wash with Iron Wind Metals "Dark Green" ink.  When that was dry, I gave the broom handle and straws a wash with Citadel "Agrax Earthshade" wash.  I then added shadows under her yes by mixing a little of the "Wild Green" with some Black.  I also  applied a little Citadel "Nuln Oil" wash to between her lips to help define her slightly open mouth.   Next, I painted her eyes, and then highlighted her face and hands with the base "Wild Green". After that, I did some highlighting on her hair using Americana "Mississippi Mud", and then went back over or outfit and did specific highlighting on some of the clothing edges with the "Medium Grey" to help define them.   I then turned to her broom and did highlighting on the straw with Ceramcoat "Maple Sugar Tan". When that was done, I did a little crosshatch pattern between the two metal rings on the broom (like in the movie photo at the top) using Americana "Raw Umber".  I then painted the rings Black, and then went back over them with Ceramcoat "Metallic Silver".  Lastly, I painted her integral base with Americana "Charcoal Grey".
         When I was done painting the figure, I used some white glue to glue a mixture I made of some fine brown sand, and courser black sand to the base.  When this was dry, I drybrushed the sand and the figure's own base with Ceramcoat "Territorial Beige", and then with some Americana "Antique White".  When dry, I glued on some bits of grass tufts.
      I let the figure dry overnight and the next day I gave her a coat of Americana "DuraClear Matte" varnish.  Another overnight dry, and I sprayed it with Testor's Dullcote".

     I then worked on the Winged Monkey.  I wanted to try to imitate the bluish-grey fur, blue face, and grey wings of the movie monkey, except in a metallic look.   I began by painting him entirely in Black.
     Then, when the Black was dry, I made a mix of Folk Art Metallics "Gunmetal Grey" and Folk Art "Metallic Blue Sapphire", and used this to drybrush his body.  I then drybrushed his wings with the "Gunmetal Grey". I then added a little Folk Art Pearl "Aqua Moire" to the mix to lighten it, and painted highlights on his body.
     Next, I used Ceramcoat "Metallic Silver" to do highlights on his wings, and after that I painted his face with the just the plain "Metallic Blue Sapphire" and highlighted it with the "Aqua Moire".   I then tried to paint a bit of his jacket pattern (as seen in the movie photo at the top) on his shoulder pads and on his medallion.  I began by doing the base of the pattern in black, and then painted it with Americana "Dove Grey", leaving a little of the Black edge showing.  This was followed by doing the interior of the pattern with Ceramcoat "Opaque Red", making sure to leave the "Dove Grey", and Black edges show.
     Next I worked on his eyes and the grill work on his chest.  I painted his eye sockets and the grill slots with Iron Wind Metals "Red" ink. When the ink was dry, I painted the eyes and the slots with the "Opaque Red".  Afterwards, I painted the pupils and the very center of the slots with Reaper MSP "Golden Glow".   Finally, I painted his lips with the "Opaque Red", and then mixed in a little of the "Golden Glow" to do highlights.
     Then, like with the witch, I painted his integral base with Americana "Charcoal Grey".
         When I was done painting the figure, I used some white glue to glue a mixture I made of some fine brown sand, and courser black sand to the base.  When this was dry, I drybrushed the sand and the figure's own base with Ceramcoat "Territorial Beige", and then with some Americana "Antique White".  When dry, I glued on some bits of grass tufts.
      I let the figure dry overnight and the next day I gave him a coat of Americana "DuraClear Matte" varnish.  Another overnight dry, and I sprayed it with Testor's Dullcote".

     I like how the pair turned out.   Of all the set, I think these two fall closest to their movie counterparts in appearance.
     And here's a look at the whole Wild West Wizard of Ox set, both heroes and villains...
     I think they all turned out really well, and make a pretty nice looking set of figures.

Monday, September 4, 2017

Wild West Wizard of Oz Dorothy and Toto: Bones 3 Figures

     This past week I continued on with the Wild West Wizard of Oz set from Bones 3,  and painted Dorothy & Toto.  I still have the Wicked Witch and Flying Monkey remaining.
     To see the figures from this set that I have already finished, see: Tin Man, Scarecrow, and Lion.
     I prepped the two figures in the usual way; soaking them in a dish of water with a couple drops of dish-soap added, then giving them a light scrub with a soft toothbrush, and then rinsing and drying them.    I then glued the Dorothy figure to a black-primed 1" fender washer, and Toto to a .75" black-primed fender washer, both with Aleene's Tacky glue. I then glued the washer-mounted figures to a tongue depressor with a couple drops of the Elmer's glue.
     I wanted to try to see if I could figure out a way to paint her dress so it looked like gingham; so I asked around if there was any trick to getting that look without doing the impossible of painting the tiny check pattern in scale with figure.  There didn't seem to be any real trick other than trying to paint it as checkered, or trying to use either blue dots on white, or white dots on blue.
     So I started off painting her skin with Apple Barrel "Apple Flesh".  I then painted her petticoat, apron, shirt, and socks, with Duncan "Slate Grey".  After that, I painted the dress with reaper MSP Bones "Tropical Blue", and then, when dry, I applied a wash with thinned Crafter's Acrylic "Navy Blue", paying particular attention to get it down in the folds of the dress.
     When the wash was dry, I carefully tried to apply the smallest White dot pattern I could to the dress.  That didn't look right, so i went back and tried adding small dots with the "Navy Blue" between the rows of White.
    I just wasn't happy, so I decided to scrap the idea of painting an actual gingham pattern, and just settle for a mid-blue dress.  So, feeling that the results of the dress with dots (as they appear in the photo above) was too dark, I gave the dress a thin wash of White.  This made it a little too light, so I went back and gave it a thin wash of the "Tropical Blue".  I was basically happy at this point so I took the opportunity to apply a wash of Citadel "Agrax Earthshade" wash to her face, arms, and legs, using a wet brush.  When the wash was dry, I went back and added some specific highlights to the dress with Crafter's Acrylic "Cool Blue".   I then painted highlights on her shirt, apron, and petticoat with White.  After that I painted her hair and Toto with Accent "Real Umber"
     Next, I applied highlights to her hair with Crafter's Edition "Spice Brown", and then Americana "Sable Brown".  I then went back and added hair ribbons with the "Tropical Blue" highlighted with the "Cool Blue".  Next, I painted her eyes and lips.  I discovered her face had some very slight casting errors in it, which I tried my best to hide when I highlighted the skin with some Crafter's Acrylic "Flesh".    I then painted the shoes with Folk Art "Deep Tomato Red", and the gun with Black.  After that, I went back over the shoes with DecoArt Dazzling Metallics "Festive Red", and then highlighted the gun with Folk Art Metallics "Gunmetal Grey"
    I then turned to toto, an gave him a light drybrush of Ceramcoat "Territorial Beige", after which I did a drybrush of Folk Art "Butter Pecan concentrating mainly on his back and head.  I then gave him Black eyes with tiny White highlight dots, and added a little hint of tongue wth Crafter's Acrylic "Tutti Frutti".   Lastly, I painted both figures bases with Americana "Charcoal Grey".
      Looking at the finished Dorothy, I realized her ruby slippers didn't really have the sparkle they needed.  My wife recommended red glitter nail-polish, which reminded me that I had bought a bottle of Folk Art Extreme Glitter "Hologram" (which is basically clear) paint somewhere along the way. I applied this and it really gave the shoes the extra sparkle I wanted.
     When I was done painting the figure, I used some white glue to glue a mixture I made of some fine brown sand, and courser black sand to the base.  When this was dry, I drybrushed the sand and the figure's own base with the "Territorial Beige", and then with some Americana "Antique White".  When dry, I glued on some bits of flock and grass tufts.
      I let the figure dry overnight and the next day I gave him a coat of Americana "DuraClear Matte" varnish.  Another overnight dry, and I sprayed it with Testor's Dullcote".  I found the Dullcote blunted the impact of the ruby slippers a little, so I went over them again with the "Hologram" glitter paint once more, and then hit them with a little Americana "DuraClear Gloss" Varnish.

     I really like how these figures turned out.  While I wish I could have achieved the gingham effect, I think just the plain blue dress gets the idea and "look" of the character across enough.
     And here is a look at the whole gang of heroes together...
     I'm pretty pleased with how the group looks together as a whole.

    And, I was lucky enough to already have had the opportunity to be using them as a gang in a game using the post-apocalyptic rules "This is Not a Test"
I added a figure (A Partizan give-away figure of George Stephenson) to be Professor Marvel "the Wizard".

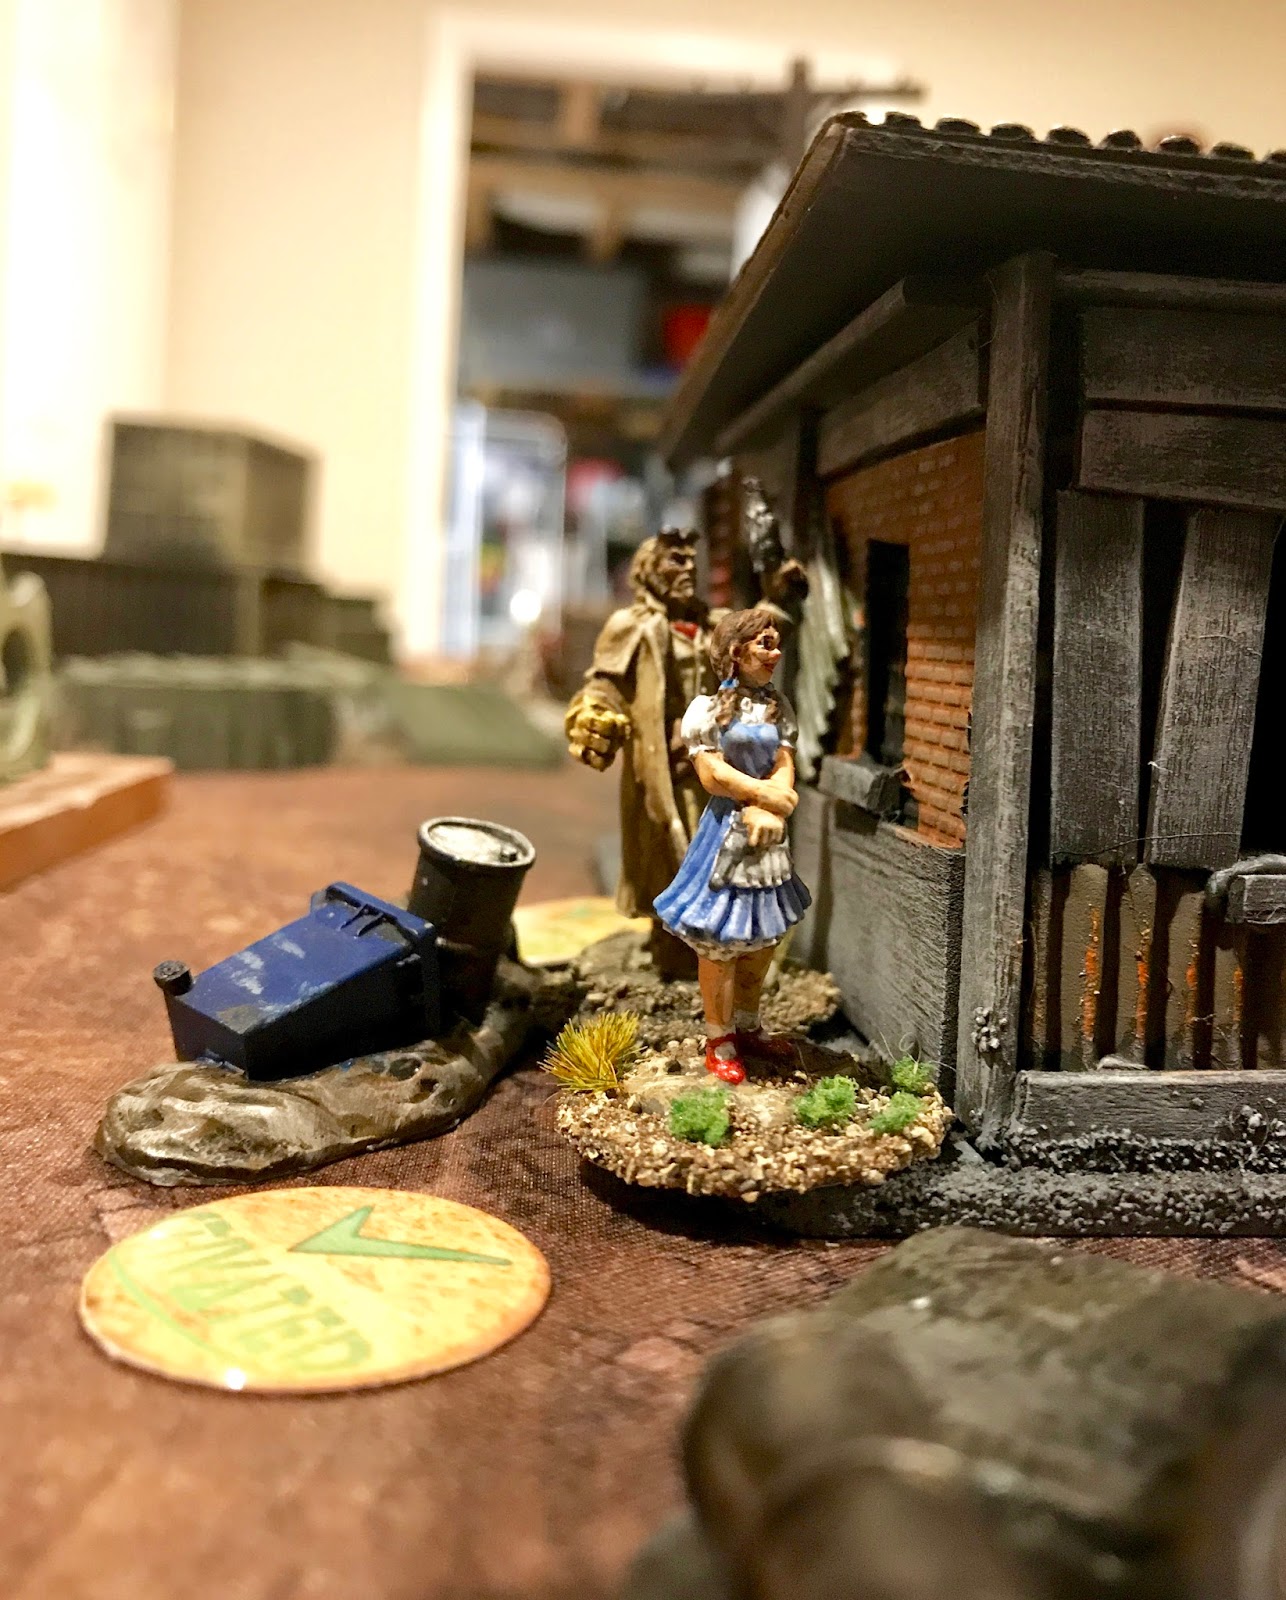
A shot from during the game of Dorothy carefully peeking around a corner as the Lion backs her up.

Monday, August 28, 2017

Wild West Wizard of Oz Lion: Bones 3 Figure

     This past week I moved on to the next figure in the Bones 3 Wild West Wizard of Oz set: the Lion.   This is clearly supposed to be a "not-Hellboy" figure, so I'm not sure why Reaper decided to rebrand him as the Oz Lion.  I guess he fills the bill well enough; though I can't say there is anything particularly "lion-y" about him.  So, I decided to at least try to paint him up in lion-ish colors; keeping to yellows, tans, and tawny shades.
     These figures were actually cast in the newer grey Bones material, and are a bit stiffer than normal Bones.  
      To see the figures from this set that I have already finished, see: Tin Man, and Scarecrow.
      I prepped the figure in the usual way; soaking it in a dish of water with a couple drops of dish-soap added, then giving it a light scrub with a soft toothbrush, and then rinsing and drying it.    I then glued the figure to a black-primed 1" fender washer with Aleene's Tacky glue, and then glued the washer-mounted figure to a tongue depressor with a couple drops of the Elmer's glue.
     I began by painting his face and left hand with Reaper MSP "Tanned Shadow".  I then painted his undershirt with Reaper MSP Bones "Cinnamon Red", and then his outer shirt with Americana "Buttermilk".  After that, I painted his pants with Apple Barrel "Apple Maple Sugar".
     Next, I painted his coat with Folk Art "Butter Pecan", and then his boots, belt, suspenders and holsters with Folk Art "Teddy Bear Brown".  I then painted his hair and the grip of his pistol with Americana "Raw Umber".   After that, I painted his power fist with Accent "Golden Harvest", and his pistol with Americana "Zinc".
     I then went back and painted over the power fist with Ceramcoat "Bronze", and the gun with Ceramcoat "Metallic Pewter".    I waited for everything to dry for a while, and then I gave the entire figure a wash with Citadel "Agrax Earthshade" wash using a wet brush".     When the wash was dry, I painted his eyes and then highlighted his skin with the Reaper MSP "Tanned Skin", and then the Reaper MSP "Tanned Highlight".
    Next, I highlighted his hair; first with Ceramcoat "Territorial Beige", and then with a mix of Americana "Light Antique White" and Accent "Mustard Seed".  I then painted his goggles with Accent "Real Umber", and then did the lenses with Citadel "The Fang".  I then added highlights to the lenses with Crafter's Acrylic "Cool Blue", and added White highlight dots.
     Next, I highlighted his undershirt with Reaper MSP "Holly Berry", and then his shirt with Americana "Bleached Sand". I then highlighted his pants with a mix of the original "Apple Maple Sugar", and Americana "Antique White", and his coat with a mix of Reaper MSP "Ginger Cookie", and the "Bleached Sand".    After that, I highlighted his boots, belts, holsters, and suspenders with Americana "Sable Brown".  I then moved to the metallics, highlighting his power fist with Ceramcoat "Wedding Gold", and his pistol with Ceramcoat "Metallic Silver".  Lastly, I painted the figure's integral base with Americana "Charcoal Grey".
       When I was done painting the figure, I used some white glue to glue a mixture I made of some fine brown sand, and courser black sand to the base.  When this was dry, I drybrushed the sand and the figure's own base with Ceramcoat "Territorial Beige", and then with some Americana "Antique White".  When dry, I glued on some bits of grass tufts.
      I let the figure dry overnight and the next day I gave him a coat of Americana "DuraClear Matte" varnish.  Another overnight dry, and I sprayed it with Testor's Dullcote".

     Well, I'm happy with him; though I don't know ultimately how lion-y he is.   I guess though, since none of the three companion figures really look a lot like their movie/book counterparts; it's more an Oz feel of the whole group than of the individual components.

     I also wanted to remind folks that the Bones 4 Kickstarter is now in it's last 5 days!  So pledge now, and pledge often! :)  Just click here: Reaper Bones 4

Monday, August 14, 2017

Wild West Wizard of Oz Tin Man: Bones 3 Figure

     This past week I started the Bones 3 Wild West Wizard of Oz set and did the Tin Man mini.  I don't know what particularly makes this set Wild West; it seems to me it would fit in in any kind of Steampunk, VSF, Pulp, or Post-Apocalyptic setting.
     These figures were actually cast in the newer grey Bones material, and are a bit stiffer than normal Bones.
       I prepped the figure in the usual way; soaking it in a dish of water with a couple drops of dish-soap added, then giving it a light scrub with a soft toothbrush, and then rinsing and drying it.    I then glued the figure to a black-primed 1" fender washer with Aleene's Tacky glue, and then glued the washer-mounted figure to a tongue depressor with a couple drops of the Elmer's glue.
      I began by painting the entire figure, and his base, with Black.   When the Black was dry, I drybrushed the figure with  Folk Art Metallics "Gunmetal Grey".  I then passed over it with a lighter drybrush of Ceramcoat "Metallic Silver"
     I applied a little Iron Wind Metals "Medium Blue" Ink to the eye sockets, and then that was dry, I pianted the eyes with Crafter's Acrylic "Tropical Blue".  I then did pupils with Crater's Acrylic "Cool Blue", and then added White dots in the center  of the pupils.
     Next, I painted his pendant and the chain it is on, as well as some of the rods in his abdomen with Ceramcoat "Bronze".  I then painted the pendant with Ceramcoat "Opaque Red", and did a shadow on it with Ceramcoat "BlackCherry", and a highlight with Crafter's Acrylic "Tutti Frutti".  I finished the pendant by doing small White highlight dots on it.
     I then went back and highlighted the "Bronze" pendant, chain and rods, with Ceramcoat "14K Gold", and after that I went back and did more specific highlights on his armor with the "Metallic Silver".
     When I was done painting the figure, I used some white glue to glue a mixture I made of some fine brown sand, and courser black sand to the base.  When this was dry, I drybrushed the sand and the figure's own base with Ceramcoat "Territorial Beige", and then with some Americana "Antique White".  When dry, I glued on some bits of grass tufts.
      I let the figure dry overnight and the next day I gave him a coat of Americana "DuraClear Matte" varnish.  Another overnight dry, and I sprayed it with Testor's Dullcote".

     I'm really pleased with how this figure turned out, particularly the glowing blue eyes.  Next up, I will be working on the Scarecrow.

Monday, November 9, 2015

Dita, Steampunk Witch: Figure 178 or 265

   This week I finished Dita, Steampunk Witch, from the Chronoscope Set.  Only one figure let to do from this set.
       I prepped the figure in the usual way; soaking it in a dish of water with a couple drops of dish- soap added, then giving it a light scrub with a soft toothbrush, and then rinsing and drying it.  I then glued the figure to a black-primed 1" fender washers with Aleene's Tacky glue, and then glued the washer-mounted figure to a tongue depressor with a couple drops of the Elmer's glue.
      I began by painting the entire figure, and her base, Black.  I then drybrushed it with Folk Art "Settlers Blue".
     Next, I painted her skin with Americana "Mocha". Then I painted parts of her outfit with Crafter's Edition "African Violet".  I painted her hair with Apple Barrel "Burnt Sienna", and  the end of her broom with Folk Art "Barnyard Red"
     I then gave her hair, skin, and broom end a wash with Winsor Newton "Peat Brown' Ink using a wet brush.  When that was dry, I painted her eyes and lips, and then did her skin highlights, with first the "Mocha", then I mixed some Crafter's Edition "Flesh" with the "Mocha" and did lighter highlights.   Next, I highlighted her hair with first the base "Burnt Sienna", then with Americana "Burnt Orange", I did highlights on the broom with first the base "Barnyard Red", then with Ameircana "Georgia Clay".   I then used the "Settlers Blue" to add some more specific highlights on the Black.
     Next, I did the highlights on the purple, first with a mix of the "African Violet" and some Apple Barrel "Apple Lavender", then with just the plain "Apple Lavender"
      I then worked on the metal parts, painting them first with Ceramcoat "Bronze", and then going back and doing highlights with Ceramcoat "14K Gold"  I painted the round object on her hat like a headlight, using Folk Art "Medium Grey", Folk Art "Silver Sterling", and White highlights.  I also added tiny White highlights to her goggles.
      After the figure had the afternoon to dry, I gave it a coat of Ceramcoat "Matte Varnish" in the evening.  The next morning I flocked the base, and later that afternoon I sprayed the figure with Testor's Dullcote.
    I'm pleased with how the figure turned out, even though I didn't get it finished for Halloween. I did notice in the photos, that I didn't do good coverage with the Dullcote, and there's still some shiny spots in her clothing folds and recesses.  I'll have to ht it again with the Dullcote tomorrow.