Showing posts with label CAV. Show all posts

Monday, March 13, 2017

CAV Warden Unit: CAV 1 Kickstarter

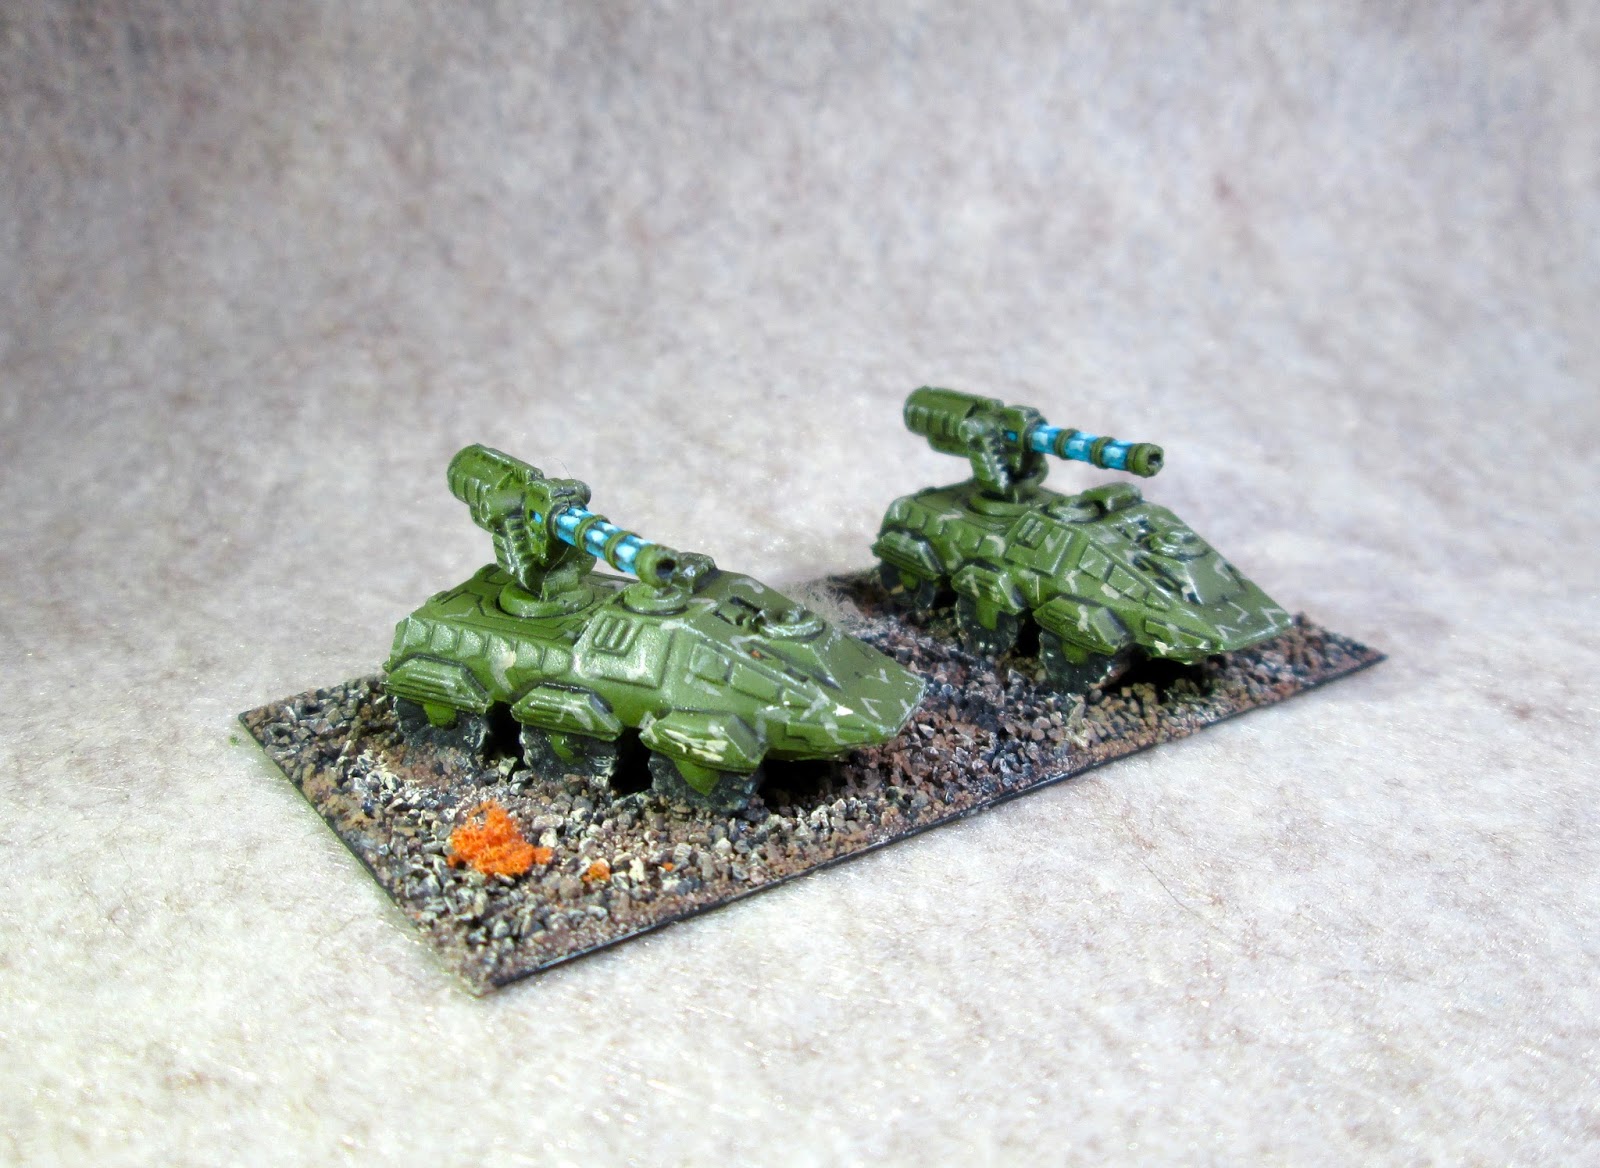
    This week I decided for a change of pace to work on some of the CAV Bones minis I got from the first CAV Kickstarter, and complete a company of Warden vehicles.  These are being based up for the upcoming version of "Look, Sarge, No Charts: Near Future & Sci-Fi" rules we will begin working on soon.  So, my company will consist of three 2-vehicle platoon bases, and a single-vehicle HQ base.
      I prepped the vehicles in the usual way for Bones; soaking them in a bowl of water with a couple drops of dish-soap added, then giving them a light scrub with a soft toothbrush, and then rinsing and drying them. I then glued the laser in place with superglue on 6 of the vehicles, and on the 7th, HQ vehicle, I scratchbuilt a simple radar/communication unit to sit on the back using a piece of mini lego and a plastic gem.
     I first sprayed the vehicles with Krylon Camouflage with Fusion, Ultra Flat "Woodland Light Green".    When dry, I glued 6 of them onto 1.5" x 3" bases, and the HQ onto a 1.5" square base.   I then painted the big lasers on back with Crafter's Acrylic "Tropical Blue";  and when dry, I gave the all the vehicles a wash with Citadel "Nuln Oil" wash using a wet brush.
When the wash was dry, I painted the tires Black, and then highlighted the lasers; first with the "Tropical Blue", and then with Crafter's Acrylic "Cool Blue".  Next, I painted a simple camouflage pattern on the vehicles with Americana "Khaki Tan".  After that, I drybrushed the vehicles with Americana "Bleached Sand.  
    I let the vehicles sit overnight, and the next morning I varnished them with Americana "DuraClear Matte" varnish.  Later that day, when the varnish was dry, I applied a thin coat of white glue to the bases and dipped them in a mix of course black sand and fine brown sand.  When the glue was dry, I drybrushed the sand with Ceramcoat "Territorial Beige" and then Americana "Antique White", followed by the "Bleached Sand".  I then added some small bits of various static grass and other flocking.
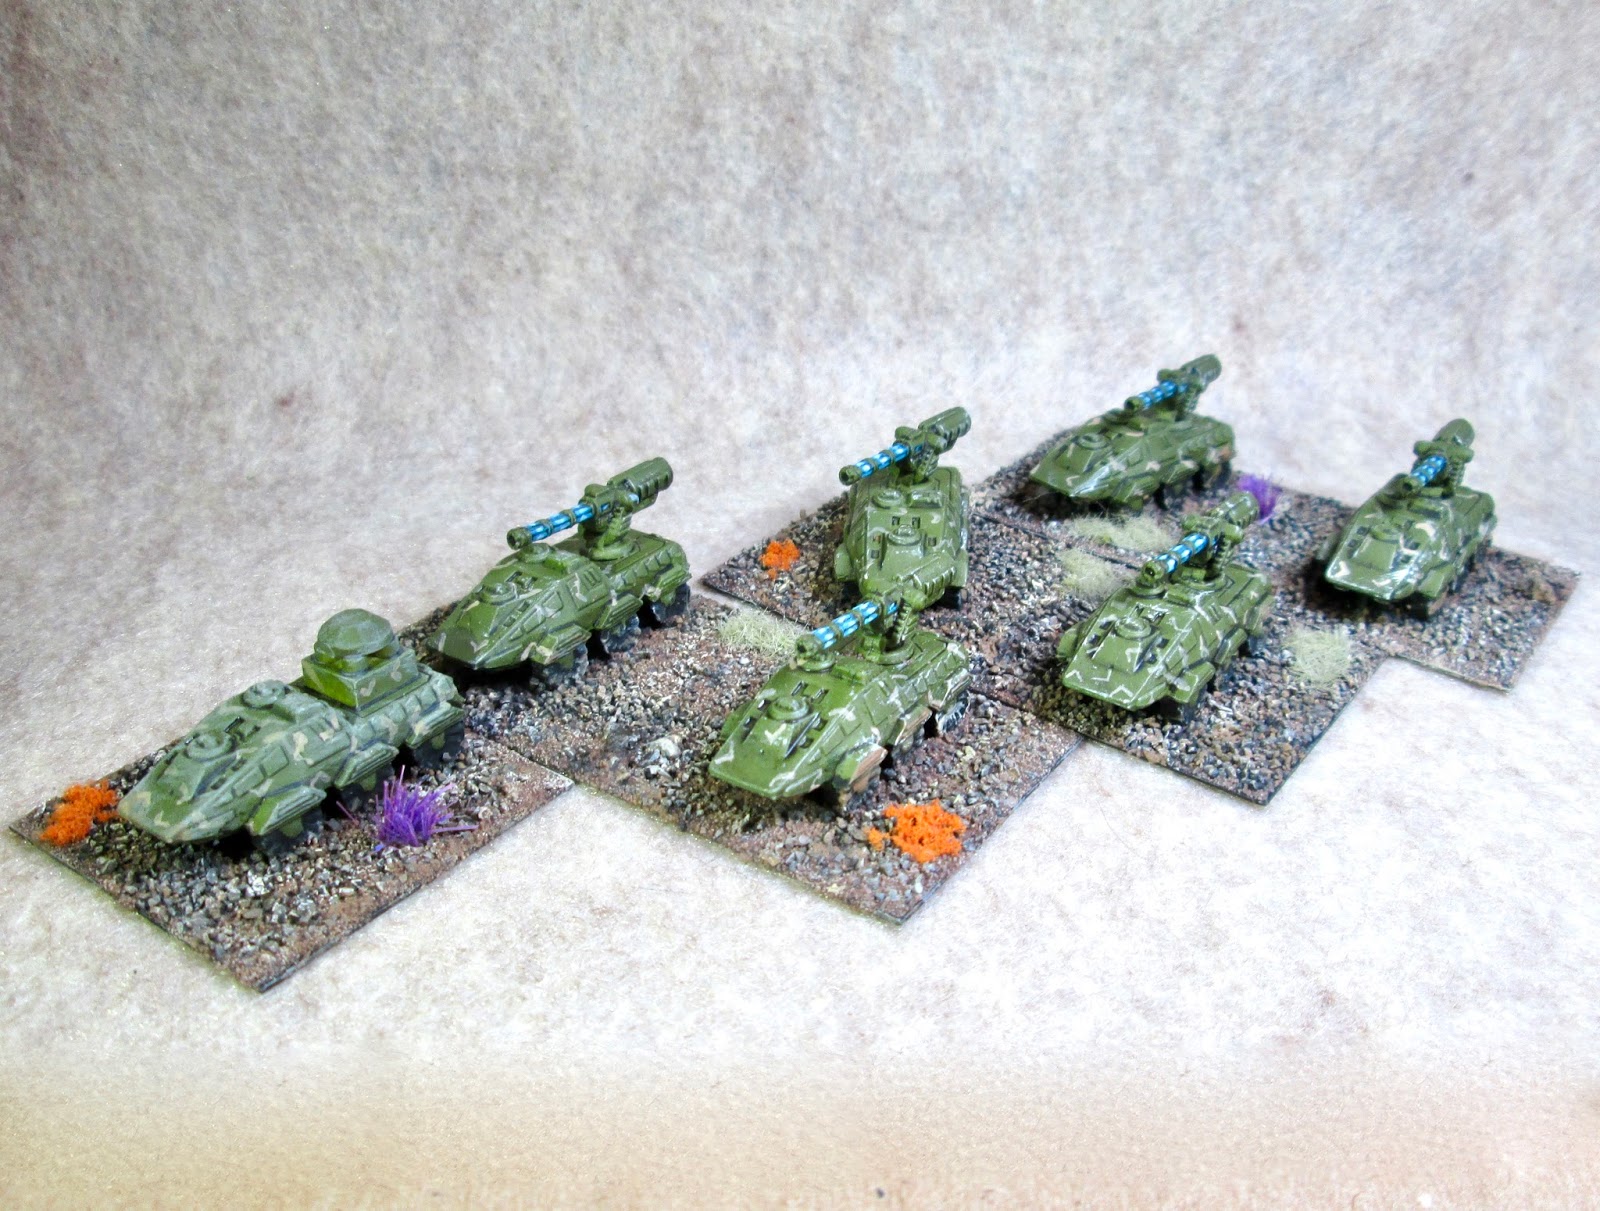

     I'm very pleased with ho these turned out, and am looking forward to the chance in the near future of finally getting some of my CAV on the table. 

Thursday, June 2, 2016

Bones CAV SO: Simba Quadruped Mech

  This week I painted up one of the Simba quadruped mech figures that I got from the CAV: SO Kickstarter.
   I prepped the figure by soaking all the parts for a few hours in a bowl with a little bit of dish-soap added, and then scrubbed them with a soft toothbrush and let them dry.  I then assembled the model with Gorilla Superglue.
   I then sprayed the model with Krylon Camouflage with Fusion   .  This left the model a little tacky, which surprised me as I had used the Krylon Camouflage with Fusion "Flat Black" before without issue.   I then glued the model to a steel base.  When the glue was dry, I painted some of the conduits on top of the vehicle, and the corrugated panels on the sides with Americana "Neutral Grey".  I then gave the entire piece a wash with GW "Agrax Earthshade" wash using a wet brush.
   When the wash was dry, I drybrushed the entire vehicle with Americana "Bleached Sand".  I then painted the bridge windows with  Folk Art "Settlers Blue" on the top, and Americana "Raw Umber" on the bottom.   Then I added some small White highlights.  I painted one of the small sensor/gun tubes on top with Americana "Terra Cotta".  The large gun/sensor I painted the inside of with Nicole's "Neon Green", and when dry, gave it a wash with Iron Wind Metals "Dark Green" Ink, thinned with a little water.  When this was dry, I mixed a little White with the "Neon Green" and painted the center of the green circle.  I painted the open barrels of the other gun/sensors with Black.  While I had the Black out, I thinned some and used it to paint the vents running along the back deck.
     After the vehicle had overnight to dry,  I gave it a coat of Ceramcoat "Matte Varnish" early the next morning.   When the varnish was dry, I covered the base with white glue and dunked it in a sand and gravel mixture.  When the sand was dry, I painted it with the "Raw Umber", and then when that was dry, I drybrushed it with Americana "Territorial Beige", followed by Folk Art "Butter Pecan", and lastly Americana "Bleached Sand".
  The next day I sprayed the piece with Testor's Dullcote.  


   I'm pleased with how this turned out.  The paint job was pretty simple, but I think all the sculpted details on the vehicle really help bring it to life.

Thursday, April 21, 2016

Bones CAV SO: Ashigaru

   This week I completed my first unit from the Reaper Bones CAV Strike Operation Kickstarter, the Ashigaru missile launcher vehicles.
   I prepped the vehicles in the usual way for Bones; soaking them in a bowl of water with a couple drops of dish-soap added, then giving them a light scrub with a soft toothbrush, and then rinsing and drying them. I then glued the missile rack in place with superglue.  Next, I sprayed them with Army Painter "Necrotic Flesh" spray paint.  When they were dry, I glued them to a black-primed 3"x1.5" steel base (For use with LSNC: Sci-Fi rules), with Aleene's Tacky glue.
      I began by painting camouflage splotches all over the vehicles' surfaces using Nicole's "Brown". I the painted the wheels all Americana "Territorial Beige".
     Next, I added small dots to the camouflage splotches  with Americana "Khaki Tan".  After the paint had a while to dry I gave the all the vehicles an entire wash using Winsor-Newton "Peat Brown" ink using a wet brush.
     When the ink wash was dry I gave the vehicles an all-over drybrushing with Americana "Buttermilk".  I then painted the missile tips with Americana "Zinc", and the vehicle windows with Crafter's Acrylic "Navy Blue".
    I then added small highlights to the tops of the missile tips using Crafer's Acrylic "Storm Cloud Grey", and highlights to the windows with Americana "Salem Blue", followed by small pinpoint White highlight dots in each window.  Lastly, I painted the tail lights with Crafter's Acrylic "Deep Red".
     After the vehicles had overnight to dry,  I gave them a coat of Ceramcoat "Matte Varnish" early the next morning.   When the varnish was dry, I covered the bases with white glue and dunked them in a sand and gravel mixture.  When the sand was dry, I painted it with Americana "Raw Umber", and then when that was dry, I drybrushed it with Americana "Territortial Beige", followed by Folk Art "Butter Pecan", and lastly Americana "Bleached Sand".
  The next day I sprayed the missile launcher unit with Testor's Dullcote.

Three platoon stands and a company HQ stand.
    I'm happy with how these turned out, and am looking forward to tackling more of the CAV vehicles in the future!

Friday, March 11, 2016

Reaper CAV Bones Kickstarter Boxes Arrive

   I'm happy to report that my shipments from Reaper's CAV: Strike Operations Kickstarter arrived this week!   I happily spent that night sorting through all my goodies. :)
      I didn't go in for a lot of the big stompy robots, as I was more interested in getting a bunch of the well-priced 10mm tanks and other vehicles for a set of Sci_Fi rules we will be working on based on our popular "Look, Sarge, No Charts" system.
    So, you can expect to see the occasional tank or two, as well as a couple of the big stompy robots,  to show up here; since they are made from the Bones material, so fall under the jurisdiction of this blog. :).