Showing posts with label Animal. Show all posts

Monday, January 3, 2022

Chicken Swarm: Bones 5 Fan Favorites Figure

      Happy 2022 everyone!  Back before Christmas one of the last things I got painted was the "Chicken Swarm" figure from the Bones 5 Fan Favorites Expansion as a Christmas gift for a friend.  I didn't want to post it before Christmas for that reason; so now I thought I'd get it up on the blog
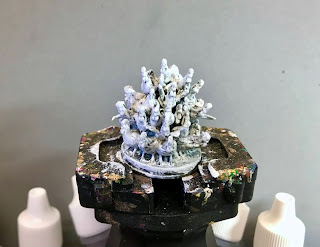
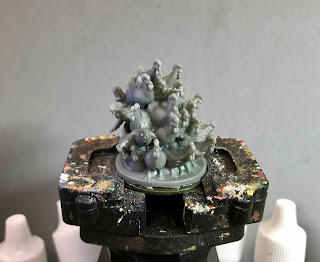
      I prepped the figure in the usual way, soaking it in a dish of water with a couple drops of dish-soap added, then giving it a light scrub with a soft toothbrush, and then rinsing and drying it.  I then glued the figure to a 1" primed metal washer, using Aleene's Tacky Glue.  I then put the figure into my painting grip.   
     I began by painting the entire figure with Ceramcoat "White".  When this was dry, I gave the whole thing a coat of Citadel Contrast "Apothecary White".  When this was dry, I drybrushed the figure with Americana "Snow White". 
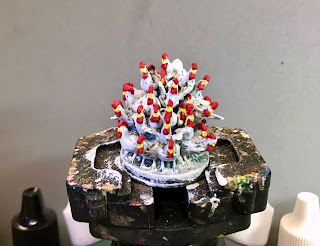
     I then painted the comb and wattle with Folk Art "Tomato Red", and after that I painted the beaks with Americana "Primary Yellow". 
     Next, I painted the shadow areas around the legs at the bottom, as well as the entire base, with Citadel Contrast "Wyldwood"; and when dry, I painted the legs with Americana "Antique Gold".  After that, I painted all the little eyes with Ceramcoat "Black".
     I let the figure dry overnight and the next day I gave the swarm a coat of Americana "DuraClear Matte" varnish.    Then, when  the varnish was dry,  I used some white glue to flock the bases.  Another overnight dry, and I sprayed the figure with Testor's Dullcote".       


     This is such a fun figure, and I'm really pleased with how it turned out! It was an interesting challenge since, while it is basically a simple figure, the repetitive nature of painting so many identical tiny chicken parts proved to require an added level of concentration.

Monday, March 15, 2021

Dire Bear and Cave Bear: Bones Figures

     This past week I worked on the three remaining bear figures for the unit of War Bears that I began the previous week when I painted the Reaper Bones Werebear and a Cave Bear.  I painted two Dire Bears and another Cave Bear this time, to complete the 5-figure unit.  
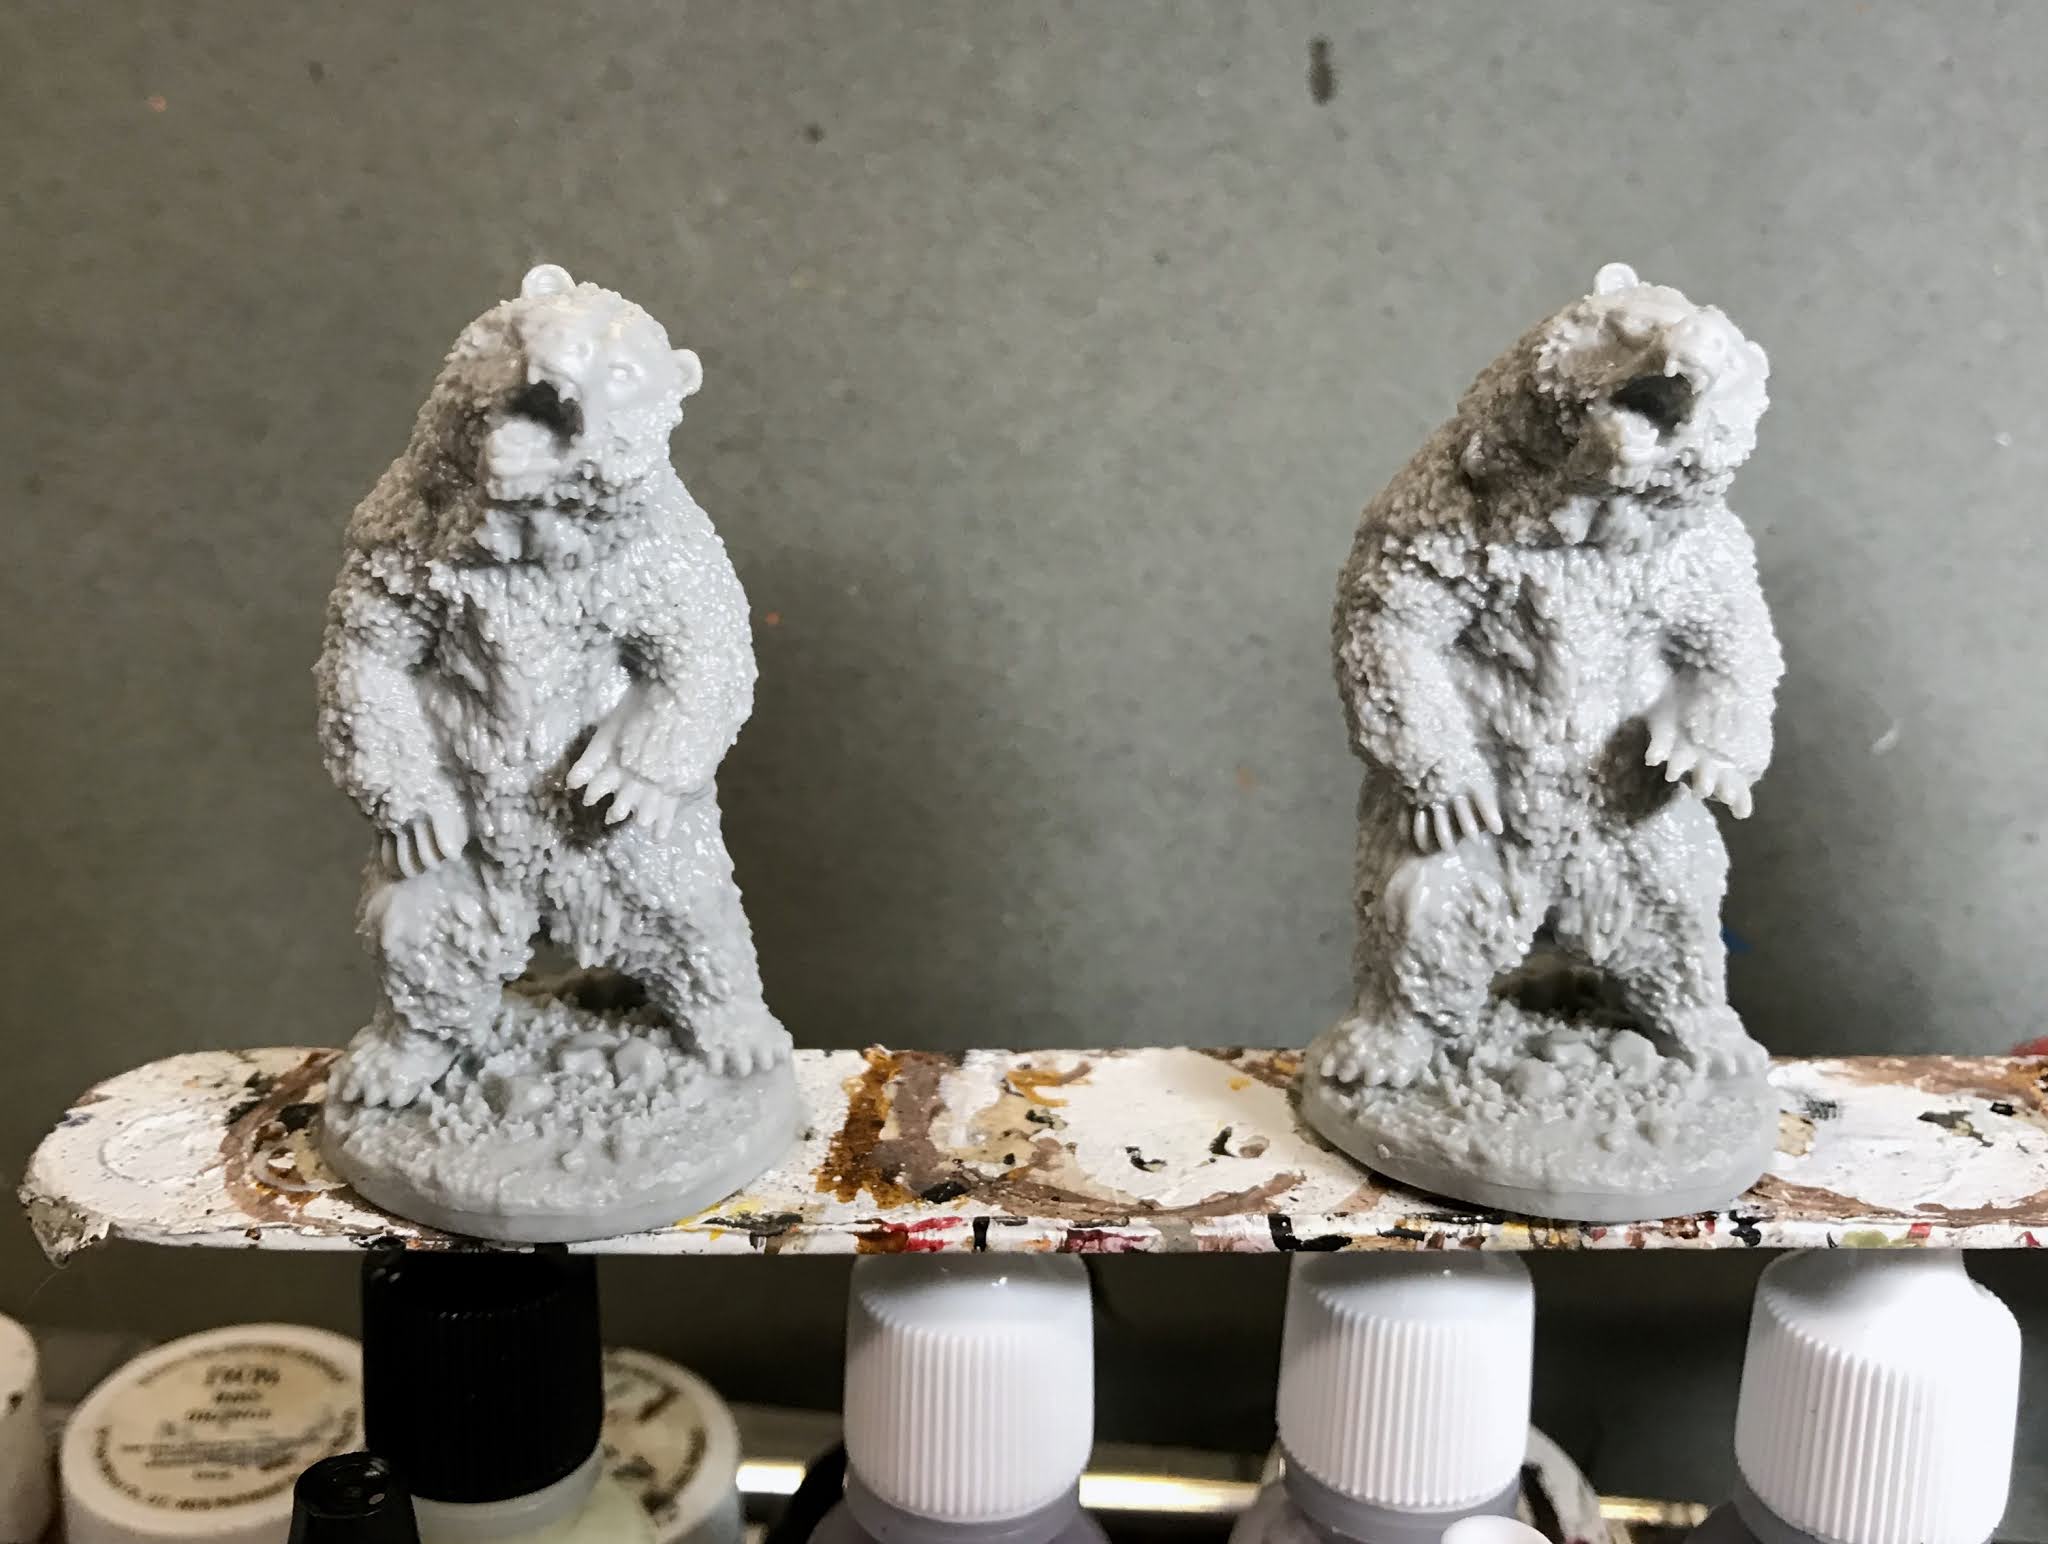
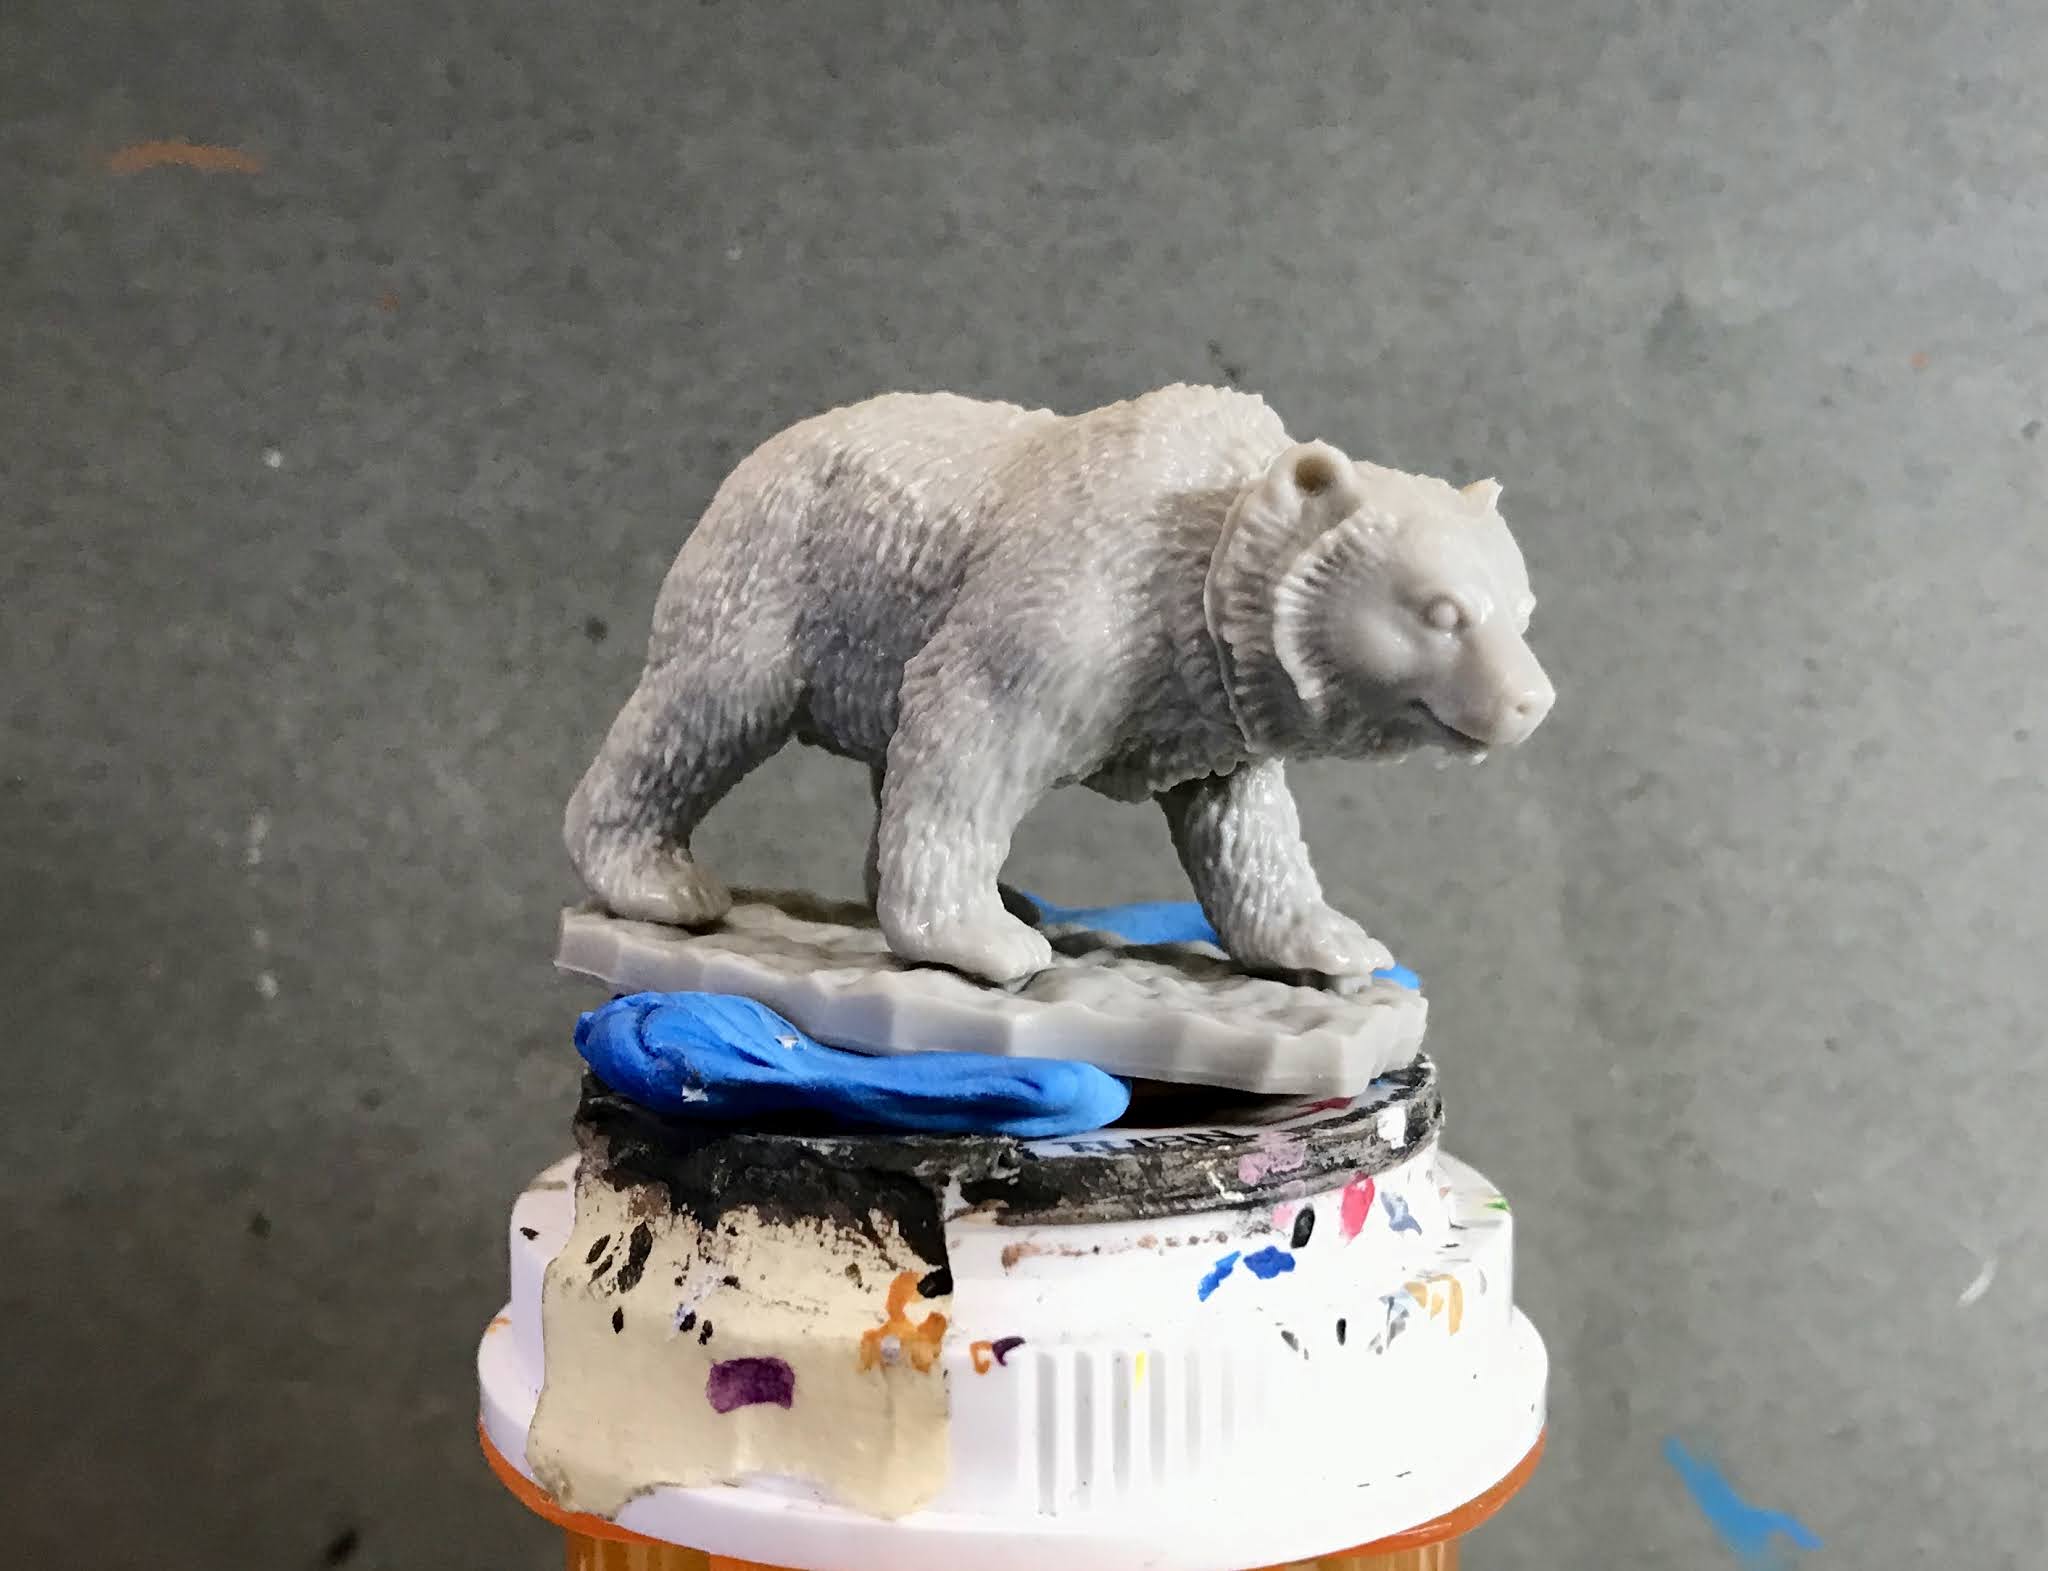
      I prepped the figures in the usual way, soaking them in a dish of water with a couple drops of dish-soap added, then giving them a light scrub with a soft toothbrush, and then rinsing and drying them.  I then glued the two Dire Bears to a tongue depressor with a couple drops of Elmers glue, and used some blue-tac to attach the Cave Bear to a pill bottle.

      I basically followed the paint scheme I had established last time, beginning by painting the bears entirely with Ceramcoat "Territorial Beige".  I then immediately painted the forearms and lower legs with Americana "Charcoal Grey", blending it in with the still-wet "Territorial Beige".  After that, I painted the insides of the Dire Bears' mouths with Americana "Shading FLesh".

      Next, I painted the Dire Bears'  teeth with Americana "Antique White".  I let everything dry, and then I gave all three bears a complete coat of Citadel "Agrax Earthshade" wash. 
     When the wash was dry,   I drybrushed the dark areas of fur with Folk Art "Teddy Bear Brown".  I then drybrushed the rest of the fur with first, Reaper MSP "Ginger Cookie", and then a little Americana "Bleached Sand".   I highlighted the tongues with a little Crafter's Acrylic "Cherry Blossom", and then highlighted the teeth with some of the "Bleached Sand".  I then painted the noses and eyes with Ceramcoat :Black, and then gave the eyes highlight dots with Americana "Snow White". After that, I highlighted the noses with some Americana "Grey Sky".    Lastly, I painted the figure's base with the "Mississippi Mud".
       I let the figures dry overnight and the next day I gave them a coat of Americana "DuraClear Matte" varnish.   I then glued each figure to a brown-primed 2"x2" steel base and when dry, used some white glue to flock the base.  I let them dry overnight, and sprayed them with Testor's "Dullcote"the next day.  


The whole unit.
     I'm happy with how these guys turned out.  I think theres a nice cohesiveness to them, and yet enough variety to make it not look too static as a unit.

Monday, March 8, 2021

Wearbear: Bones 3 Figure & Cave Bear: Bones 4 Lost Valley Figure

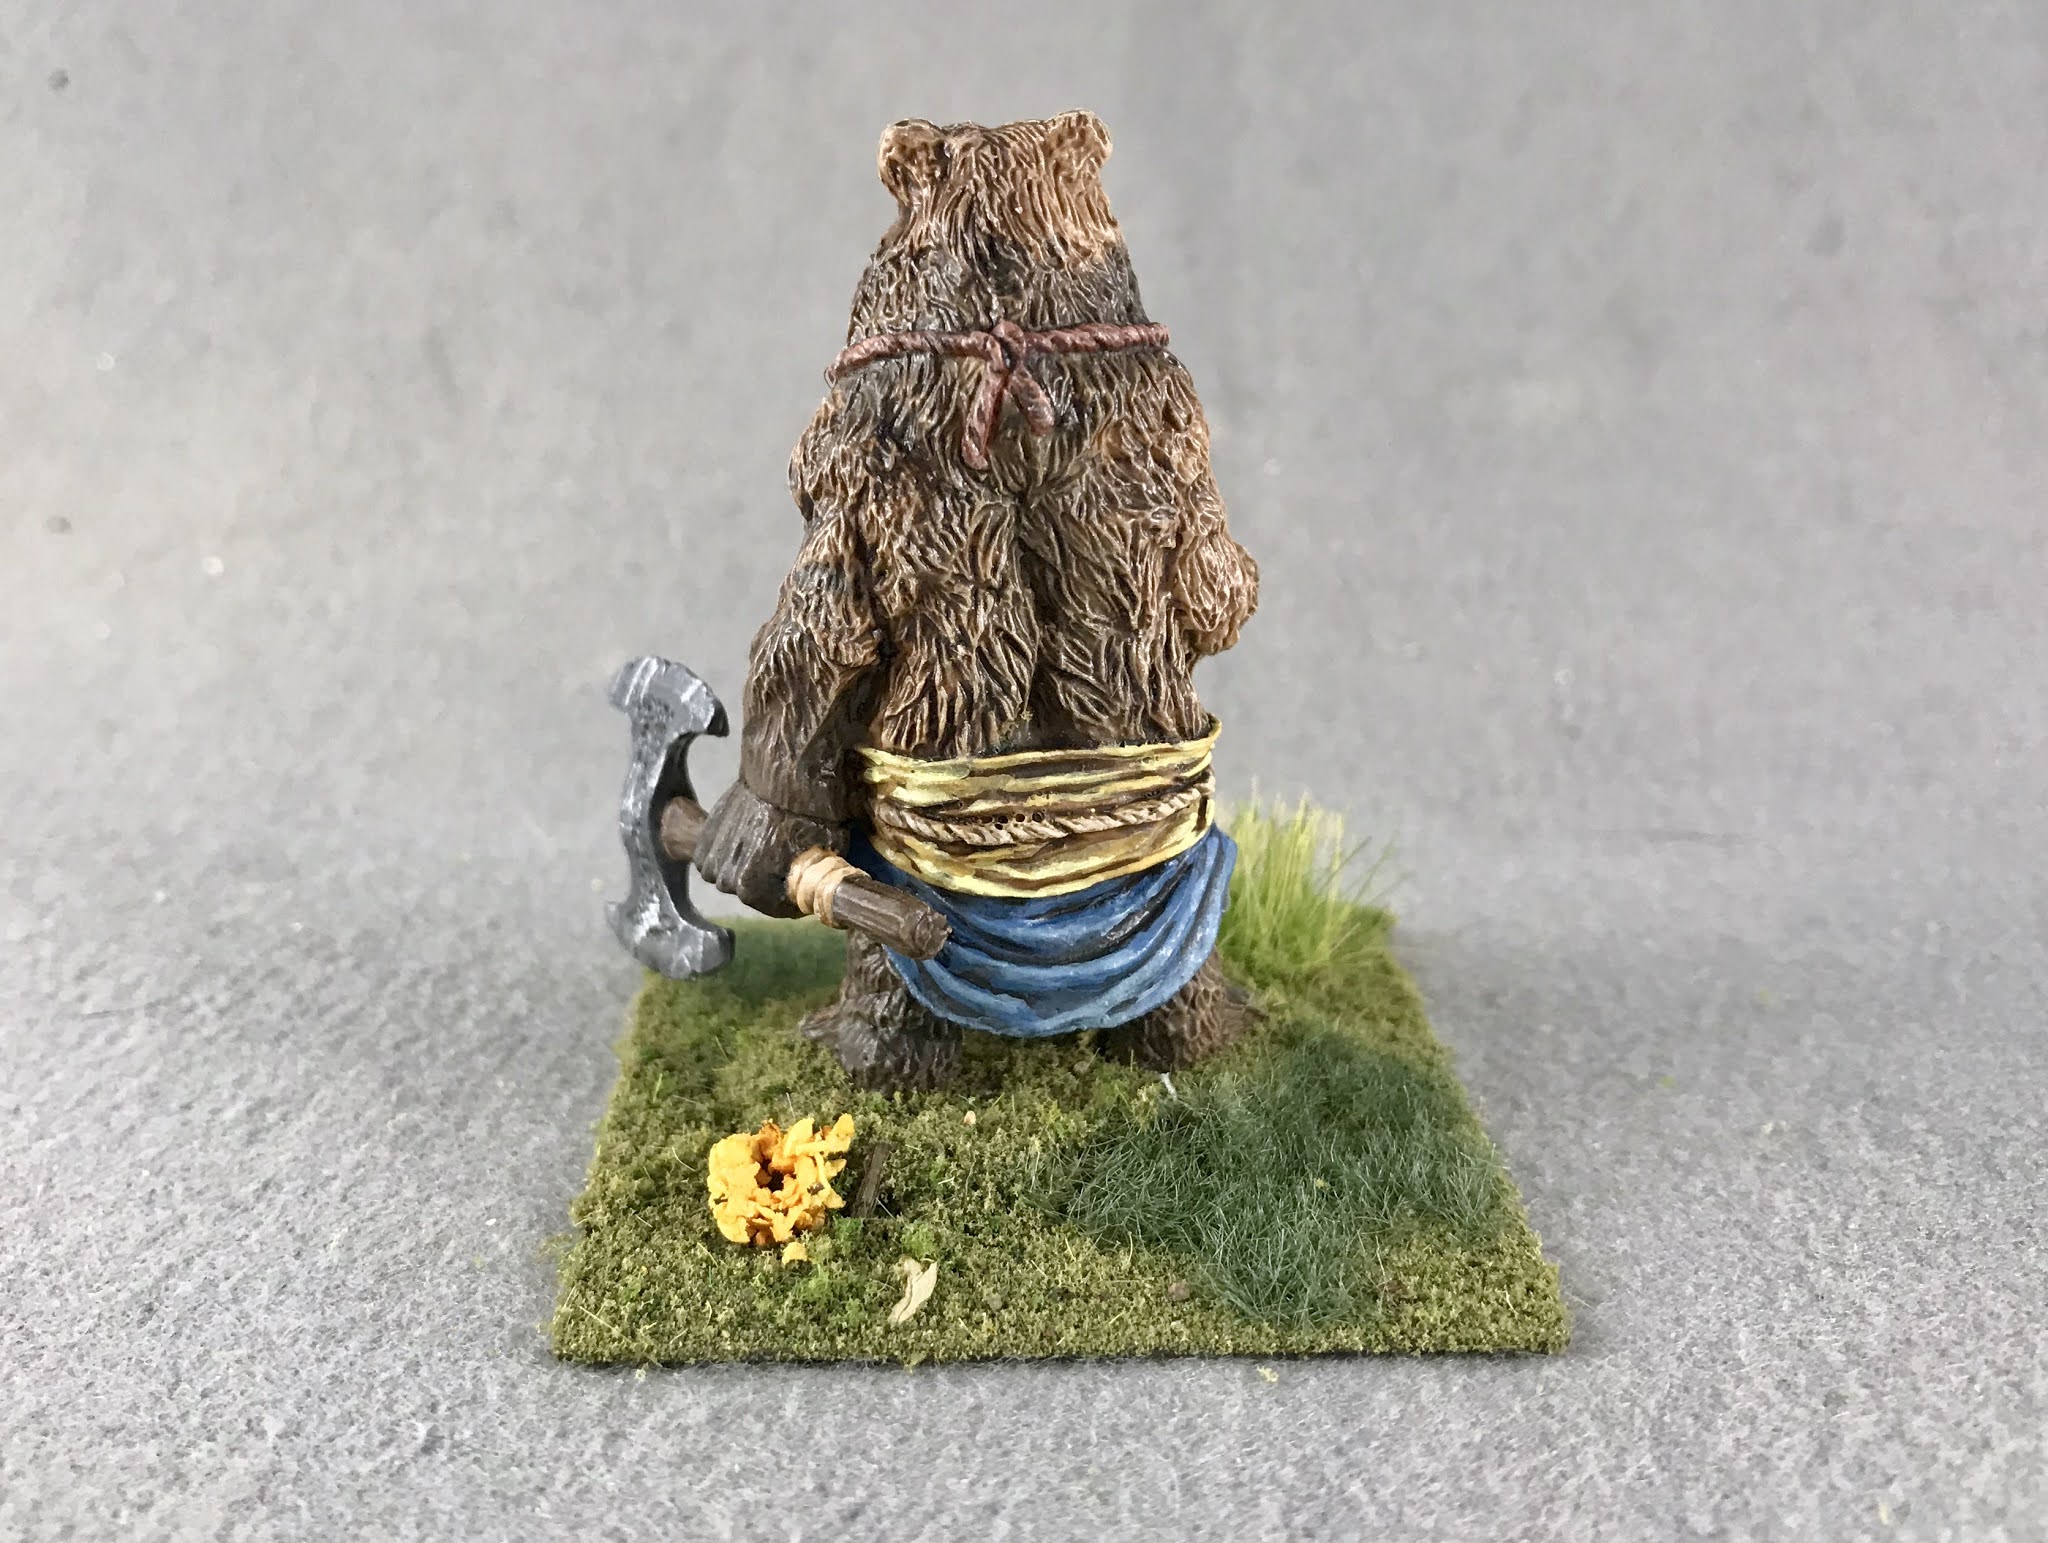
     This past week I painted the "Werebear" from the Bones 3 Lycanthropes set, and the "Cave Bear" from he Bones 4 Lost Valley Expansion.   I want to make a unit of War-Bears for a fantasy army I'm building, (See: Arakus Landarzad), and thought a selection of the Reaper bear figures would fit the bill.  I chose the Werebear to be the leader of the unit; similar to Beorn, the man who could change into a bear as depicted in the Hobbit.  The Cave Bear would just serve as one of the rank and file in the unit.  My plan was to mount these with 2 figures on a 2"x2" base.
       I prepped the figures in the usual way, soaking them in a dish of water with a couple drops of dish-soap added, then giving them a light scrub with a soft toothbrush, and then rinsing and drying them.  I then put the Werebear directly into my painting grip, and used some blue-tac to attach the Cave Bear to a pill bottle.

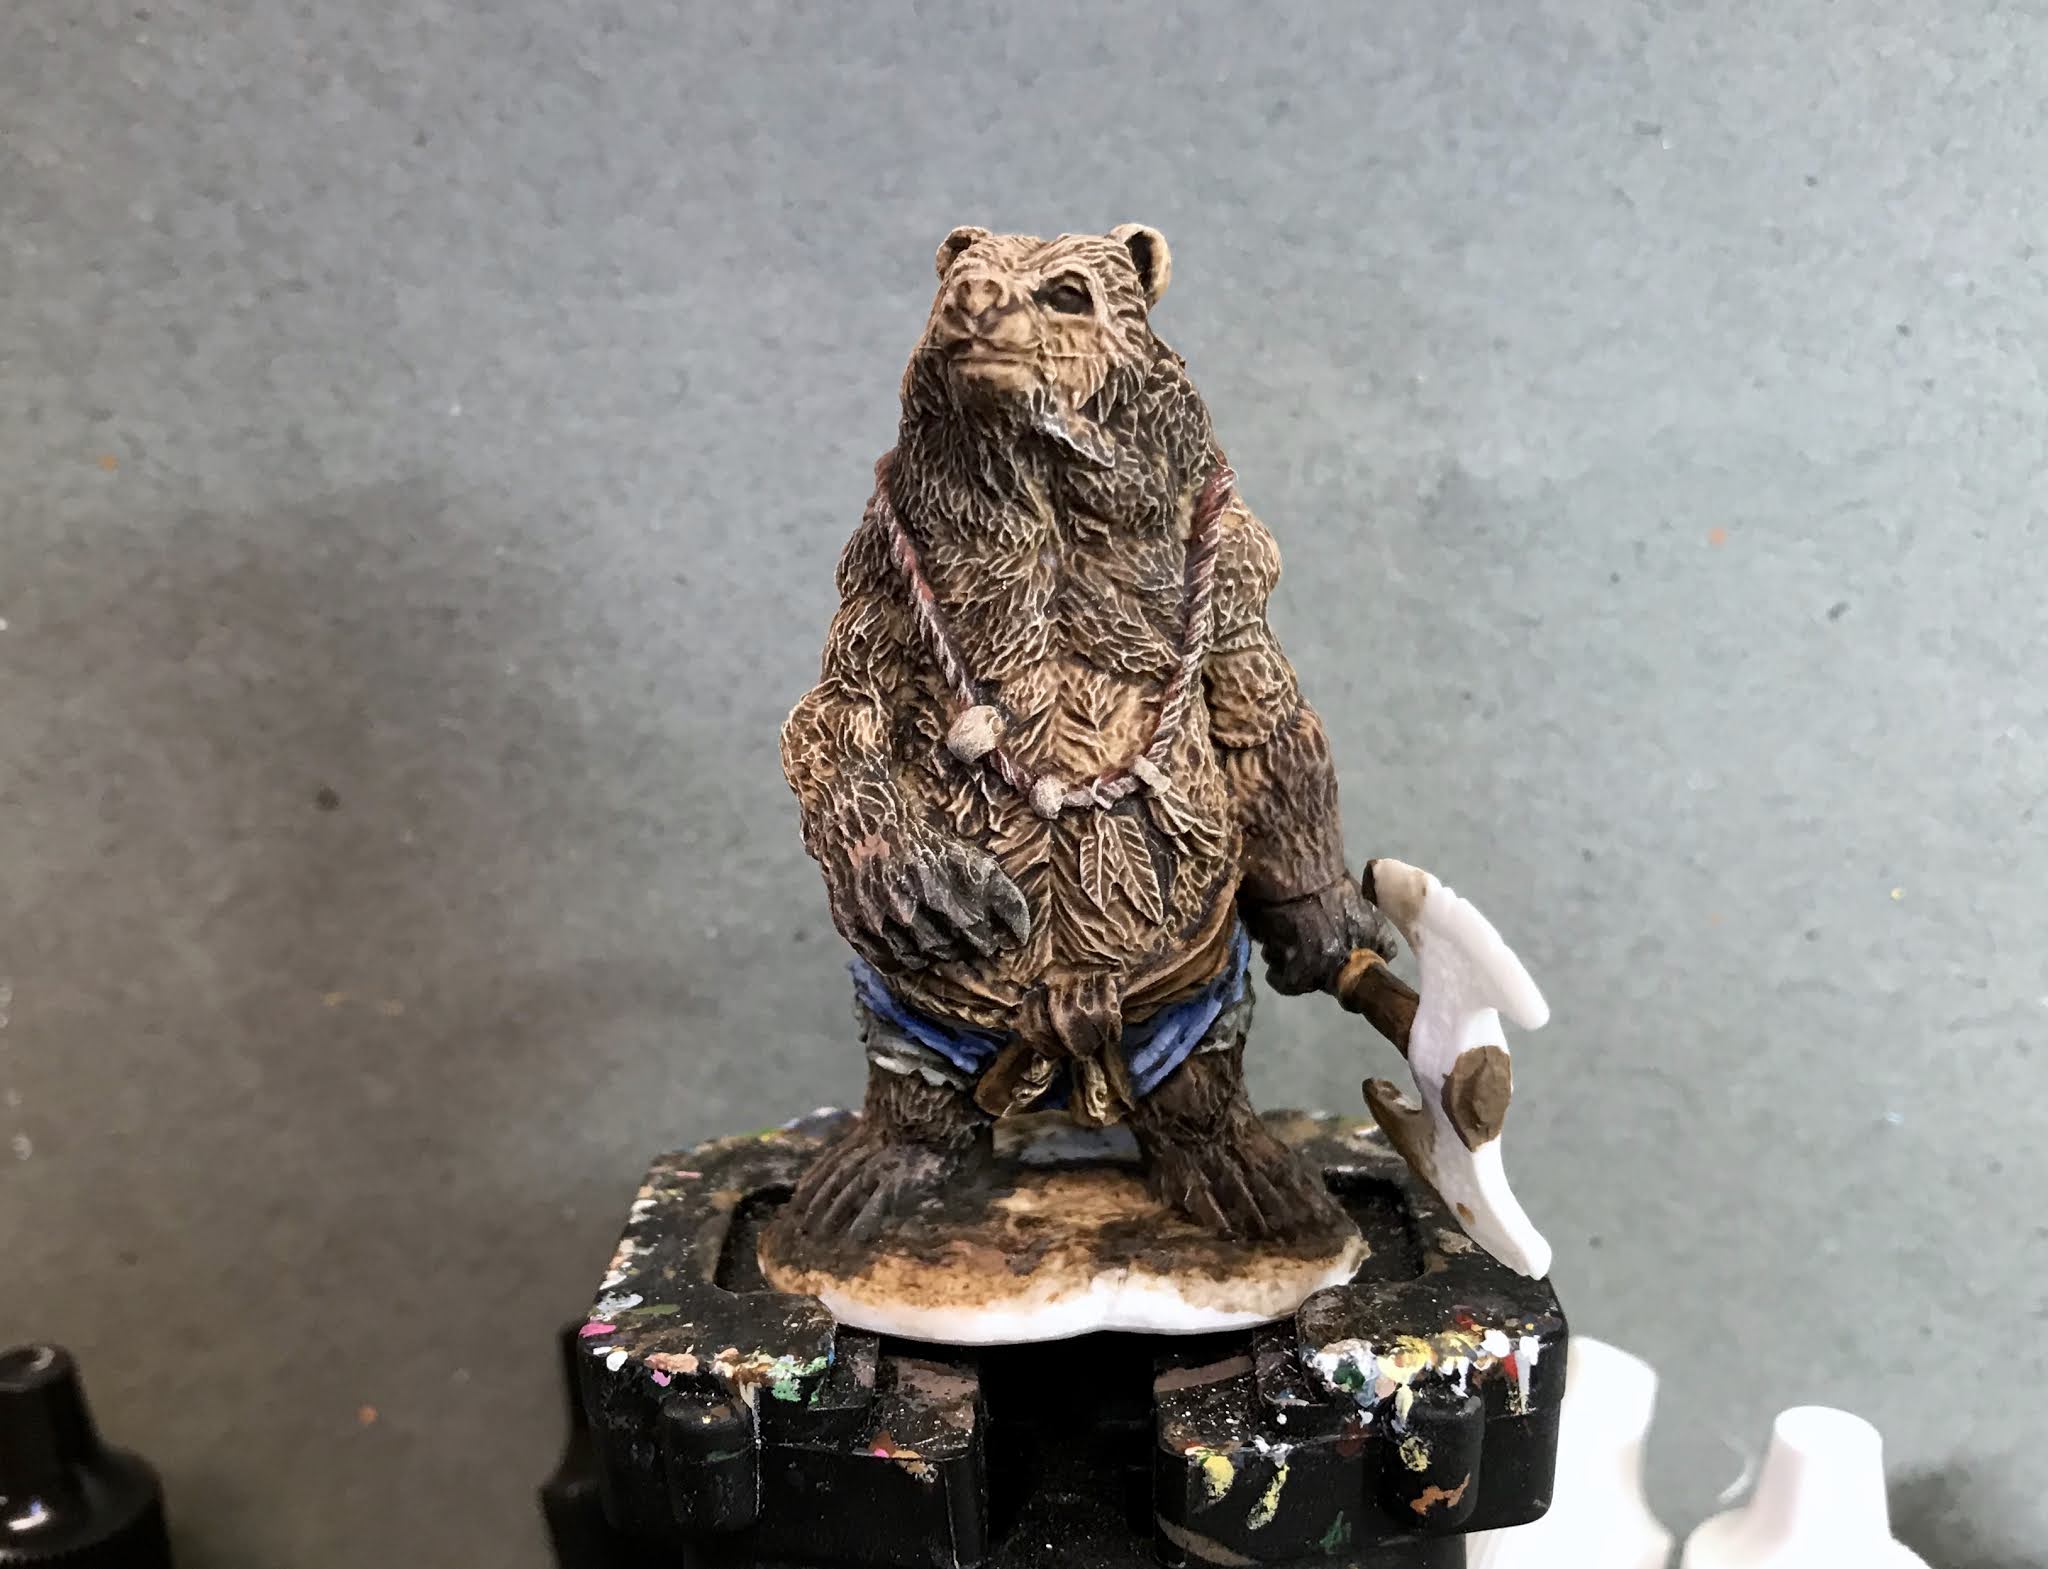
     I painted these two figures basically the exact same way, so I will only show the Werebear in the step-by-step photos.  I wanted to make them look kind of like grizzly bears, so I googled some images to give myself some inspiration of the coloration.
     I began by painting the bears entirely with Ceramcoat "Territorial Beige".  I then immediately painted the forearms and lower legs with Americana "Charcoal Grey", blending it in with the still-wet "Territorial Beige". I then painted the claws with Americana "Dark Chocolate".  After that, I painted his under-shorts with Folk Art "Dapple Gray", his over-shorts with Ceramcoat "Denim Blue", and his sash with accent "Mustard Seed".
     Next, I painted his rope belt with Americana "Buttermilk", and his rope necklace with Reaper MSP "Auburn Shadow".  Aftr that, I painted the axe handle with Reaper MSP "Shield Brown", and the wrap on the axe handle with Reaper MSP "Hallowed Orange".   I let the figures dry for a while, and then gave them both a complete coat of Citadel "Agrax Earthshade" wash. 
    When the wash was dry,   I drybrushed the dark areas of fur with Folk Art "Teddy Bear Brown".  I then drybrushed the rest of the fur with first, Reaper MSP "Ginger Cookie", and then a little Americana "Bleached Sand".  Next, I highlighted the under-shorts with a mix of the base "Dapple Gray", and some Folk Art "Gray Green".   After that, I highlighted the over-shorts with a mix of the base "Denim Blue' with some Apple Barrel "Apple Scotch Blue". 
     I then highlighted the sash with Americana "Antique Gold", and a little Crafter's Acrylic "Daffodil Yellow".  Next, I painted one feather on his necklace with Ceramcoat "Black" and the other with Americana "Grey Sky".  After that, I painted one of the beads with Reaper MSP "Ultramarine Blue", the other with Pathfinder MSP Urgathea Red", and the fringe decoration with Apple Barrel "Burnt Sienna". 
      Next, I highlighted the axe handle with Folk Art "Barn Wood", and the wrap on the axe handle with Reaper MSP "Bronzed Highlight".  I then painted the axe head with Americana "Zinc" and highlighted the belt with Folk Art "Butter Pecan".   I followed that with touching up the necklace cord with the "Auburn Shadow" where the fur drybrushing had gotten on it, and afterwards highlighted it with Americana "Shading Flesh". After that, I highlighted the blue bead with Reaper MSP Bones "Tropical Blue", and the red bead with Reaper MSP "Blood Red".  I then highlighted the black feather with some of the "Apple Scotch Blue", the white feather with Ceramcoat "Snow White", and the tassel with Ceramcoat "Maple Sugar Tan".  
    I then painted the nose and eyes with the "Black", and gave the nose highlights with the "Grey Sky" and the eyes highlights with the "Snow White".     Afterwards, I painted the axe head with  Folk Art Metallic "Gunmetal Gray" and then the clasp holding the tassel on the necklace with Folk Art Brushed Metal "Brushed Bronze".  I then applied a coat of Citadel "Nuln Oil" wash to the center pattern of the axe head.  When dry, I went back and highlighted the axe head with Ceramcoat "Metallic Silver", and the tassel clasp with Folk Art Metallic "Pure Gold".   Lastly, I painted the figure's base with the "Mississippi Mud".
     I let the figures dry overnight and the next day I gave them a coat of Americana "DuraClear Matte" varnish. My plan had been to mount these two figures side-by-side on a 2"x2" base, and I had just assumed they would both fit.  I had a bit of set back though when I test fitted them, as the figures' bases were too large, and the feet not placed well to even consider trimming the bases down.  So I made the decision to change to a 1-figure per base unit, as that seemed to be my only choice.       
Ooops!

   I then glued each figure to a brown-primed 2"x2" steel base and when dry, used some white glue to flock the base.  I let them dry overnight, and sprayed them with Testor's "Dullcote"the next day.  


     I'm really happy with how these guys turned out.  The fur on both is really sculpted well to take advantage of drybrushing.  And in the end, I think they are big enough to not look too lonely mounted individually on their bases.  I now have 3 more to paint to complete a unit of 5 bases


Monday, August 24, 2020

Phase Cat: Bones 4 Darkreach Figure

     This past week I painted the "Phase Cat" translucent figure from the Bones 4 Darkreach Expansion.
      I prepped the figure in the usual way, soaking it in a dish of water with a couple drops of dish-soap added, then giving it a light scrub with a soft toothbrush, and then rinsing and drying it.  I then glued the figure to a brown-primed 1.5" fender washer with Aleene's Tacky glue, and then glued the figure to a tongue depressor with a couple drops of Elmer's glue.
     When I set out to paint his figure, my plan was to try and give it a black wash to provide shadows and still retain some of the purple translucency.   So, first thing I did was paint the entire thing with Americana "DuraClear Matte" varnish to give the wash something to cling to.  I then got the idea to try my Citadel Contrast paint to see if that would work to give a thicker  covering yet still pool enough into the recesses and recede enough from the high points to give me the effect I was looking for.  The initial coat ended up giving an uneven covering and dried really splotchy, not really flowing well over the matte varnish coat.  I tried applying a second coat which didn't improve things much.  Also, by that time the figure was really dark and virtually opaque over most of its body.  So, at that point I just threw in the towel and painted the whole thing, except the ends of the tentacles (which I had left bare to begin with), using Ceramcoat "Black", abandoning the hope of making the whole thing partially transparent.
     Next, I applied a wash to end of the tentacles using Iron Wind Metals "Purple" Ink.   I then did a drybrushing over the body and tentacle shanks using Crafter's Acrylic "Purple Passion".  I also used the color directly to paint on some highlights more directly on the head, claws, and where the tentacles meet the body. Next, I mixed the "purple Passion" with a lighter purple from a Reaper MSP S"sample" bottle I have, and repeated the process.  Lastly, I hand applied some point highlights using Apple Barrel "Apple Lavender". I also drybrushed a little of this over the end tentacle pads (which were dry by this time). 
        I then painted his eyes with Crafter's Acrylic "Daffodil Yellow", and gave them "Black" pupils.   After that, I painted his tongue with Crafter's Acrylic "African Violet", then painted his teeth with  Americana "Bleached Sand".  And, lastly, I painted his base with Americana "Mississippi Mud". 
         I let the figure dry overnight and the next day I gave it a coat of Americana "DuraClear Matte" varnish.    Then, when  the varnish was dry, I used some white glue to flock the base.  Another overnight dry, and I sprayed it with Testor's "Dullcote". 


     Well, there it is.   I'm not too thrilled with how it turned out, but in the end the figure just didn't inspire me.

Monday, February 3, 2020

Spirit Beast: Bones 4 Dreadmere Figure

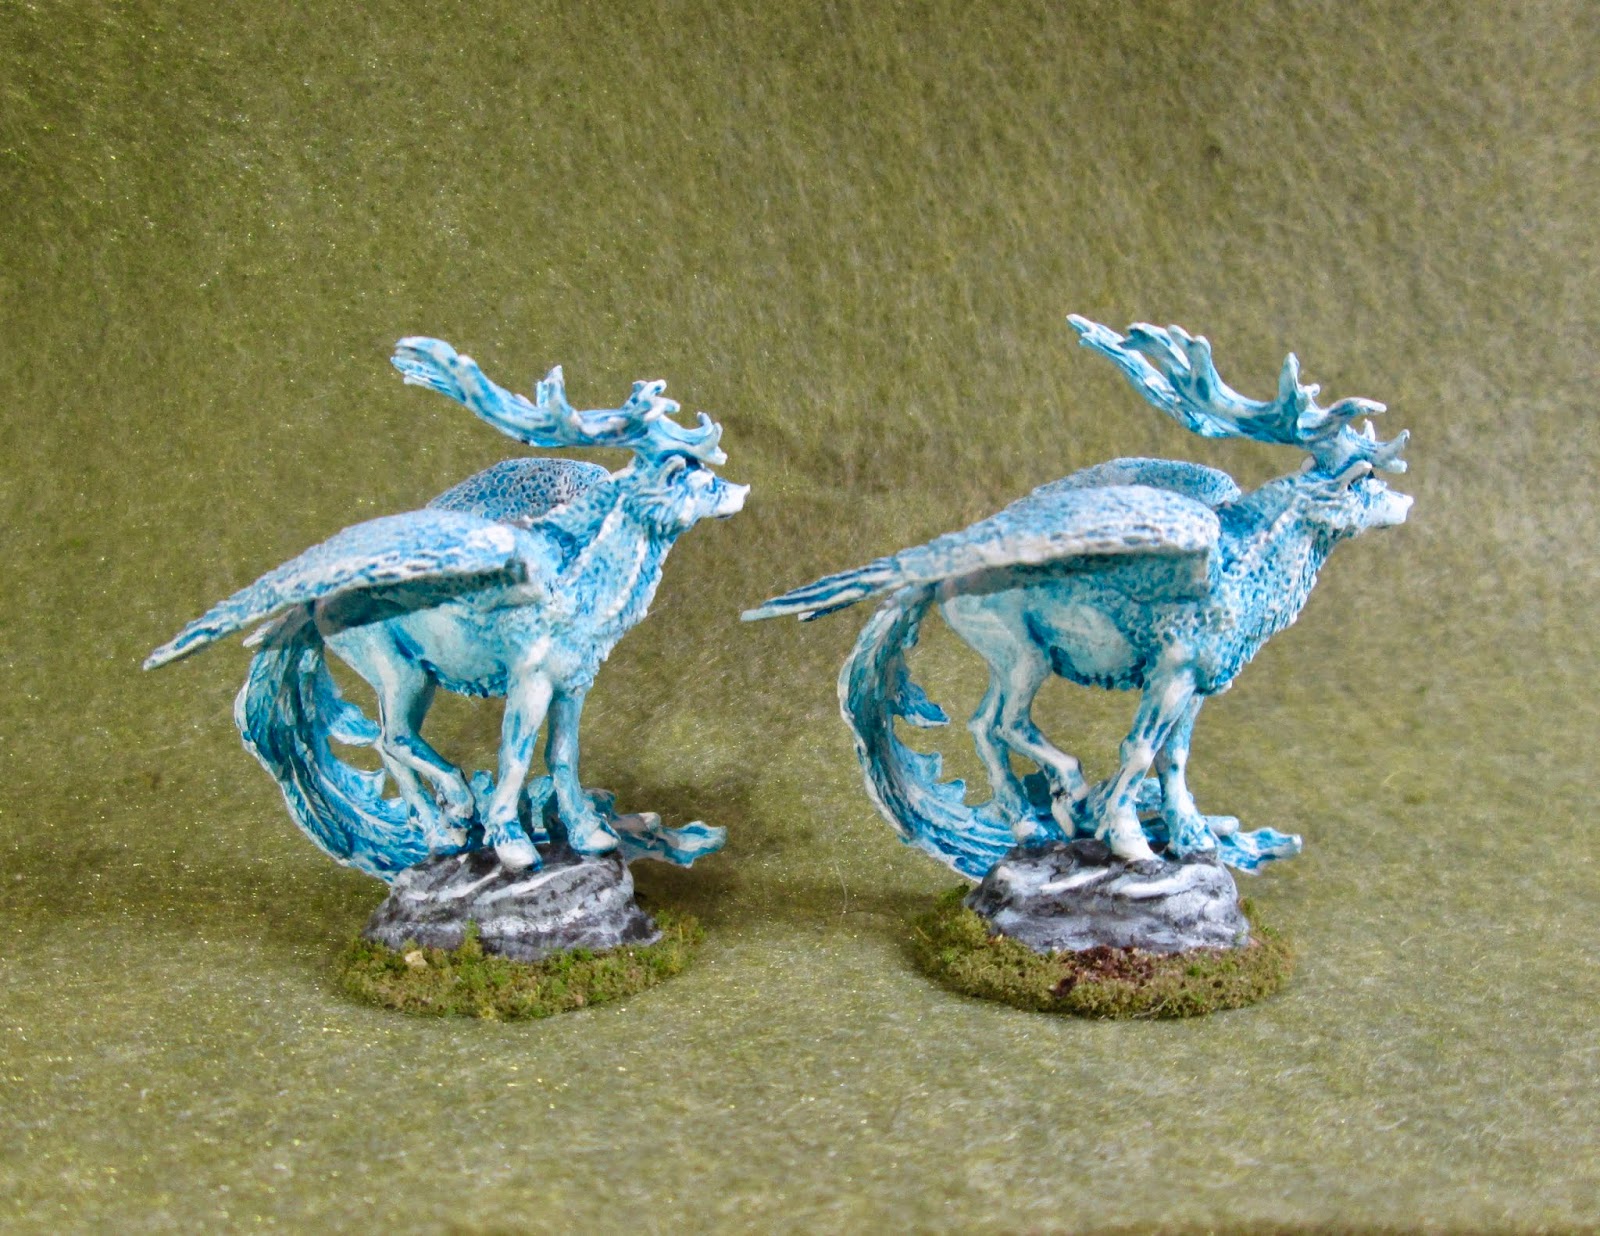
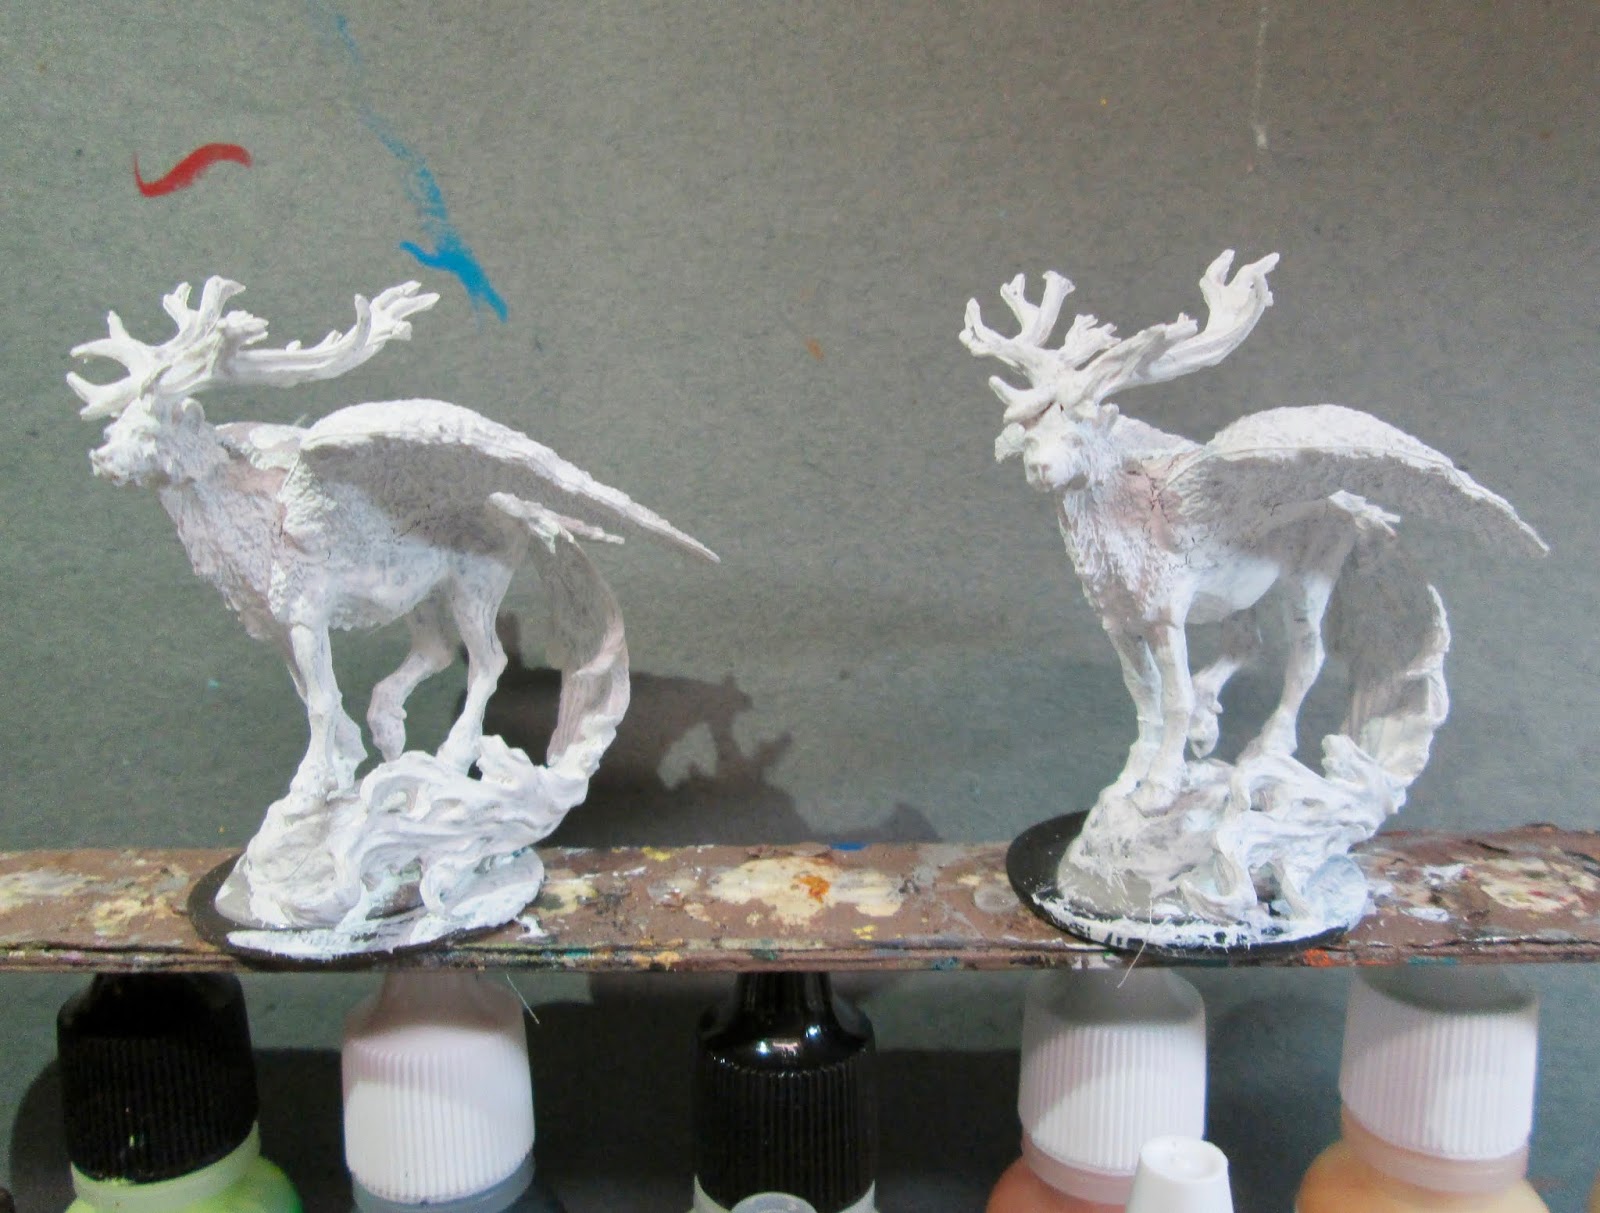
     This past week I painted a pair of the Spirit Beasts from the Bones 4 Dreadmere Expansion.  There was something about this figure that made me think of the Patronuses in the Harry Potter books and movies (And, yes, that is the proper plural; I looked it up!)  So, I decided to try for that glowing white/blue appearance that is the key feature of their appearance.
         I prepped the figures in the usual way, soaking the parts in a dish of water with a couple drops of dish-soap added, then giving them a light scrub with a soft toothbrush, and then rinsing and drying them. I then assembled the figures with Gorilla Superglue gel.   After that, I glued them to 1.25" black-primed fender washers with Aleene's Tacky glue.  I then glued the washers onto a tongue depressor with a couple drops of Elmer's white glue.
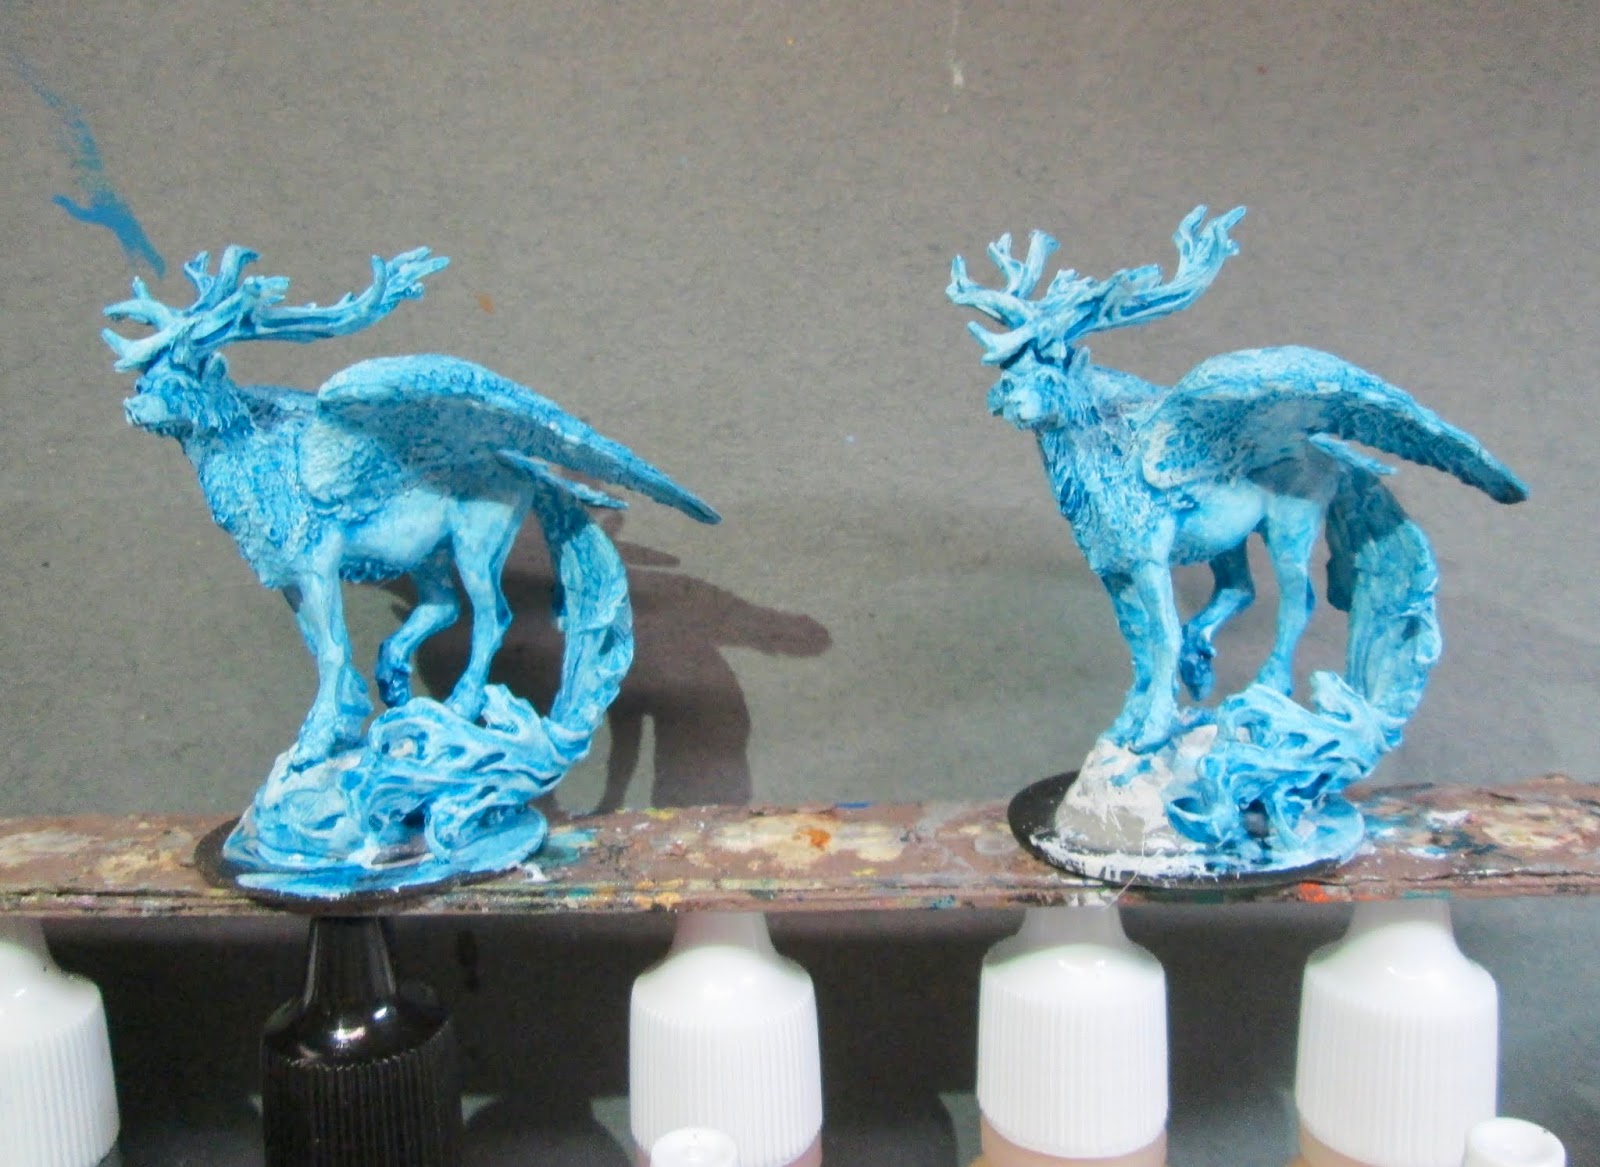
   I was going to try these with my new Citadel Contrast Paint, as I thought that would be ideal to give them their blue shadows.  So, I began by prepping them by painting them entirely with Americana "Snow White".
     I then made a mix of some of the Citadel Contrast "Tallasar Blue", and some of the blue-tinged Citadel Contrast "Space Wolves Grey". I thinned this mix with a couple drops of water, and then applied it to the entire figures
     When the Contrast coat was dry, I drybrushed the figures with some of the "Snow White", and then went back and painted further highlights directly with a brush using the "Snow White".
Next, I painted the rocks they are standing on with Americana "Charcoal"; and when dry, gave them a light drybrushing with some Crafter's Acrylic "Storm Cloud Grey".  After that, I drybrushed them with some Crafter's Acrylic "Cool Blue", and then added a few "Snow White" highlights.  Lastly, I painted the bases with Americana "Mississippi Mud".
     I let all the figures dry overnight and the next day I gave them a coat of Americana "DuraClear Matte" varnish.    Then, when  the varnish was dry, I used some white glue to flock the bases.  Another overnight dry, and I sprayed them with Testor's "Dullcote".  


    The shot below, using the camera's flash, helps improve the "glowing" effect I think. :)
    Not too bad, but not quite as glowy as I would like.  Still I think it gets the idea of "Spirit Beast" across well enough.
   

Monday, October 14, 2019

Hell Hounds: Bones 4 Fan Favorites Figure

     This past week I painted the Hell Hounds from the Bones 4 Fan Favorites Expansion.   When I first saw these, I had the idea that I'd like to get two of the sitting version of the Hound to paint as innocuous statues, perhaps for guarding a gate or doorway, and then use the two standing versions to  paint as their demonic counterparts; that the statues would change into when anyone got too close to what they were guarding.
     I then lucked out and found a second copy of the sitting one in the flea market at our club's gaming convention a couple weeks ago.
       I prepped the figures in the usual way, soaking them in a dish of water with a couple drops of dish-soap added, then giving them a light scrub with a soft toothbrush, and then rinsing and drying them.  I then glued the two sitting figures to  black-primed 1" fender washer, and the two standing figures to black-primed 1.25" fender washers, all with Aleene's Tacky glue.  I then glued the figures in pairs onto tongue depressors.

     I began by painting the two seated hounds entirely with Americana "Charcoal".  When that was dry, I gave them both a coat of Citadel "Nuln Oil" wash.
     When the wash was dry, I drybrushed them with some Americana "Neutral Grey" mixed with a little of the "Charcoal", and then just the plain "Neutral Grey".  After that, I painted their neck rings with Americana "Asphaltum", and then dabbed them with a little Accent "Golden Oxide".   Lastly, I painted their bases with "Americana "Mississippi Mud".
      I let them dry overnight and the next day I gave them a coat of Americana "DuraClear Matte" varnish.    Then, when  the varnish was dry, I used some white glue to apply a sand mixture onto their bases.

   I then started work on the standing versions.  I wanted to try a bit of a lava/interior heat effect, and I didn't feature having to hand paint all the teeny tiny cracks sculpted into the hounds, so I thought I'd try it in a bit of short cut way.
     I began by panting them entirely with Reaper MSP Bones "Cinnamon Red".
          I then drybrushed the hounds with the "Charcoal".
          Next, I drybrushed them with some Ceramcoat "Black".  I then tried an experiment on the left one, and gave it a coat of thinned Iron Wind Metals "Yellow" ink.  That looked really bad, so I then tired hand painting the cracks with Reaper MSP "Golden Glow".  I just wasn't happy. with the results.
     So, I did what I had tried to avoid, and painted all the cracks individually; this time with Americana "Tangerine".  I then painted the crack centers with Crafter's Acrylic "Bright Yellow".    I painted the eyes and teeth with the Bright Yellow" as well, and then gave the eyes and teeth all highlights with Apple Barrel "Lemon Chiffon".  After that, I painted their neck rings with Americana "Asphaltum", and then dabbed them with a little Accent "Golden Oxide".   Lastly, I painted their bases with "Americana "Mississippi Mud".,
      I let them dry overnight and the next day I gave them a coat of Americana "DuraClear Matte" varnish.    Then, when  the varnish was dry, I used some white glue to apply a sand mixture onto their bases. 
  Another overnight dry, and I sprayed all four hounds with Testor's "Dullcote".


          Well, they won't win any painting awards, but for gaming use I think they turned out okay.  Those cracks in the dogs were just so small to paint properly...