This past week I painted two more of the "Zombie Dwarf Thane" figures from the Bones 5 The Dwarf King's Crypt Encounter set; this time "Zombie Dwarf Thane #1". Last week, I painted a pair of "Zombie Dwarf Thane #3". As mentioned in my last post, the set only comes with one of each of these figures, but I ordered two of the Encounters as I wanted pairs of a number of the set's scenery items, as well as a bunch of these Dwarf Zombies.
This gave me 6 of the Zombies. So to help them look more like a mixed group, I decided to paint each pair of identical figures differently, to give the pairs more of a differing appearance. Also, while the Thane #3 figure I did last week had no easily convertible limbs; this one, Thane #1, as well as Thane #2, each had a raised right arm that I could easily chop. So I was able to simply swap the right hand on one of the #1's for the right hand off of one of the #2's. This helped give each pair a slightly different appearance.
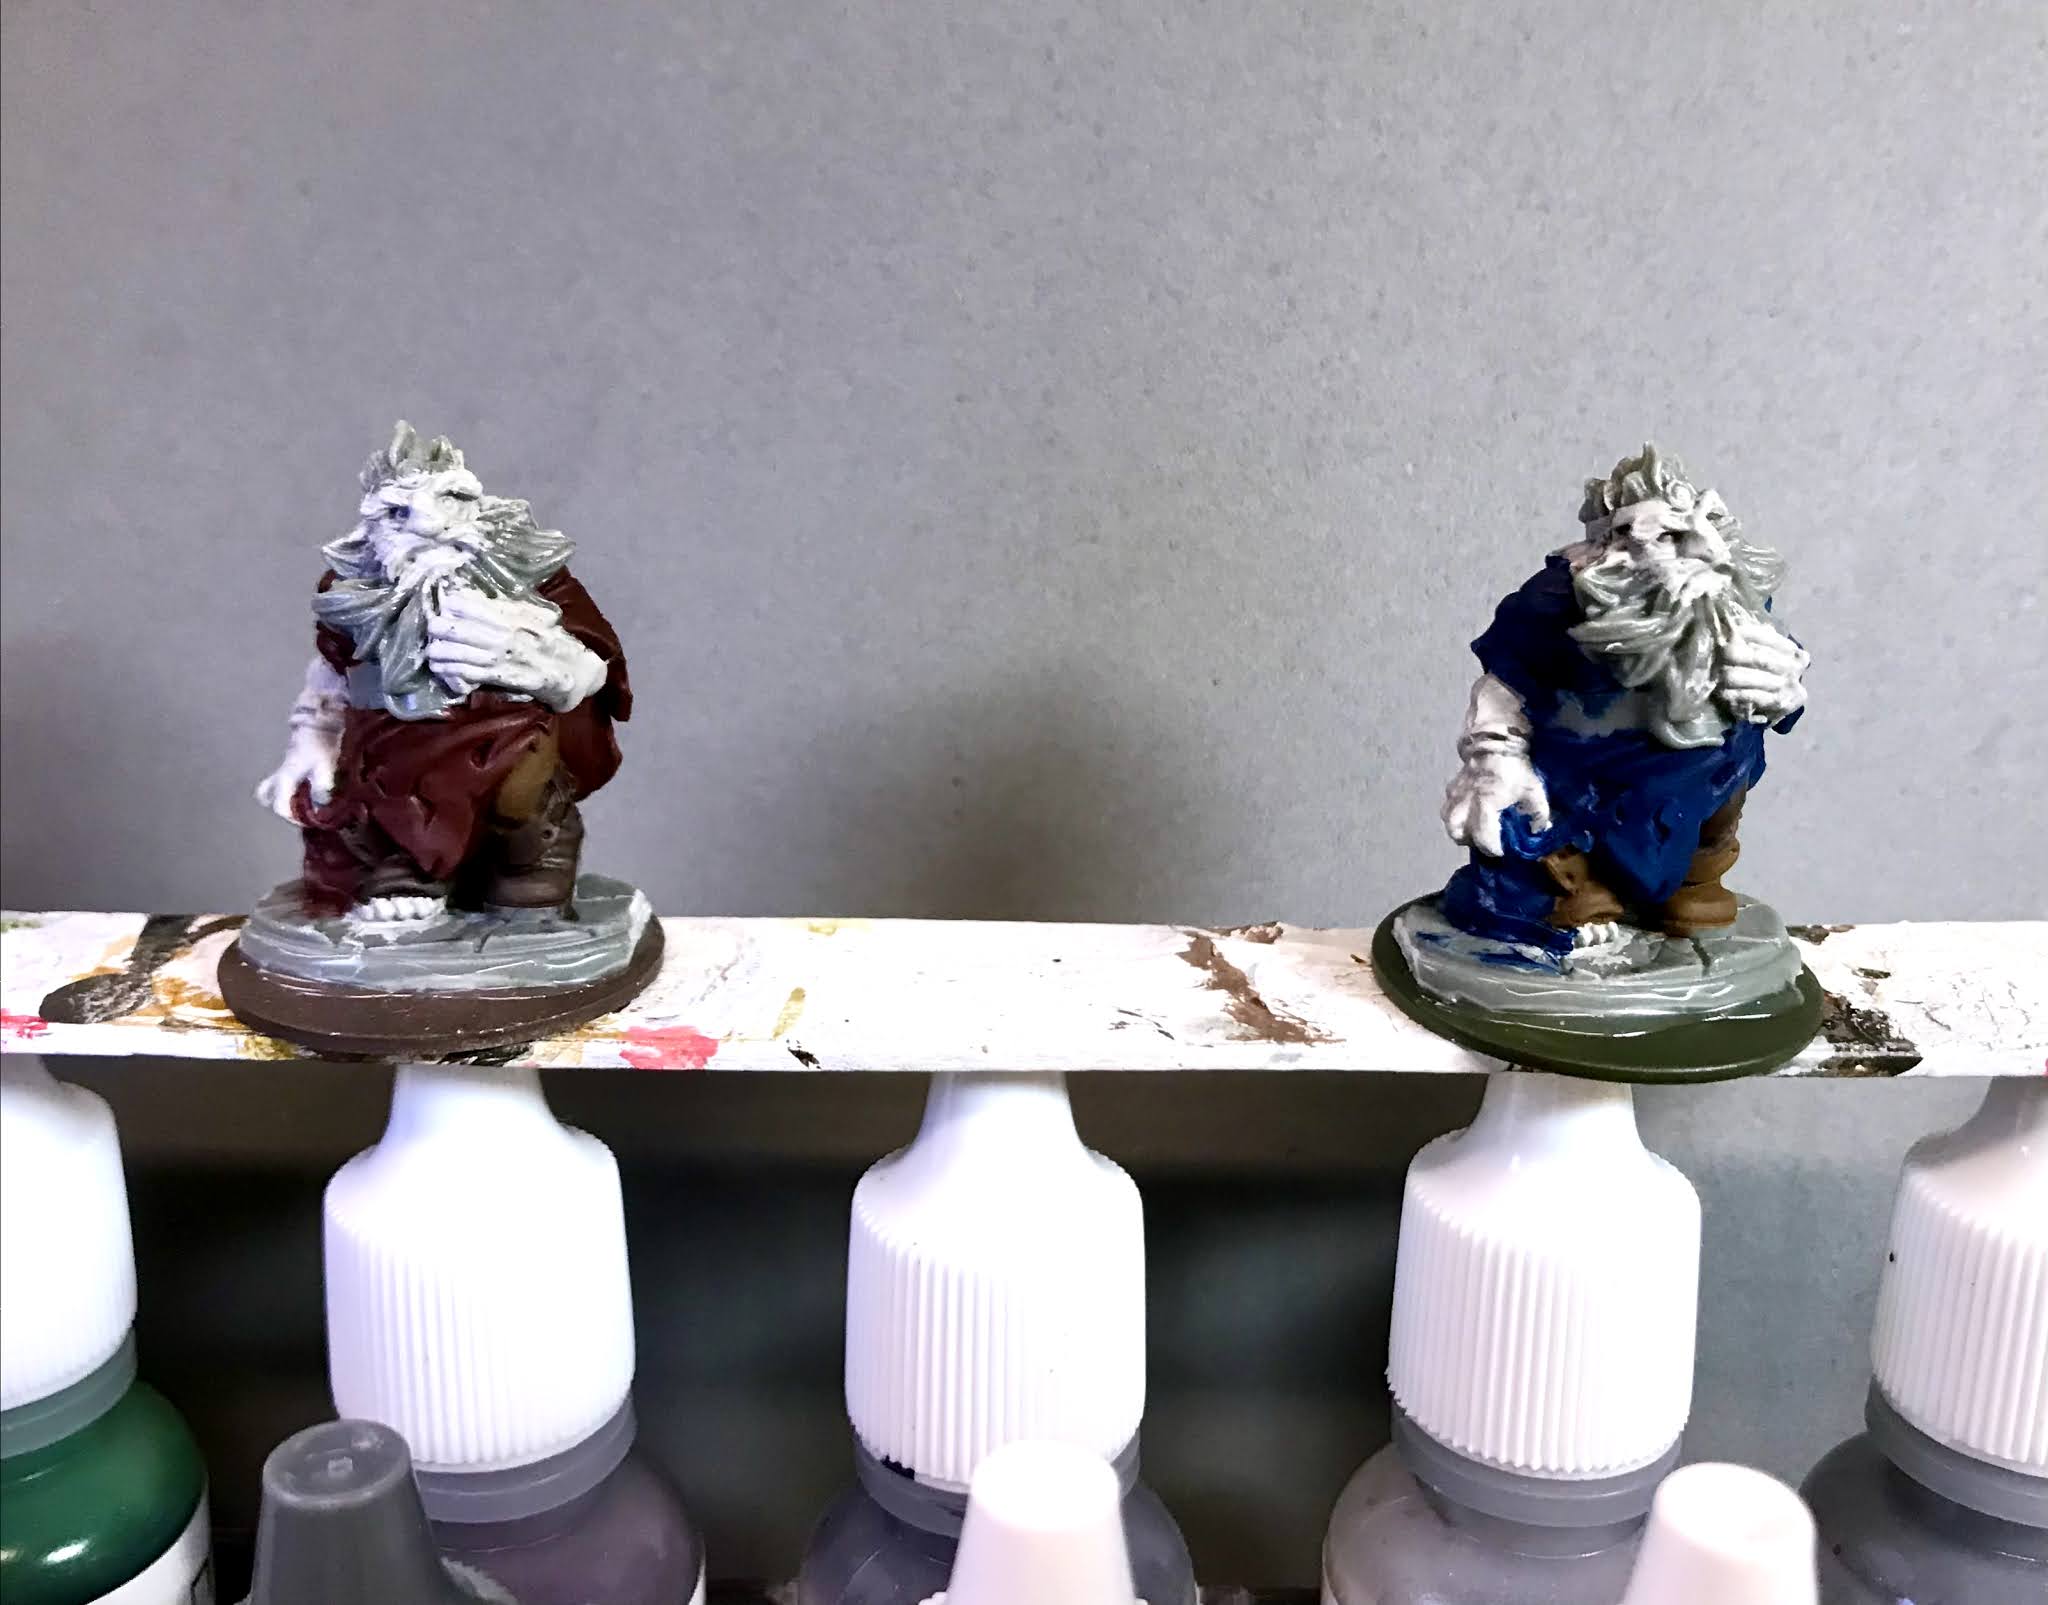
I prepped the figures in the usual way, soaking them in a dish of water with a couple drops of dish-soap added, then giving them a light scrub with a soft toothbrush, and then rinsing and drying them. At this point I did the hand swap, and also trimmed the circlet crown off of the one on the left. I then glued them to 1" primed metal washers, using Aleene's Tacky Glue. I glued the washers to a tongue depressor with a couple drops of Elmer's School Glue.

I began by painting the skin on both figures with Reaper MSP "Alien Flesh". Next, I painted the pants on the first figure with Folk Art "Dapple Gray", and then the pants on the second figure with Folk Art "Barnyard Red". After that, I painted the boots on both figures with Americana "Charcoal Grey".


When the wash was dry, I painted their eyes with Apple Barrel "Lemon Chiffon", and then added a pupil in their right eyes with Reaper MSP "Dark Elf Highlight". After that, I highlighted their skin with the base "Alien Flesh", and then mixed in some Americana "Dove Grey". I then mixed in some of the "Apple Maroon" to highlight the blood on the hands. Next, I highlighted the beards, using Reaper MSP "Shield Brown" for the lefthand Thane's, and Americana "Zinc" for the righthand Thane's. The teeth were next, and I highlighted them with Americana "Bleached Sand".

I let the Thanes dry overnight and the next day I gave them a coat of Americana "DuraClear Matte" varnish. Then when the varnish was dry, I used some white glue to glue some sand onto the bases. When this was dry I painted it with Citadel Contrast "Black Templar". When that was dry, I drybrushed the sand with Folk Art "Rock Grey", and then a bit of Folk Art "Porcelain White". Another overnight dry, and I sprayed the figures with Testor's Dullcote".