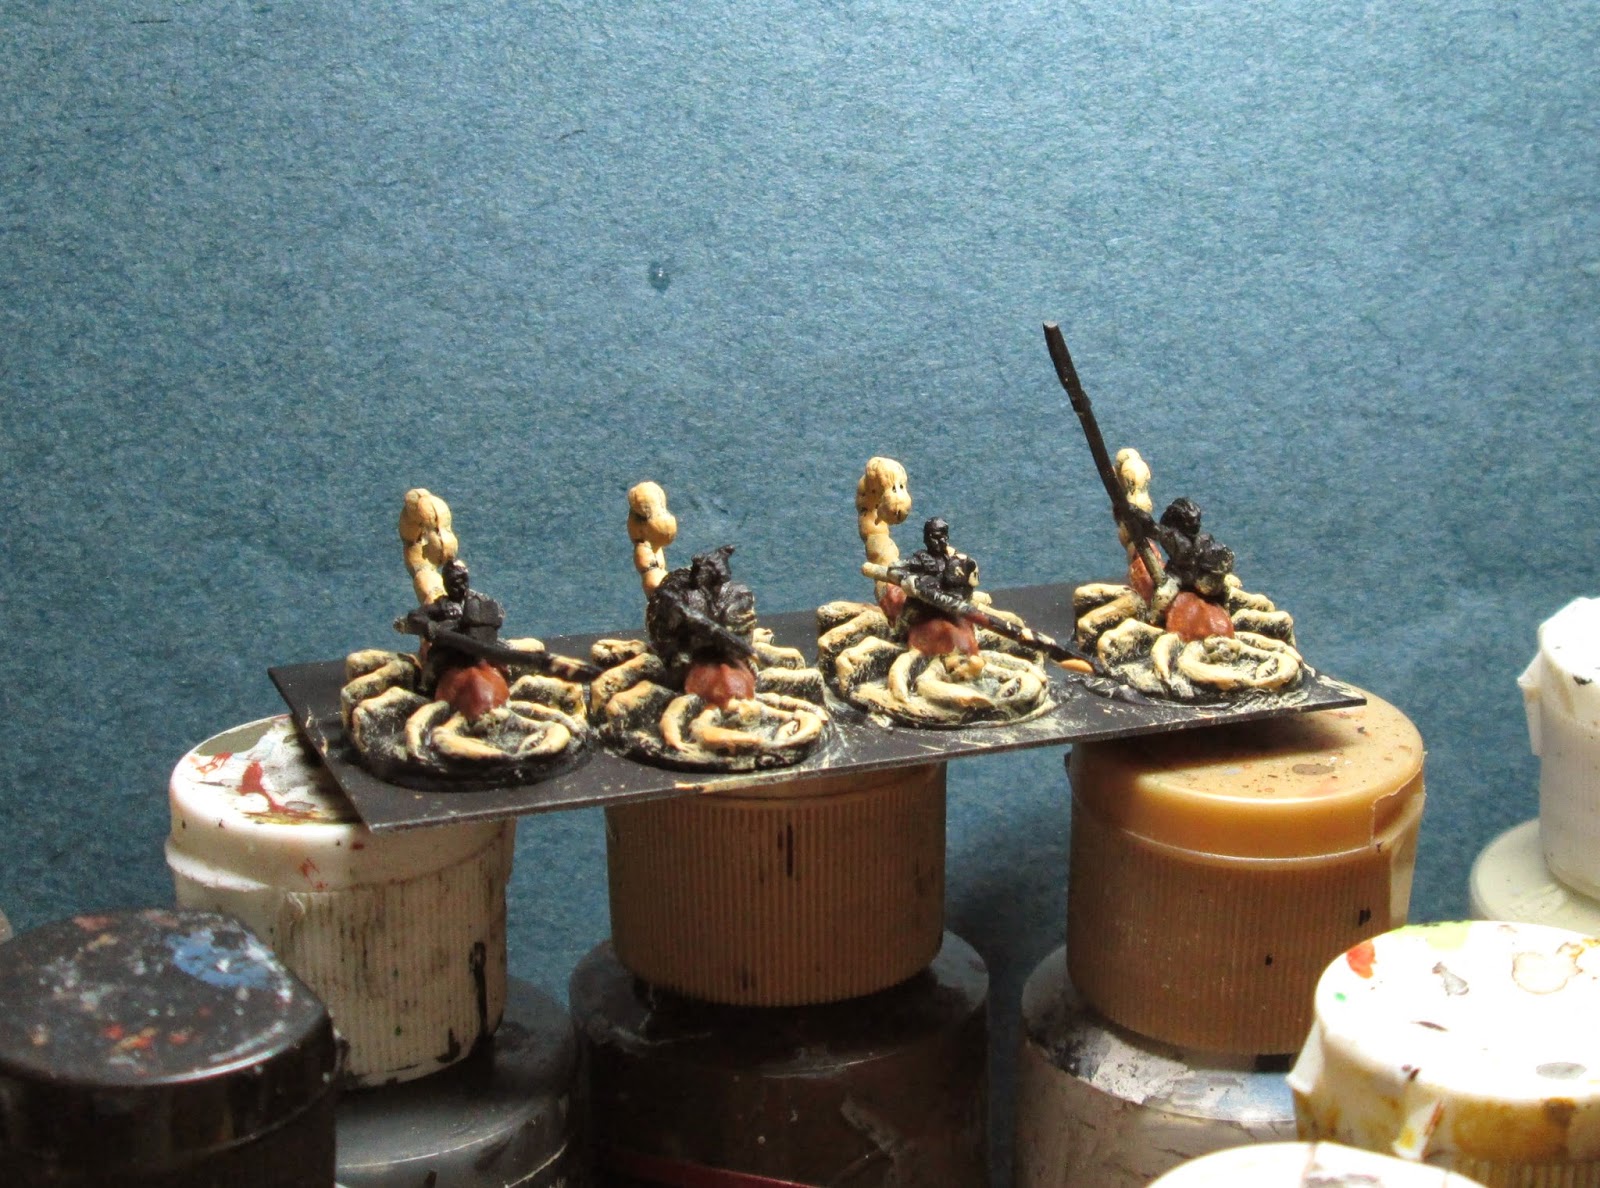
First let me apologize for no Monday post, but it has been really busy around here, as my wife and I are in the process of buying a new house. I was, however, able to squeeze in the two Giant Spiders from the Vermin set this past week to have something to post today.
I prepped them in the usual way; soaking overnight in some water with a couple drops of dish soap added, and then giving a light scrub with a soft toothbrush and rinsing, then drying. As you may remember from previous posts, I ran out of my usual Krylon Flat Black Camouflage with Fusion spray paint a couple weeks ago, and I was unable to find a replacement can of it. (I hope Krylon hasn't stopped making it!) So, I got a can of Krylon regular Flat Black Fusion, which I hoped would be the same as the Camouflage variety, but it turned out it wasn't. I sprayed these guys with it, and as expected, it left them tacky, even after a few days of drying. I glued the figures to 1 inch black-primed fender washers, and glued these to a tongue depressor for ease of handling during painting.
I decided, like the Giant Beetles, I finished a little while ago, that I didn't want to do theses just plain old black, brown or gray. So, since I had just done the Giant Beetles in a green scheme, I tried to think of another icky bug color to paint these, and came up with red as a good possibility. So, like with the Beetles, I went to Google and did an image search for "Red Spiders". Eeeeks, there's a page I didn't want to study too long, as a page full of pictures of red spiders is a really creepy thing! Anyway, I got a general idea of how a red spider looks with a quick perusal, and set about to paint these Bones. To start, I painted them with black craft paint to remove the shiny tackiness. (I may just end up using regular black craft paint to do all my priming from now on, as I really don't like the tackiness.)
Next, I painted them with Apple Barrel "Apple Maroon", gently feathering the paint up onto the rear segment of the body, generally trying to leave this rear segment the original black.
I then dry brushed the areas I has just painted with Ceramcoat "Bright Red".
I followed this with adding some highlights to the raised areas with Americana "Cadmium Red". Next, I cleaned up the black on the rear segments, carefully feathering the black back over any red that had covered too much of the segment. I also added some drybrushed black sections to the tip of each leg. And, at this time I added two black dots for eyes. Lastly, I painted the fangs with Americana "Buttermilk, and then gave them white highlights; I also added tiny white highlight dots to each eye.
After the Spiders had a couple hours to dry, I gave them each a coat of Ceramcoat "Matte Varnish, and when this was dry, I flocked their bases. I let this dry overnight, and then sprayed them with Testor's "Dullcote" the next day.
Like the Giant Beetles, I'm pleased with how these turned out. I really think using a non-standard color for these worked really well, making them look particularly terrifying.
Figures 91 & 92: Complete
My Efforts to Paint the Miniatures From the 1st, 2nd, 3rd, and 4th BONES Kickstarters!
Showing posts with label Bugs. Show all posts
Thursday, May 1, 2014
Monday, April 21, 2014
Big Scorpions Converted with 10mm Goblin Mounts: Figures 89 & 90
Last week I worked on the two big scorpions from the Vermin set. When I first looked at these after they had arrived last year, I had begun to consider the possibility of using them as mounts for some sort of 10mm riders for use with my 10mm armies for our soon to be published mass fantasy combat rules, "Bear Yourselves Valiantly". So, a couple months ago I sat down with the scorpions, and a couple of riders commandeered from a pack of Eureka's 10mm Elves Riding Stags that I had; and I began to fiddle with seeing how they looked mounted on the scorpions. I ended up having to trim the bottom of their boots off to make their legs fit down in between the legs of the scorpions, but in general I was pleased.
I knew two wasn't going to be enough, so I ordered another pack of the scorpions from Reaper, and after they arrived, I fixed them up with riders as well. I decided even though the castings were of Elves, I was going to paint them up as Goblins, so I could use them in my already existing Goblin army. I ended up trimming off the fancy crested helmets a couple of them wore, that can be seen on the rider on the left in the photo above, as I felt they were a bit much for Goblins.
So, to back track a little, before I started putting any of the riders on the scorpions I soaked them overnight in some water with a little dish soap in it, and then gave them a light scrub with a soft toothbrush and rinsed them. When dry, I began gluing the riders on using Gorilla brand super glue. I then glued the figures onto a 3"x1" steel base (the standard unit sized base for BYV) using Aleene's Tacky glue and then sprayed everything with the Krylon Fusion flat black. I subsequently had to go back and use black craft paint to paint in between the little scorpion legs to cover some areas the spray paint missed.
I now gave the scorpions a coat of Ceramcoat "Maple Sugar Tan", and then went back and painted the central part of their body with DecoArt "Cinnamon Brown".
Next, I gave them a wash with GW Devlan Mud wash, and then added highlights to all the legs and tail with the "Maple Sugar Tan" mixed with a little Americana "Buttermilk". Now I drybrushed the two riders wearing chainmail with Ceramcoat "Metallic Pewter", followed with painting all the Goblins' skin with Folk Art "Hausser Green Medium".
I then proceeded to the shields, painting them Americana "Cadmium Red." Their tunics I painted with Apple Barrle "Burnt Sienna", and their boots with GW "Scorched Brown". Next I did the spear shafts with Americana "Mississippi Mud", and lastly the wolf skin the one Goblin is wearing I drybrushed with Folk Art "Medium Gray".
I knew two wasn't going to be enough, so I ordered another pack of the scorpions from Reaper, and after they arrived, I fixed them up with riders as well. I decided even though the castings were of Elves, I was going to paint them up as Goblins, so I could use them in my already existing Goblin army. I ended up trimming off the fancy crested helmets a couple of them wore, that can be seen on the rider on the left in the photo above, as I felt they were a bit much for Goblins.
So, to back track a little, before I started putting any of the riders on the scorpions I soaked them overnight in some water with a little dish soap in it, and then gave them a light scrub with a soft toothbrush and rinsed them. When dry, I began gluing the riders on using Gorilla brand super glue. I then glued the figures onto a 3"x1" steel base (the standard unit sized base for BYV) using Aleene's Tacky glue and then sprayed everything with the Krylon Fusion flat black. I subsequently had to go back and use black craft paint to paint in between the little scorpion legs to cover some areas the spray paint missed.
I now gave the scorpions a coat of Ceramcoat "Maple Sugar Tan", and then went back and painted the central part of their body with DecoArt "Cinnamon Brown".
Next, I gave them a wash with GW Devlan Mud wash, and then added highlights to all the legs and tail with the "Maple Sugar Tan" mixed with a little Americana "Buttermilk". Now I drybrushed the two riders wearing chainmail with Ceramcoat "Metallic Pewter", followed with painting all the Goblins' skin with Folk Art "Hausser Green Medium".
I then proceeded to the shields, painting them Americana "Cadmium Red." Their tunics I painted with Apple Barrle "Burnt Sienna", and their boots with GW "Scorched Brown". Next I did the spear shafts with Americana "Mississippi Mud", and lastly the wolf skin the one Goblin is wearing I drybrushed with Folk Art "Medium Gray".
Lastly, I painted the spear tips and the sword with Ceramcoat Metallic Pewter, and I added some scary face decorations to the Goblins' shields with white. When everything had time to dry, I then gave it a coat of Ceramcoat "Matte Varnish", and when this was dry. I flocked the bases. I actually had to flock then in two steps; first using a very fine brush to paint my glue/paint mix between all the legs and the front claws and then flocking those areas, and then going back when that had dried and painting and flocking the larger areas with a larger brush. After all the flock had time to dry, I then sprayed the base with Testor's "Dullcote".
I'm pleased with how these turned out. I think they make a perfect mount for the 10mm figures, and I am considering getting some more to expand my Goblin scorpion-cavalry force.
Figures 89 & 90: Complete
Monday, April 14, 2014
The Beetles! - Figures 87 & 88 of 265
Last week I painted the two big beetles from the Vermin set. I prepped them in the usual way; soaking overnight in some water with a couple drops of dish soap added, and then giving a light scrub with a soft toothbrush and rinsing, then drying. Unfortunately, I ran out of my usual Krylon Flat Black Camouflage with Fusion spray paint, and I was unable to find a replacement can of it. (I hope Krylon hasn't stopped making it!) So, I got a can of Krylon regular Flat Black Fusion, which I hoped would be the same as the Camouflage variety, but it turned out it wasn't. I sprayed these guys with it, and it left them tacky, even after a few days of drying. You can see they're still a bit shiny in the photo below. Anyway, I've heard reports of folks having success going ahead and painting over the tacky primer paint, so I thought I would forge ahead, and give it a shot. I glued the figures to 1 inch black-primed fender washers, and glued these to a tongue depressor for ease of handling during painting.
I decided I didn't want to paint theses just boring brown or black, so I thought I'd try a more vibrant color. I figured green would be a nice icky color for a bug, so I did a quick Google image search for "green bug" to get some ideas. With those images in my mind, I began by giving the front end of the beetles and their legs a heavy dry brushing with Folk Art "Hauser Green Medium".
I then went back and filled in the areas where the drybrushing hadn't quite gone on heavy enough. I then added highlights to the body and legs with Americana "Olive Green" (which is actually more of a light lime green despite it's name.) Next, I painted the back of the body with Folk Art "Metallic Emerald Green", and then did a little band of Ceramcoat "Metallic Copper" around the edges of the front segment of the beetle.
Lastly, I painted the pincers and the eyes black, and then gave the pincers a light drybrushing with Folk Art "Medium Gray". I also added a tiny white highlight dot to each eye. I painted all the textured surface of the figures' integral bases with Americana Mississippi Mud, and then let them dry overnight. I then gave them a coat of Ceramcoat "Matte Varnish" and let them dry a few hours. Finally, I flocked the bases. The next day I sprayed them with Testor's "Dullcote" varnish.
I'm pleased with how these turned out. And, so far I'm happy to report there has been no return of the tackiness. Due to family visiting for Easter, there will probably not be a write-up for Thursday.
Figures 87 & 88: Complete
I decided I didn't want to paint theses just boring brown or black, so I thought I'd try a more vibrant color. I figured green would be a nice icky color for a bug, so I did a quick Google image search for "green bug" to get some ideas. With those images in my mind, I began by giving the front end of the beetles and their legs a heavy dry brushing with Folk Art "Hauser Green Medium".
I then went back and filled in the areas where the drybrushing hadn't quite gone on heavy enough. I then added highlights to the body and legs with Americana "Olive Green" (which is actually more of a light lime green despite it's name.) Next, I painted the back of the body with Folk Art "Metallic Emerald Green", and then did a little band of Ceramcoat "Metallic Copper" around the edges of the front segment of the beetle.
Lastly, I painted the pincers and the eyes black, and then gave the pincers a light drybrushing with Folk Art "Medium Gray". I also added a tiny white highlight dot to each eye. I painted all the textured surface of the figures' integral bases with Americana Mississippi Mud, and then let them dry overnight. I then gave them a coat of Ceramcoat "Matte Varnish" and let them dry a few hours. Finally, I flocked the bases. The next day I sprayed them with Testor's "Dullcote" varnish.
I'm pleased with how these turned out. And, so far I'm happy to report there has been no return of the tackiness. Due to family visiting for Easter, there will probably not be a write-up for Thursday.
Figures 87 & 88: Complete
Monday, October 21, 2013
Bones Beetle Swarms: Figures 39 & 40 of 265
This week
I finished of two of the Bones beetle swarm figures. I prepped these as usual, soaking them in water and dish soap first, then rinsing and drying. I then primed them black with Krylon's Camouflage Flat Black with Fusion, as I planned to paint them mostly with drybrushing. I also planned to use these figures with my 10mm armies for our Fantasy, Ancients & Medieval mass-combat rules, "Bear Yourselves Valiantly"; so I based them a little differently than usual, using a black primed 3" x 1.5" steel base, which is the standard unit size for our rules. I thought these figures would make great giant beetle swarms in 10mm. (They would for 15mm, too)
These were very quick to paint. I began by painting some of the larger exposed ground areas between the beetles with GW "Graveyard Earth", then I did a heavy drybrushing with Americana "Asphaltum"
I then did a lighter drybrushing with DecoArt Cinnamon Brown, and finally a highlighting drybrushing with Americana "Sable Brown". After this had dried, I painted the figures with Ceramcoat "Matte Varnish". I let them sit over night, and the next day I flocked them. Then after that had a chance to dry, I sprayed the stand with Testor's "Dullcoat". Finally, I applied the unit stats label we use for these rules to the base.
I think they turned out good, and I'm pleased with how they look with 10mm figures. They give a nice impression of a horde of giant flesh eating crypt-beetles about to swarm a unit.
Figures 39 & 40: Complete
These were very quick to paint. I began by painting some of the larger exposed ground areas between the beetles with GW "Graveyard Earth", then I did a heavy drybrushing with Americana "Asphaltum"
I then did a lighter drybrushing with DecoArt Cinnamon Brown, and finally a highlighting drybrushing with Americana "Sable Brown". After this had dried, I painted the figures with Ceramcoat "Matte Varnish". I let them sit over night, and the next day I flocked them. Then after that had a chance to dry, I sprayed the stand with Testor's "Dullcoat". Finally, I applied the unit stats label we use for these rules to the base.
I think they turned out good, and I'm pleased with how they look with 10mm figures. They give a nice impression of a horde of giant flesh eating crypt-beetles about to swarm a unit.
Figures 39 & 40: Complete
Subscribe to:
Posts (Atom)