Showing posts with label Dog. Show all posts

Monday, March 22, 2021

Sabertooth Pug: Bones 4 Figure

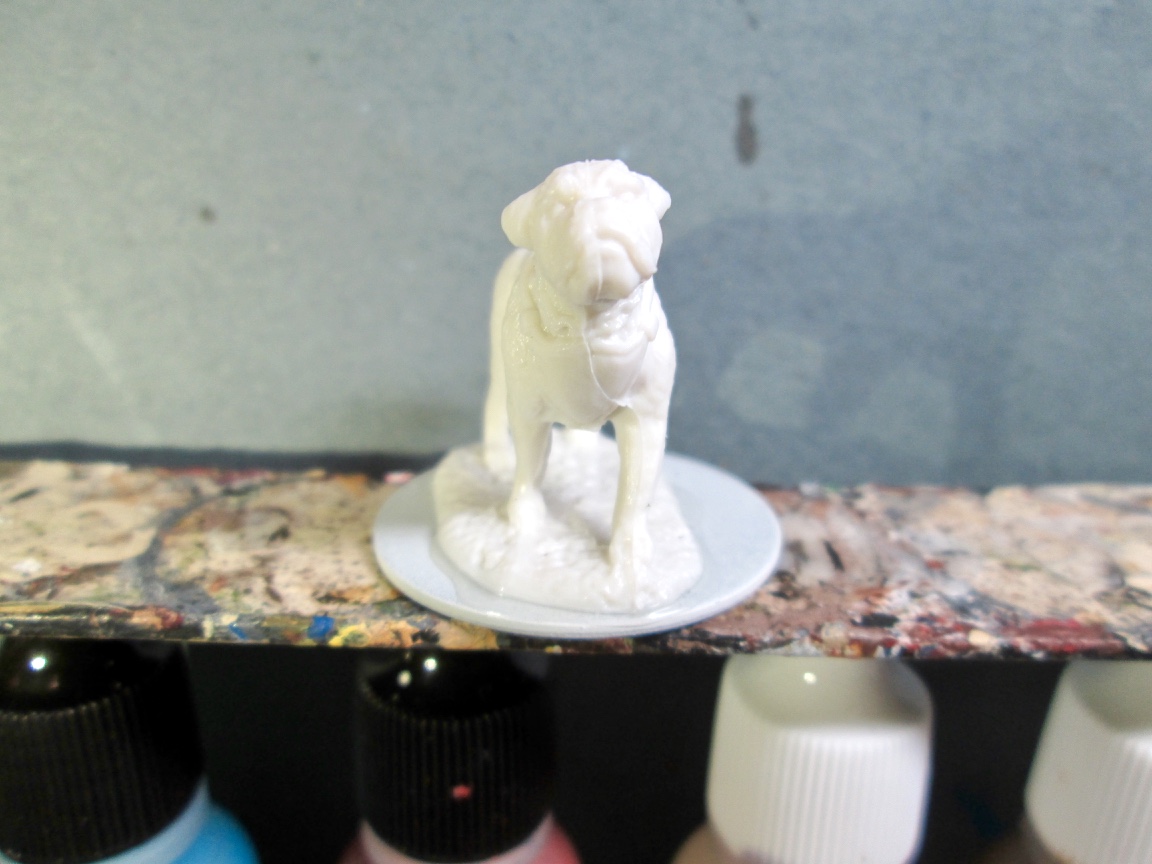
     This past week I painted the "Sabertooth Pug" figure from the Bones 4 Trolls Set.  The first thing I did was to Google pictures of pugs to get an idea of the coloring I needed to achieve.
      I prepped the figure in the usual way, soaking it in a dish of water with a couple drops of dish-soap added, then giving it a light scrub with a soft toothbrush, and then rinsing and drying it.  I trimmed down the base a little, and then glued the figure to a black-primed 1.5" fender washer with Aleene's Tacky glue.  I then placed the figure in my painting grip.    

     I began by painting the entire figure with Reaper MSP "Graveyard Bone".  When dry, I gave the entire figure a coat of Citadel "Agrax Earthshade" wash.
     When the wash was dry, I drybrushed the figure.  First with the base "Graveyard Bone", then with Crafter's Acrylic "Light Antique White", and lastly a little Ceramcoat "White".  I tried to apply it heavier towards the bottom to represent the lighter underbelly.
      Next, I painted his ears and muzzle with a mix of Ceramcoat "Black" and Americana "Charcoal Grey".  I then drybrushed this color around his whole face, and down the center of his back.  After that, I painted his eyes and nose with just the "Black", and his fangs with Americana "Antique White".  I let the fangs dry, and then painted a little Citadel "Nuln Oil" wash at the tops to give them a better delineation from the figure's upper lip.
     I then painted his claws with the "Black", and added highlight dots to his eyes with the "White".  After that, I highlighted the fangs with the base "Antique White", then some Americana "Bleached Sand", and lastly, a little of the "White". Lastly, I painted his base with Americana "Mississippi Mud".
      I let the figure dry overnight and the next day I gave it a coat of Americana "DuraClear Matte" varnish.    Then, when  the varnish was dry, I used some white glue to flock the base.  Another overnight dry, and I sprayed it with Testor's "Dullcote". When the "Dullcote" was dry, I went back and repainted the eyes with a little Americana "DuraClear Gloss" varnish.

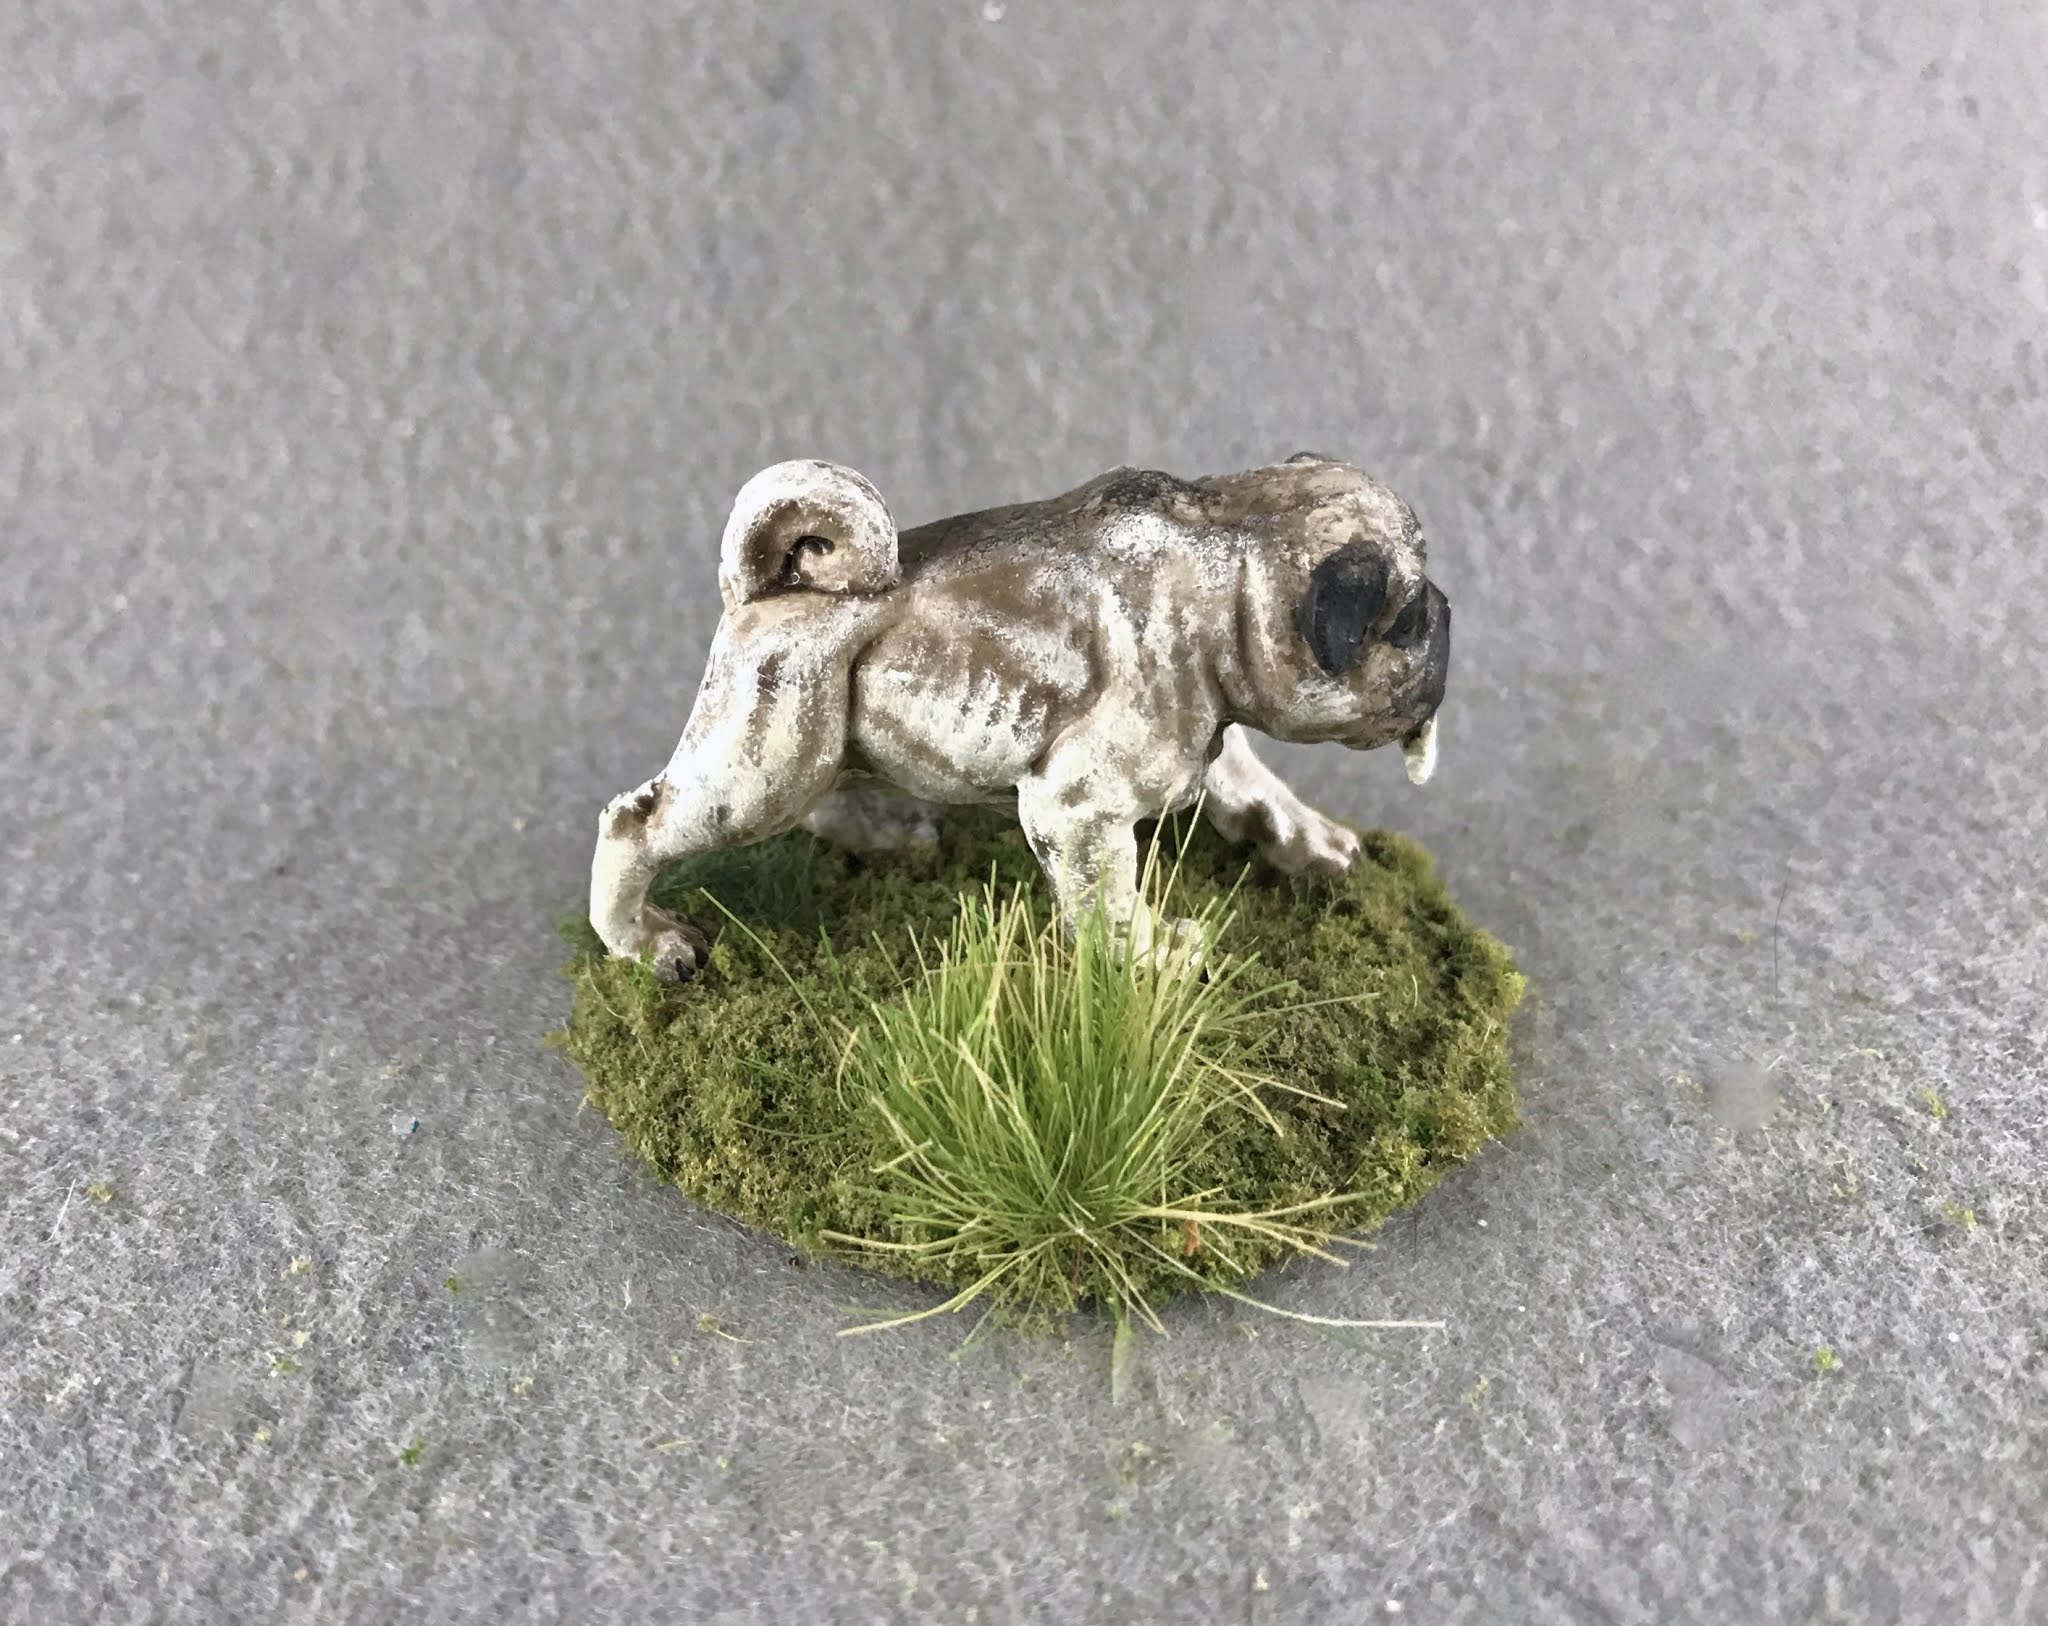

     In general, I'm pleased with how this fellow turned out.  It's a fun little figure and was fun to paint.  

Monday, October 14, 2019

Hell Hounds: Bones 4 Fan Favorites Figure

     This past week I painted the Hell Hounds from the Bones 4 Fan Favorites Expansion.   When I first saw these, I had the idea that I'd like to get two of the sitting version of the Hound to paint as innocuous statues, perhaps for guarding a gate or doorway, and then use the two standing versions to  paint as their demonic counterparts; that the statues would change into when anyone got too close to what they were guarding.
     I then lucked out and found a second copy of the sitting one in the flea market at our club's gaming convention a couple weeks ago.
       I prepped the figures in the usual way, soaking them in a dish of water with a couple drops of dish-soap added, then giving them a light scrub with a soft toothbrush, and then rinsing and drying them.  I then glued the two sitting figures to  black-primed 1" fender washer, and the two standing figures to black-primed 1.25" fender washers, all with Aleene's Tacky glue.  I then glued the figures in pairs onto tongue depressors.

     I began by painting the two seated hounds entirely with Americana "Charcoal".  When that was dry, I gave them both a coat of Citadel "Nuln Oil" wash.
     When the wash was dry, I drybrushed them with some Americana "Neutral Grey" mixed with a little of the "Charcoal", and then just the plain "Neutral Grey".  After that, I painted their neck rings with Americana "Asphaltum", and then dabbed them with a little Accent "Golden Oxide".   Lastly, I painted their bases with "Americana "Mississippi Mud".
      I let them dry overnight and the next day I gave them a coat of Americana "DuraClear Matte" varnish.    Then, when  the varnish was dry, I used some white glue to apply a sand mixture onto their bases.

   I then started work on the standing versions.  I wanted to try a bit of a lava/interior heat effect, and I didn't feature having to hand paint all the teeny tiny cracks sculpted into the hounds, so I thought I'd try it in a bit of short cut way.
     I began by panting them entirely with Reaper MSP Bones "Cinnamon Red".
          I then drybrushed the hounds with the "Charcoal".
          Next, I drybrushed them with some Ceramcoat "Black".  I then tried an experiment on the left one, and gave it a coat of thinned Iron Wind Metals "Yellow" ink.  That looked really bad, so I then tired hand painting the cracks with Reaper MSP "Golden Glow".  I just wasn't happy. with the results.
     So, I did what I had tried to avoid, and painted all the cracks individually; this time with Americana "Tangerine".  I then painted the crack centers with Crafter's Acrylic "Bright Yellow".    I painted the eyes and teeth with the Bright Yellow" as well, and then gave the eyes and teeth all highlights with Apple Barrel "Lemon Chiffon".  After that, I painted their neck rings with Americana "Asphaltum", and then dabbed them with a little Accent "Golden Oxide".   Lastly, I painted their bases with "Americana "Mississippi Mud".,
      I let them dry overnight and the next day I gave them a coat of Americana "DuraClear Matte" varnish.    Then, when  the varnish was dry, I used some white glue to apply a sand mixture onto their bases. 
  Another overnight dry, and I sprayed all four hounds with Testor's "Dullcote".


          Well, they won't win any painting awards, but for gaming use I think they turned out okay.  Those cracks in the dogs were just so small to paint properly...

Monday, April 15, 2019

War Pugs!: Bones 3 Figure

     Well, my Bones 4 Kickstarter order was shipped this past week, but it isn't supposed to arrive until tomorrow; so in the meantime I painted the 3 War Pugs that originally came with the Bones 3 Dwarf King's Companions Optional Add-on Set.  I picked this trio up in an exchange.
    I prepped the figures in the usual way; soaking them in a dish of water with a couple drops of dish-soap added and then rinsing and drying.   I then glued them to 7/8" black-primed fender washers with Aleene's Tacky glue.  I then glued the figures to a tongue depressor with a couple drops of the Elmer's glue each.
     I began by painting two of the pugs with Americana "Bleached Sand", and the third with Ceramcoat "Black".  When dry, I gave the two light colored pugs a wash with Citadel "Agrax Earthshade" wash.  When the wash was dry, I drybrushed the light colored pugs with the "Bleached Sand", and then added highlights with Ceramcoat "White" mixed with a little of the "Bleached Sand".    I painted the third pug Ceramcoat "Black".
     Next, I did a light drybrush on their lower backs of the lighter colored two with a mix of Americana "Cinnamon", and Americana "Asphaltum."   I then painted their muzzles, ears, and eye sockets a mix of the "Black" and "Asphaltum".
     I then painted the inside of the open mouth with a mix of Americana "Shading Flesh" and Crafter's Acrylic "Tutti Frutti".  While it dried, I painted the eyes and noses "Black".    I then gave the open a mouth a wash with some of the "Agrax Earthshade".  While the wash dried, I added "White" highlight dots to the eyes, and Americana "Neutral Grey" highlights to the noses and around the mouths.  After that, I highlighted the tongue with Crafter's Acrylic "Cherry Blossom Pink". 
     It was now time to turn my attention to the black pug.  I drybrushed him with a little Americana "Zinc" and then added more specific highlights with Crafter's Acrylic "Storm Cloud Grey".
      Lastly, I painted the figures bases with Americana "Mississippi Mud".

     I let the figures dry overnight and the next day I gave them a coat of Americana "DuraClear Matte" varnish.    Then, when  the varnish was dry, I used some white glue to flock the bases.  Another overnight dry, and I sprayed them all with Testor's Dullcote".


     I'm really happy with how these little fellas turned out.  Now I need to find an excuse to get them on the table.  :)

   So tomorrow I hope to be swimming in Bones 4 goodness!  I will try to get some unboxing photos up on the blog either this Thursday, or next Monday, time permitting.    Let me know if there's anything particular you would like pictures of; and if I ordered it, I will try to grab some shots.

Monday, June 26, 2017

War Dog: Bones 3 Figure

    This past week I finished up the War Dog from the original Bones 3 Core Set.  I had long needed a proper War Dog for my Frostgrave warbands, having pressed the Bones II wild dog into service time and time again.  So I was excited to finally get this figure and be able to paint it up.
         I prepped the figure in the usual way; soaking it in a dish of water with a couple drops of dish-soap added, then giving it a light scrub with a soft toothbrush, and then rinsing and drying it.    I then glued the figure to a white-primed 1.25" fender washer with Aleene's Tacky glue, and then glued the washer-mounted figure to a tongue depressor with a couple drops of the Elmer's glue.
    After studying some pictures of Mastiffs online,  I began by painting the whole dog with Folk Art "Butter Pecan".  Then, while the "Butter Pecan" was still wet, I blended in some Americana "Antique White" on to his belly, rump, and the inside of his legs.  I followed this with adding some Americana "Bleached Sand" to the center of the mix.  As you can see in the picture, I started painting his harness, but realized it would be easier to drybrush his coat if the harness wasn't painted yet, so I stopped.
     After his coat was was dry, I gave the entire figure a wash with Citadel "Agrax Earthshade" wash using a wet brush.  When the wash was dry, I drybrushed his coat with the "Bleached Sand".   Next, I painted his muzzle and eye sockets with Black, and then applied some thinned Black to the outside of his ears.
     Next, I painted the harness straps with Crafter's Acrylic "Cinnamon Brown".  I then drybrushed the muzzle with some Americana "Raw Umber", and then added some more detailed highlights with Americana "Neutral Grey".  I repainted the eyes Black, and gave each one a small White highlight dot.
     I went over the harness straps with a little of the "Agrax Earthshade" wash along the edges, and while that was drying I painted the armor plate, clasps, and chain with Americana "Zinc".  I then went back and highlighted the straps with Folk Art "Teddy Bear Brown".  Next, I painted over the "Zinc" with some Folk Art Metallics "Gunmetal Grey", and then aded highlights with Ceramcoat "Metallic Silver".
     When I was done painting the figure, I used some white glue to glue a little sand to the base.  When this was dry, I painted the sand and the figure's own base with Black.  When the Black was dry, I drybrushed the bases with some of the "Neutral Grey", and then some Americana "Dove Grey".
      I let the figure dry overnight and the next day I gave him a coat of Americana "DuraClear Matte" varnish.  Another overnight dry, and I sprayed it with Testor's Dullcote".
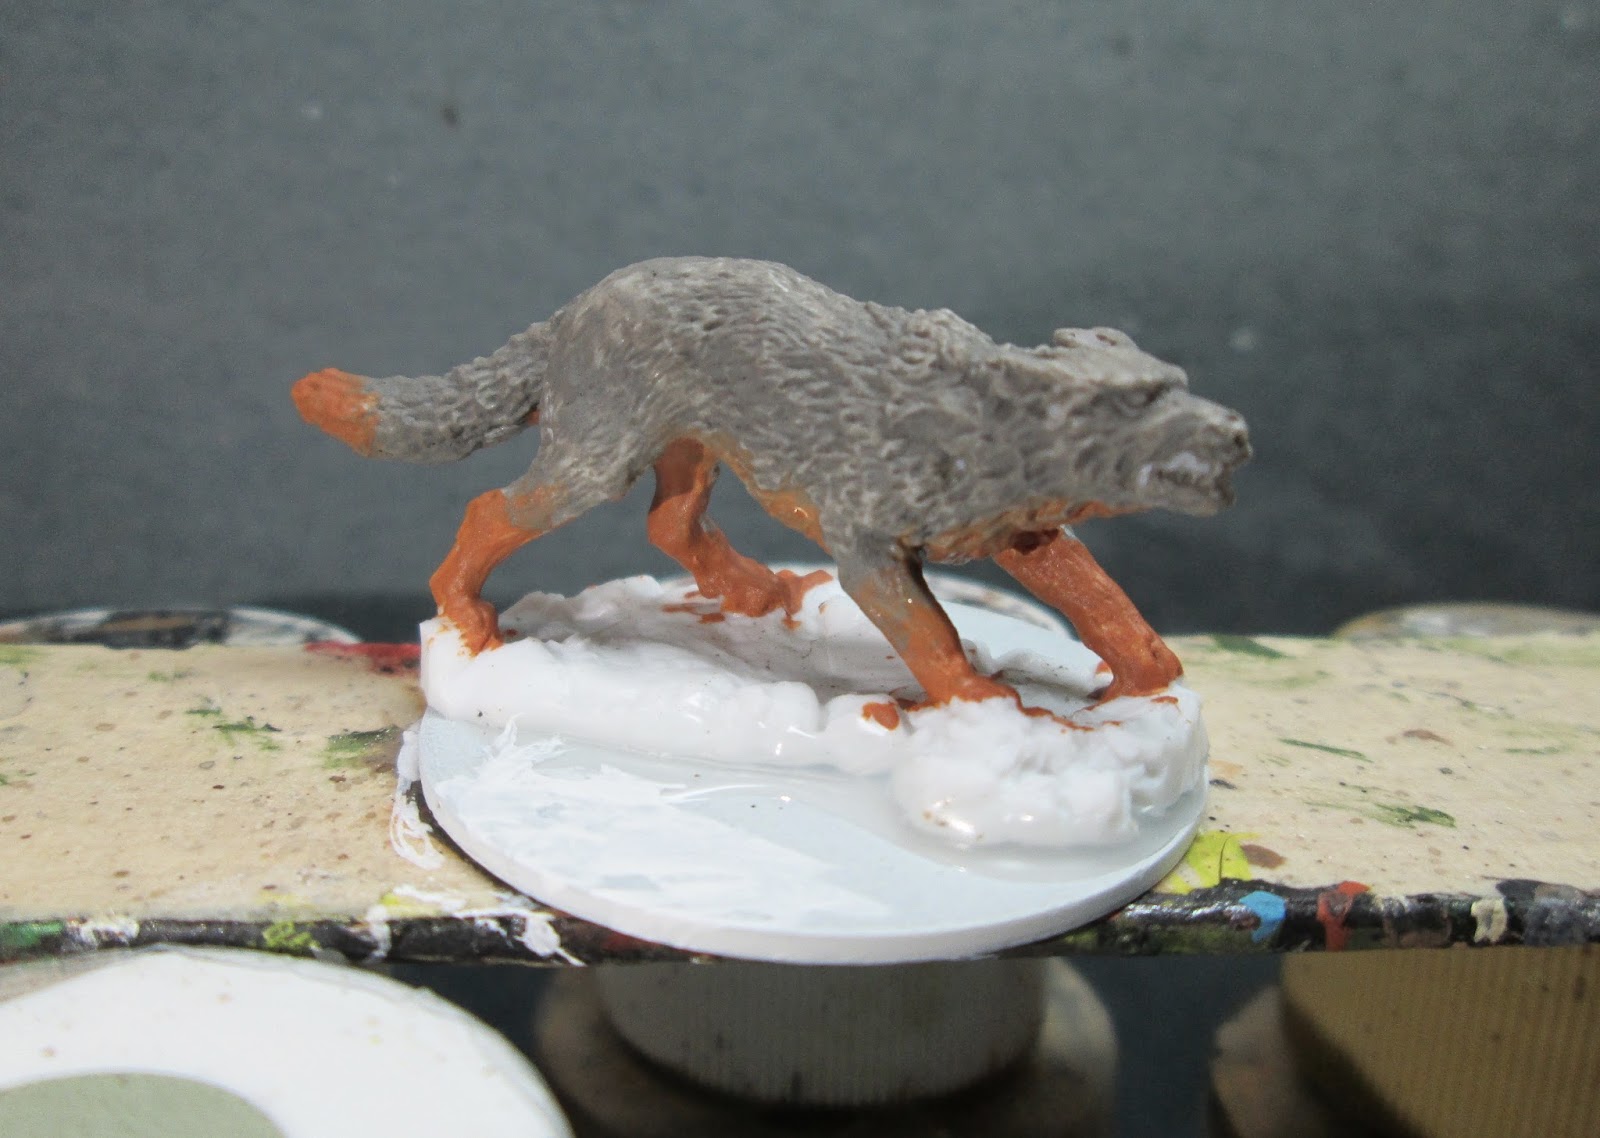


Here he is already pressed into service in a Frostgrave game we had on Saturday.

     I'm really pleased with how this fellow turned out, though he might look a little more dopey and adorable than fierce and mighty!  :)

Thursday, March 17, 2016

Wild Dog: Bones II Figure

  This week I finished up the Dog/Wolf figure from the Bones II Original Figures set.   I chose to paint it up like a Wild Dog and base it for Frostgrave.
   I prepped the figure in the usual way; soaking it in a dish of water with a couple drops of dish- soap added, then giving it a light scrub with a soft toothbrush, and then rinsing and drying it.  I then glued the figure to a white-primed 1.25" fender washers with Aleene's Tacky glue, and then glued the washer-mounted figure to a tongue depressor with a couple drops of the Elmer's glue.
   I bagn by painting his legs and underside with Americana "Terra Cotta".   I then painted his upper body with Americana "Neutral Grey".
      When these first colors of paint were dry, I gave the figure a wash with GW "Agrax Earthshade" wash using a wet brush.  When the wash was dry, I drybrushed the figure with Folk Art "Barn Wood"
     I then painted his muzzle, open mouth, and eyes Black.   Next, I added tiny White pinpoint highlights to his eyes, and painted his teeth with Americana "Buttermilk".  Then I added some highlights to his nose with the "Neutral Grey".
    Lastly, I painted the base White.  When everything had overnight to dry, I gave the figure a coat of Ceramcoat "Matte Varnish".  Then, the next morning I flocked the base with Woodland Scenics "Snow" flock, and added some fiber grasses.  Later that afternoon I sprayed the figure with Testor's Dullcote.
     I'm pleased with how this puppy turned out.  I think he has a nice feral look about him.

Monday, November 16, 2015

Familiars- Ferret & Dog: Figures 179 & 180 of 265

    This past week I spent most of my free time working on a building for Forstgrave, so I ended up with not much time for figure painting.  So, as I saw the days passing by, I realized I better prep a simple figure to paint, so I actually grabbed two, the Ferret and Dog from the Familiars Set.
       I prepped the figures in the usual way; soaking them in a dish of water with a couple drops of dish-soap added, then giving them a light scrub with a soft toothbrush, and then rinsing and drying them.  I then glued the Ferret to a 5/8" black primed fender washer and the Dog to a black-primed 3/4" fender washers with Aleene's Tacky glue, and then glued the washer-mounted figures to a tongue depressor with a couple drops of the Elmer's glue.

       I began by painting the ferret with Folk Art "Barn Wood".  I then painted his front and back with Black, as well as his mask.  I then drybrushed his back with the Black.  Next, I mixed some White with the "Barn Wood" and painted his face and muzzle around the mask.
     For the dog, I decided he looked a lot like a German  Shepherd, so I began by painting him Accent "Mustard Seed". I then drybrushed his tail, underbelly, collar, and the backs of his legs with Cermcoat "Maple Syrup Tan".
     I then painted the Ferret's nose with Americana "Shading Flesh", and then drybrushed his Black areas with Crafters Acrylic "Storm Cloud Grey".
    For the Shepherd, I painted his markings and his muzzle and eyes Black, and then used Americana "Buttermilk' to add some highlight areas to the rest of his fur.
       After the figures had the afternoon to dry, I gave them a coat of Ceramcoat "Matte Varnish" in the evening.  The next morning I flocked their bases, and later that afternoon I sprayed them with Testor's Dullcote.
     These turned out pretty good I think.   Hopefully, this upcoming week I can get back to completing the Chronoscope set.

Monday, December 9, 2013

Hell Hound: Figure 53 of 265

This week I painted the Hell Hound from the 30 New Bones Set.  I began my prep as usual, soaking the figure overnight in some water with a bit of dish soap added.  I then gave it a light scrub,with an old soft toothbrush, rinsed it, and let it dry.  Afterwards, I primed it black with Krylon with Fusion Camouflage Flat Black.  When dry, I glued it with Aleene's Mighty Tacky glue to a 1.5 inch fender washer. I then glued the washer to a tongue depressor with a couple drops of white glue for a more stable, easy to hold work surface.
  My first step was to do a little research in my old D & D Monster Manual to see what color these things were supposed to be.They are described as being rust red to red brown with glowing red eyes and black sooty mouths.    So to begin, I painted the body of the dog with Folk Art "Barnyard Red"
   I then painted the horn like protuberances on its back and neck with Americana "Buttermilk" Afterwards, I gave the whole thing a wash with Winsor Newton "Peat Brown" ink diluted with some water. When dry, I went back and drybrushed the body with the "Barn Red" again, and then added a little of the "Buttermilk" to the red and gave it a lighter drybrushing to add some light highlights. I also gave the horns some highlighting with the "Buttemilk". I then painted the eyes with GW "Blood Red" and did light highlights on the cheeks below the eyes, and the brows above, to give the impression the eyes were glowing.
Next I started to work on the flames on the hound's back.  I began by painting them with Apple Barrel "Lemon Chiffon". I left a little black showing between them to give some separation and depth to them.
Next I painted them with Apple Barrel "Yellow", leaving some of the "Lemon Chiffon" showing at the base of the flames
I now did a layer of Americana "Tangerine", again leaving a bit of the two previous colors showing at the flames' bases.
I followed this with a bit of GW "Blazing Orange", at the ends of the flames.
And then some of the "Blood Red" on the very ends of the flames.
And finally, Apple Barrel "Apple Maroon" on the very tips of the flame tongues.
Finally, I painted the interior of the mouth, the teeth, and the claws with black, and then painted highlights on the teeth, tongue, and claws with GW "Shadow Grey", followed by some smaller, lighter, highlights with Apple Barrel "Apple Scotch Blue". I also went back and added a bit of highlighting with the "Tangerine" and "Yellow" to the horns on the back and neck of the hound, to give the impression of reflected light.  Then, after everything had had time to dry, I gave the figure a coat of Ceramcoat "Matte Varnish, and then flocked the base.  Afterwards, I sprayed it with Testor's "Dullcote".
I'm pleased with how this figure came out.   I enjoyed the practice doing effective flames.

Figure 53 of 265: Complete