Monday, May 31, 2021

Rach Soldier: Bones 4 Chonoscope Figure

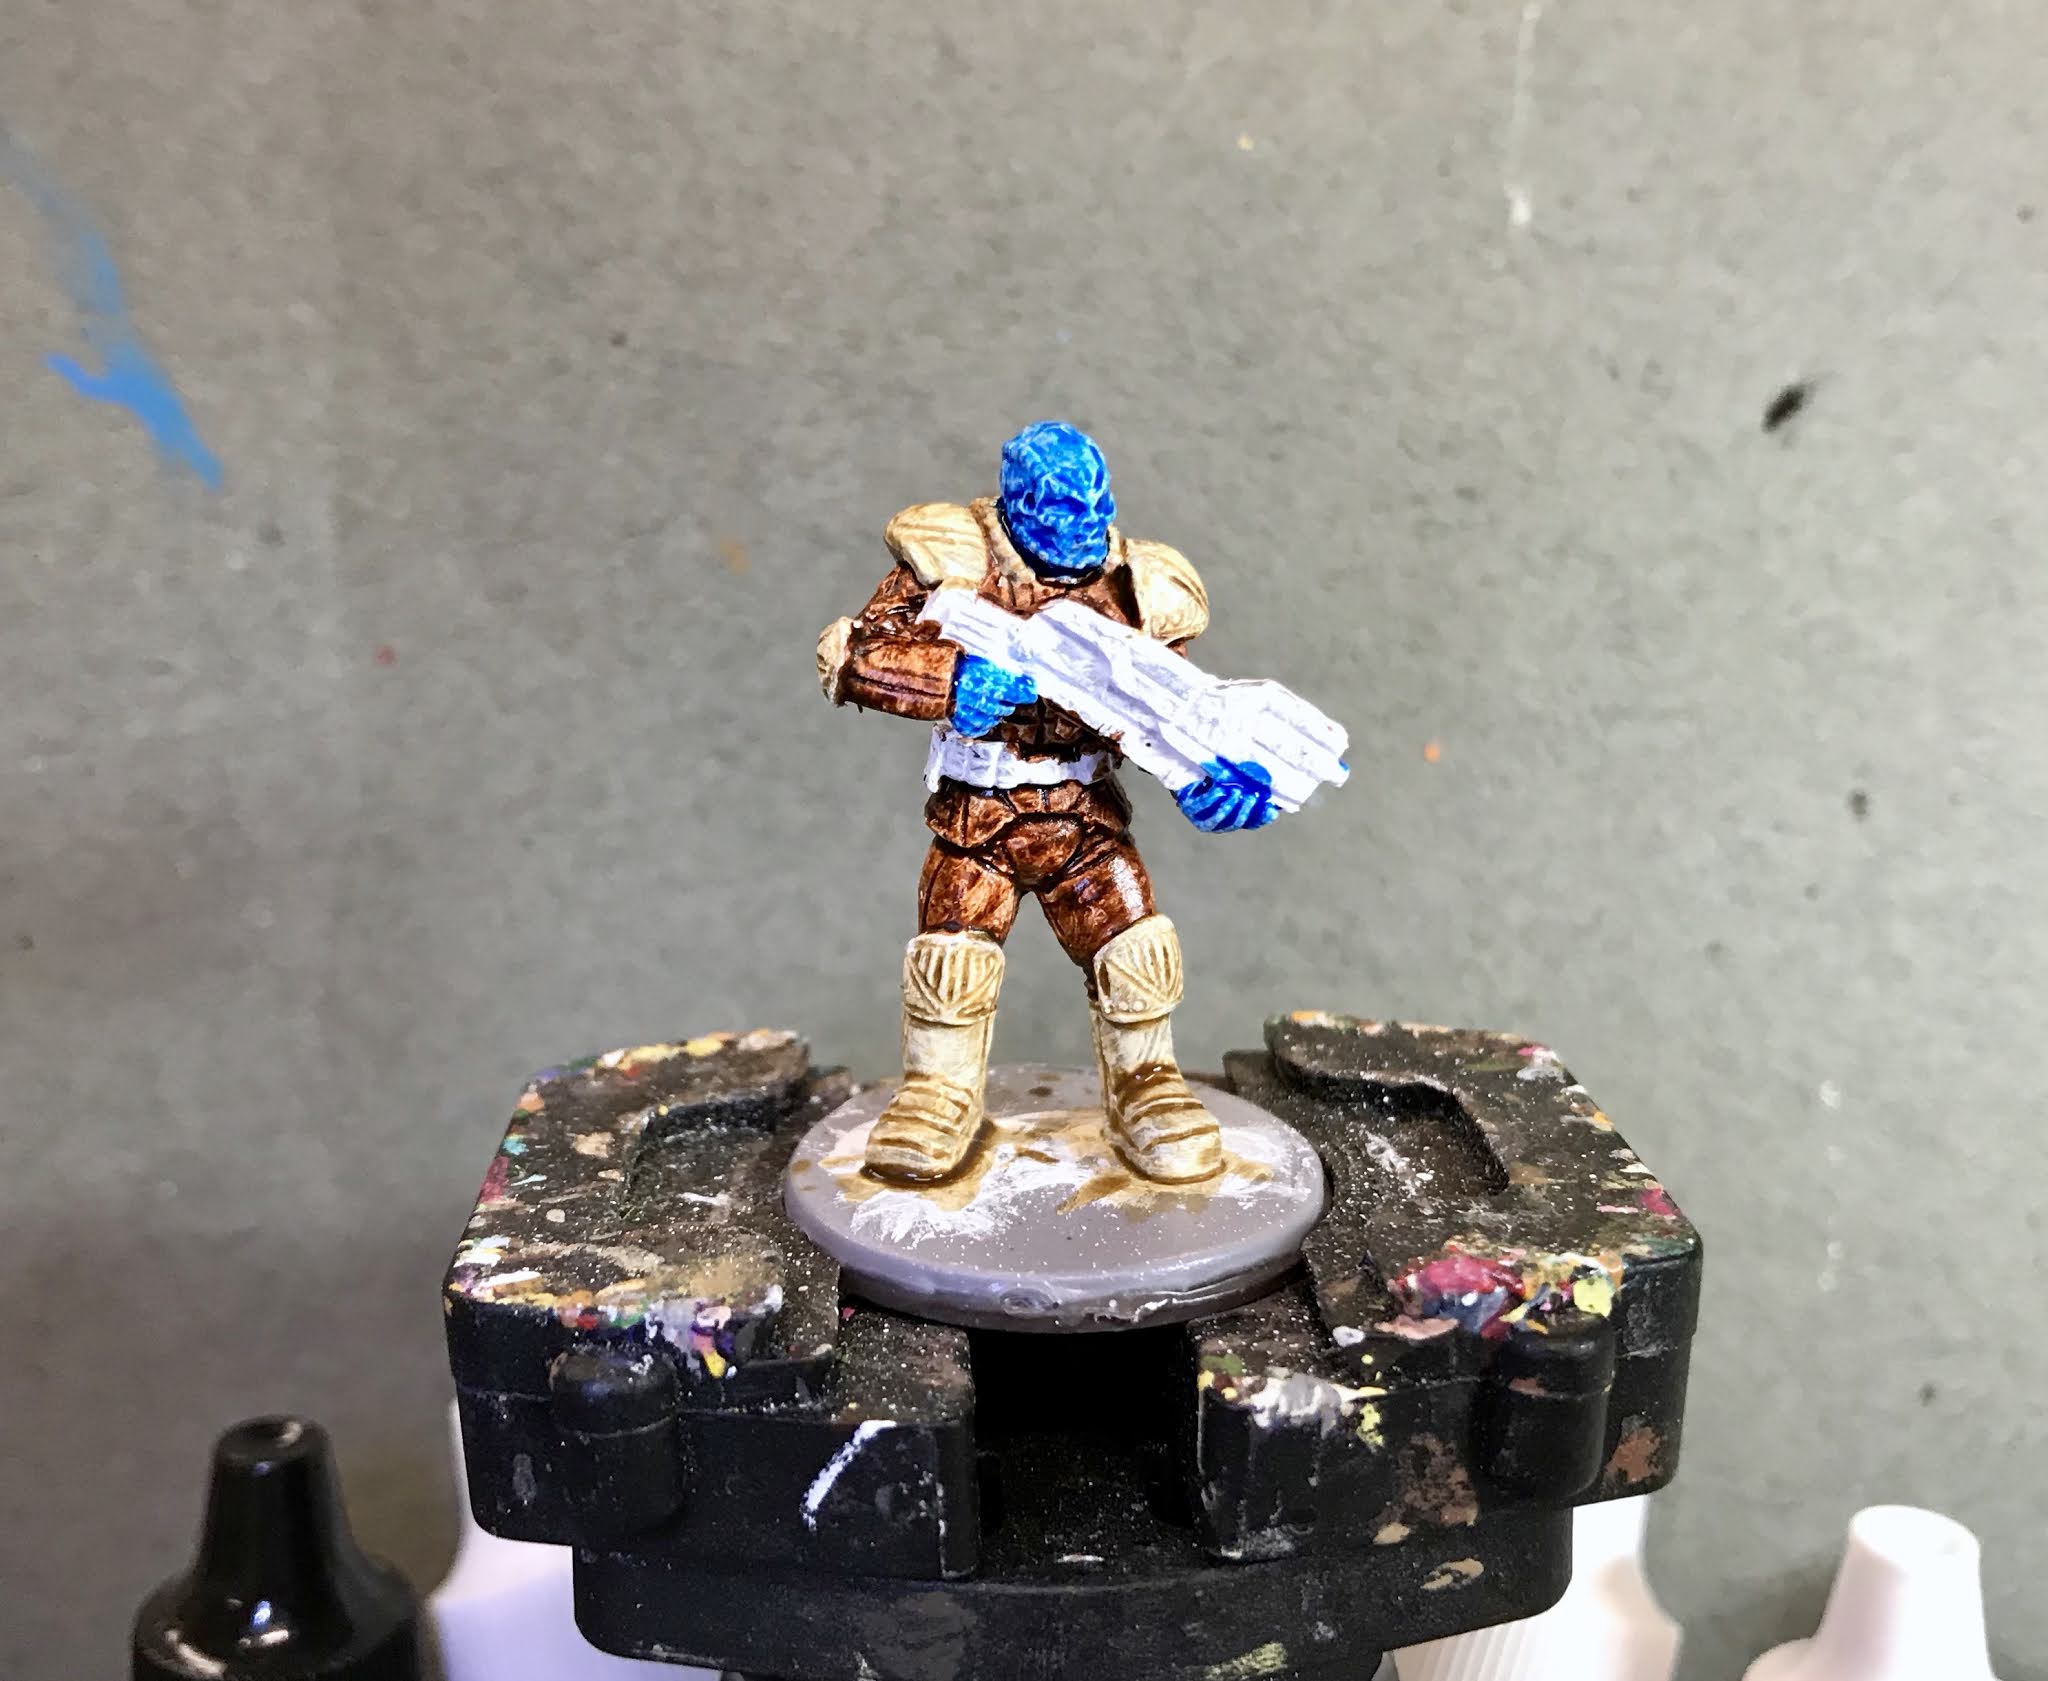
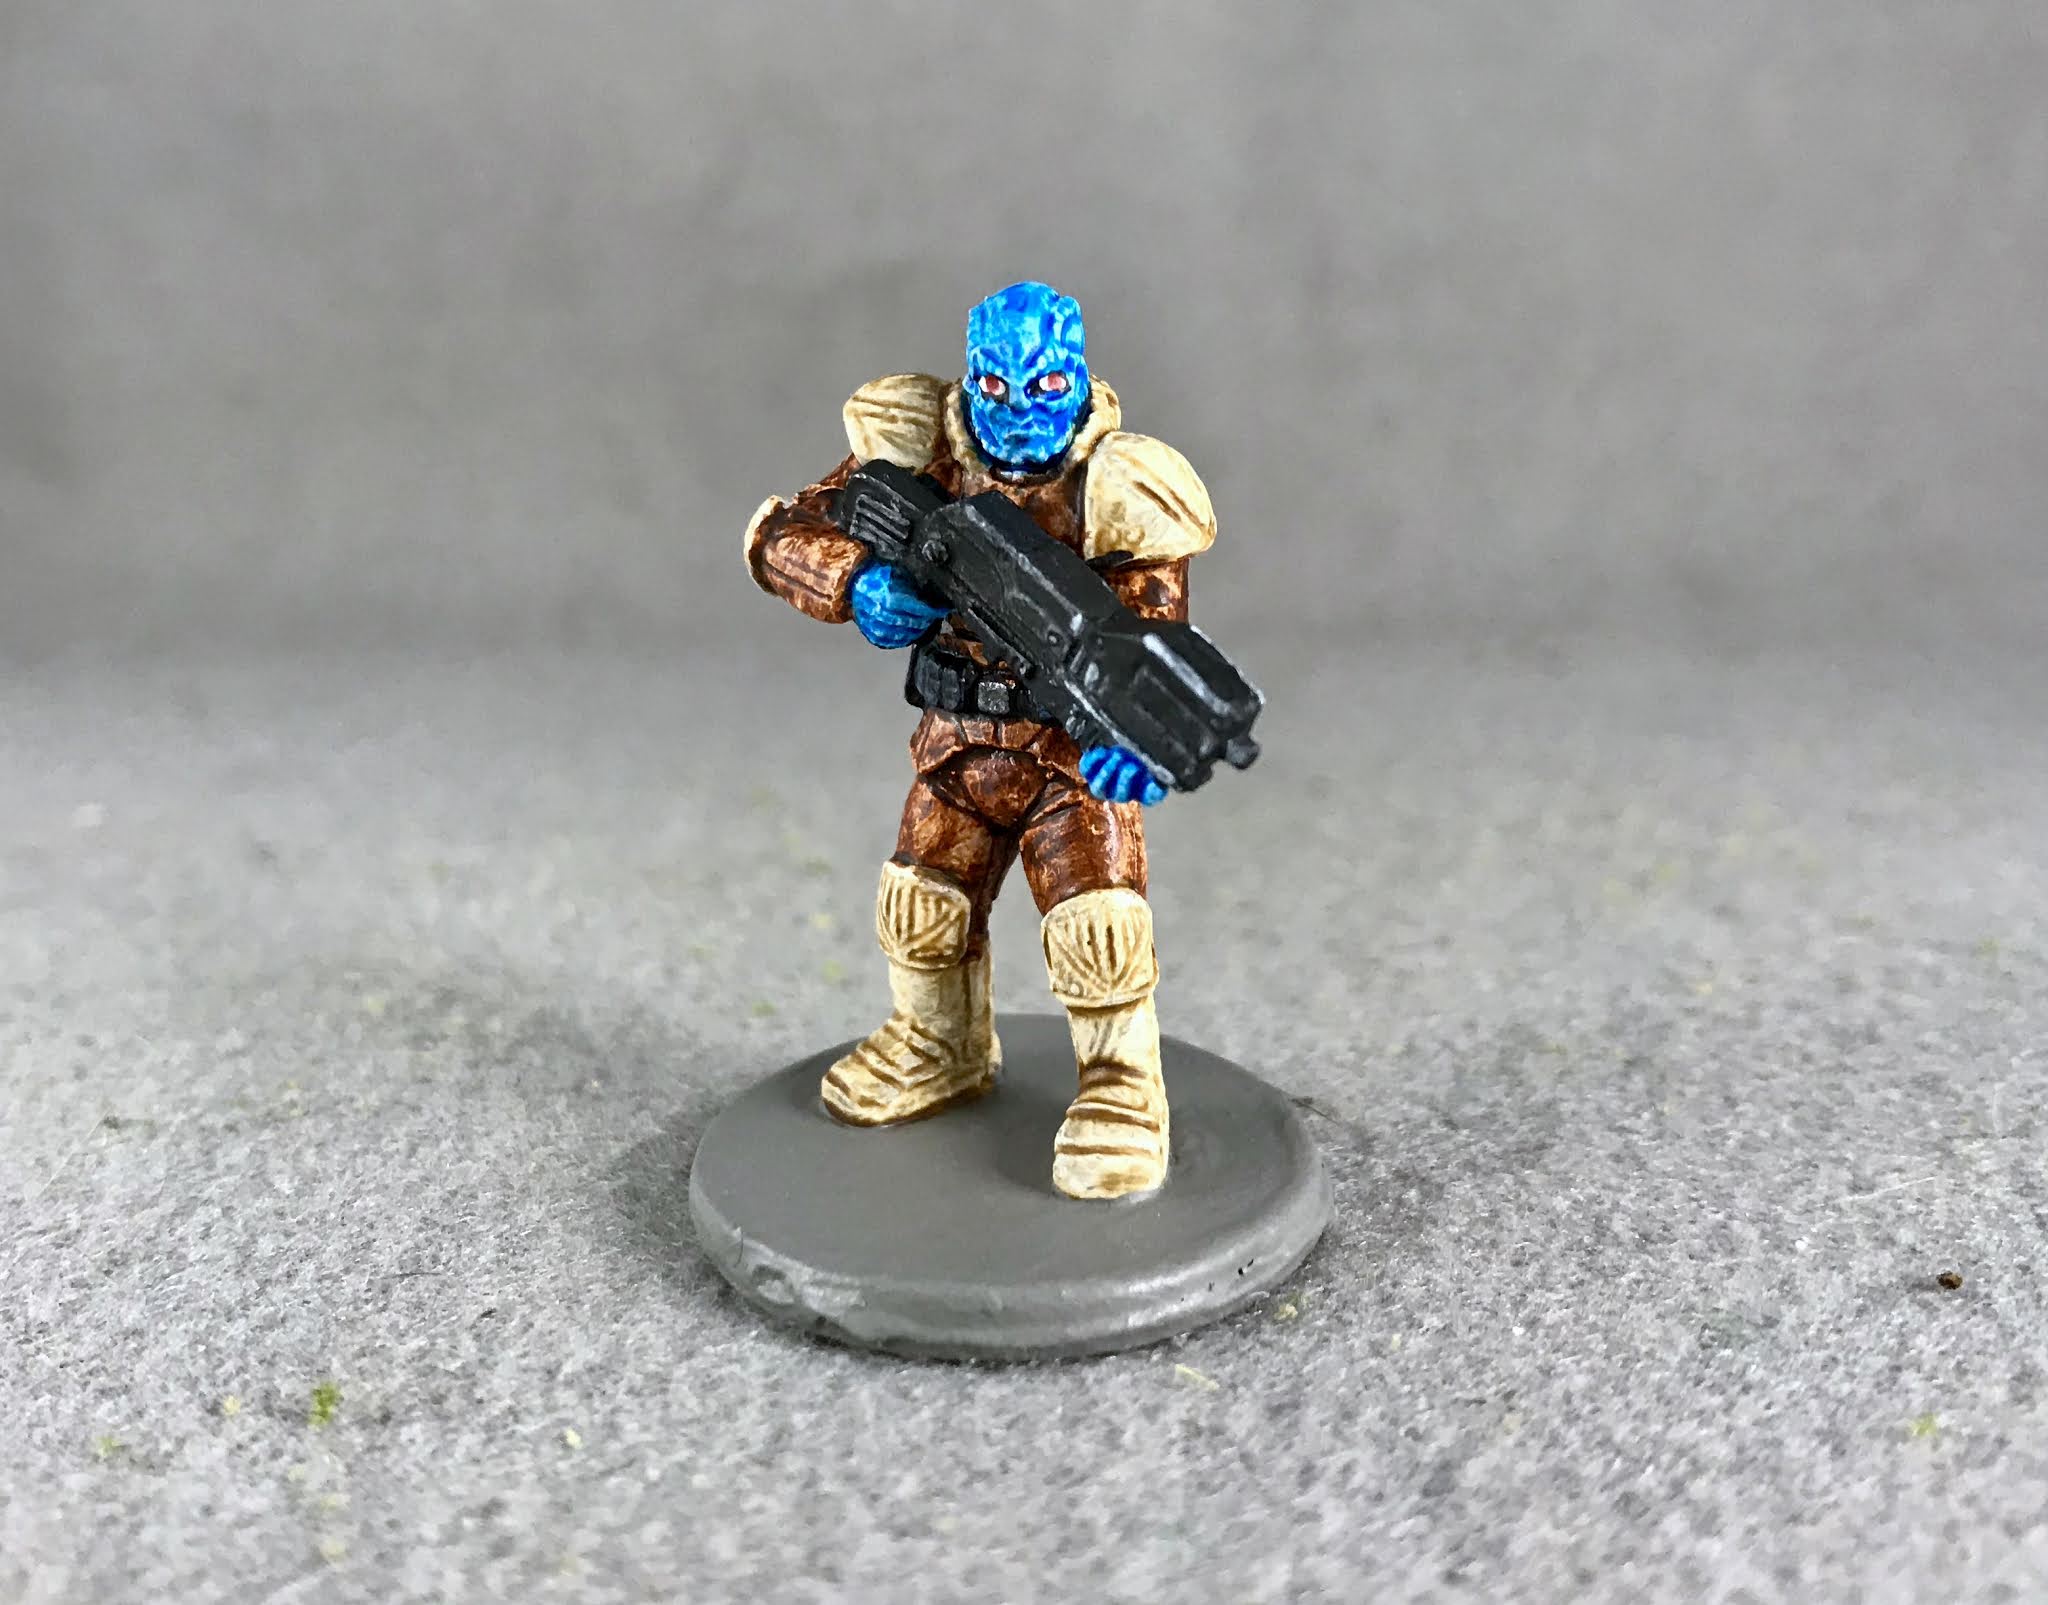
     This past week I painted the "Rach Soldier" from the Bones 4 Chronoscope Expansion.  I'm not very familiar with the particularities of the CAV factions, and just  plan to use this fellow as a random crewman in Stargrave, so did not attempt to follow any official color scheme that there may be for Rach soldiers.
     I prepped the figure in the usual way, soaking it in a dish of water with a couple drops of dish-soap added, then giving it a light scrub with a soft toothbrush, and then rinsing and drying it.  I then trimmed the figure's integral base a little, and glued the figure to a 1" brown-primed metal washer with some Aleene's Tacky glue.  I then placed the figure in my painting grip.        
     I began by painting the figure entirely with Ceramcoat "White", as I intended to use mainly Citadel Contrast paint on this guy.  When the "White" was dry, I painted most of his outfit with Citadel Contrast "Gor-grunta Fur".  I then painted his boots and collar, as well as his knee, elbow, and shoulder pads, with Citadel Contrast "Skeleton Horde". After that, I painted his head and hands with Citadel Contrast "Talassar Blue".
      Next, I painted the unit on his back with Americana Zinc, and the gun and belt with Americana "Black".  Then I painted his eyes and gave him red pupils using Reaper MSP "Holly Berry".   After that, I applied a coat of Citadel "Nuln Oil" wash to the unit on his back.        
     I meant to take a photo at this point, but forgot and continued painting without realizing it.  So my apologies for lack of step by step shots on this one.
     I then highlighted the unit on his back using Crafter's Acyrlic "Storm Cloud Grey", and then Americana "Grey Sky".  Next, I highlighted the belt with Ceramcoat "Denim Blue", and highlighted the gun with Crafter's Acrylic "Cool Blue".   There is a small circular area on one of the objects on his utility belt, and I painted that with Crafter's Acrylic "Wild Green", and then I painted his belt buckle with Folk Art Metallic "Gunmetal Grey".    Lastly, I painted the base with Americana "Neutral Grey".  
      I let the figure and base dry overnight and the next day I gave them both a coat of Americana "DuraClear Matte" varnish.   Another overnight dry, and I sprayed the figure with Testor's "Dullcote". 


     I'm happy with how this fellow turned out.  It's not great as a display piece, (I feel the Contrast paint comes out a bit too splotchy), but certainly good for the quick game table figure.


Monday, May 24, 2021

Small XAIRobot: Bones 4 Chronoscope Figure (Completed)

     This past week I began work on the small "XAIRobot"  from the Bones 4 Chronoscope Expansion.  Like many others, the recent release of Stargrave , the new Sci-Fi rules from the author of Frostgrave, has me on a bit of a science fiction bend.  So, I felt it was time to do a little work on my Chronoscope Expansion. 
    The late finish of last week's figure, and some weekend travel, once again leaves me with a work-in-progress figure for today.
       I prepped the figure in the usual way, soaking it in a dish of water with a couple drops of dish-soap added, then giving it a light scrub with a soft toothbrush, and then rinsing and drying it.  I then trimmed the figure's integral base a little, and glued the figure to a 7/8" metal washer with some Aleene's Tacky glue.  I then placed the figure in my painting grip.   
     I bean by painting the figure entirely with Ceramcoat "White".  When dry, I gave the figure a complete coat of Citadel Contrast "Apothecary White". 
     When the Contrast paint was dry, I drybrushed the figure with some Americana "Snow White".  I then painted some of the plates on the robot with Crafter's Acrylic "Pure Pumpkin".  After that I picked out some of the details with Reaper MSP "Holly Berry", and then painted the central "eye" sensor with Citadel Contrast "Talassar Blue".  
     ADDED THURSDAY

     I then highlighted the orange plates with some Americana "Tangerine", and after that painted the weapon in his hand with Ceramcoat "Black.   While I had the "Black" out, I also made sure all the exhaust ports on the backpack and ankles were filled in.  Next, I highlighted the gun with Ceramcoat "Denim Blue", and then highlighted the red triangles with Apple Barrel "Yellow".   After that, I painted the two lines on this right side of his head with Americana "Light Cinnamon" to provide some shadow, then went over them again with Folk Art Metallic "Pure Gold".  Lastly, I painted the buttons on its backpack with Nicole's "Neon Green", and then and then painted the base with Americana "Neutral Grey".  
      I let the figure dry overnight and the next day I gave it a coat of Americana "DuraClear Matte" varnish.   Another overnight dry, and I sprayed it with Testor's "Dullcote".  When the "Dullcote"  was dry, I wend back and painted the eye with  Americana "DuraClear Gloss" varnish.


     I'm happy with how this simple little robot turned out.  It's made me look forward to tackling some more Sci-Fi figures in the future.

Monday, May 17, 2021

Reeve Irremborg Planomap: Bones 4 Dreadmere Figure (Completed)

     I'm going to try something different this week.  Once again, over the past week my painting time was cut short, and I was not able to complete this week's figure.  But instead of posting nothing, and just putting it all off until next week, I thought I'd post as far as I've gotten today, and then add the rest when I complete it, which I hope will be Thursday.  Let's see how this works out.
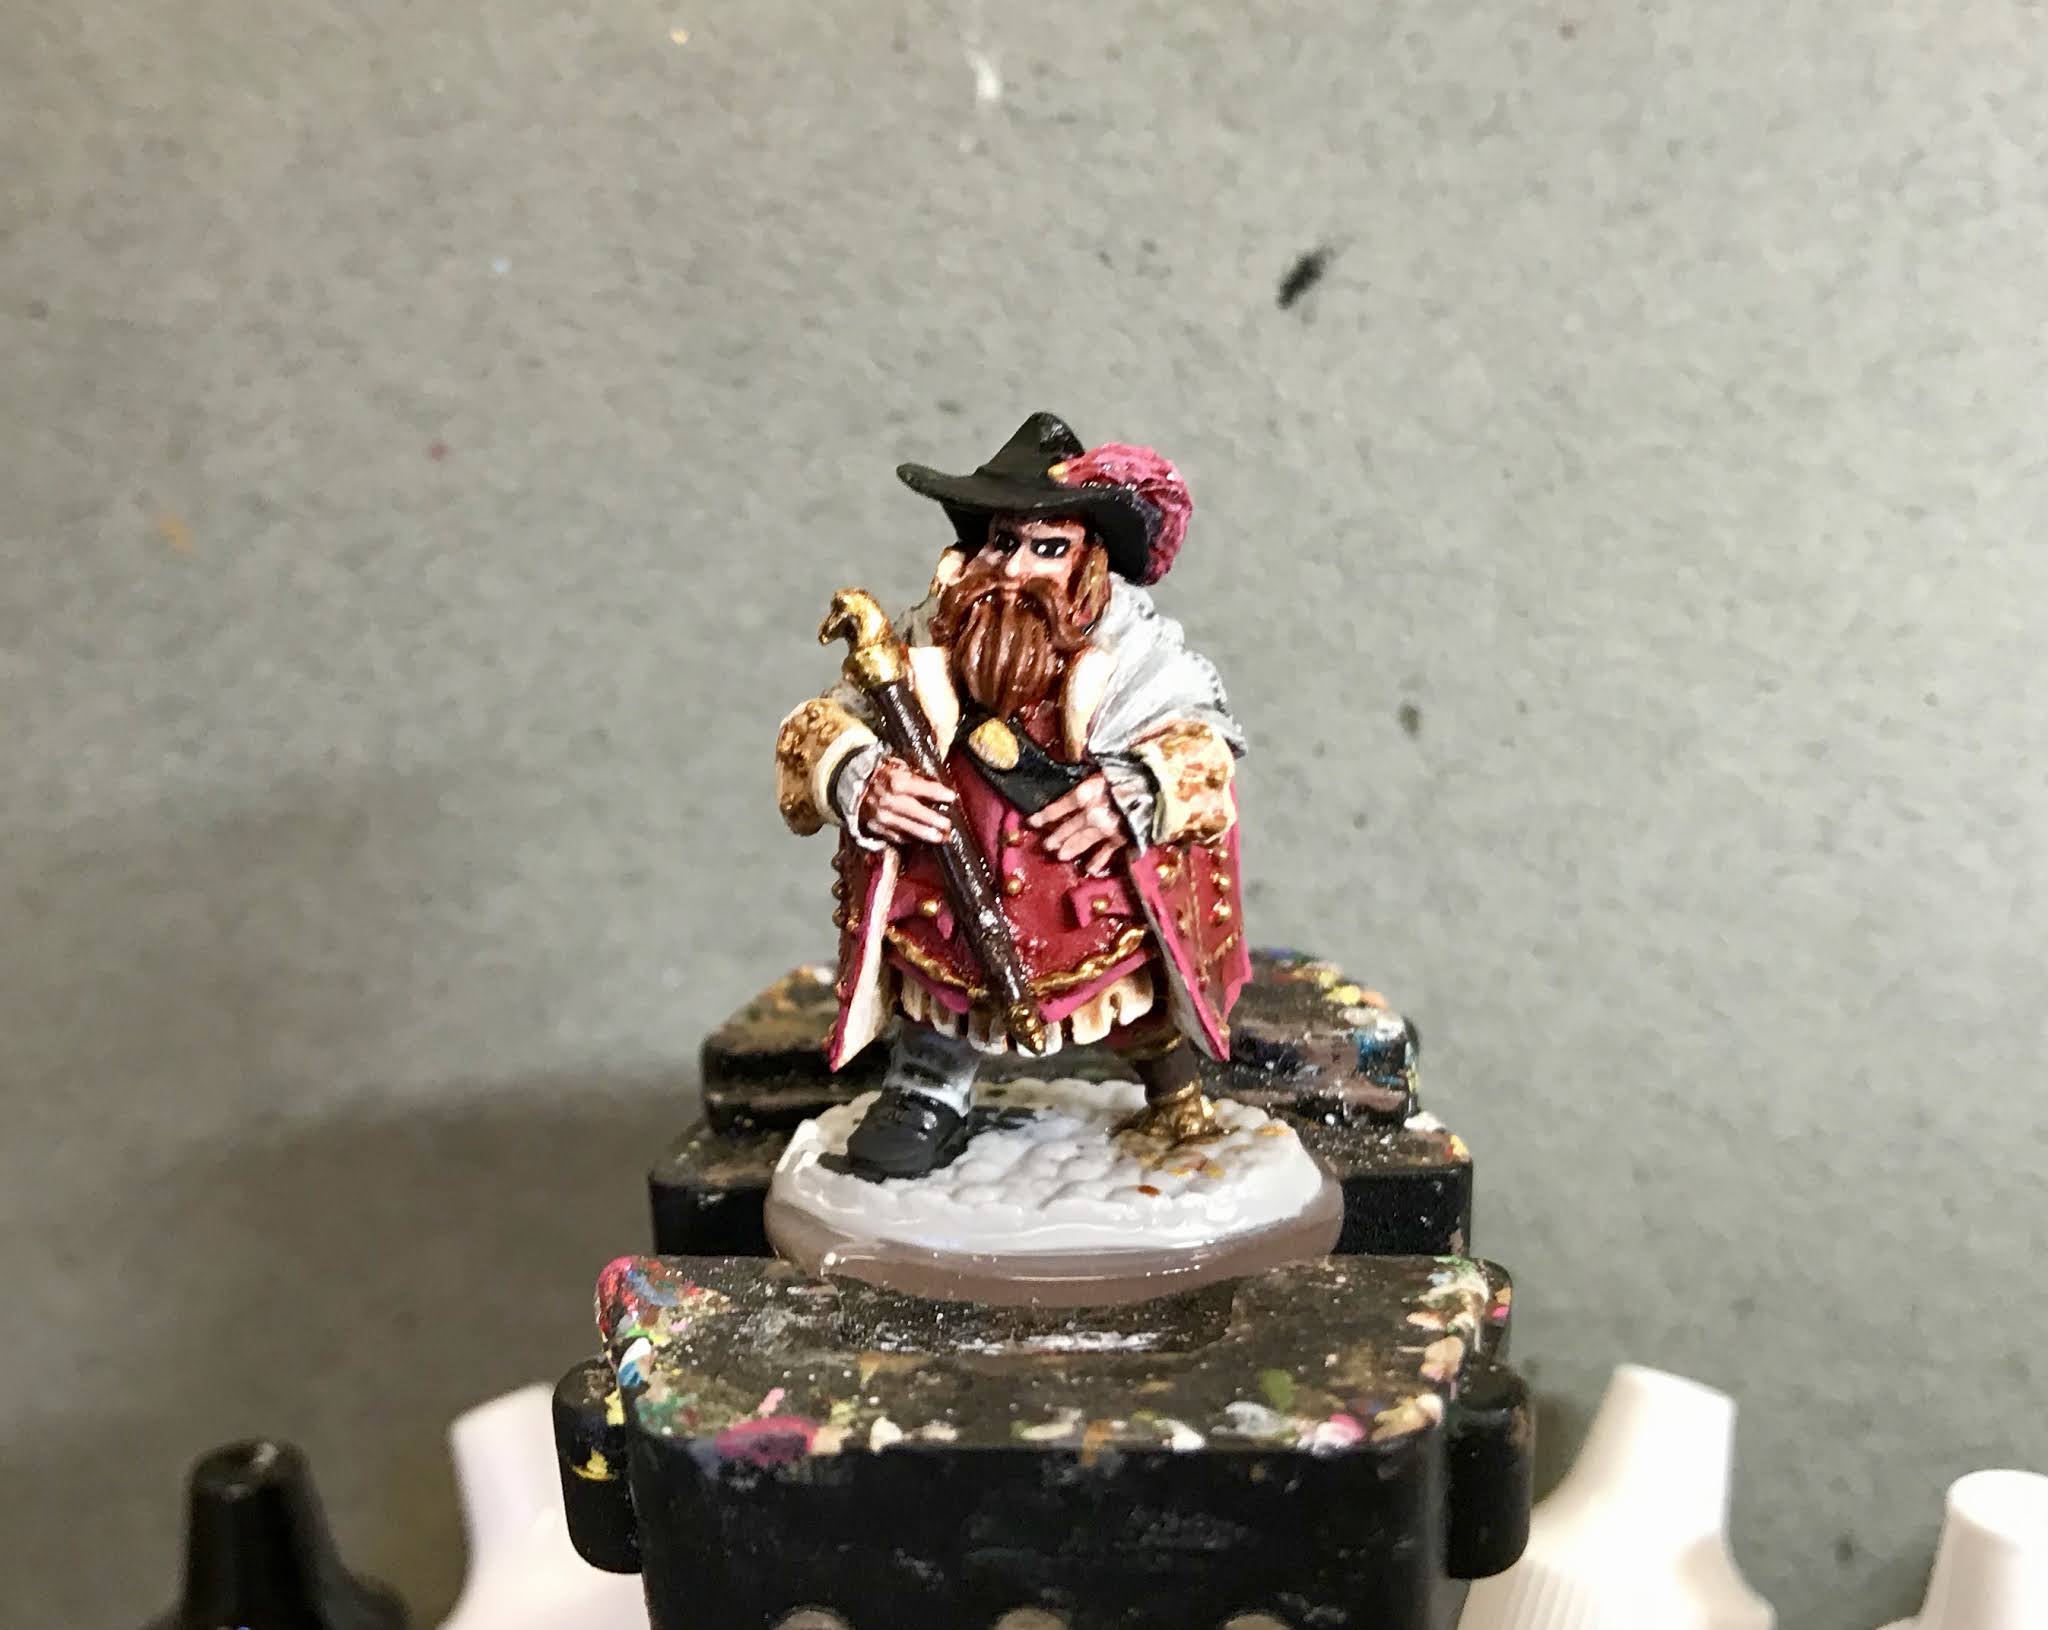
     So, this past week I painted "Reeve Irremborg Planomap"  from the Bones 4  Dreadmere Expansion. While it's a relatively simple figure, it has a lot of fiddly details in all the buttons and embroidery sculpted into his clothing, and that was one thing that slowed me down.
    I prepped the figure in the usual way, soaking it in a dish of water with a couple drops of dish-soap added, then giving it a light scrub with a soft toothbrush, and then rinsing and drying it.  I then trimmed the figure's integral base a little, and glued the figure to a 1" metal washer with some Aleene's Tacky glue.  I then placed the figure in my painting grip.   
     I began by painting his face and hands with Americana "Shading Flesh".  I then painted his coat, vest, and pants with Folk Art "Burgundy"; and his coat cuffs, collar, and the scalloping under the vest, with Americana "Antique White".  After that, I painted his cape, and shirt cuffs with Americana "Dove Gray".
     Next, I painted his hat, the strap across his chest, and his shoe with Ceramcoat "Black", and then painted his cane and wooden leg with Accent "Real Umber".   I then painted his hair and beard with Americana "Light Cinnamon", and the feather in his hat with the "Burgundy". 
     I then painted all the buttons, embroidered trim, and the fittings on his cane and wooden leg, with Accent "Mustard Seed".  I let this dry, and then painted over it with Folk Art Metallic "Pure Gold".  After everything had a while to dry,  I went back and gave everything, except the shirt cuffs and cape, a coat of Citadel "Reikland Fleshshade" wash.   When this was dry, I gave the shirt cuffs and cape a coat of Citadel "Nuln Oil" wash. 
ADDED THURSDAY:    
 When the washes were all dry, I painted his eyes, and highlighted his face with Reaper MSP "Rosy Skin", and then Reaper MSP "Rosy Highlight".  Next, I highlighted his coat, vest, and pants with a mix of the base "Burgundy" and some Americana "Burgundy Wine".  I then did some lighter highlights with the "Burgundy Wine" mixed with some Crafter's Acrylic "Tutti Frutti".  I then moved to highlighting the fringe under his vest, his coat cuffs,  and coat lining using the base "Antique White", and then some Americana "Bleached Sand".
     Next, I highlighted his cape and shirt cuffs with the base "Dove Gray", and then some Americana "White".  I then went back and added ermine spots with the "Black".  After that, I highlighted the hat, shoe, and strap with Ceramcoat "Denim Blue".  I then moved on to his cane and wooden leg, highlighting them with Folk Art "Teddy Bear Brown".  Finishing up, I highlighted his beard with Accent "Golden Oxide", and ll th gold bits with Ceramcoat "Wedding Gold".   Lastly, I painted the figure's base with Americana "Mississippi Mud".
      I let the figure dry overnight and the next day I gave it a coat of Americana "DuraClear Matte" varnish. I then used some white glue to glue some fine sand to the base.  When the sand was dry, I painted it with a coat of Americana "Charcoal Grey". When this was dry, I drybrushed the sand with the "Mississippi Mud", and then with some Apple Barrel "Rock Grey"; lastly I drybrushed it with a little Americana "Dove Grey".  Another overnight dry, and I sprayed the figure with Testor's Dullcote". 


     And here he is complete!  I'm generally happy with how he turned out.  As with so many of Reaper's figures, this little guy just has a ton of character! 

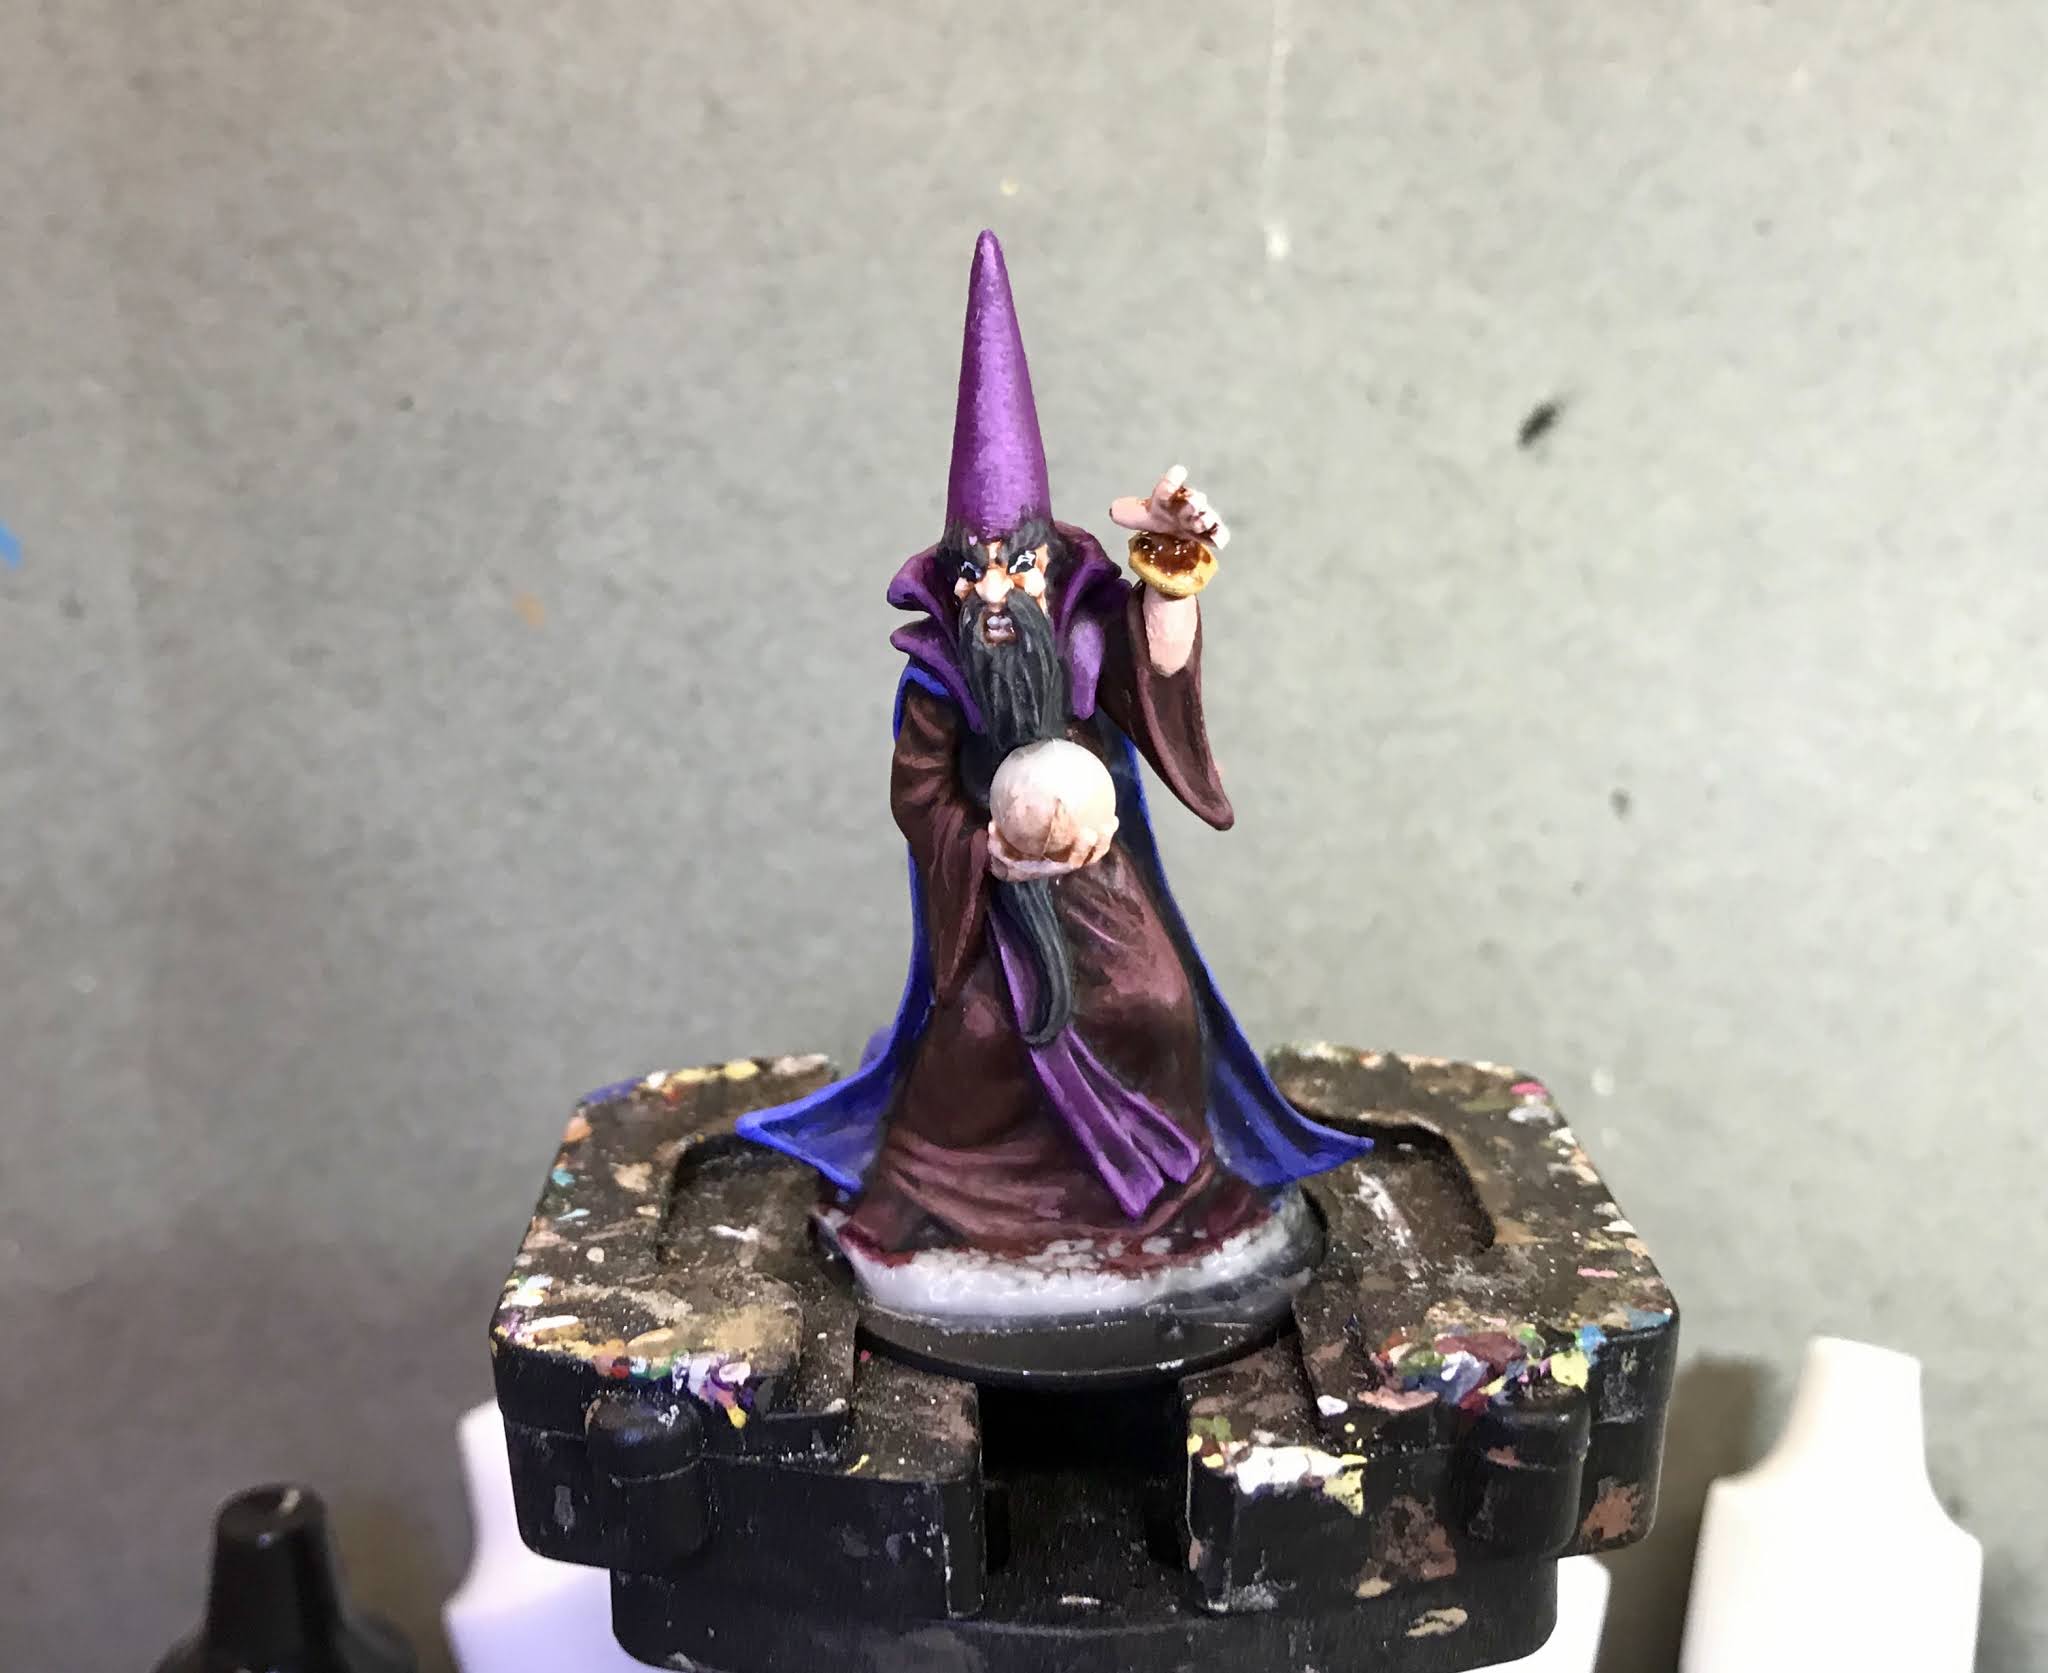
Here is a photo next to a wizard I recently featured here on the blog, to give a sense of the size of the Reeve Irremborg Planomap figure next to a human miniature.


Monday, May 10, 2021

Dreadmere Fishmonger: Bones 4 Dreadmere Figure

    Over the past two weeks I've work on the "Fishmonger" figure from the Bones 4 Dreadmere Expansion.  This figure gave me a lot of trouble and while I thought it was going to be quick and easy, it ended up taking me two weeks to complete. 
       There's a few problems with this figure that really slowed me down.  First, this is a figure that should not come pre-glued.  The cart, its handles, as well as the hands, arms, and front of the bent-over woman are all just too close and cramped, and it is really difficult to get in there to paint any of it.  Second, the cart is designed so there is a lot of areas that should be open that are sculpted solid; for example, the area between the woman and cart is solid plastic, and the area under the cart between the wheels is solid plastic.  Likewise, the cubby hole where the tentacles are is solid.  This means a lot of weird optical issues to try and hide.  And thirdly,  the sculpting of the cart is problematic.  The net areas are sculpted with the net cut as slits into the model, not as raised lines.  This means simply dry brushing, or carefully painting, the lines of the net is not an option.  You have to somehow paint the cuts, either before or after painting what one would assume is the dark shadowed interior of whatever is behind the nets.  Also, the relief of everything sculpted on the cart, the knives, wheels, etc. is very thin, so painting these thin or narrow pieces and staying in the lines is hard, and there was lots of having to go back and paint over mistakes.  
       I prepped the figure in the usual way, soaking it in a dish of water with a couple drops of dish-soap added, then giving it a light scrub with a soft toothbrush, and then rinsing and drying it.  I then trimmed the figure's integral base a little, and glued the figure to a 1" metal washer with Aleene's Tacky glue.  I then placed the figure in my painting grip.   
     I began by painting her face, arms and hands with Reaper MSP "Tanned Shadow".  I then painted her skirts with Reaper MSP "Fresh Blood", her blouse and apron with Folk Art "Dove Grey", and her wrap, hat, and hair with Ceramcoat "Charcoal".
     Next, I painted the area of netting with a thinned wash of Folk Art "Barn Wood".  When it was dry, I tried drybrushing it with the "Charcoal"  I wasn't entirely happy with this as the drybrushing covered over some of the slits cot to represent the net, obscuring the wash.  I then used the "Charcoal" to paint the solid area that were representing open spaces; the area between the cart and the lady, the area between the wheels, and the area at the bottom where the tentacles are emerging.  After that, I painted the cart and her bracelets with Americana "Antique Gold", the tentacles with Reaper MSP "Bronzed Shadow", and the knife holders and pouches with Americana "Asphaltum"
         Not being happy with the netting, I went back and hand-lined the worst covered portions back in using the "Barn Wood". I then painted the knife and cleaver handles with Accent "Real Umber", and the cleaver blade and wheel rims with Americana "Zinc".   When dry, I repainted the cleaver blade and wheel rims with Folk Art Metallics "Gunmetal Grey".  After that, I painted the fish with Ceramcoat "Metallic Silver", and while still wet, blended in some Folk Art Color Shift "Emerald Flash" on the head, fins, and tail.  I then painted the cart handrails and handles, as well as the woman's bracelets, with Folk Art Brushed Metal "Brushed Bronze".
     I let everything dry for a while, and then gave her face, arms, and skirts a coat of Citadel "Reikland Fleshshade" wash.  When that was dry, I gave her blouse, hat, shawl, apron, and the fish a coat of Citadel "Nuln Oil" wash. Another drying period, and I gave the cart a coat of Citadel "Agrax Earthshade" wash, being careful to avoid the net areas.  Then, when everything was dry, I  painted her eyes, and then highlighted her face, arms, and hands with the base Tanned Shadow, and Reaper MSP " Tanned Skin".
      Next, I highlighted the skirts with Reaper MSP "Holly Berry", and then mixed in some Crafter's Acrylic "Pure Pumpkin" for lighter highlights.  I then  highlighted the blouse and apron with Folk Art "Dove Gray", and some Americana "Snow White". After that, I highlighted the hat and shawl with Americana "Zinc" followed by Americana "Neutral Grey"; and then highlighted her hair with Folk Art "Cloudy Day".         
     I then highlighted her pouch and purse with Folk Art "Teddy Bear Brown", and after that I highlighted the cart with the base "Antique Gold", and some Americana "Primary Yellow".  Next, I painted the front signboard with Ceramcoat "White", and when dry, painted a fish on it with Americana "Forest Green" (So even the illiterate peasants will know what she's selling).  I also used the "Forest Green" to paint some simple decorations on the cart's sides.  After that, I highlighted the tentacles with Americana "Terra Cotta", and then a little Apple Barrel "Flesh".
    Next, I highlighted the knife holders with Americana "Sable Brown", and then handles of the knves and cleaver with the "Teddy Bear Brown".  I then highlighted the fish with the base "Emerald Flash", and Metallic Silver.  After that, I highlighted the handrails, handles, and bracelets with DecoArt Dazzling Metallics "Bright Brass".   Lastly, I painted the figure's base with Americana "Mississippi Mud".
      I let the figure dry overnight and the next day I gave it a coat of Americana "DuraClear Matte" varnish. I then used some white glue to glue some fine sand to the base.  When the sand was dry, I painted it with a coat of Americana "Charcoal Grey". When this was dry, I drybrushed the sand with the "Mississippi Mud", and then with some Apple Barrel "Rock Grey"; lastly I drybrushed it with a little Americana "Dove Grey".  Another overnight dry, and I sprayed the figure with Testor's Dullcote". 


     Well, even though this figure was a bugger to paint, I'm quite pleased with it in the end.  I feel she came out very well, the cart came out good but not quite as good as she did, and the nets are still a mess.  But I did with them what I could, and am not a painter who beats my head on a project indefinitely.  

Monday, May 3, 2021

Figure Delayed This Week

      Just a quick post to let you all know that I didn't get a figure finished in time to post this week.  The weekend turned out to be really busy, and I didn't get my usual painting time in.  Also, the figure I'm working on, the Fish Seller, from the Dreadmere Expansion, turned out to be much more difficult to work on than anticipated.
     There's a couple problems with this figure that have really been slowing me down.  First, this is a figure that should not come pre-glued.  The cart, hands, arms, and front of the bent-over woman are just all too close and cramped, and it is really difficult to get in there to paint any of it.  Second, the cart is designed so there is a lot of areas that should be open that are sculpted solid; for example, the area between the woman and cart is solid plastic, and the area under the cart between the wheels is solid plastic.  Likewise, the cubby hole where the tentacles are solid.  This means a lot of weird optical issues to try and hide.  And thirdly,  the sculpting of the cart is problematic.  The net areas are sculpted with the net cut into the model, not raised.  This means simply dry brushing, or carefully painting, the lines of the net is not an option.  You have to somehow paint the cuts, either before or after painting the what one would assume is the dark shadowed interior of whatever is behind the nets.  Also, the relief of everything sculpted on the cart, the knives, wheels, etc. is very thin, so painting these thin or narrow pieces and staying in the lines is hard, and there is lots of having to go back and paint over mistakes.  
    At this point it  looks like I will be posting it next Monday.  So please stay tuned!


Monday, April 26, 2021

Giant Frogs: Bones 4 Dreadmere Figures

    This past week I painted two of the "Giant Frog" pairs that came in the Bones 4 Dreadmere Expansion.  The Expansion comes with one of each pose, but I picked up a second pair of these so had 4 to paint. 
     The first thing I did was Google "colorful frog" to see if there were any unusual frogs found in nature I could copy.  I didn't want to necessarily go the Poison Dart Frog route, even though they tend to be very colorful, as I felt these models looked to beefy and Bullfrog like, rather than the more slender nature of the Poison Dart variety. 
     What I found that I liked were blue frogs.  These are normal green frogs, that are missing some yellow pigmentation due to a mutation, causing their skin to appear blue.  I thought this would be a fun and easy to paint.  
        I prepped the figures in the usual way, soaking them in a dish of water with a couple drops of dish-soap added, then giving them a light scrub with a soft toothbrush, and then rinsing and drying them.  I then glued them all to 1.25" fender washers using Aleene's Tack y Glue.  When the glue was dry, I glued each like set of two to a tongue depressor with a couple drops of Elmers glue.

     I thought I'd do these guys with Citadel Contrast paint to help keep things simple, and it seemed like an easy way to blend the colors from the blue to green to the white under belly.   So, I began by giving all of them a complete coat of Ceramcoat "White".  When that was dry, I gave their lower halves a coat of Citadel Contrast "Apothecary White".  When dry, I drybrushed the lower halves with Americana "Snow White". 

     Next, I painted their mouths and tongues with thinned Citadel Contrast "Blood Angels Red".  When it was dry, I drybrushed it with Apple Barrel "Apple Lt. Pink".  I then cleaned up their faces and chins where any of the Contrast paint, or pink drybrush had strayed using the "White".   I then painted their legs with Citadel Contrast "Creed Camo", and while it was still wet, I painted their backs with Citadel Contrast Talassar Blue".

          I drybrushed their backs a little with a mix of some Crafter's Acrylic "Tropical Blue" and the "Snow White".  I then painted their eyes with a mix of Americana "Antique Gold" and Folk Art Color Shift "Green Flash".  When dry, I painted an outer pupil with Apple Barrel "Lemon Chiffon", and the inner pupil with Ceramcoat "Black.  Lastly, I painted the bases with the "Mississippi Mud".
     I let the frogs dry overnight and the next day I gave them a coat of Americana "DuraClear Matte" varnish.    Then, when  the varnish was dry, I  gave them a coat of Americana "DuraClear Gloss" varnish.   When dry, I went back and gave their eyes and tongues a second coat of the Gloss.   Finally, I used some white glue to flock the bases.  


    For just some fast and simple monsters, I think they look okay; and using the Contrast paint helped get them done quickly and with a reasonable appearance of shading .  


Monday, April 19, 2021

Oman Ruul, Wizard: Bones 4 Figure

      This past week I painted "Oman Ruul, Wizard" from the Bones 4 Greybeards set.  
      I prepped the figure in the usual way, soaking it in a dish of water with a couple drops of dish-soap added, then giving it a light scrub with a soft toothbrush, and then rinsing and drying it.  I then trimmed the figure's integral base a little, and glued the figure to a 1" plastic base with some superglue.  I then placed the figure in my painting grip.   
     I began by painting his face and hands with Reaper MSP "Rosy Skin".  I then painted his robes with Pathfinder MSP "Urgathea Red", and his cape with Reaper MSP HD "Indigo Blue". 
     Next, I painted his collar, hat, and sash with Anita's "Violet", and his shoes with Americana "Cranberry Wine".  After that, I painted his beard and hair with Americana "Zinc", and his bracelet and the skull emblem on the back of his collar with Americana "Antique Gold".
         I let everything dry for a while, and then I gave his face and arms a coat of Citadel "Reikland Fleshshade" wash.  When this was dry, I gave his entire outfit and beard a coat of Citadel "Nuln Oil" wash.  When these washes were dry, I panted his eyes, and then did his teeth with Americana "Bleached Sand"  After that, I highlighted his skin with the base "Rosy skin", and some Reaper MSP "Rosy Highlight".
        I then highlighted his robes with the base "Urgathea Red", and then mixed in a little Reaper MSP 'Breast Cancer Awareness Pink" for further highlighting.  After that, I highlighted his cape with the base "Rich Indigo", and then mixed in a little Reaper MSP "Frosty Blue" for further highlighting.  I followed that by highlighting his collar, hat, and sash with the base "Violet", and then mixed in a little Apple Barrel "Apple Lavender" for further highlights.
     Next, I highlighted his shoes with the base "Cranberry Wine" with a little of the "Breast Cancer Awareness Pink" mixed in.  I then highlighted his beard and hair with the base Z'inc", and then mixed in a little Crafters Acrylic "Storm Cloud Grey".  After that I painted his bracelet and the skull on his collar with Folk Art Metallics "Pure Gold", and highlighted it with some Ceramcoat "Wedding Gold".  
     I then worked on the orb, painting it with Citadel Contrast "Templar Black".  When that was dry, I repainted it with Folk Art "Color Shift" "Black Flash".  While it was still wt, I added in thin swirls of Deco Art Metallic "Festive Red".  Lastly, I painted the figure's base with the "Mississippi Mud".
      I let the figure dry overnight and the next day I gave it a coat of Americana "DuraClear Matte" varnish. I then used some white glue to glue some fine sand to the base.  When the sand was dry, I painted it with a coat of Americana "Charcoal Grey". When this was dry, I drybrushed the sand with the "Mississippi Mud", and then with some Apple Barrel "Rock Grey"; lastly I drybrushed it with a little Americana "Dove Grey".  Another overnight dry, and I sprayed the figure with Testor's Dullcote".   When the "Dullcote" was dry, I went back and repainted the orb with a little Americana "DuraClear Gloss" varnish.   


     I'm really happy with how this guy turned out.  I had originally planned to do the orb as a glowing light blue color, but I chickened out in the end not wanting to risk the paint job I had done.  So, I went with more of a loose LOTR Palantir look.