Monday, February 8, 2021

Painting Mudcroak Squog Mounted on Giant Rhinocerous Beetle Conversion Bones Figure

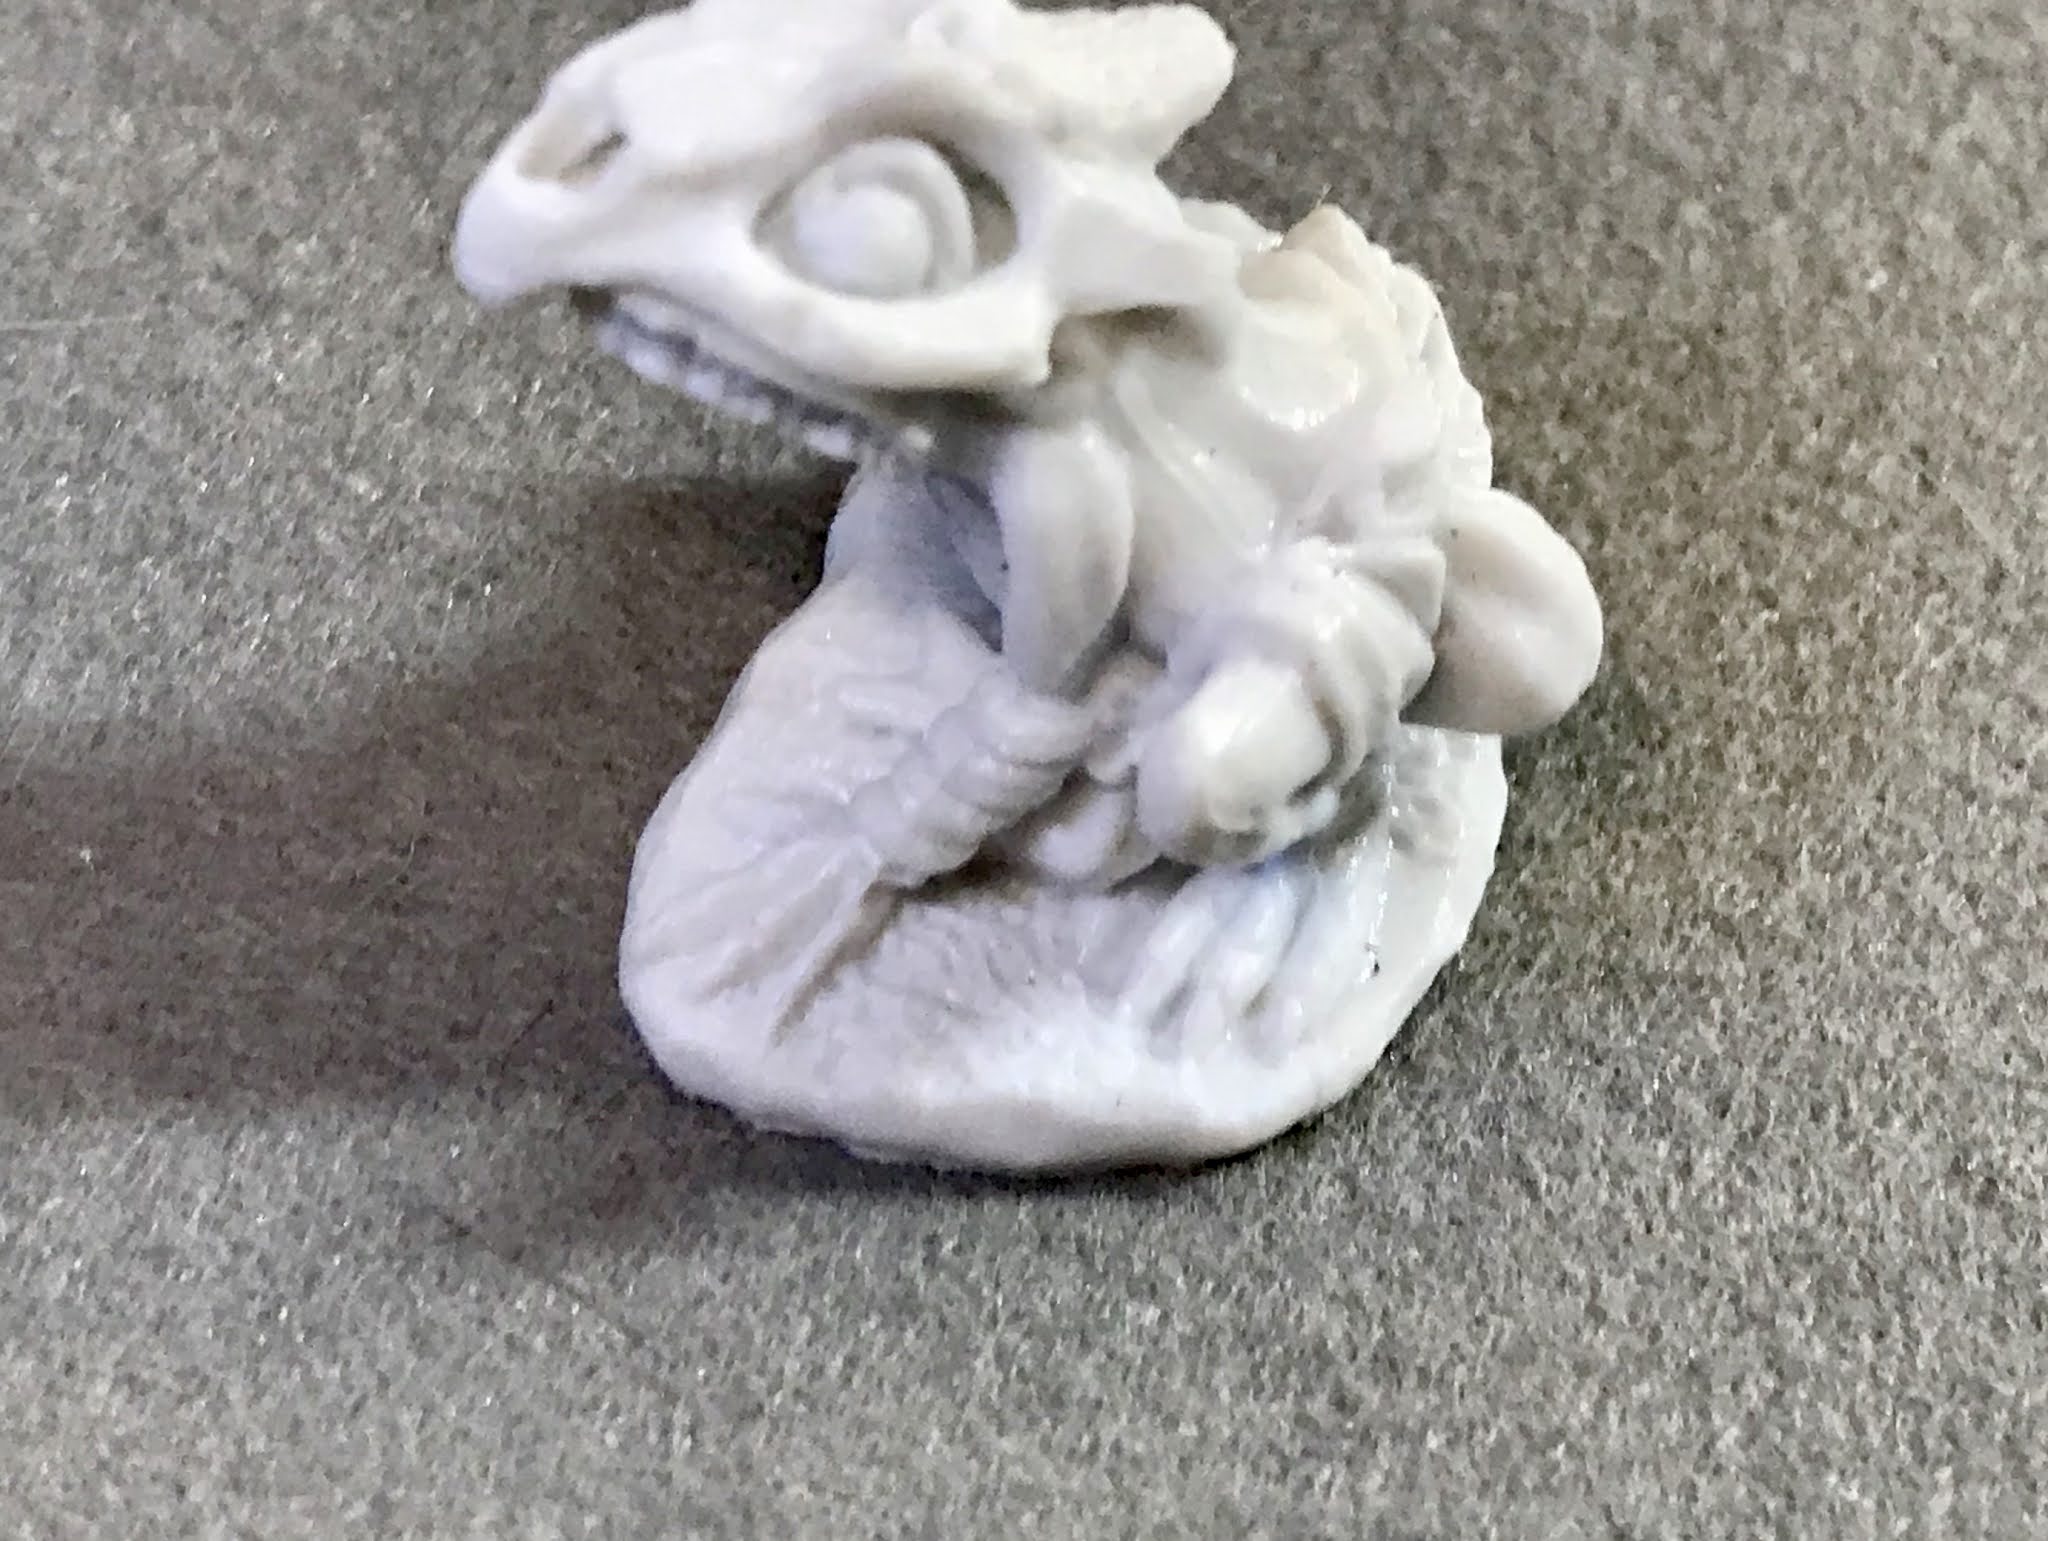
      Last week I posted about the conversion figure I made using the "Giant Rhinoceros Beetle" from Bones 4 Fan Favorites Expansion, and a "Mudcroak, Squog" figure.  This past week, I set about painting the figure.   As I mentioned in that article, I planned to use this figure as a Hero or Leader with my existing Frog Army, made up mostly of Eureka Miniatures' range of Frog Warriors.  Most of the units in this army are painted like Dyeing Poison Dart Frogs, and I want to paint this figure that way too.
An actual Dyeing Poison Dart Frog

A couple examples of my original warrior frog figures, and the paint job I would be attempting to replicate.

    I had glued the figure to a 2" fender washer when I was making it; and now I glued that washer, using a couple drops of Elmer's glue, to the top of a large pill bottle. 
         Given the way the beetle sat so close to the sculpted terrain of the base, I thought it might be best to paint the base first.  So, I gave it a base coat of Americana "Charcoal Grey"; and when that was dry, I gave it a cot of Citadel "Agrax Earthshade" wash.  When the wash was dry, I drybrushed the base with, first, Ceramcoat "Territorial Beige", and then with  Americana "Fawn".
     Next, I worked on the beetle.  I gave it a base coat of Accent "Real Umber", and when dry, I gave it a coat of Citadel "Nuln Oil" wash.  When the wash was dry, I drybrushed the top of the body and legs with some Folk Art "Tomato Red".  After that, I drybrushed the underside with Americana "Neutral Grey".  I finished the beetle by painting its eyes with a little Reaper MSP "Holly Berry". 
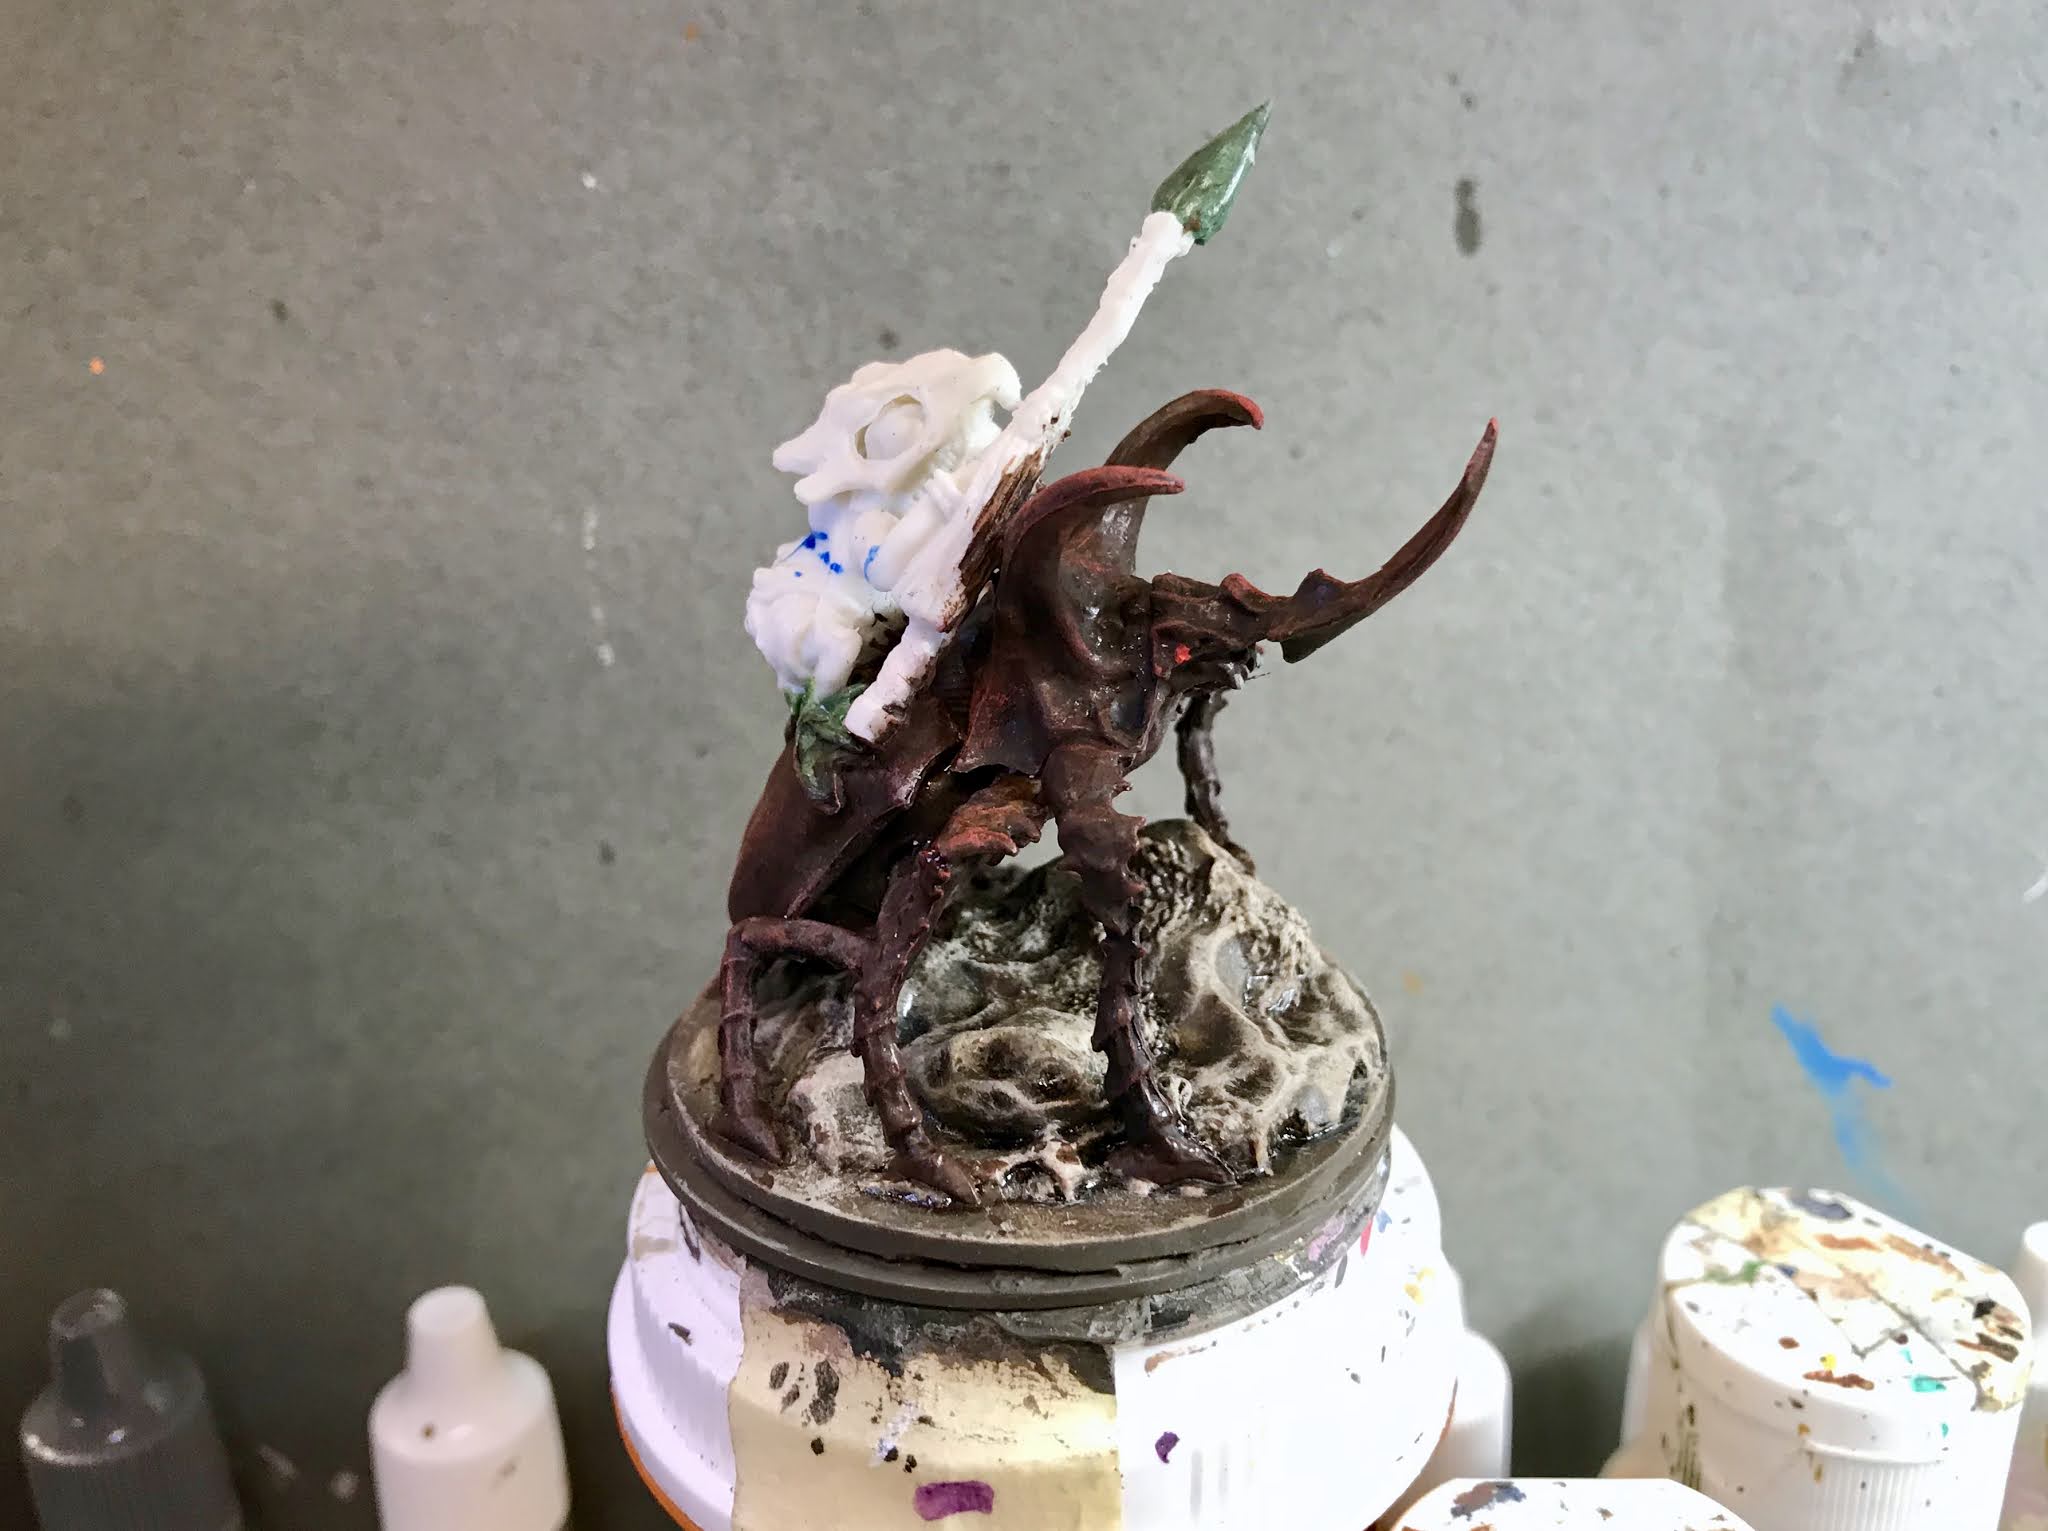
     I then began work on the frog.  I first painted frog's underside, arms, and legs with Americana "True Blue".  When dry, I gave it a coat of slightly thinned Iron Wind Metals "Dark Blue" Ink.   When the ink wash was dry, I painted the back of the frog with Ceramcoat "Black.
     Next, I highlighted the blue of the frog with a mix of the base "True Blue", and some Crafter's Acrylic "Tropical Blue".  Then I highlighted the black back with some Ceramcoat "Charcoal". The next step was to paint on the banding pattern using Crafter's Acrylic "Daffodil Yellow".    I realized at that point my job would be a lot easier without the skull helmet in place; and though I had tried to do things the lazy way, I decided the hemet needed to come off.  So with a careful pull and twist I was able to separate it from the head.   I fixed the blue and black arts of the head, and the yellow banding that goes up on to the head.  I then highlighted all the banding with Apple Barrel "Lemon Chiffon".  My next step was to do the teeth. I painted them with Ceramcoat "White", and when dry, I gave them a coat of the "Nuln Oil".  When the "Nuln Oil" was dry, I highlighted the teeth with Americana "Snow White:  After that, I painted the eyes using reaper MSP "Bronzed Skin", gave them pupils with the "Black", and then highlight dots with some  "Snow White".  
     Meanwhile, I also  painted the helmet completely with the "White", and when it was dry, I gave it a coat of Citadel Contrast "Skeleton Horde".  When that was dry, I drybrushed it with Americana "Bleached Sand", and then a little of the "White"
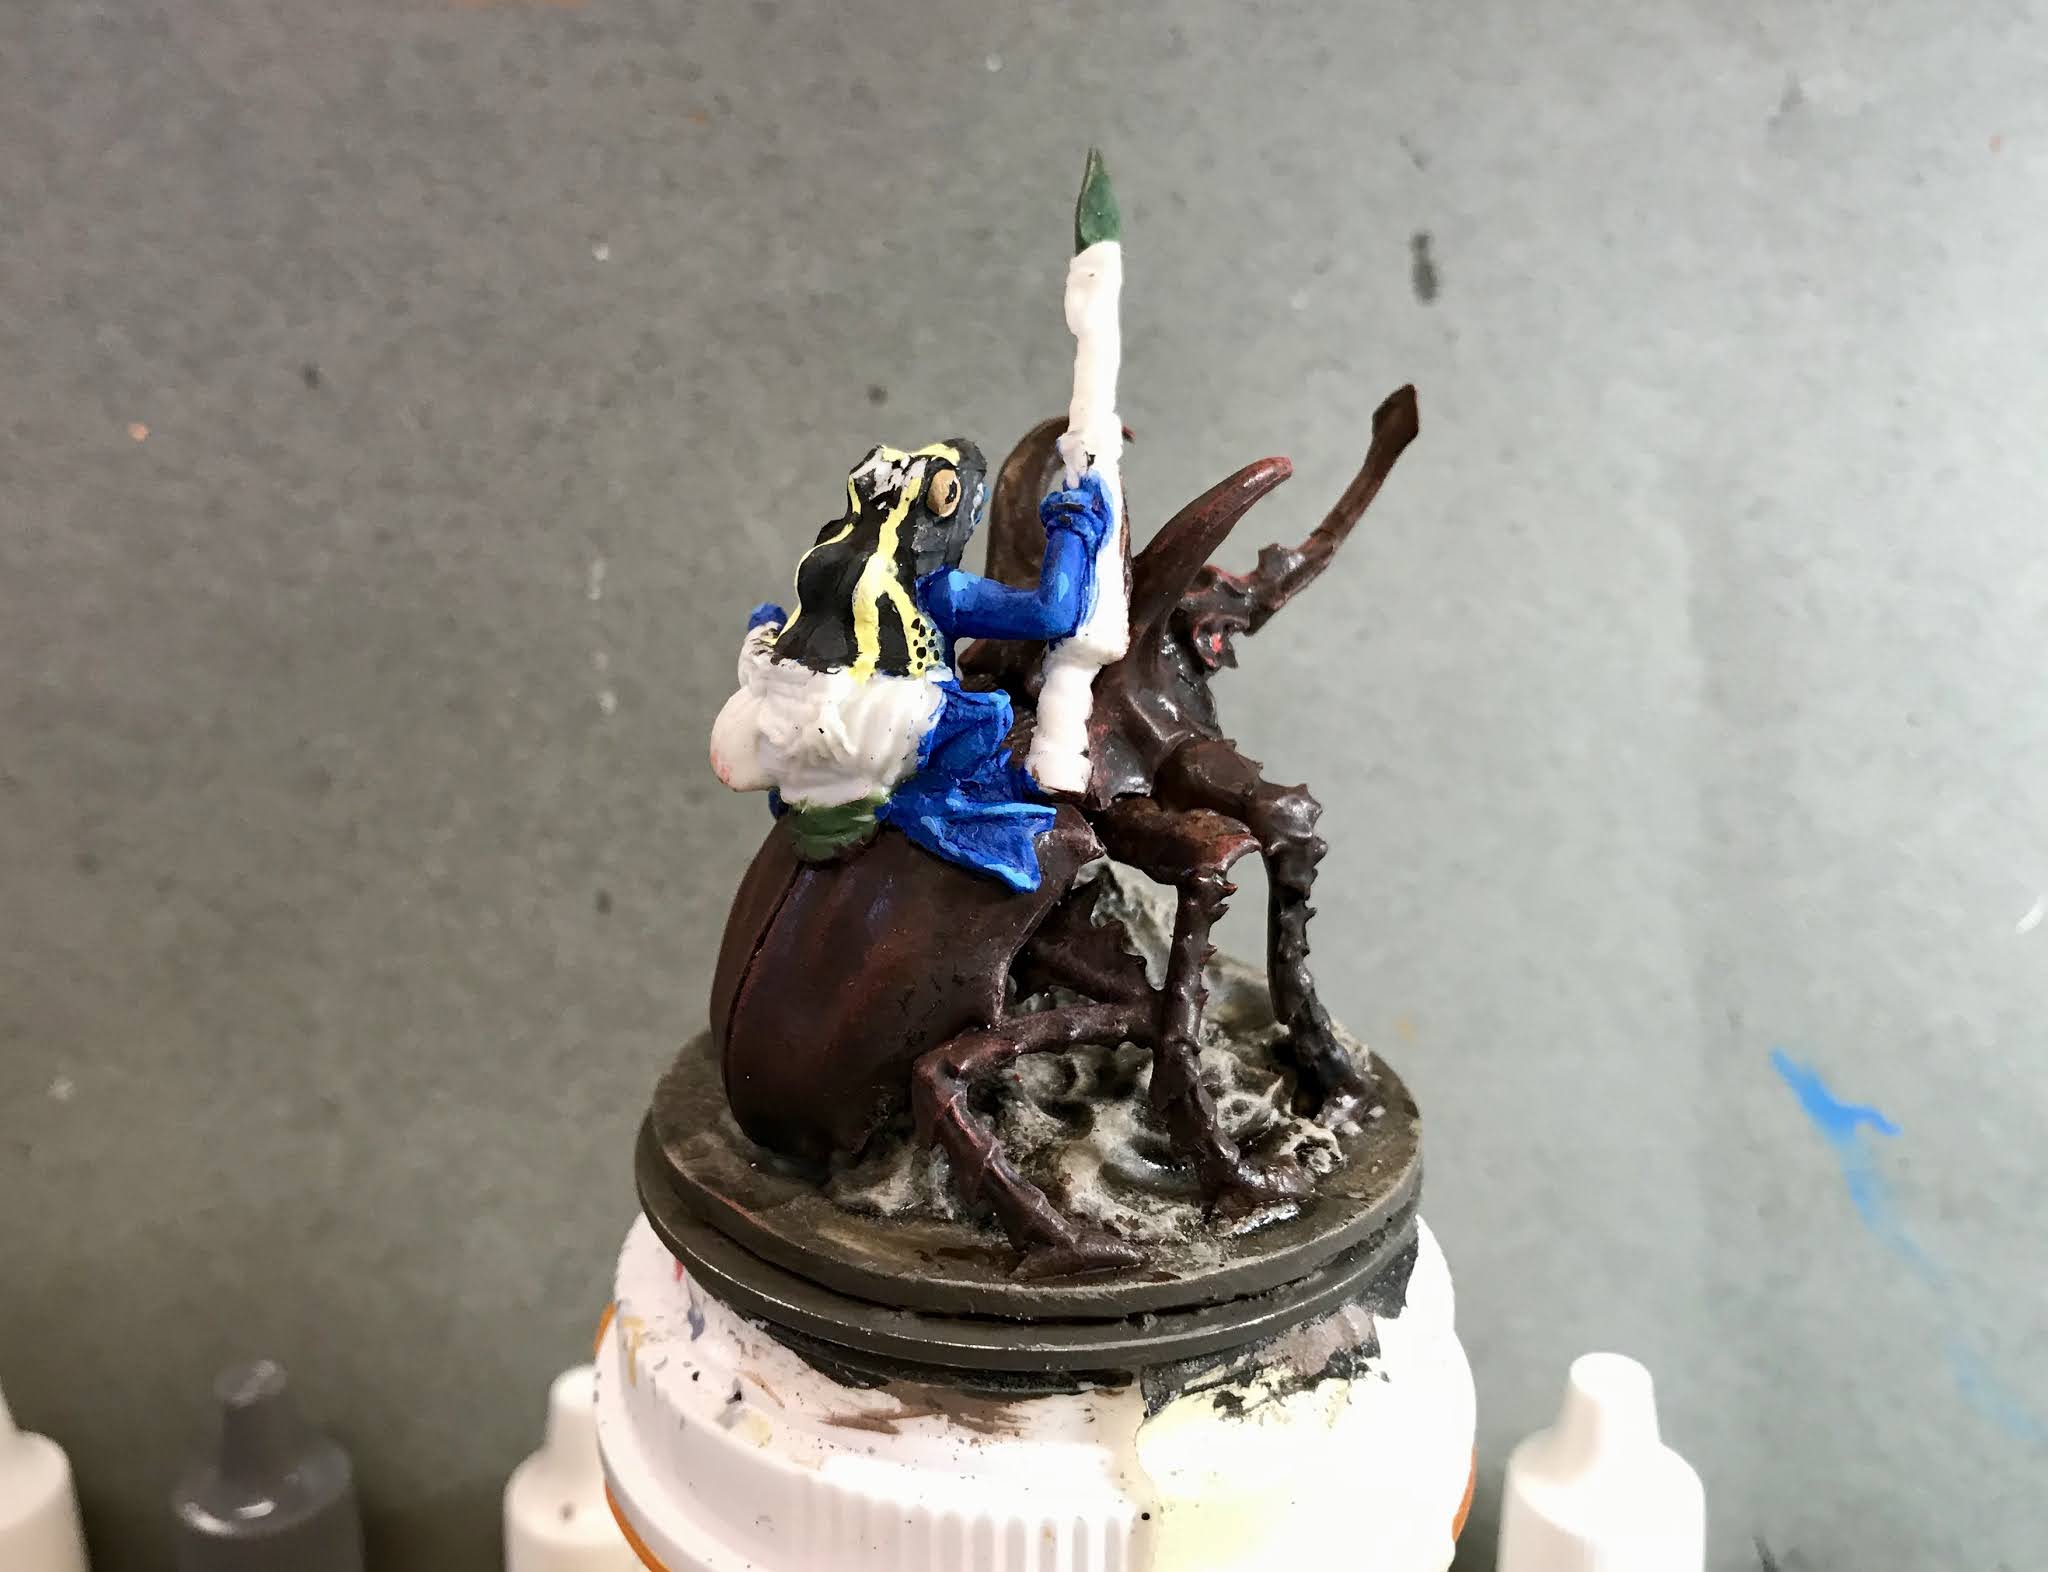
          Satisfied with the head, I scraped a little of the paint off the head as well as the underside of the helmet, and use the Gorilla Super Glue Gel to Glue the finished helmet in place.  I then painted his kilt-like garment with Pathfinder MSP "Urgathoa Red", and his spear shaft with Reaper MSP "Shield Brown".  Next, I painted the pouch hanging on the back of his kilt with Reaper MSP "Ginger Cookie", the one hanging at his side with Reaper MSP "Bronzed Skin", and the bit of plant hanging from his belt with Reaper MSP Bones "Dungeon Slime".   After that, I painted the long tassel hanging from the spear shaft with Reaper MSP HD "Rusty Red": and the wrist wrap on his left forearm, as well as the bracelets on his right arm, the metal fitting on his helmet, and the badges on his spear shaft, with Reaper MSP HD "Golden Brown". 
     I then painted the base of the spear shaft as well as the spear point with Americana "Zinc", and the frog's rope belt with Americana "Antique White".  I also decided that the base coat on the plant hanging from his belt was too light, soI repainted it with Americana  "Festive Green".  I let everything dry for a while, and then I gave the spear, everything hanging from his belt (belt included), and his wraps and bracelets, a coat of the "Agrax Earthshade" wash. 
     When the wash was dry,  I first highlighted his kilt-like garment with, first, Reaper MSP "Fresh Blood", and then a little Reaper MSP "Holly Berry". I then highlighted the plant sprig with the Dungeon Slime",  the pouch on the back with Americana "Khaki Tan", and the pouch on the side with Folk Art "Butter Pecan".   I then highlighted the rope belt with Reaper MSP "Graveyard Bone".  After that, I highlighted the wrist wrap on his left forearm with a little Reaper MSP "Hallowed Orange"

          Next, I highlighted the spear shaft with the "Territorial Beige", and then I turned to the tassel on the spear shaft, which I highlighted with a drybrush of Crafter's Acrylic "Orange Spice", and then a little Americana "Tangerine".  After that, I worked on the metallics, painting the star on the helmet, the bracelets, and the badges on the spear shaft with Folk Art Brushed Metal "Brushed Bronze"; and the spearpoint, as well as the end of the spear, with Folk Art Metallic "Gunmetal Gray".  When these were dry, I went back and highlighted the "Brushed Bronze" with Folk Art Metallic "Pure Gold", and highlighted the "Gunmetal Gray" with Ceramcoat "Metallic Silver".  
     I let the figure dry overnight and the next day I gave it a coat of Americana "DuraClear Matte" varnish.    Then, when  the varnish was dry, I used some white glue to flock the base.  Another overnight dry, and I sprayed it with Testor's "Dullcote". When the "Dullcote" was dry, I went back and repainted the eyes and and teeth with a little Americana "DuraClear Gloss" varnish.


Shown with one of the original Eureka Frogs I painted 15 or so years ago.

          I'm really happy with how this converted figure turned out!   In retrospect I wish a little that I had done a bit more with the beetle; but since the frog is so busy, maybe making the beetle plainer was a good choice.

Monday, February 1, 2021

Mudcroak Squog Mounted on Giant Rhinocerous Beetle Conversion Bones Figure

     Back when the Bones 4 Kickstarter was running, when the Giant Rhinoceros Beetle was revealed in the Fan Favorites set, someone posted this photo of a Frog riding a Beetle to the Reaper Forum's "Bones 4 Kickstarter" Thread.   I knew immediately then it was a conversion I would eventually want to try.   I have an extensive Frog Army, and I wanted such a figure to be a Leader or Hero for my forces.  Well, I finally decided last December was the time, as I decided I wanted to make a pair of these; one to give a friend who also has a Frog Army, and one for myself.   I completed the gift one last year, and sent that off for Christmas, and the recipient was very pleased with it.  It was now time to work on mine.

   I had the pieces I needed at hand; the Bones Black "Giant Rhinoceros Beetle" from the Kickstarter, and my rider - for which I  had decided to use the Bones "Mudcroak" Squog figure.
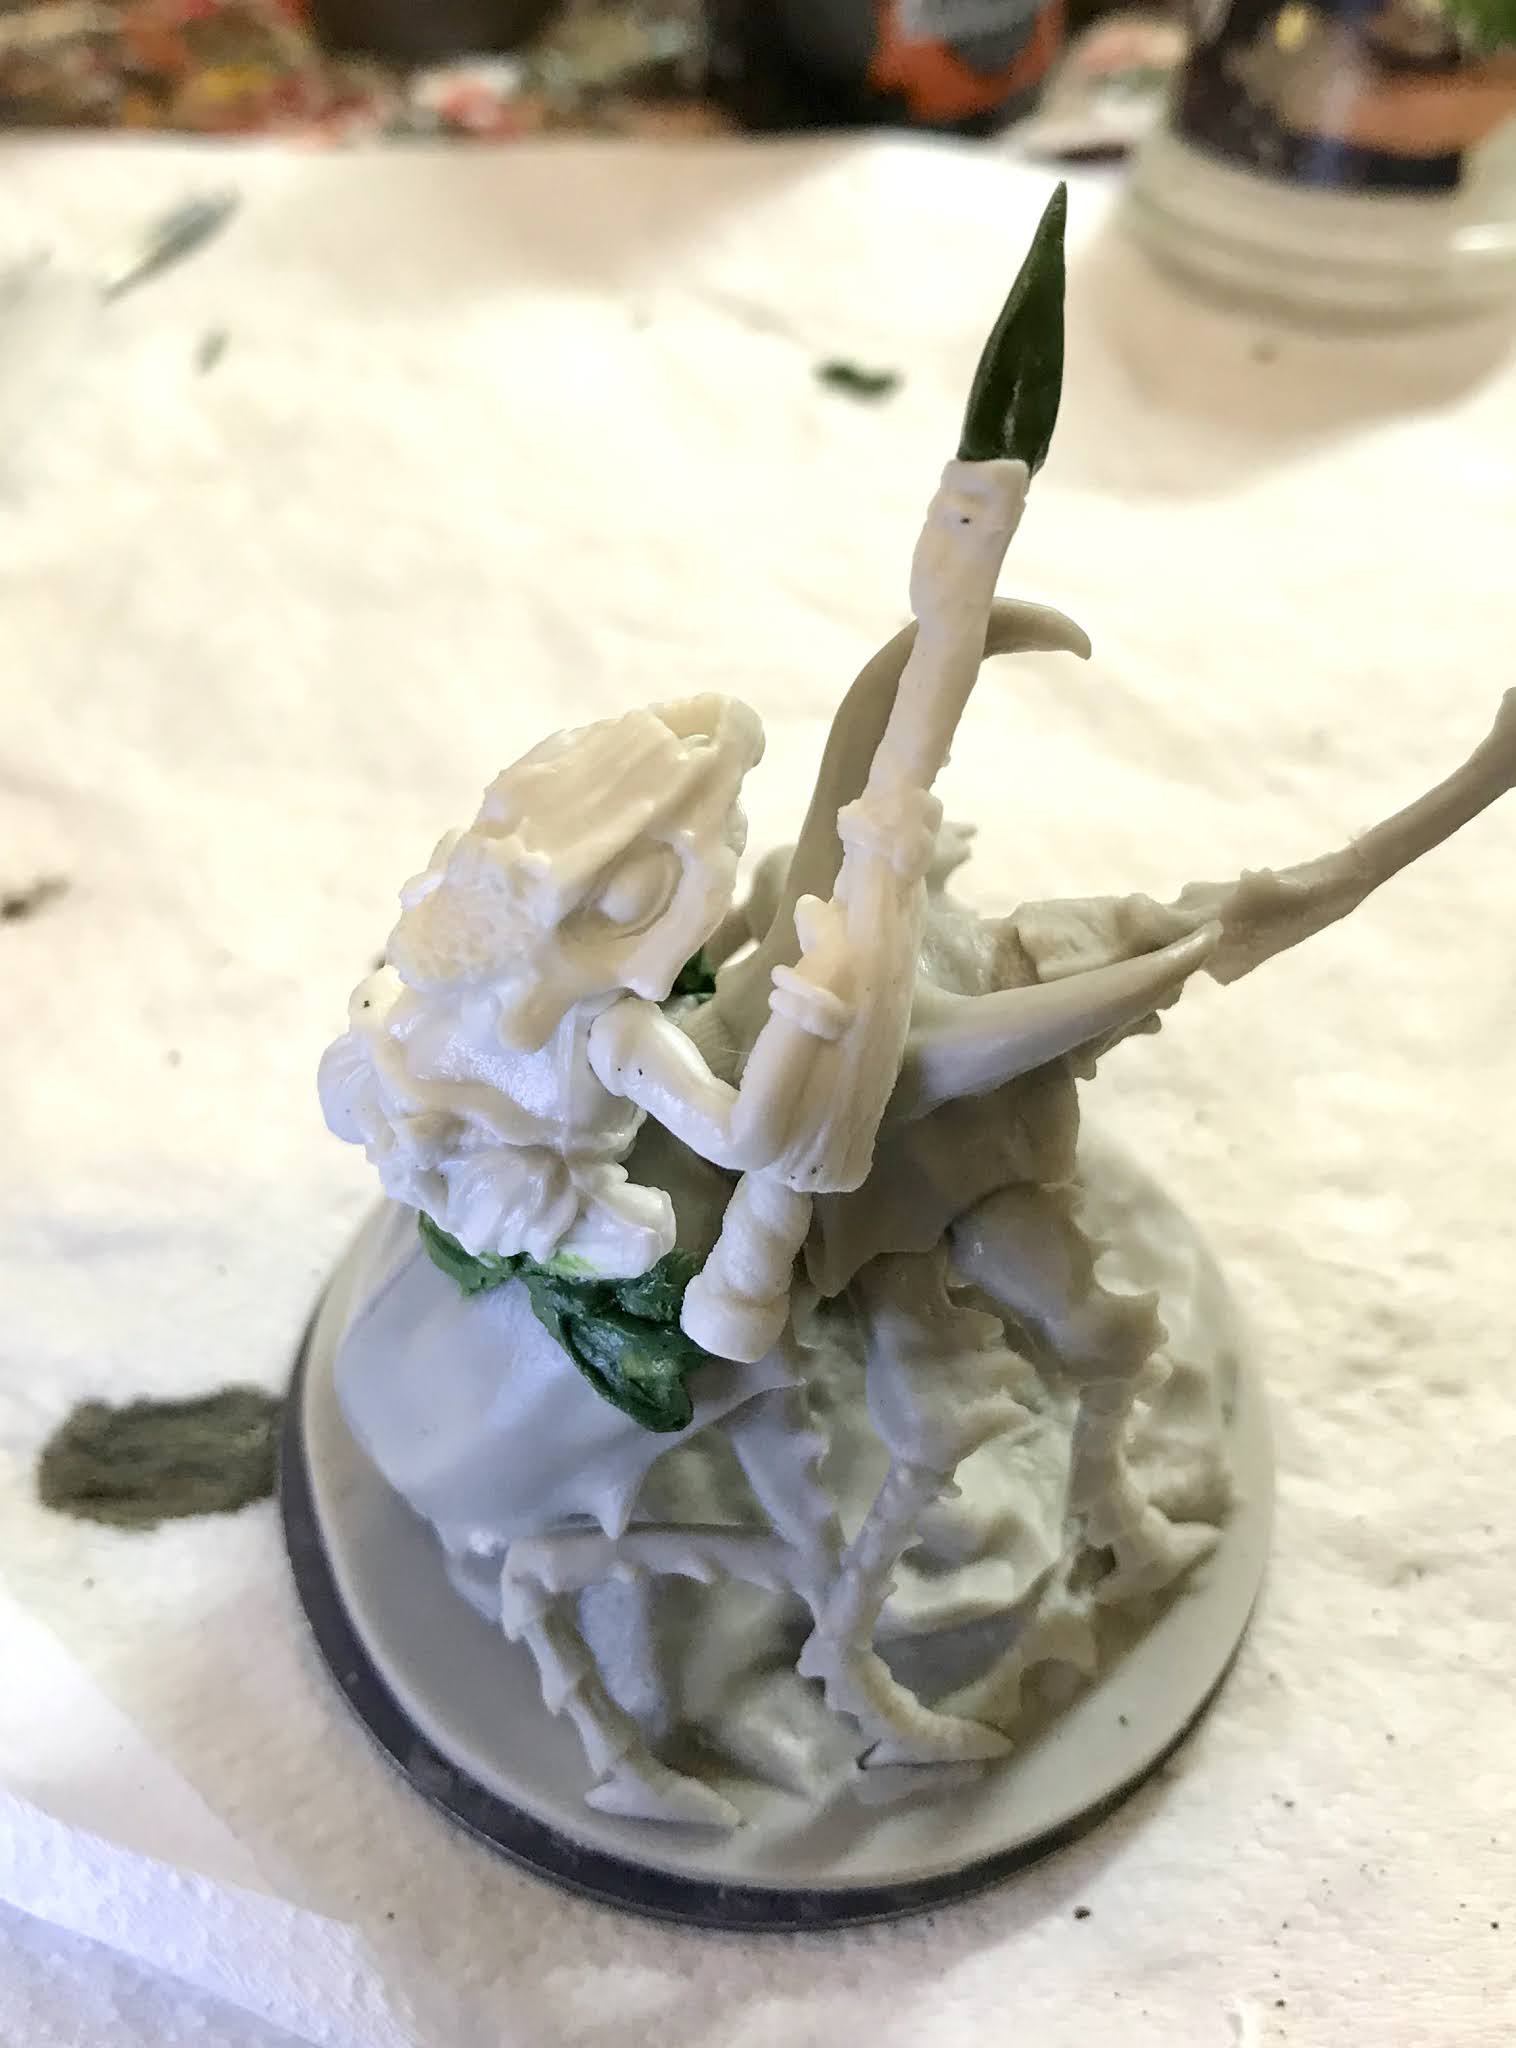
    As I looked at Mudcroak, I knew I would have to separate him from his base, but I also knew there was no way I could remove all his thin feet and little toes from the base without damaging them.  I also knew it would be very hard to conform  a figure that was sculpted to sit flat, to mount correctly onto the curved back of the beetle. So, right off the bat I made the decision to just remove his feet along with the base, with the plan that I would then resculpt them with greenstuff directly onto the beetle's back once I had the frog glued in place.
     Here's a test fit I did, with the frog held in place with blue-tac.

     After I removed the base from the frog figure, the next step was to  attach him to the back of the beetle. I first drilled small holes into the frog and beetle and inserted a small section of paperclip to act as pin to help hold the two together.    You can see in the photo below where I tried to carve the underside of the frog a little to help it conform more to the beetle's curved back.  I had to be careful, as I did't want to carve away too much of the frog's body.
     Next, I trimmed down the integral base of the beetle, as I felt it stood too high.  I mount my figures on fender washers and use magnetic storage, so really didn't need the extra height that this base had.  
I then glued the frog to the beetle's back, and the base to a black-primed 2" washer, using Gorilla Superglue gel for both; and clamped the base while the glue set.
     Next, I began the initial greenstuff work on the figure, and added on the base pads of the feet, the left hand which I had had to remove, and I extended the loin cloth in the back.  I'm not a sculptor by any means, but felt frog feet were in my ability level.
      I then added the toe ridges to the back feet, and did the final connections to connect the feet and hand to their respective limbs.   I also gave the spear a bigger point, as the existing one was too small.

  At this point,  I think it's ready to paint.   So tune in next week to see the finished product!

Monday, January 25, 2021

Arakus Landarzad, Wizard: Bones 4 Figure

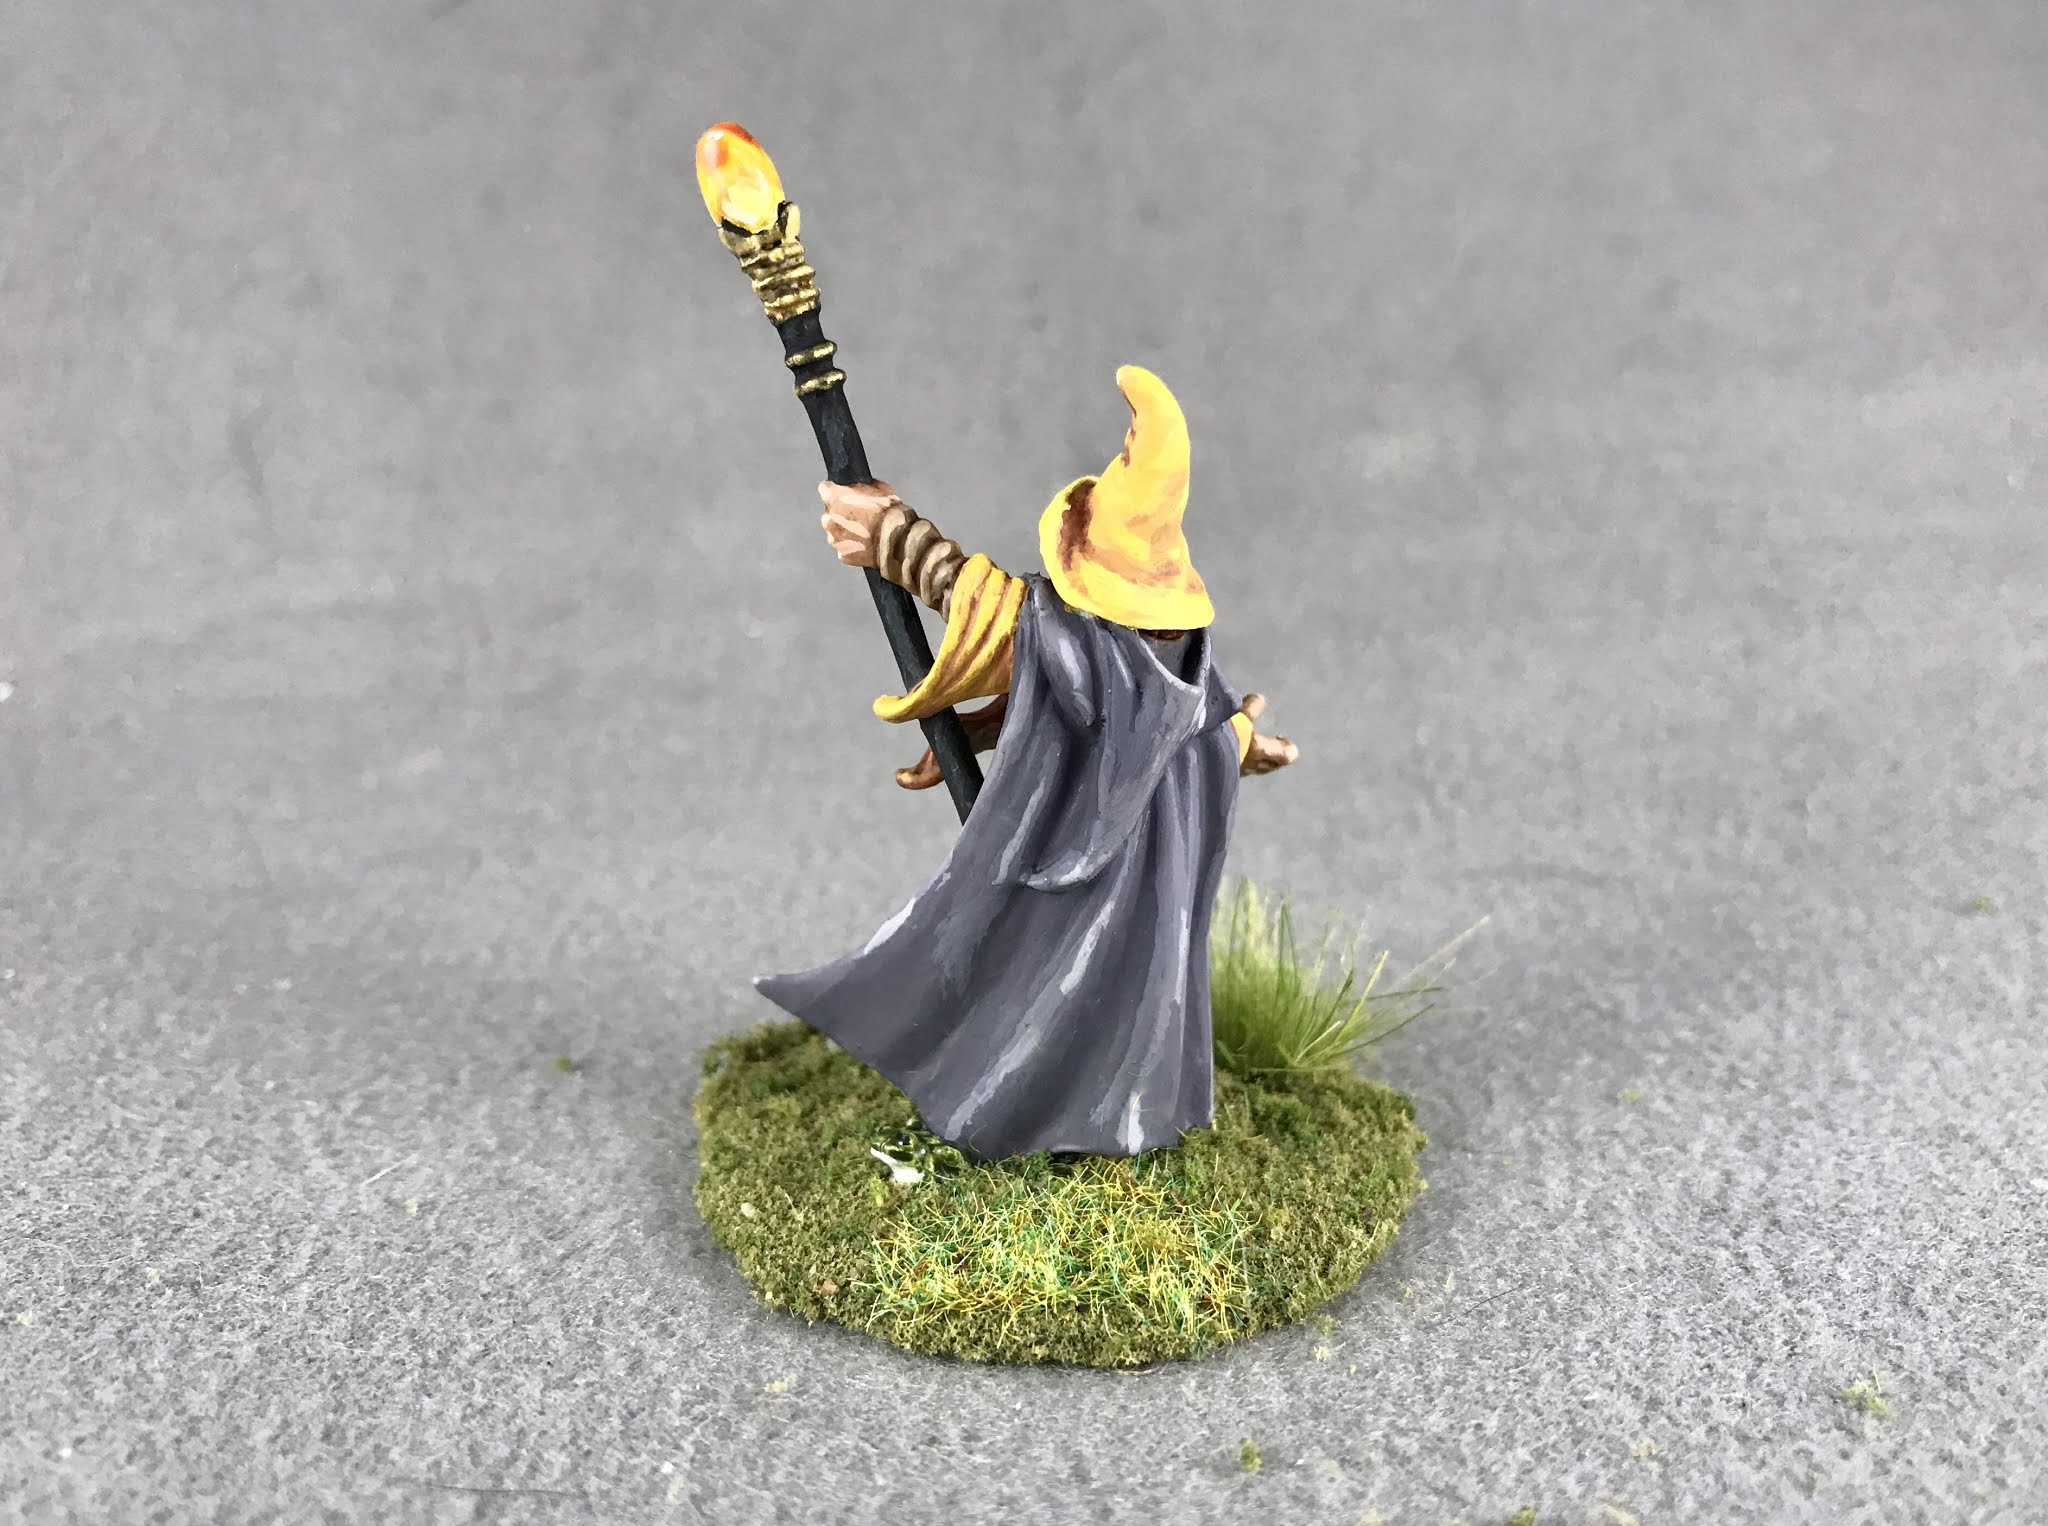
     It took me two weeks, but I finally finished "Arakus Landarzad, Wizard" from the Bones 4 Grey Beards set in the Core box.   I wanted this guy to serve as a wizard for a Human army I'm building for an under-development set of Fantasy rules called "Wars of Orcs and Dwarves", based on the recently published "Wars of Ozz" ruleset. The army I'm building is generally yellow-themed in color scheme, so I wanted this guy to be yellow too. 
The first unit of Spearmen I created for my army.  These are Oathmark plastic figures.

   I prepped the figure in the usual way, soaking it in a dish of water with a couple drops of dish-soap added, then giving it a light scrub with a soft toothbrush, and then rinsing and drying it.  I then glued the figure to a brown-primed 1.5" fender washer with Aleene's Tacky glue.  I then placed the figure in my painting grip.  
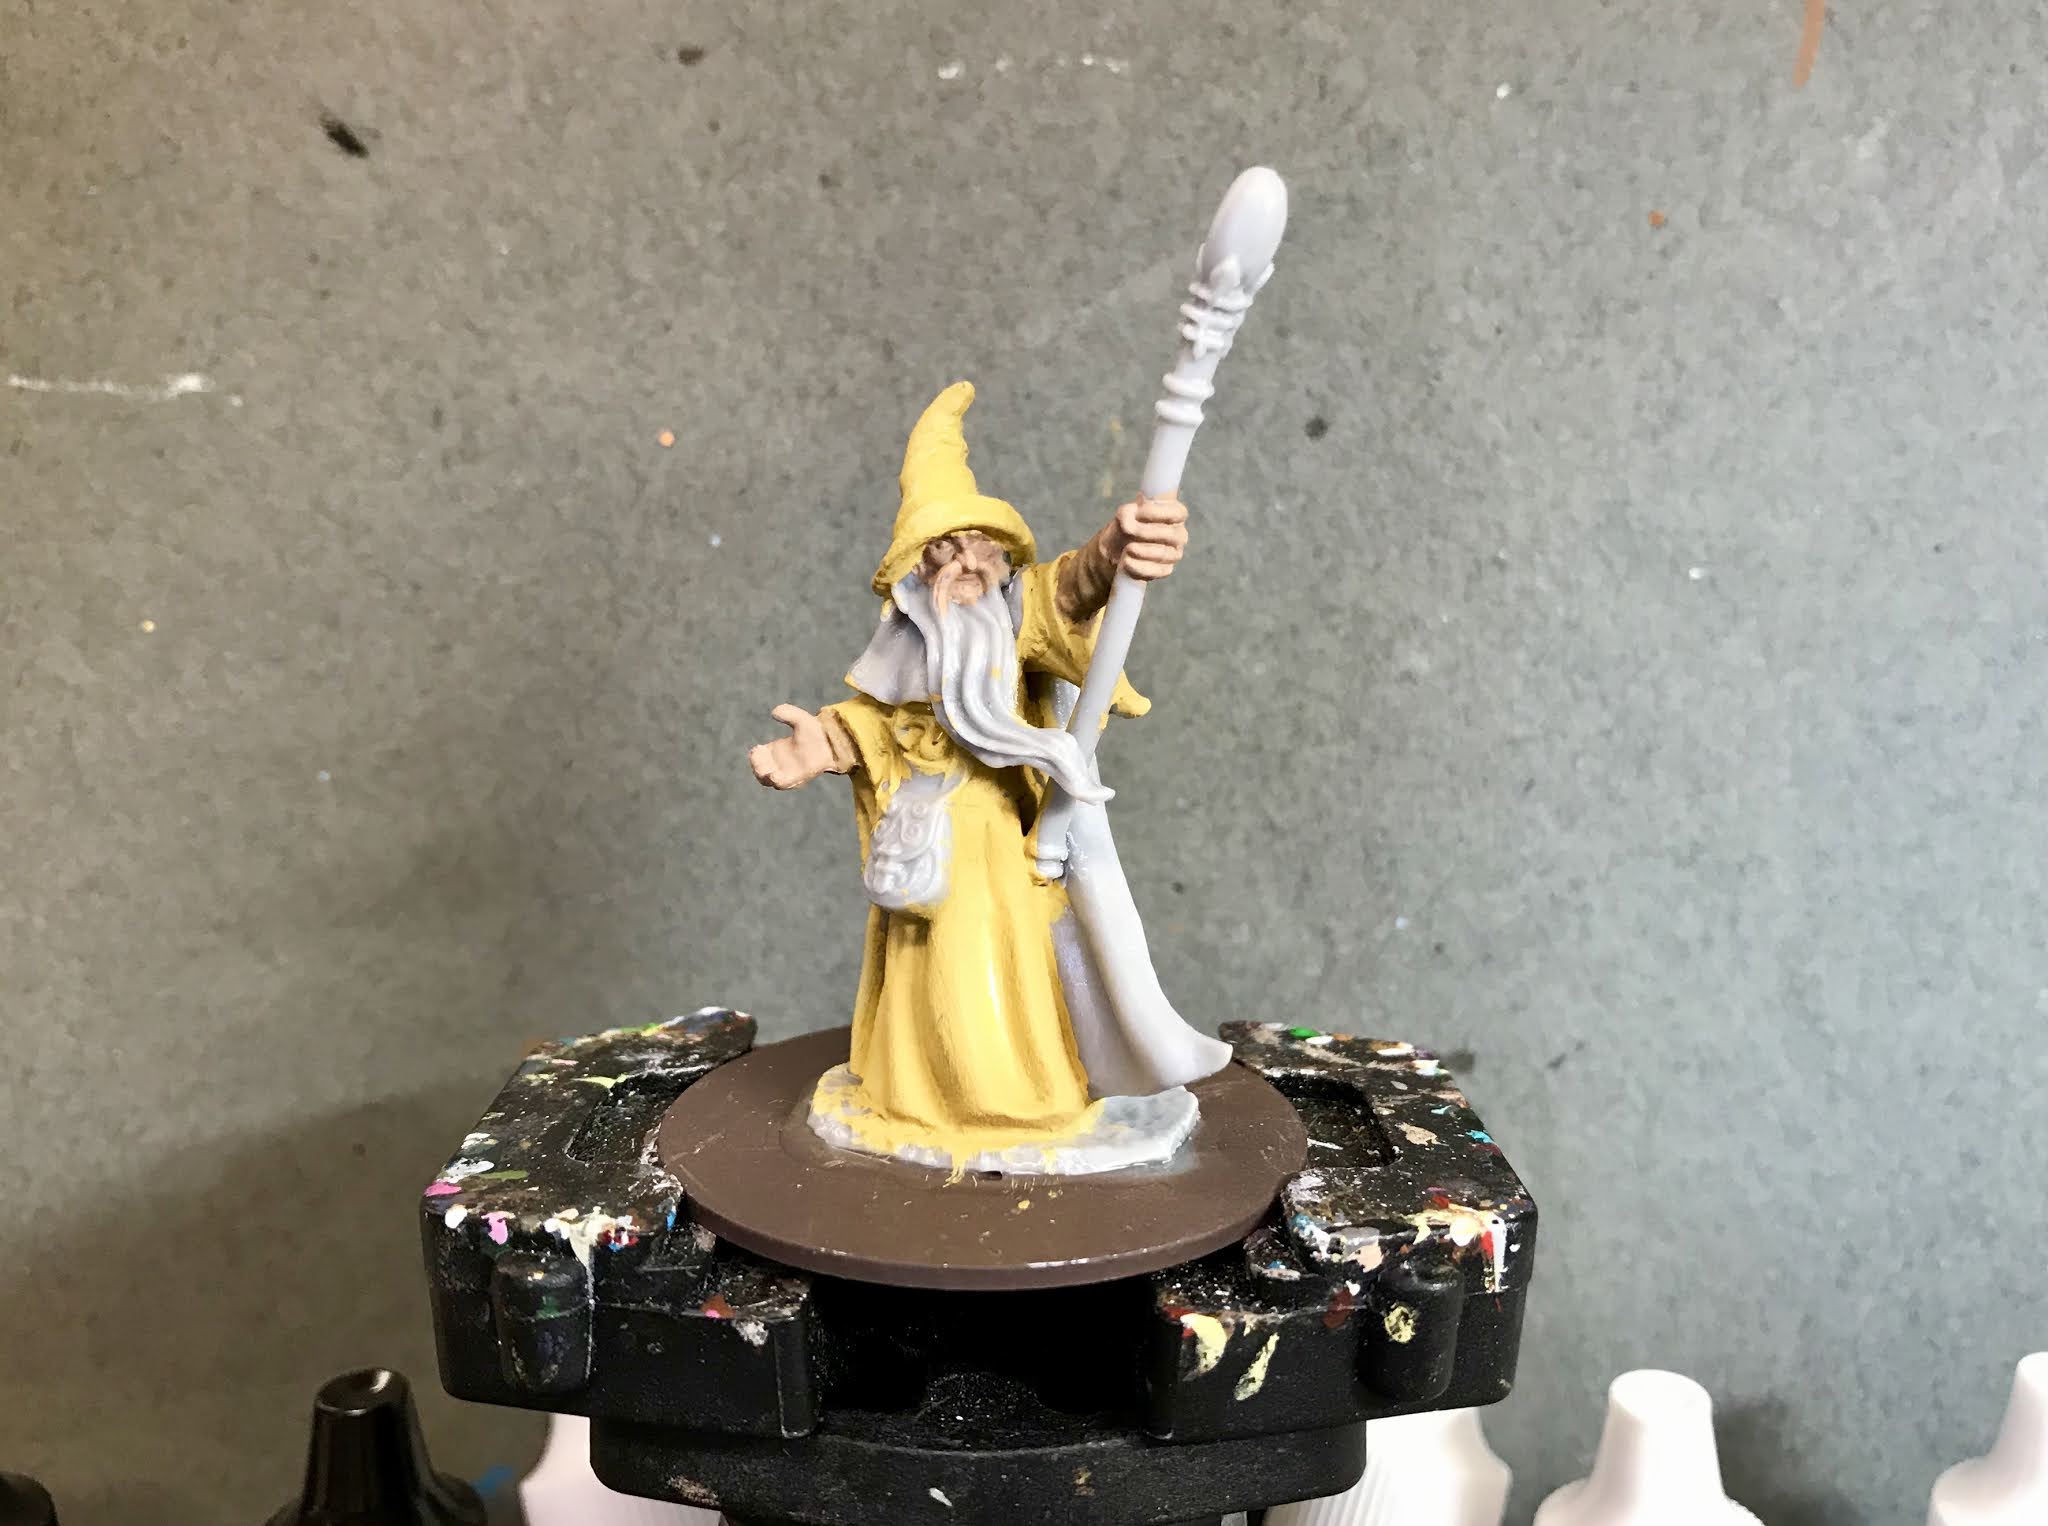
     Since the units for the army have a yellow, grey and black color scheme, I wanted to do something similar for the wizard.   I began by painting his face and hands with Reaper MSP "Tanned Skin".  I then painted his robes and hat with Americana "Primary Yellow", and his under-sleeves with Ceramcoat "Territorial Beige"
     Next, I painted his cloak with Reaper MSP "Dark Elf Skin", and then his belt with Accent "Real Umber".  After that, I painted his pouch with Americana "Asphaltum",  his staff with Ceramcoat "Black, and his beard with Apple Barrel "Burnt Sienna". 
     I then let everything dry for a bit, and when I returned I gave his face, hands, and beard a coat of Citadel "Reikland Fleshshade" wash.  I followed with giving his under-sleeves, belt, and pouch a coat of "Agrax Earthshade" wash.  I had read somewhere about using purple as a shadow for yellows, and how good it looked; so I wanted to try that with this guy.  So, I mixed some of the base "Primary Yellow" with some Crafter's Acrylic "African Violet", and painted his the recessed shadow areas of his robes and hat.   
          Next, I painted the eyes and then highlighted the face and hands with the base "Tanned Skin", and Reaper MSP "Tanned Highlight".  I then worked on highlighting the robes using the base "Primary Yellow" mixed with varying degrees of Crafter's Acrylic Daffodil Yellow".  I ended up having to use a little of the "African Violet" as well to blend into the shadows properly. In retrospect,  I should have just done the whole robes this way to begin with.  I know some folks like to do the mid-tones, then paint the shadows then the highlights, and I even do it this way when I use the citadel washes; but doing it with straight blending was difficult, since in doing the highlights now, I ended up having to redo the mid-tones anyway in order to transition properly into the highlights.  Anyhow it was a good learning experience.  Afterwards, I worked on the cape, highlighting that with the base "Dark Elf Skin", mixed with a little "Reaper MSP "Dark Elf Highlight", and for the lightest highlights I mixed in some Americana "Dove Grey". 
     I then highlighted his under-sleeves with Reaper MSP "Ginger Cookie", and afterwards highlighted the belt using Folk Art "Teddy Bear Fur", and the pouch with Americana "Sable Brown".  I worked on the beard next, using Reaper MSP "Pumpkin Orange", and Reaper MSP "Hallowed Orange" for the highlights.  After that, I highlighted the staff with Americana "Zinc".
     Next, I wanted to try an experiment with the gem in his staff, and attempt to use Citadel Contrast paint to achieve a gem effect.  So, I painted the gem with Citadel Contrast "Iyanden Yellow", and then set the painting grip so it was inverted and balanced between two craft paint bottles, with the figure hanging upside down.  I hoped this would cause the contrast paint to pool at the top of the gem.  When the "Iyanden Yellow" dried, I had the darker top on the gem I wanted, but the I felt the bottom of the gem had not gotten light enough and was still a mid-tone yellow that I thought wasn't right.  So I mixed a little of the "Primary Yellow" with some Ceramcoat "White", and attempted to blend some highlights into the lower part of the gem.  When I was happy with the effect, I added some highlight light spots to the gem with the plain "White."
      I also decided the staff needed some more bling, so painted the gem fitting and rings with Folk Art "Pure Gold".    I realized at that point that I had forgotten the wizard's little frog familiar, so I painted him quickly with some Citadel Contrast "Militarum Green", and when dry, painted his underbelly with some of the "White".  I then added some tiny black eyes, and gave each a tiny white highlight dot. Lastly, I painted his base with Americana "Mississippi Mud".
      I let the figure dry overnight and the next day I gave it a coat of Americana "DuraClear Matte" varnish.    Then, when  the varnish was dry, I used some white glue to flock the base.  Another overnight dry, and I sprayed it with Testor's "Dullcote". When the "Dullcote" was dry, I went back and repainted the gem and frog with a little Americana "DuraClear Gloss" varnish.


     In general I am quite pleased with how this fellow came out.  I like the purple shadows in the robes; I think that looks good.  And I think using the Contrast Paint for the gem turned out much better than I had even thought it would!  The highlights on the cloak aren't great, but I had given a lot to working on the robes when I did those, and just wanted to get the cloak done so I could move on to playing with the gem.  :)

Monday, January 18, 2021

No New Bones Today!

    Just a note to let you all know that I was unable to get a figure ready for today.  A carton of bad milk laid me low on Tuesday, and it took me a bit to bounce back.   Here's a work-in-progress shot to tide you over until next week!  
    So who all backed the Bones 5 Kickstarter, and is excited for its arrival in April?  What sets are you most looking forward to?  For me it's the Dwarf King's Crypt, and Dark Depths.  I got 2 of each! 


Monday, January 11, 2021

Dreadmere Hag: Bones 4 Dreadmere Figure

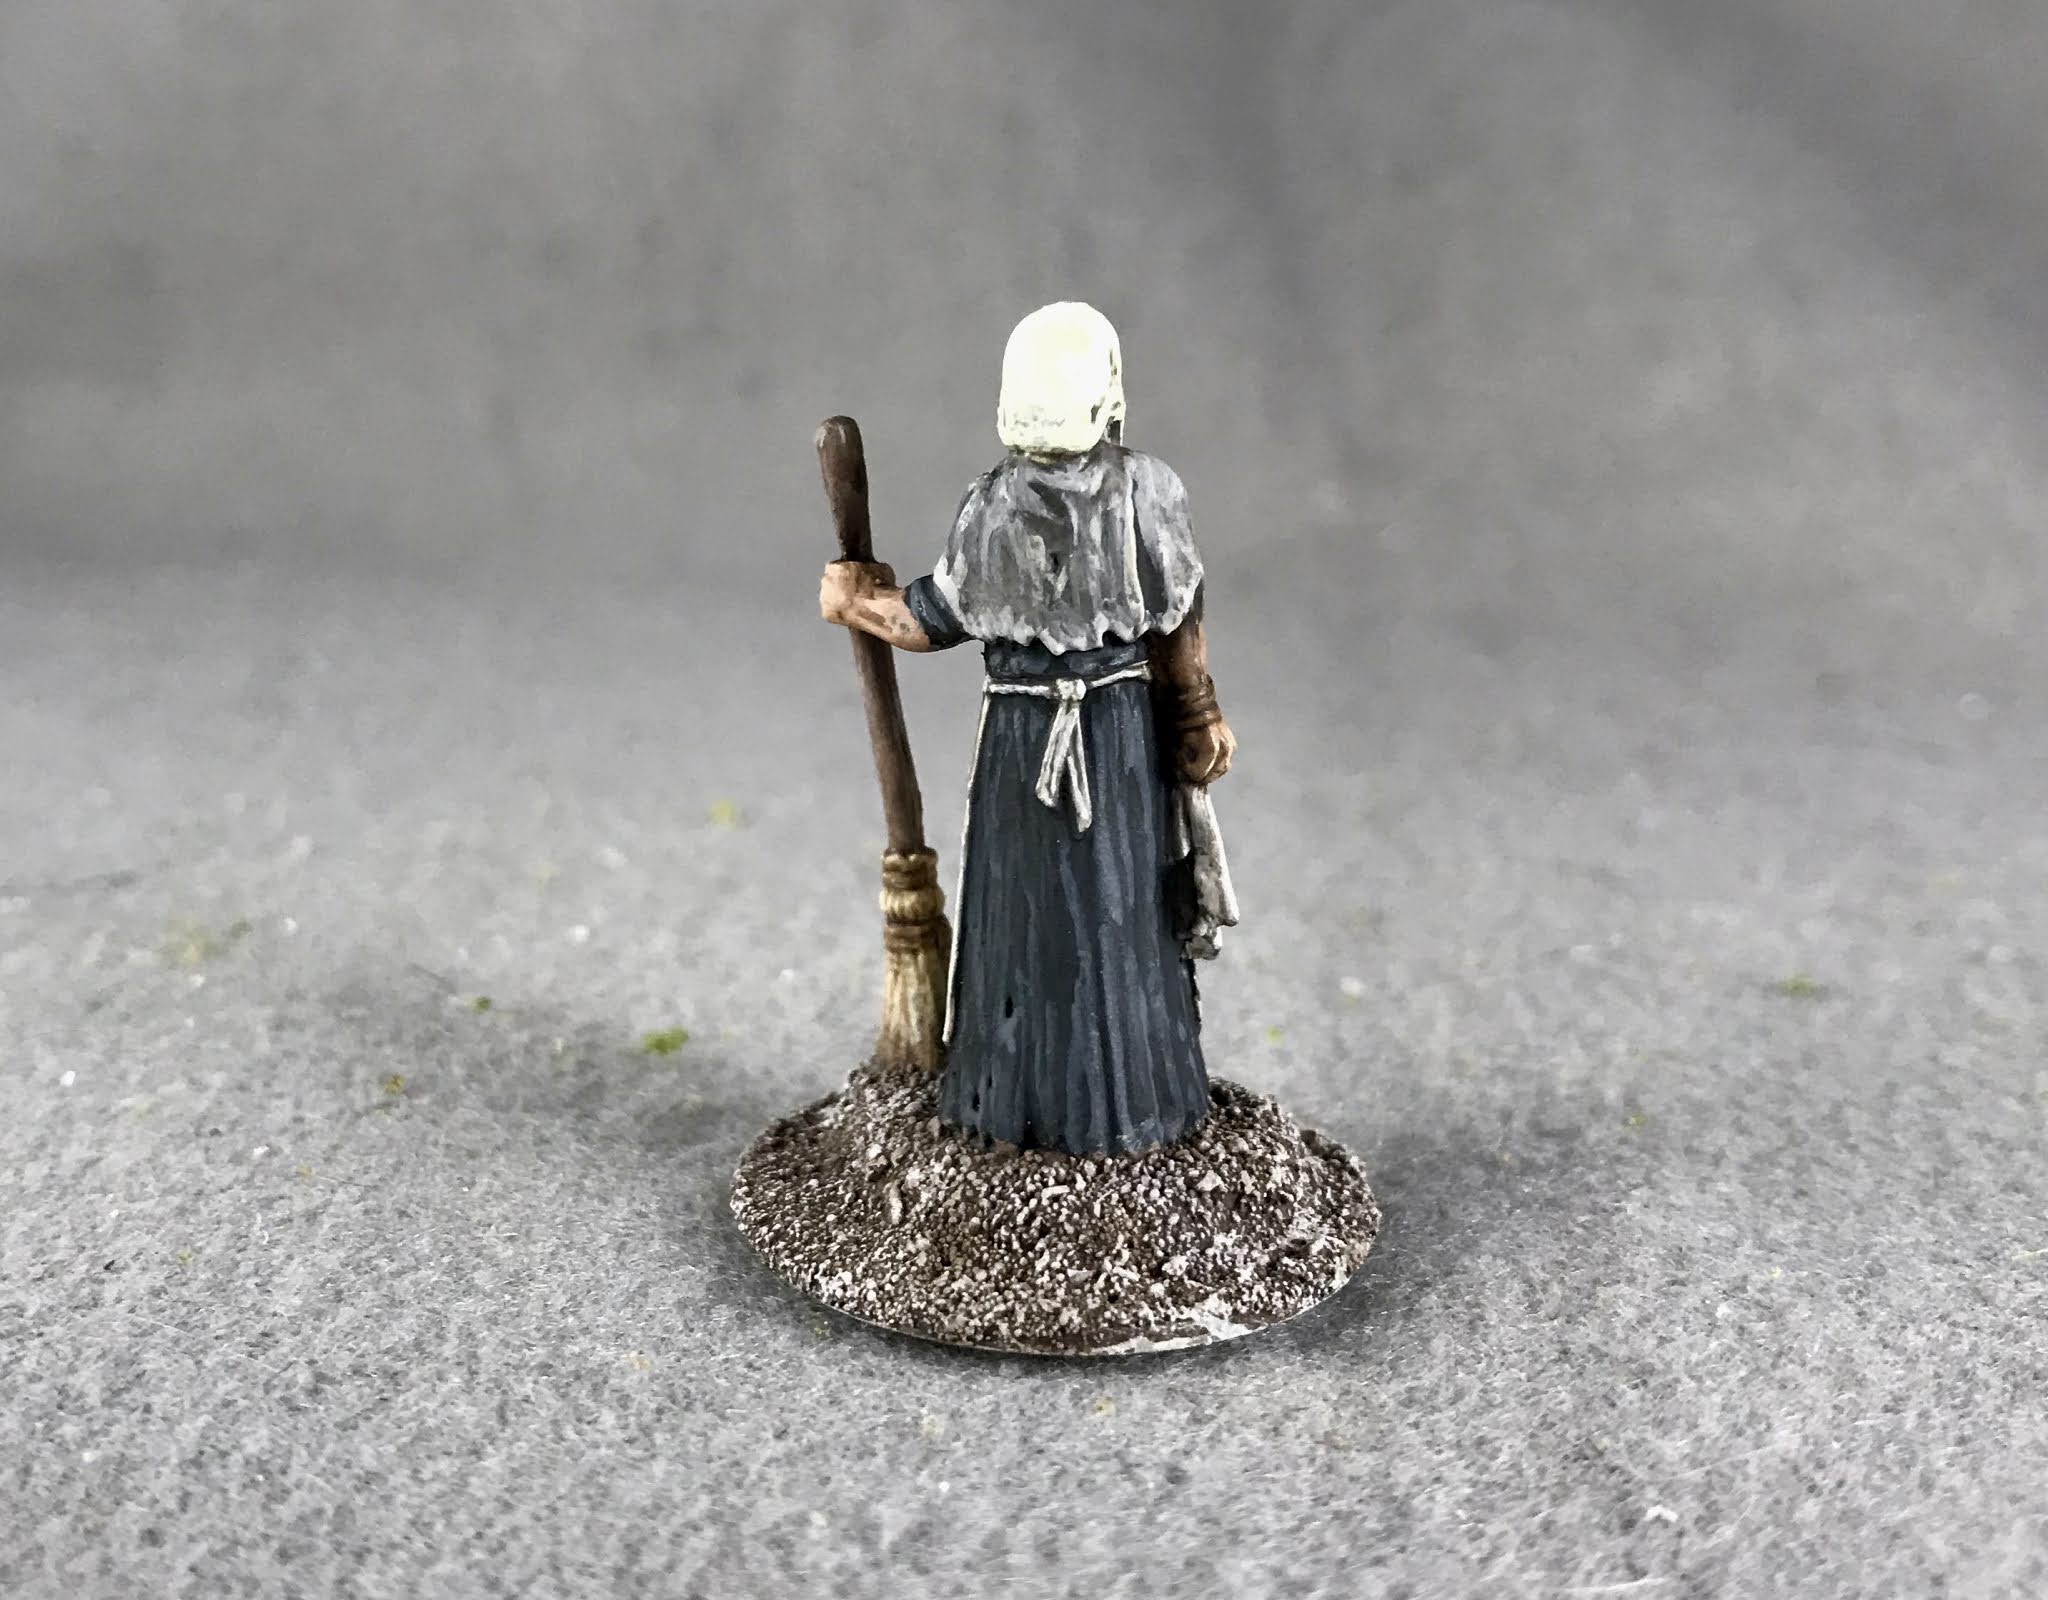
  This past week I painted the "Dreadmere Hag" from the Bones 4 Dreadmere Expansion.    
      I prepped the figure in the usual way, soaking it in a dish of water with a couple drops of dish-soap added, then giving it a light scrub with a soft toothbrush, and then rinsing and drying it.  I then glued the figure to a brown-primed 1" fender washer with Aleene's Tacky glue.  I then placed the figure in my painting grip.
     I began by painting her face, arms, and hands with Reaper MSP "Tanned Skin", and then painted her dress with Ceramcoat "Charcoal".  After that, I painted her shawl with Reaper MSP "Alien Flesh", and her kerchief with Apple Barrel "Lemon Chiffon".
     Next, I painted her apron with Reaper MSP "Graveyard Bone", and her over apron with Folk Art "Porcelain White".  I then did her hand rag with Folk Art "Barn Wood", and the knife holder with Reaper MSP "Shield Brown". 
     I then painted the broom handle with Americana "Mississippi Mud" , and the broom head with Americana "Antique White".  After that, I painted the bindings on the broom head with Ceramcoat "Territorial Beige", and then painted the knife handles, and the wrist bands on her right arm, with Americana "Asphaltum". 
     Next, I painted her hair with Folk Art "Medium Grey" and then let the figure dry for a while.  When I returned to it, I gave her face, arms, and hands, as well as the broom, a coat of Citadel "Agrax Earthshde" wash.  I let that dry, and then gave her entire body a coat of Citadel "Nuln Oil" wash.  When the washes were dry, I painted her eyes, and then highlighted her face, arms, and hands, with the base "Tanned Skin" and Reaper MSP Tanned Highlight".
     I then highlighted her dress with Americana "Zinc", and her shawl with the base "Alien Flesh".  I followed that with highlighting her hair with Crafter's Acrylic "Storm Cloud Grey",  and then highlighting her kerchief with the base "Lemon Chiffon" and some Ceramcoat "White". 
     Next, I highlighted her apron with Folk Art "Platinum Grey", and her over-apron with the base "Porcelain White".  I then highlighted her rag with the base "Barn Wood", and the knife case with Americana Sable Brown".  After that, I highlighted the knife handles with Crafter's Acrylic "Cinnamon Brown", and her wrist bands with Reaper MSP HD "Golden Brown".  I finished up with highlighting the broom, using Americana "Bleached Sand" on the head, the base "Mississippi Mud" mixed with a little of the "Barn Wood" on the handle, and the base "Territorial Beige" on the binding. Lastly, I painted the figure's base with the "Mississippi Mud".
     I let the figure dry overnight and the next day I gave it a coat of Americana "DuraClear Matte" varnish. I then used some white glue to glue some fine sand to the base.  When the sand was dry, I painted it with a coat of Americana "Charcoal Grey". When this was dry, I drybrushed the sand with the "Mississippi Mud", and then with some Apple Barrel "Rock Grey"; lastly I drybrushed it with a little Americana "Dove Grey".
      Another overnight dry, and I sprayed the figure with Testor's Dullcote".

     I'm pretty happy with this one.  The camera's light meter had a bit of difficulty with the light yellow kerchief and the black dress, wiping the kerchief of all color so it looks just bright white. It's actually a pale yellow-grey.  I love how her expression turned out!  "That was the day Granny decided those frickin' orcs had raided her village for the last time.  And with her trusty kitchen knives, put an end to their shenanigans once and for all!". 😄

Monday, January 4, 2021

Fishwife and FIsh Barrel: Bones 4 Dreadmere Figures

       Happy New Year!  Another year, and more Bones to be painted! :)  And I do mean more, as it's just a few short months away until the expected delivery of the Bones 5 Kickstarter in April; and then every indication is that the Bones 6 Kickstarter will launch in the Fall!  
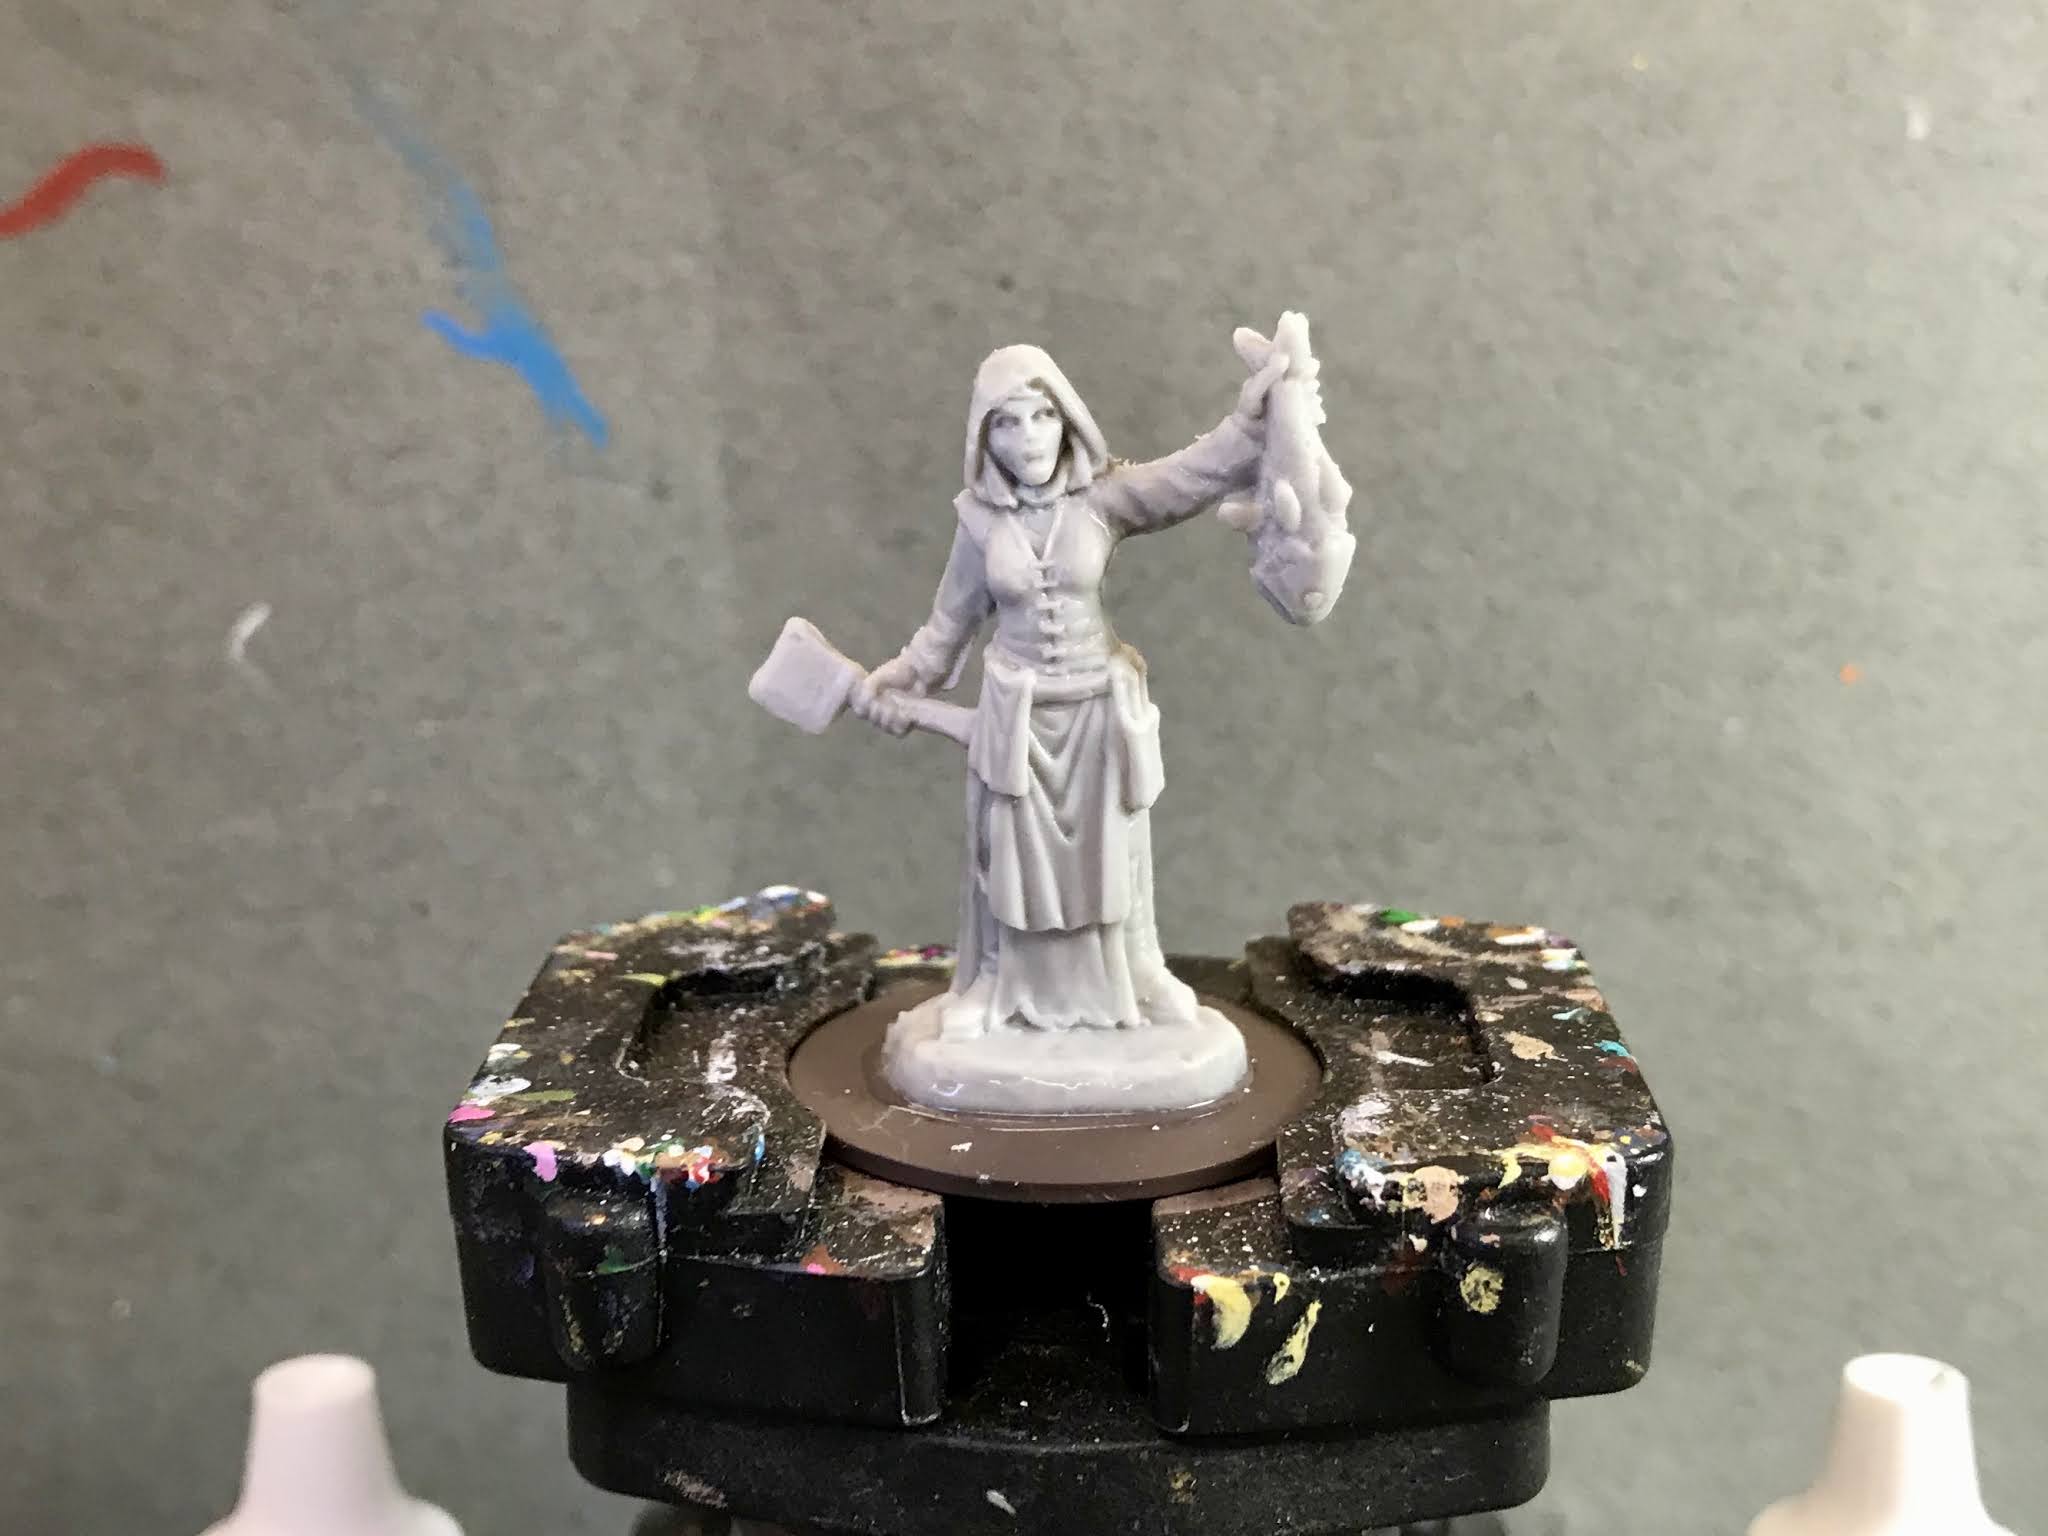
      This past week though, I got back to work on the Bones 4 Dreadmere Expansion, and painted the "Fishwife and Fish Barrel".    I nice simple figure set to get me back into the groove.
      I prepped the figures in the usual way, soaking them in a dish of water with a couple drops of dish-soap added, then giving them a light scrub with a soft toothbrush, and then rinsing and drying it.  I then glued the Fishwife figure to a brown-primed 1" fender washer, and the Fish Barrel to a .75" fender washer, both with Aleene's Tacky glue.  I then placed the Fishwife figure in my painting grip, and glued the barrel to a craft stick.

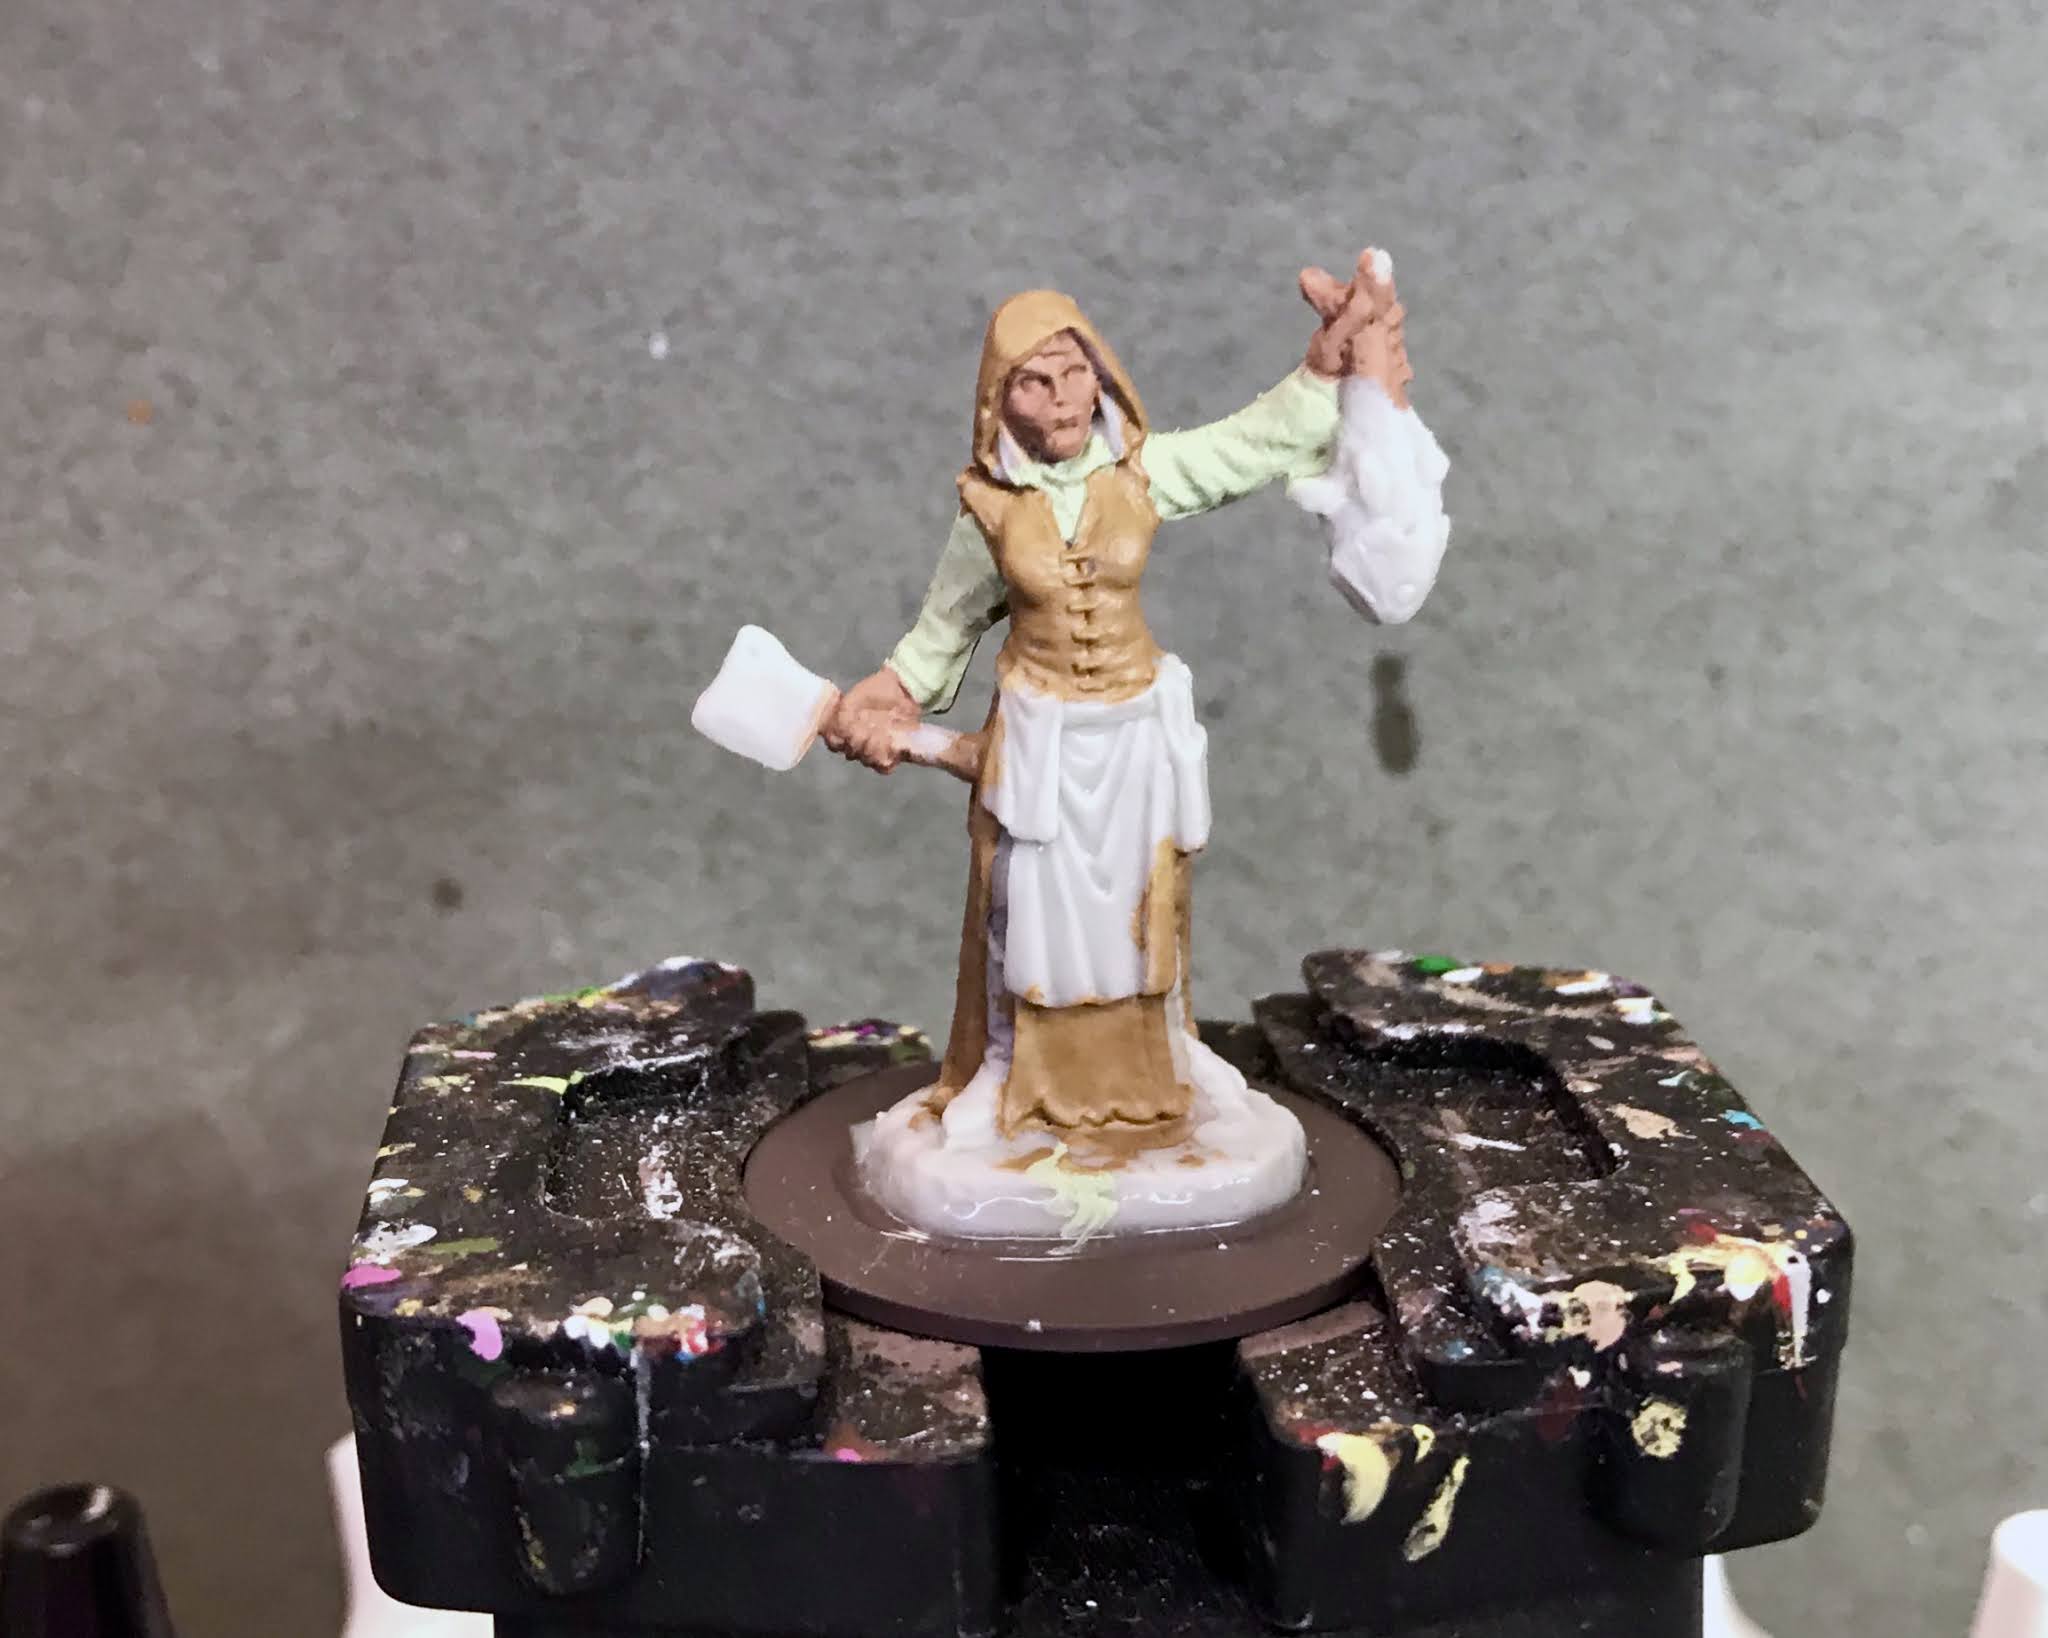
     I began by painting her face and hands with Reaper MSP Bones "Suntan Flesh".  I then painted her shirt with Americana "Jade Green", and her dress with Accent "Mustard Seed". 
     Next, I painted her leggings with Folk Art "Poppy Seed", and her boots with Reaper MSP HD "Umber Brown".  I then painted her apron with Reaper MSP "Graveyard Bone", and the towel tucked into it with Folk Art "Porcelain White".   After that, I painted the knife holder with Reaper MSP HD "Golden Brown", and the knife handles with the "Umber Brown". 
         I then painted her hair with Ceramcoat "Black", and then painted the handle of the cleaver with Reaper MSP "Shield Brown", and the head of the cleaver with Americana "Zinc".  After that, I went to work on he fish.  I decided the best plan would be to copy a real world fish, so I quickly googled some pictures of trout.  With a general "look" in mind,  I started by painting the underside of the fish with Americana "Grey Sky".  I then painted the back of the fish with Reaper mSP Bones "Dungeon Slime".  While these colors were still wet, I ran a line of Reaper MSP "Rose Gold" down the center line of between them on each side. 
     I let the figure dry for a while, and then applied a coat of Citadel "Reiklande Fleshshade" Wash over her face and hands.  I let that dry, and then applied a coat of Citadel "Agrax Earthshade" over her entire outfit.  Then, lastly, I applied a coat of Citadel "Nuln Oil" wash to he fish and cleaver head.   After all the washes were good and dry, I painted her eyes, and then highlighted her face and hands using Reaper MSP "Tanned Skin", and "Tanned Highlight".
     Next,  I highlighted her shirt, with some of the base "Jade Green" mixed with Ceramcoat "White", and highlighted her dress with Reaper MSP "Bronzed Skin", and Reaper MSP "Bronzed Highlight".   After that, I highlighted her hair with some Citadel "The Fang", and highlighted her apron with the base "Graveyard Bone".  Lastly, I highlighted the leggings with Folk Art "Dapple Grey", and added an eye to the fish with the "Black". 
     I then highlighted the towel tucked in her apron using the base "Porcelain White", and I highlighted the knife case with Ceramcoat "Territorial Beige".  After that, I highlighted the boots and knife handles with Folk Art "Teddy Bear Brown", and I highlighted the axe handle with Americana "Sable Brown". 
     Next, I worked on the fish; basically just using the base colors to highlight it: "Grey Sky" for the underbelly, "Dungeon Slime" for the back, and "Rose Gold" for the stripe.  Then I painted the cleaver head with Folk Art Metallics "Gun Metal", and highlighted it with Ceramcoat "Metallic Silver".  Lastly, I painted the figure's base with Americana "Mississippi Mud".

    I then worked on the barrel, using the "Shield Brown" to paint the body of it.  After that, I painted the octopus with Reaper MSP "Drow Nipple Pink", and the fish with Folk Art Pearl "Aqua Moiré", I also painted the hoops with DecoArt Dazzling Metallics "Bright Brass".
     I let the barrel dry for a while, and then gave the whole thing a coat of the "Nuln Oil" wash. When the wash was dry, I drybrushed the barrel with the "Territorial Beige", and then I drybrushed with some Folk Art "Butter Pecan".   Next, I highlighted the octopus with the base "Drown Nipple Pink" mixed with some Reaper MSP "Breast Cancer Awareness Pink", and then did a few spot highlights with Reaper MSP "Brains Pink".   After that, I highlighted the fish with the base "Aqua Moiré", and then mixed in a little Reaper MSP "Sophie Silver" for some spot highlights.  I finished with highlighting the hoops with the base "Bright Brass".  Lastly, I painted the figure's base with Americana "Mississippi Mud".

      I let the figures dry overnight and the next day I gave them a coat of Americana "DuraClear Matte" varnish. I then used some white glue to glue some fine sand to the bases.  When the sand was dry, I painted it with a coat of Americana "Charcoal Grey". When this was dry, I drybrushed the sand with the "Mississippi Mud", and then with some Apple Barrel "Rock Grey"; lastly I drybrushed it with a little Americana "Dove Grey".
      Another overnight dry, and I sprayed the figures with Testor's Dullcote".  When the Dullcote was dry, I went back and repainted the  all the fish and the octopus with a little Americana "DuraClear Gloss" varnish. 

     I'm pleased with how this simple figure turned out; it has a ton of character, as so many of Reapers townsfolk have.  My big criticism is the highlights on her dress turned out a little too stark.  It makes the dress look shiny or wet, which with this figure isn't too out of place, but not the look I was going for for.  I'm especially pleased with the big fish! :)