Monday, May 11, 2020

Townsfolk Courtesan: Bones 4 Figure

   This past week I painted the "Courtesan" figure from the Bones 4 Townsfolk II set.  This completes this set for me and completes all the Townsfolk from the Bones 4 Core Set.
      I prepped the figure in the usual way, soaking it in a dish of water with a couple drops of dish-soap added, then giving it a light scrub with a soft toothbrush, and then rinsing and drying it.  I then glued the figure to a brown-primed 1" fender washer with Aleene's Tacky glue, and then placed the figure in my painting grip.
  I decided since it was such a plain figure, I would attempt to do some fancy pattern on the dress.  The figure appeared to look like it was meant to resemble a Japanese Geisha to some extent, which inspired me to want to to try to do a cherry blossom print on it.  So to begin, I Googled "cherry blossom kimono" to get some ideas on patterns.  Also, since I had just done a lot of white fabric on last week's figure, I knew wanted to do something colored on this one, and I picked yellow. 
      I began by painting the skin with Reaper MSP "Bronze Skin".  I then painted the dress with Americana "Primary Yellow", and her hair with Ceramcoat "Black"
     Next, I worked up mid-tones and highlights on the dress using first, Crafter's Acrylic "Bright Yellow", then Crafter's Acrylic "Daffodil Yellow", Apple Barrel "Lemon Chiffon", and finally a little of the "Lemon Chiffon" mixed with Americana "Snow White".  After that, I gave her skin a coat of Citadel "Reikland Fleshshade" wash.
     Then, while the wash was drying, I painted the tree branches on her dress using Americana "Charcoal Grey", and did highlights on them with Americana "Mississippi Mud".   Next, I painted her eyes, and then highlighted her skin with the base "Bronze Skin", and some Reaper MSP "Bronze Skin Highlight".
       I decided at that point that the highlights on the branches weren't light enough, so I added some more highlights with Americana "Fawn".  I then painted the flowers; first doing blossoms with Crafter's Acrylic "Christmas Red", and then giving them centers of Pathfinder MSP "Urgathea Red", then I did more flowers with the "Snow White", and then gave those blossoms centers with Crafter's Acrylic "Tutti Frutti".     Next, I did highlights on her hair, first with Folk Art "Cloudy Day", and then mixing in a little Crafter's Acrylic "Cool Blue", and finally adding in some spots of the "Snow White".  After that I painted the pendant on her necklace with Ceramcoat "Wedding Gold", and then did the pearls on the necklace, and in the center of the pendant, with the "Snow White".   Lastly, I painted her base and the washer with the "Mississippi Mud".
      I let the figure dry overnight and the next day I gave it a coat of Americana "DuraClear Matte" varnish.  Another overnight dry, and I sprayed the figure with Testor's Dullcote".

     I'm really happy with this one.  I wanted to experiment with doing the the shadows, mid-tones and highlights on the fabric simply with paint, instead of my usual use of a wash; and I think it turned out pretty good.  I am especially pleased with how the cherry blossoms came out, although I'm slightly disappointed in the face.

Monday, May 4, 2020

Christina, Female Cleric: Bones 3 Figure

     I'm happy to report that this past week I found my muse again and painted Christina, Female Cleric, from the Bones 3 Heroes II set.   This was a commission piece for a D&D player who wanted the figure painted as a Sea Elf with blue iridescent skin and green hair.
      I prepped the figure in the usual way, soaking it in a dish of water with a couple drops of dish-soap added, then giving it a light scrub with a soft toothbrush, and then rinsing and drying it.  I then glued the figure to a brown-primed 1" fender washer with Aleene's Tacky glue, and then placed the figure in my painting grip.
      Because this was cast in the white original white Bones material, I began by giving it a wash with some thinned Reaper MSP "Grey Liner" to help me see the details.   When the Liner was dry, I painted all her armor, her mace, and the back of her shield with Americana "Charcoal" and her face and hands with Folk Art Color Shift "Blue Flash".  I then painted her skirt and the back of her shield with Folk Art "Dove Grey".
     I then painted her tabard and shield face with Crafter's Acrylic "Dark Turquoise", and her two holy items (censer and reliquary?) and the padded material in her elbow joints with Accent "Mustard Seed".  After that, I painted her scabbard and bottle(?) with Americana "Wedgewood Blue" and then her hair with Apple Barrel "Apple Blue Spruce".
    Next, I painted her belts with Americana "Light Cinnamon".   I then went over her armor and the back of her shield with Folk Art Metallics "Gunmetal Grey", and her mace, dagger fittings and bottle top with Ceramcoat "Metallic Pewter".  After that, I gave her face and hands a wash with  thinned Reaper MSP "Blue Liner".
     I then painted her religious objects with Folk Art "Pure Gold", and then let everything dry for a while.  When I resumed, I gave her belts, accoutrements,  and skirt a light coat of some Citadel "Nuln Oil" wash.  As that dried, I worked on her face and hands; painting her eyes, and then highlighting the skin with a mix of the base "Blue Flash" with some Crafter's Acrylic "Cool Blue".  After that, I highlighted her hair with a mix of the base "Apple Blue Spruce" and Crafter's Acrylic "Wild Green".
     Next, I highlighted the armor using first Ceramcoat "Metallic Silver", and then some Reaper MSP "Sparkling Snow".  I then highlighted her mace, dagger fittings and bottle top with Citadel "Mithril Silver" followed with a few spots of the "Sparking Snow".  Next, I highlighted her skirt with Americana "Snow White", followed by some Folk Art Extreme Glitter "Hologram".  After that, I highlighted her tabard and shield with  a mix of the base "Dark Turquoise" and some Folk Art "Patina".
     Up next were her scabbard and bottle which I highlighted with some Crafter's Acrylic "Tropical Blue".  I then highlighted the belts with Ceramcoat "Territorial Beige".   I followed with highlighting the gold religious items with some DecoArt Metallic "Bright Brass".  I finished up by painting  some holy symbols for the cleric on the shield, and some decorations on the tabard.  And, lastly, I painted his base with Americana "Mississippi Mud", and applied some "spatter" around the hem of the skirt.
         I let the figure dry overnight and the next day I gave it a coat of Americana "DuraClear Matte" varnish.    Then, when  the varnish was dry, I used some white glue to flock the base.  Another overnight dry, and I sprayed it with Testor's "Dullcote".

         I'm really pleased with how this figure turned out, particularly the face.  And, I'm especially glad to be back painting Bones again!

Monday, April 27, 2020

A Social Isolation Painting Hiatus

   As my regular readers my have noticed, I haven't posted any figures the past couple of weeks.   I've found that as the Covid crisis continues and this period of home quarantine goes on, I have increasingly lost my ability to concentrate on the level of detail that painting figures requires.  It is a little frustrating, as I see others using this opportunity to greatly reduce their unpainted mini piles.  However, I find some comfort in seeing that I'm not alone, as here and there I see comments in different fora from others who find concentrating in this time of crisis a difficult thing to achieve.
     This is not to say I've been creatively inactive. I've found I can still focus on working on bigger painting projects, and building things.  In that vein, I have been working slowly, as my ability permits, on an assortment of Leonardo DaVinci style landship vehicles for a club project to do a  Leonardo themed "tank" battle at Historicon using modified version of the  "What a Tanker!" rules.
   Here are some of things I've been working on:


     I've also entered into the world of long-distance wargaming using FaceTime and Discord, to continue playtest work on the "Wars of Ozz" project being done by Old Glory/Blue Moon and rules author Buck Surdu. You can find a number of those battle reports over on my One More Gaming Project blog.

    Hopefully, as time goes on I will find my concentration again, and get back to painting figures.  For the time being I'm just going to continue to move at my own pace creatively, and wait for the muse to strike again.  So please check back every week or so, hopefully it won't be too long before I'm back to posting more Bones!

Monday, April 6, 2020

Goblin Archers; Bones 4 Figures

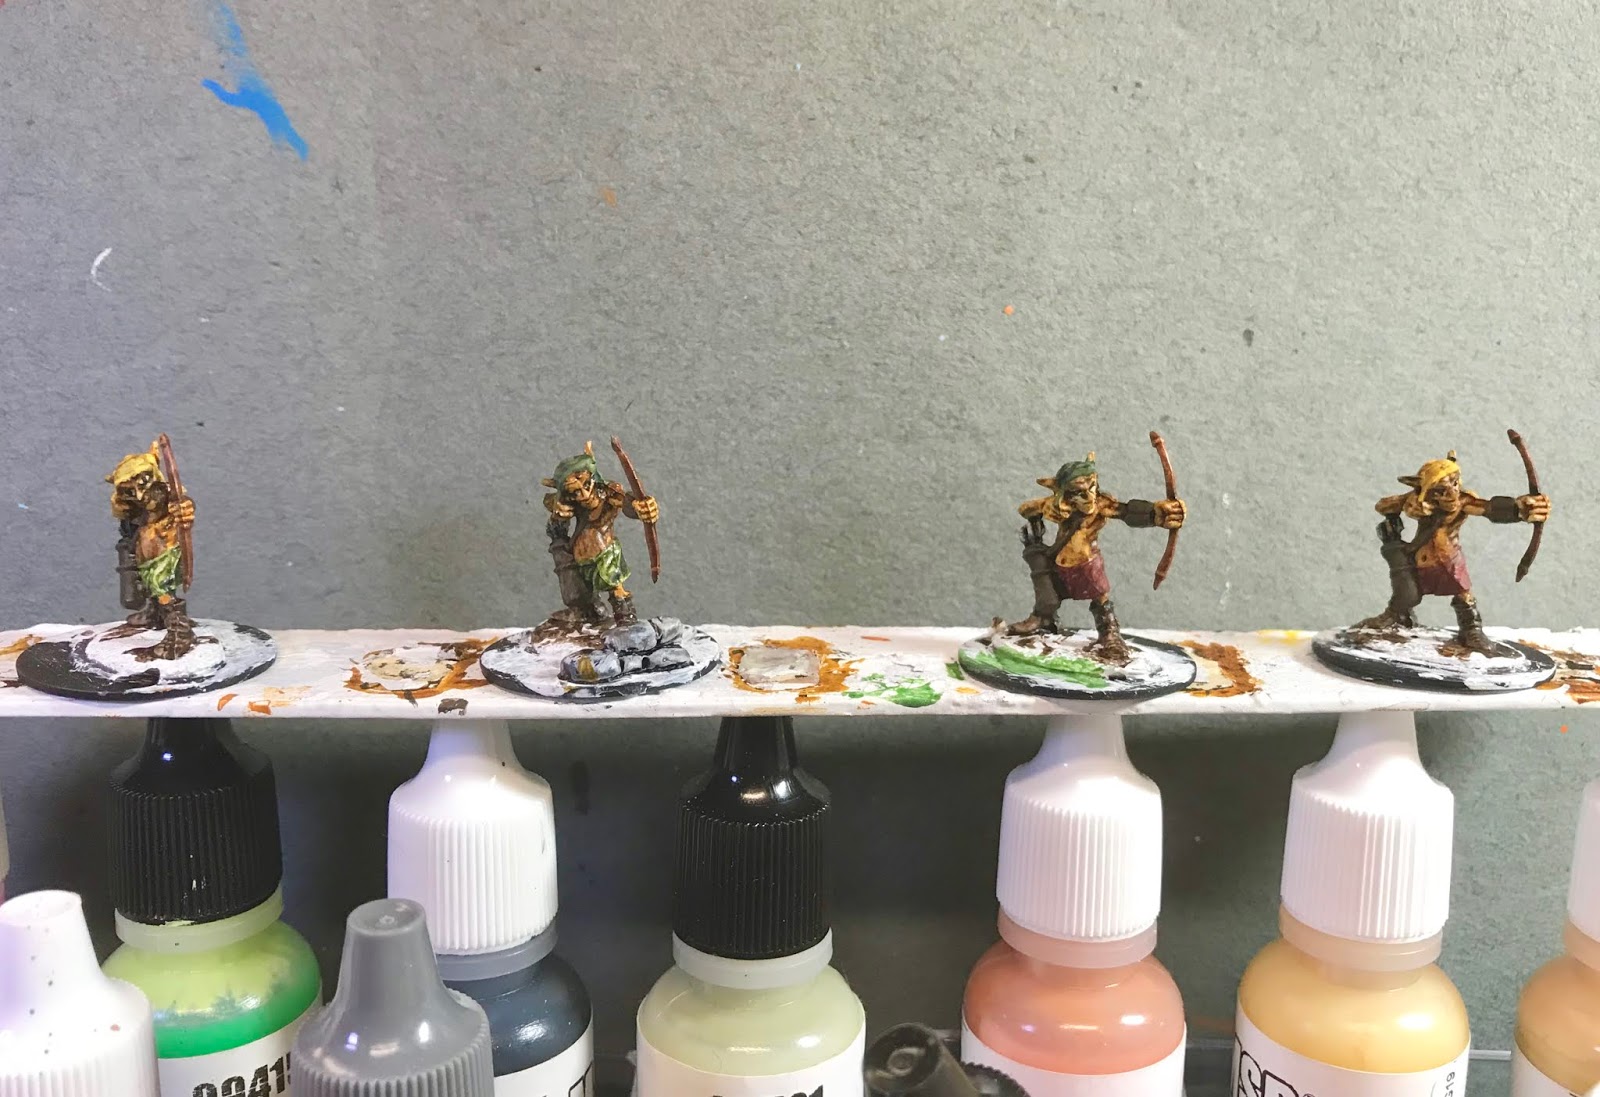
     This past week I painted the 4 Goblin Archers from the Bones 4 Core 24 Bonus Goblins set.
 I prepped the figures in the usual way, soaking the parts in a dish of water with a couple drops of dish-soap added, then giving them a light scrub with a soft toothbrush, and then rinsing and drying them. I then glued them to 1" black-primed fender washers with Aleene's Tacky glue.  I then glued the washers onto a tongue depressor with a couple drops of Elmer's white glue.
    You might notice that at some point I had a little green stuff left over and had constructed a small stone wall on the washer of the goblin second from the left before spraying it.
     I began by painting all their exposed skin areas with Citadel Contrast "Snakebite Leather".   I then painted the kilts on the left two with Citadel Contrast "Creed Camo", and the kilts on the right two with Pathfinder MSP  "Urgathea Red".  I also painted  the hats on the first and last one with  Americana "Antique Gold"(not metallic) and the hats of the center two with Apple Barrel "Apple Blue Spruce."
     I then painted their boots with Citadel Contrast "Wyldwood", and then did their quivers and wrist guards with Americana "Charcoal Grey".  After that, I painted their bows with Crafter's Edition "Spice Brown", and then the arrow shafts with Citadel Contrast "Black Templar".  I let that dry a while, and then painted the fletchings, and the stone wall on the base of the one second from the left,  using Citadel Contrast "Basilicanum Grey". 
     Next, I applied some Citadel "Agrax Earthshade" wash on the quivers, bows, and hats. When that was dry, I painted their eyes (using Americana "Antique White" for the whites), and then did some extra highlighting on their skin using some Apple Barrel "Maple Sugar Tan" mixed with some Accent "Golden Oxide".  After that I highlighted the yellow hats with Americana "Primary Yellow", and the green hats with Americana "Avocado"
          I then highlighted the red kilts with a little Ceramcoat "Opaque Red" and highlighted the quivers and wrist guards with some Americana "Mississippi Mud".  After that I painted the tips of the bows with Folk Art Metallics "Gunmetal Grey" and  I painted the bases with Americana "Mississippi Mud".
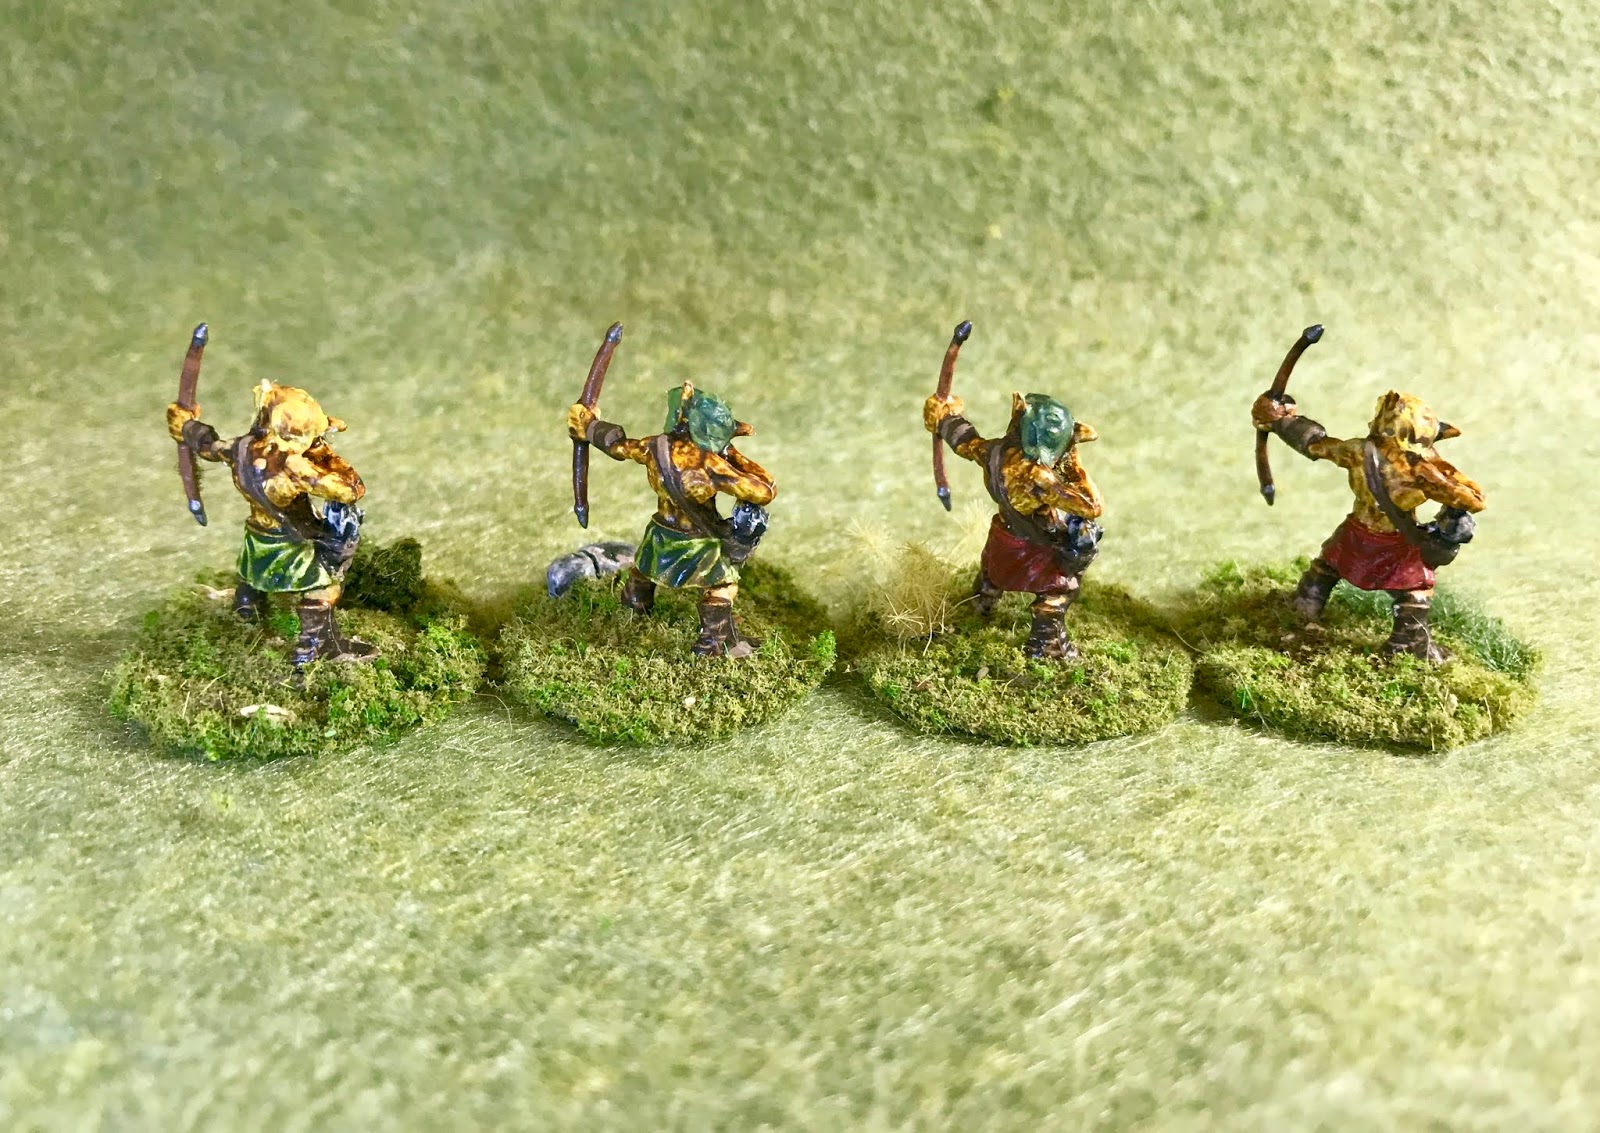
     I let all the figures dry overnight and the next day I gave them a coat of Americana "DuraClear Matte" varnish.    Then, when  the varnish was dry, I used some white glue to flock the bases.  Another overnight dry, and I sprayed them with Testor's "Dullcote". 

 Here they are formed up in a unit with my Goblin Archers from past Kickstarters.
     Being Goblin, I didn't put a lot of effort in to these guys, and I think they turned out okay.  When grouped with their fellow archers I think the unit looks good.  I was very pleased  that the "Snakebite Leather" Contrast paint was such a good match for the skin color I had used in the past; it made painting these guys much easier.

Monday, March 30, 2020

Townsfolk Waitress: Bones 4 Figure

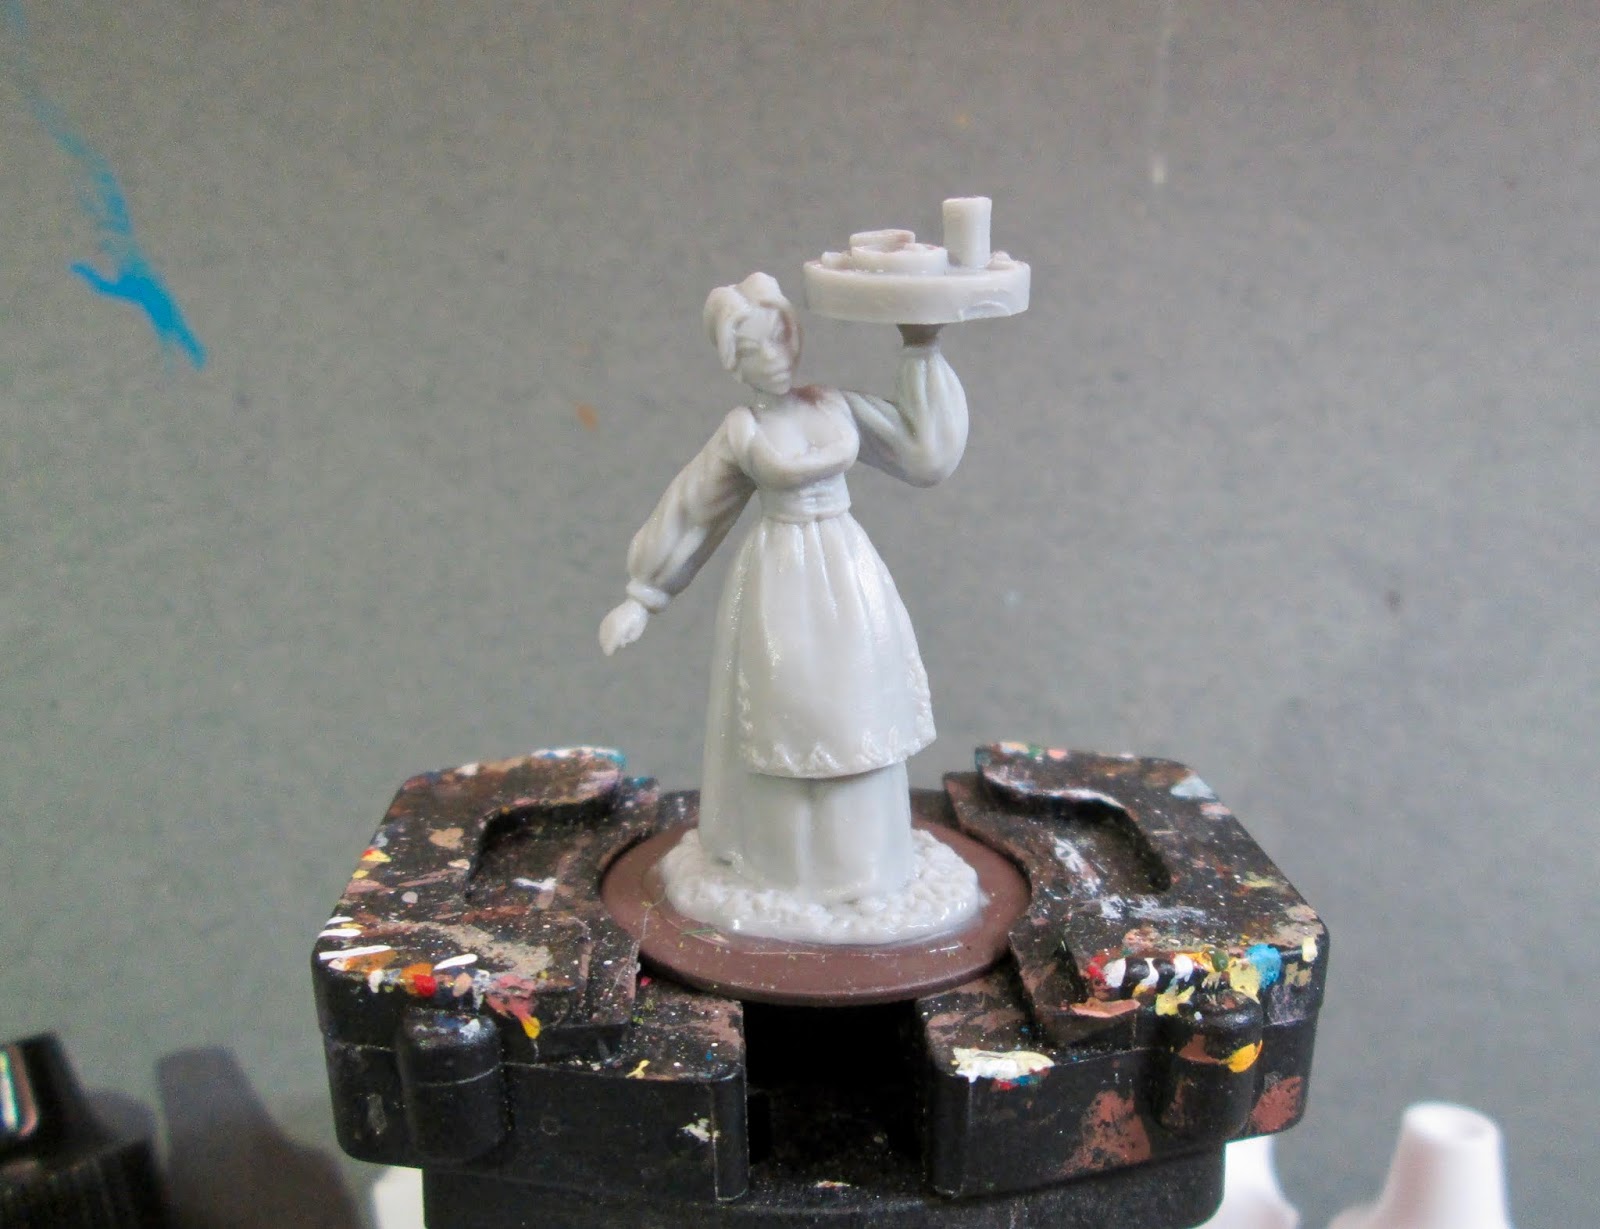
     This past week I selected the Waitress from the Bones 4 Core Set Townsfolk group to work on .
     I prepped the figure in the usual way, soaking it in a dish of water with a couple drops of dish-soap added, then giving it a light scrub with a soft toothbrush, and then rinsing and drying it.  I then glued the figure to a brown-primed 1" fender washer with Aleene's Tacky glue, and then placed the figure in my painting grip.
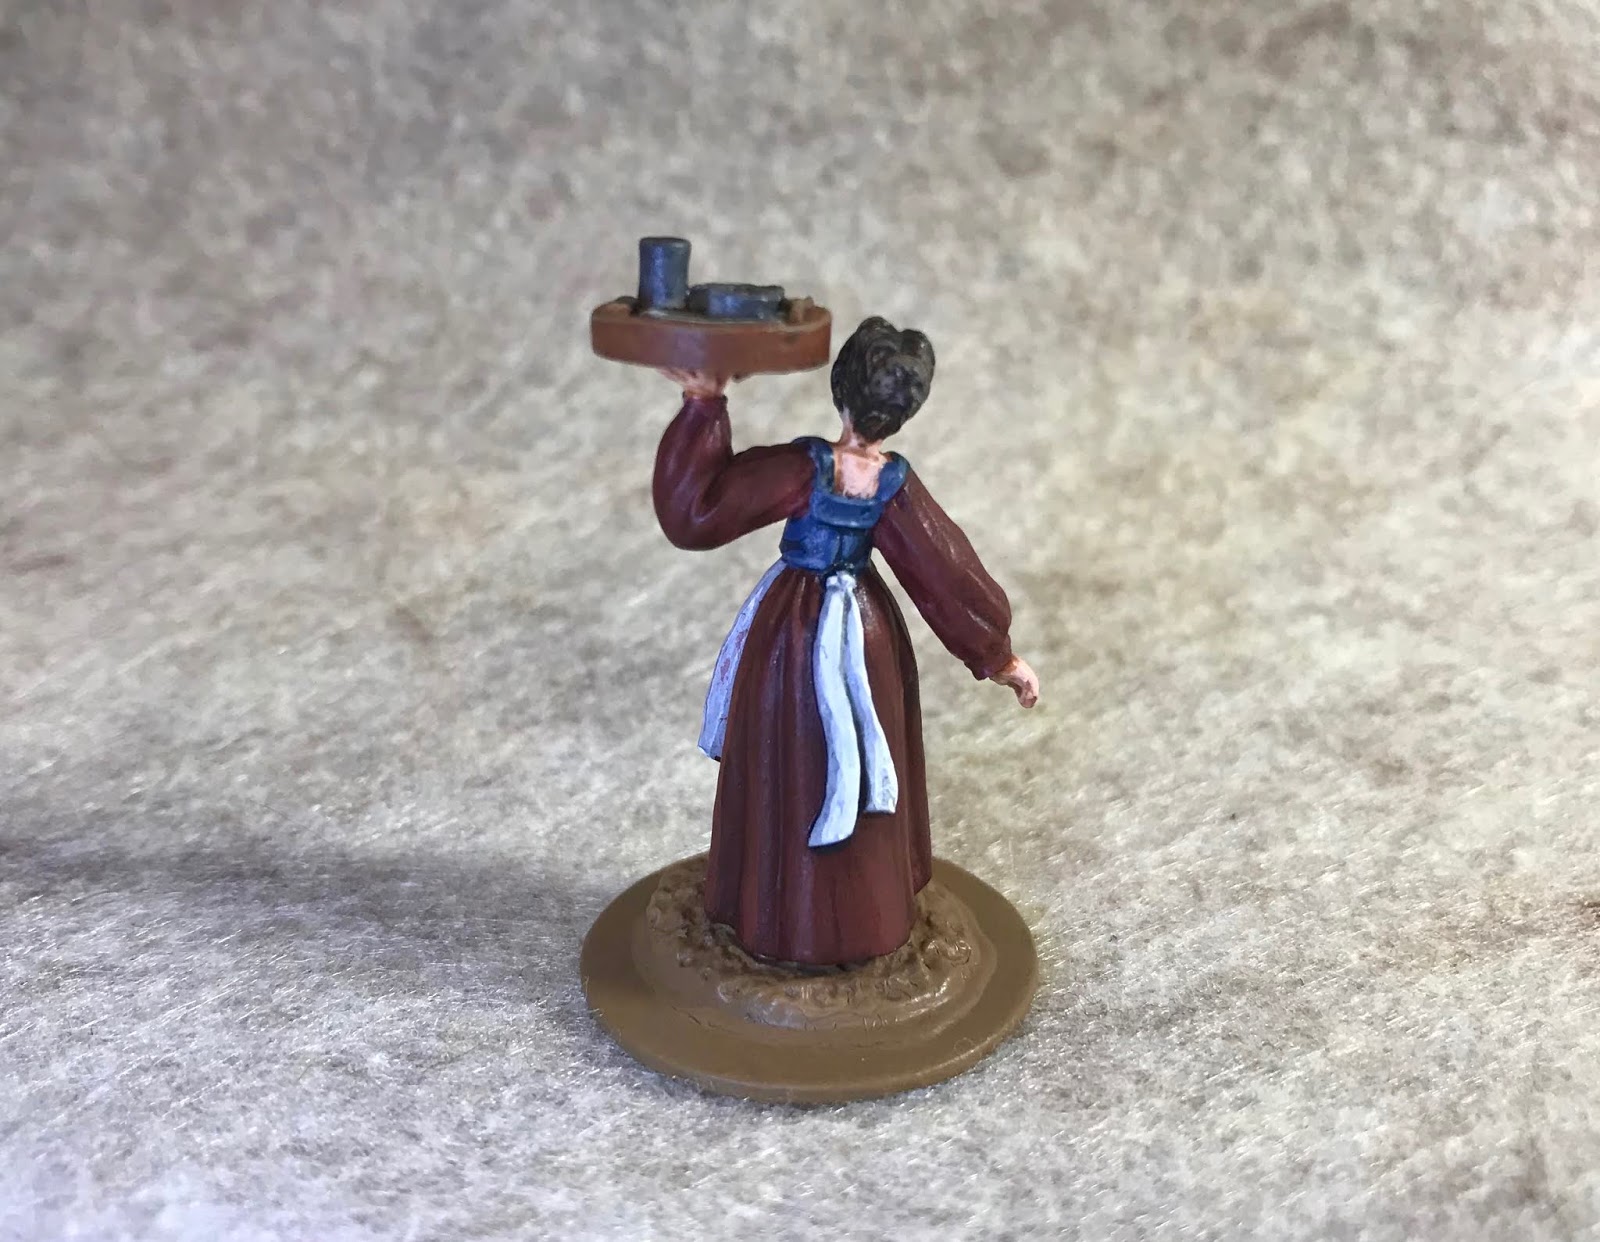
     I began by painting her head and hands with Reaper MSP "Rosy Skin".  I then painted her dress with Pathfinder MSP "Urgathoa Red", and her apron with Americana "Grey Sky".
     Next, I painted her hair with Americana "Snow White" (Because I wanted to try using Citadel Contrast paint on it), and I did her corset with Accent "Midnight Blue".  After that, I painted her tray with Americana "Light Cinnamon", and then painted most of the items on the tray with Americana "Neutral Grey".  I pained the wooden spoon and knife handle with Ceramcoat "Territorial Beige", and the food stuffs a variety of browns and greens. 
      Then, when everything had had a chance to dry, I gave her skin a coat of Citadel "Reikland Fleshshade" wash, and her apron, and the items on the tray, a coat of Citadel "Nuln Oil" wash.    After that, I applied some Citadel Contrast "Wyldwood" to her hair.
      Next, when everything had dried, I painted her eyes and eyebrows, and highlighted her skin with Reaper MSP "Rosy Highlight", and then some of the "Rosy Highlight" mixed with a little of the "Snow White".     I then highlighted her hair with Americana "Mississippi Mud", and a little Americana "Fawn".   after that, I highlighted her dress with the "Urgathoa Red" mixed with some Crafter's Acrylic "Orange Spice".
     I then highlighted her apron with the "Snow White", and her corset with some Folk Art "Cloudy Day".  I followed this with highlighting the tray with the "Territorial Beige", and then painted the cup and dishes with Accent "Princely Pewter". I highlighted the spoon and knife handle with a little Americana "Khaki Tan''.  Lastly, I painted her base and the washer with the "Territorial Beige".
      I let the figure dry overnight and the next day I gave it a coat of Americana "DuraClear Matte" varnish.  Another overnight dry, and I sprayed the figure with Testor's Dullcote".

   I'm generally pleased with how this one came out.  It was a nice simple figure to work on.

Monday, March 23, 2020

Runehorn Hut: Bones 4 Lost Valley Figure

   Yay, I'm back!  Over the past month, as I was furiously slapping paint on a couple hundred Wars of Ozz figures, I also started to work on the Bones 4 "Runehorn Hut" from the Lost Valley expansion. Unfortunately, since I was working on it in a haphazard, pick it up now and then, kind of way; I didn't do a good job of recording what specific colors I used for the whole thing.
     I prepped the hut in the usual way, soaking it and the little bowls that come as a separate piece, in a dish of water with a couple drops of dish-soap added, then giving the pieces a light scrub with a soft toothbrush, and then rinsing and drying it.  I then glued the bowls in place with Gorilla Superglue gel, and then glued the figure to the top of a large pill bottle with a couple drops of Elmers white glue.
      I began by applying some Citadel Contrast "Snakebite Leather" to a couple of the skin sections.  I realized at that point I should probably lay down a white undercoat, so I went back and painted the rest of the model with Americana "Snow White".
      I then applied several more shades of Citadel Contrast, including "Creed Camo", "Wyldwood", and "Basilicanum Grey".
      I did the fur with stripes on the top with Citadel Contrast "Aggaros Dunes" and then Citadel Contrast "Black Templar".  I was running out of Contrast colors that I owned at this point, so started doing the rest of the hides and furs with regular paint, such as the Americana "Neutral Grey" that's visible on the corner of the hut.
      I then did the tusks and bones using Citadel Contrast "Skeleton Horde".  It came out a little darker than I liked so I drybrushed it with a little Americana "Bleached Bone". I also thought the fur roof was a little too flat, so I carefully drybrushed the "Aggaros Dune" with some Americana "Antique White", and the "Templar Black" with some of the "Neutral Grey". After that, I used regular paint to paint the three bowls on the side, and some Americana "Mississippi Mud" to paint the lashings.
      Next, I painted the contents of the bowls, then went over the bowls, and lashings and the borders between some of the skins and the tusks, with Citadel "Agrax Earthsahde" wash.
 Here's another view.
     I then highlighted the lashings with some Americana "Fawn", and after that, I painted the base with Folk Art "Teddy Bear Brown".  Lastly, I did some highlights on the base with some Americana "Khaki Tan".
         I let the hut dry overnight and the next day I gave it a coat of Americana "DuraClear Matte" varnish.    Then, when  the varnish was dry, I applied some tufts around the hut.  Another overnight dry, and I sprayed it with Testor's "Dullcote".


  While I was never totally satisfied with the hut as I was working on it, I think it came out looking okay in the end.   It was little cold and damp when I applied the Dullcote, so the figure still has a bit of sheen.  I'll have to go back and Dulcote it again when the weather improves.

Monday, March 2, 2020

No New Bones Again This Week

    Just a note to let readers know, that once again my painting time was taken up with getting Ozz figures ready for Cold Wars.  That's pretty much going to be the drill until after the con, so I will not by posting again until March 23, when I will be back to regular posting with new Bones.  My apologies for the break in regular posts.
 For those who are interested in learning more about the Wars of Ozz rules and figure lines, you can check out the website:  WarsofOzz or Facebook Group: WarsofOzzFacebook