
Monday, December 5, 2016
Just a Little Bit Longer Now...
It's interesting that the last figure should be the subject of such delays, but once again I was not able to get the Storm Giant done for today. Unfortunately, holiday preparations and our monthly Frostgrave campaign game took all my free time this past weekend; so I didn't get a chance to pick up a brush at all. The current plan is to set my sights on Thursday now.


Thursday, December 1, 2016
The End is Near...But Not Quite Yet!
We've had a house guest staying over this past week, and my painting time ended up being reduced to almost nothing. So, I was unable to get much work done on my last figure, the Male Storm Giant, much less finish it.
 Therefore, I will set my sights on Monday to get this fellow finished and posted; and wrapping up my Bones 1 Kickstarter painting project!

Monday, November 28, 2016
Evil Fairy, Familiar: Figure 265 of 266 or, Just 1 Figure Remaining!
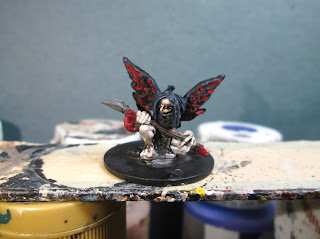
Over the Thanksgiving weekend I finished up the last of the Familiars set; the Evil Fairy. This set now joins the list of completed sets over on the right. I am in a bit of disbelief that there is just one more figure left to go in this project!
I prepped the figure in the usual way; soaking it in a dish of water with a couple drops of dish-soap added, then giving it a light scrub with a soft toothbrush, and then rinsing and drying it. I then glued the figure to a white-primed 7/8" fender washer with Aleene's Tacky glue, and then glued the washer-mounted figure to a tongue depressor with a couple drops of the Elmer's glue.
 I began by painting the figure's clothing, hair and wings all with Black. I then drybrushed the hair with Citadel "The Fang", the wings with Folk Art "Cloudy Day", and the clothing with Americana "Neutral Grey".
 Next, I painted the skin with Folk Art "Milkshake", and then painted the shaft of the spear with Americana "Mississippi Mud". After that, I painted the little pennant on the spear, the gem on the spear's end, and some spots on the wings with Ceramcoat "Opaque Red". I then painted the wraps at the end of the spear, the fairy's bracelet, and the backpack with Americana "Raw Umber"; and the spearpoint, and the blanket roll with Americana "Zinc".
 I let everything dry for a while, and then I gave the skin, spear, backpack and blanket roll all a wash with Citadel "Nuln Oil" wash using a wet brush. When the wash was dry, I painted the eyes, an then highlighted the skin with the base "Milkshake". I then added a little Crafter's Acrylic "Light Antique White" to the "Milkshake" and did some lighter skin highlights.

I prepped the figure in the usual way; soaking it in a dish of water with a couple drops of dish-soap added, then giving it a light scrub with a soft toothbrush, and then rinsing and drying it. I then glued the figure to a white-primed 7/8" fender washer with Aleene's Tacky glue, and then glued the washer-mounted figure to a tongue depressor with a couple drops of the Elmer's glue.


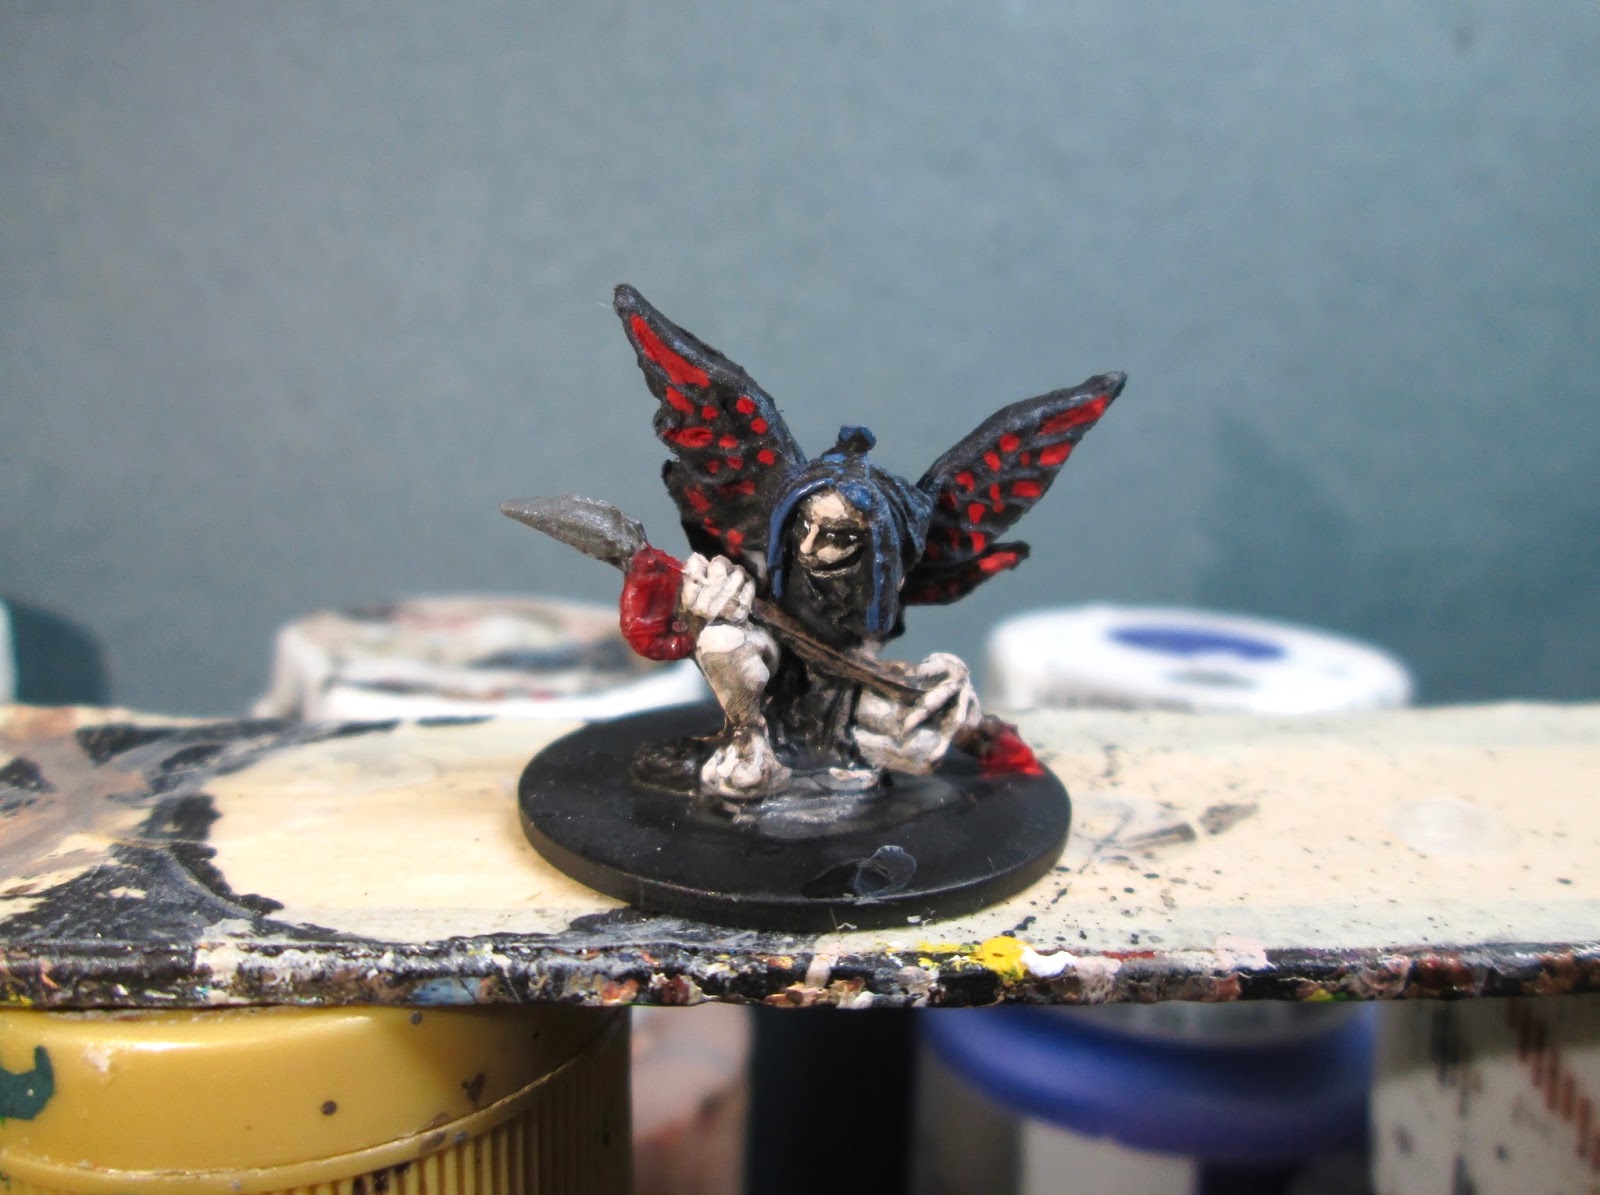
I toughed up the highlighting on the hair and clothes, and then highlighted the red parts with the base "Opaque Red". I added a little Crafter's Acrylic "Pure Pumpkin" to the "Opaque Red", and did some lighter red highlights. I then highlighted the spearpoint, and the blanket roll with Crafter's Acrylic "Storm Cloud Grey", and highlighted the wraps at the bottom of the spear, the bracelet, and the backpack with Folk Art "Teddy Bear Fur". Lastly, I painted the base with Ceramcoat "Walnut".
I let the figure dry all day, and before I went to bed I gave it a coat of Ceramcoat "Matte Varnish". The next morning I flocked the base, and later that afternoon I sprayed it with Testor's "Dullcote".

I'm happy with how the figure turned out. There isn't much to it, so it was a quick figure to get done. Now on to the last one!
Figure 265 of 266: Complete
1 figures remaining!
Friday, November 25, 2016
Quick and Easy Gem Painting
Over on the Reaper Forum, I received a comment on the gems I did on Monday's Storm Giant figure; so I thought I'd do a quick tutorial on how I paint them. I picked this method up somewhere along the way; I'm not quite sure where now.
 No matter what color you're using, I begin by painting the gem a solid mid-tone.
 I then do a crescent moon shape at the top with a dark tone, and then the same at the bottom with a light tone of the base color
 Next, I add a White highlight dot at the 11 o'clock position on the top, and a large White highlight oval shaped dot at the bottom 5 o'clock position.
 Lastly, I cover the gem with a gloss varnish. While it doesn't look particularly good blown up this big, the effect usually looks very good on the small gems you find on figures.


Monday, November 21, 2016
Yephima, Female Cloud Giant: Figure 264 of 266, or, Just 2 Figures Left
Over the weekend I finished up Yephima, Female Cloud Giant, from the Storm Giants set. So, she is listed in the Reaper online store as a Cloud Giant, but in the Kickstarter she was part of the Storm Giant set; so I debated which direction to go with her, and decided to go with the Storm Giant look. Next, I looked up the description of Storm Giants in my old D & D Monster Manual, and found out they can have violet skin and can have blue-black hair. Sounded like a nice painting challenge!
With that information under my belt, I got to work.
I prepped this figure in the usual way; soaking the figure in water with a bit of dish soap added, giving a gentle scrub with an old soft toothbrush, then rinsing and drying. I then glued the figure to a1.5" black primed fender washer with Aleene's Tacky glue. The washer was large enough that I didn't feel it was necessary to take my usual step of gluing the washer to a tongue depressor for ease of handling.
 I began by giving the entire figure a wash with heavily thinned Reaper "Blue Liner" using a wet brush. This was to help bring out the details so I could see them better. When the Liner was dry, I painted all her skin with Crafter's Acrylic "African Violet"; and after that, I painted her hair with Crafter's Acrylic "Navy Blue".
 Next, I painted her loincloth with Americana "Dove Grey", and then painted the handle of her mace with Folk Art "Teddy Bear Brown". I then paint the parts I planned to make regular metal using Americana "Zinc", and the parts I planned to make gold with Accent "Golden Harvest". While I let those colors dry, I painted her shoulder protectors, and parts of the wrist guards, with Accent "Real Umber".
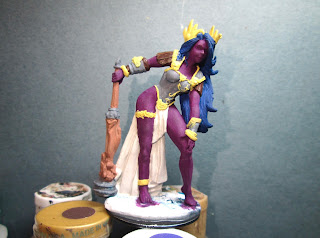 I then went back and repainted all the parts I had painted with the "Zinc", this time using Folk Art Metallics "Gunmetal Grey". I then I repainted all the parts I had painted with the "Golden Harvest, this time sing Ceramcoat "Bronze". Then, after everything had a while to dry, I gave the entire figure a wash using Citadel "Nuln Oil" wash using a wet brush.
 After the "Nuln Oil" wash was dry, I painted her eyes, giving her pupils using the "Gunmetal Grey", (The Monster Manual mentioned "silver-grey eyes". ); and I painted her lips using a mix of Black and Crafter's Acrylic "Purple Passion". I then highlighted all her skin using a mix of the base "African Violet", and Apple Barrel "Apple Lavender". After that, I highlighted her hair using Ceramcoat "Denim Blue", and did lighter highlights with Crafter's Acrylic "Cool Blue".

 I then highlighted her shoulder protectors with Folk Art "Dark Brown". It was then time for the metallic highlights, so I first worked on the parts I had painted with the "Gunmetal Grey", highlighting them with Folk Art "Silver Sterling". I then did the parts I had painted "Bronze", highlighting them first with Ceramcoat 14K Gold, and then Ceramcoat "Wedding Gold".
At that point I decided I really wasn't happy with the splotchy way the "Nuln Oil" shading had turned out on her loin cloths, so I went back over the shadow areas with a thin wet brush and some Reaper "Grey Liner". I then painted the gems in her mace handle and her crown sing Americana "True Blue" as the base, and then did shadows with the Navy Blue", and highlights with some of the "True Blue" mixed with some "Cool Blue", with final spot highlights with White. Lastly I painted her base with Ceramcoat "Walnut".
I let the figure dry all day, and before I went to bed I gave it a coat of Ceramcoat "Matte Varnish". The next morning I detailed the base, and later that afternoon I sprayed it with Testor's "Dullcote". When the "Dullcote" was dry, I went back over her gems with some Americana "DuraClear Gloss" Varnish.
 Well, the purple skin and silver-grey eyes take some getting use to, but otherwise I'm quite happy how she turned out. I tried to give the base a rocky scrubby look reminiscent of the mountain regions these giants live in.
As a note, I will not be posting a figure on Thanksgiving as there will be general feasting going on. :) So tune in next Monday for the next to last figure.
Figure 264 of 266: Complete
2 figures remaining.
With that information under my belt, I got to work.
I prepped this figure in the usual way; soaking the figure in water with a bit of dish soap added, giving a gentle scrub with an old soft toothbrush, then rinsing and drying. I then glued the figure to a1.5" black primed fender washer with Aleene's Tacky glue. The washer was large enough that I didn't feel it was necessary to take my usual step of gluing the washer to a tongue depressor for ease of handling.


Next, I highlighted the wood of her mace, first with Americana "Sable Brown", and then with Americana Khaki Tan". I then turned to her loincloth, highlighting that with first, the base "Dove Grey", and then with plain White.

At that point I decided I really wasn't happy with the splotchy way the "Nuln Oil" shading had turned out on her loin cloths, so I went back over the shadow areas with a thin wet brush and some Reaper "Grey Liner". I then painted the gems in her mace handle and her crown sing Americana "True Blue" as the base, and then did shadows with the Navy Blue", and highlights with some of the "True Blue" mixed with some "Cool Blue", with final spot highlights with White. Lastly I painted her base with Ceramcoat "Walnut".
I let the figure dry all day, and before I went to bed I gave it a coat of Ceramcoat "Matte Varnish". The next morning I detailed the base, and later that afternoon I sprayed it with Testor's "Dullcote". When the "Dullcote" was dry, I went back over her gems with some Americana "DuraClear Gloss" Varnish.

As a note, I will not be posting a figure on Thanksgiving as there will be general feasting going on. :) So tune in next Monday for the next to last figure.
Figure 264 of 266: Complete
2 figures remaining.
Thursday, November 17, 2016
Dolly, Familiar: Figure 263 of 266 or, Just 3 Figures Remaining.
This week, I worked on another figure from the Familiar set, and painted up the homicidal Dolly. There's just one figure left to go in this set.
Unfortunately, I forgot to take a beginning picture before I started painting it. I began by giving the figure a wash with Reaper "Brown Liner" using a wet brush. This was to help bring out the details so I could see them better. I then painted the head, hands, and feet all with Americana "Bleached Sand". Next, I painted the dress with Ceramcoat "Opaque Red".
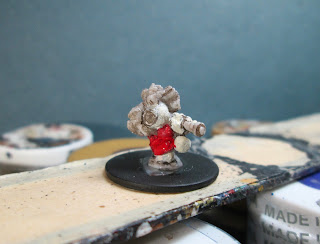 Next, I painted her hair with Apple Barrel "Burnt Sienna", and then did her big button eye with Americana "True Blue". I painted her pouches with Ceramcoat "Territorial Beige", and then did the handle of her knife with Americana "Bittersweet Chocolate". After that, I painted the knife blade with Americana "Zinc".
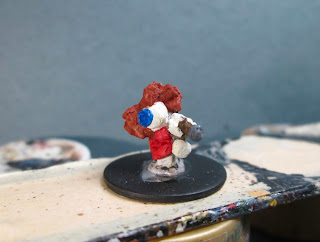 Then, after everything had a while to dry, I gave the entire figure a wash with Citadel "Agrax Earthshade" wash using a wet brush. When the wash was dry, I drybrushed her hair with Crafter's Acrylic "Pumpkin Spice". I then highlighted the button eye with Ceramcoat "Denim Blue", and then added stitching to the face to represent the other eye and the mouth. After that I highlighted her face, arms, and legs with Crafter's Acrylic "Light Antique White".
 Next, I highlighted her dress with a mix of the "Opaque Red" and Crafter's Acrylic "Tutti Frutti". I then added polka dots with White. My next step was to highlight the pouches with Americana "Khaki Tan". I then painted the knife blade with Folk Art Metallics "Gunmetal Grey", and then did highlights on his knife's blade with Folk Art "Silver Sterling". Lastly, I painted her base with a 50/50 mix of Americana "Neutral Grey" and Americana "Mississippi Mud".
Since this is a really hard figure to decipher in it's bare Bones state, I included shots from 4 angles to help folks with painting their own.


I'm really happy with how this little demonic cutie turned out. Just the right mix of cuteness and crazy.
Figure 263 of 266: Complete
3 figures remaining.
Unfortunately, I forgot to take a beginning picture before I started painting it. I began by giving the figure a wash with Reaper "Brown Liner" using a wet brush. This was to help bring out the details so I could see them better. I then painted the head, hands, and feet all with Americana "Bleached Sand". Next, I painted the dress with Ceramcoat "Opaque Red".
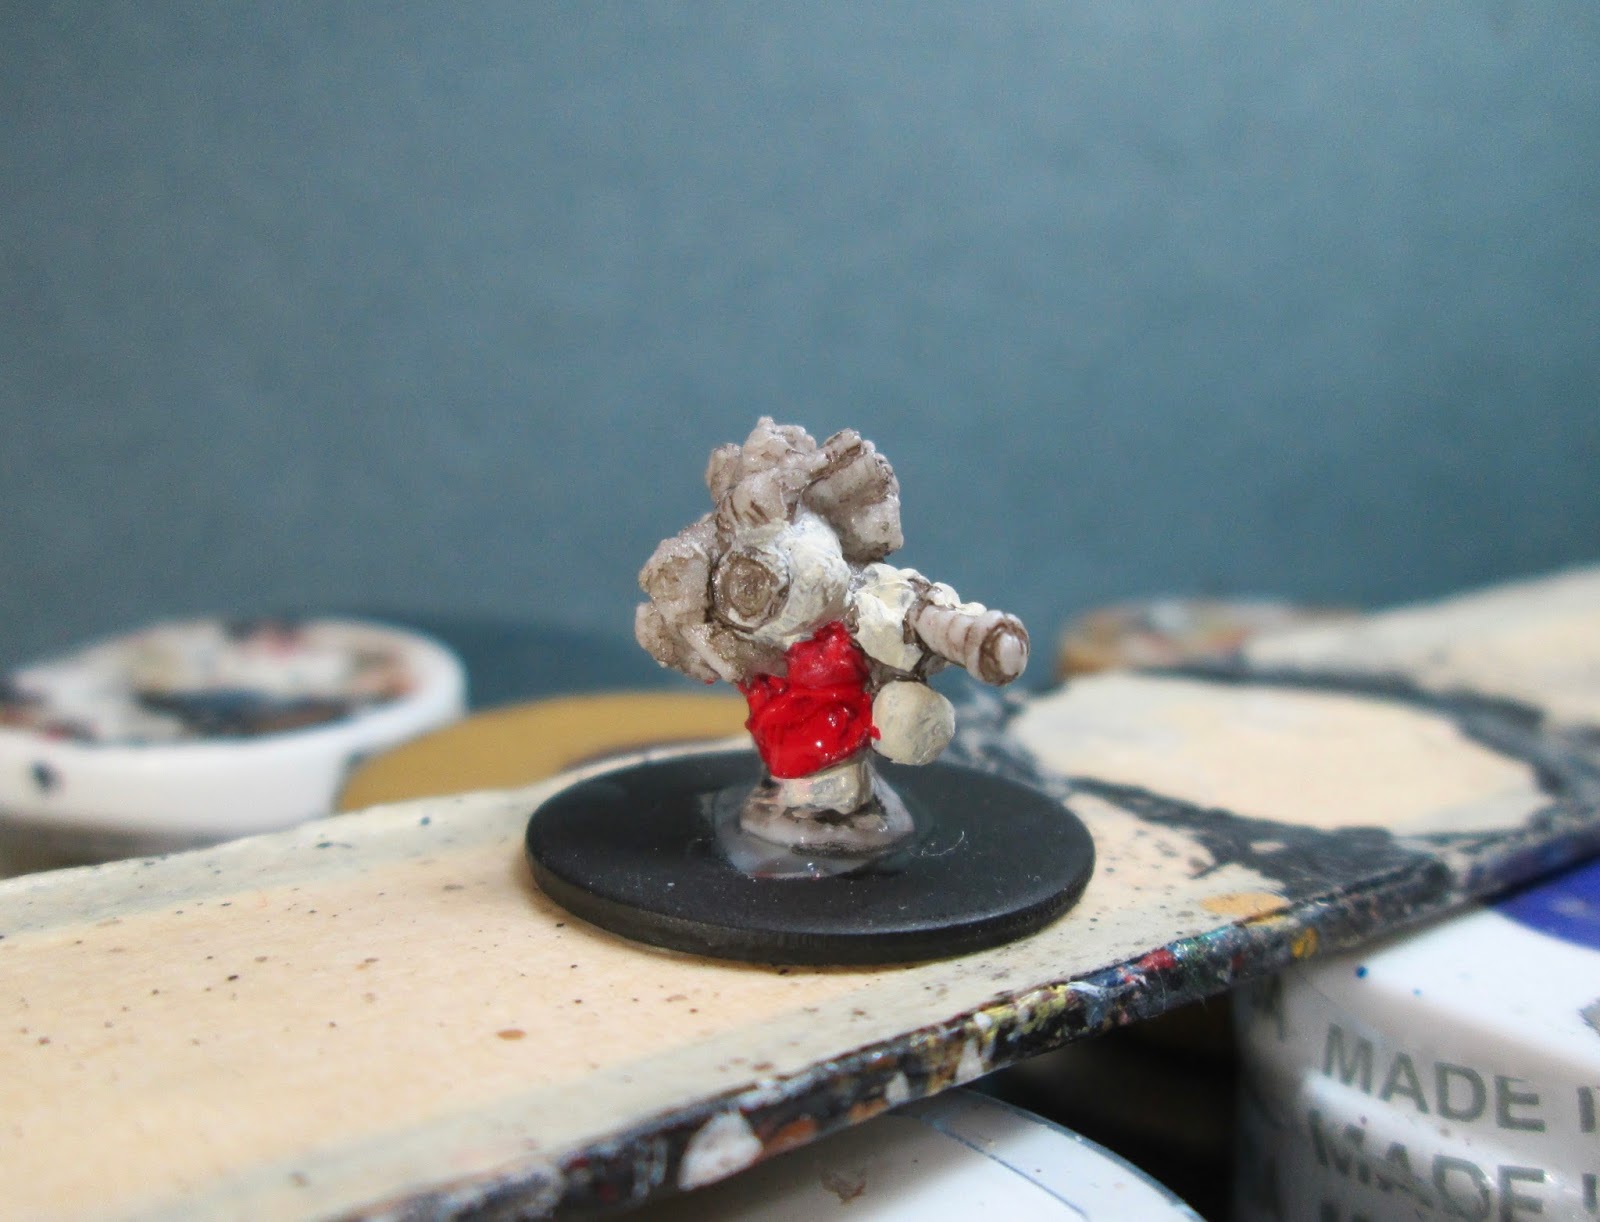


Since this is a really hard figure to decipher in it's bare Bones state, I included shots from 4 angles to help folks with painting their own.


 |
| Here's a photo of her with the barbarian, Anval Thricedamned, to give a sense of her size! :) |
Figure 263 of 266: Complete
3 figures remaining.
Monday, November 14, 2016
Boerogg Blackrime, Frost Giant Jarl: Figure 262 of 266 or, Just 4 Figures Remaining
Over the weekend I finished up Boerogg Blackrime, Frost Giant Jarl from the Ice Giant King and Queen add-on set. I already completed the Ice Giant Queen almost two years ago. Interestingly enough, I painted her up at the half-way point in this project. She's been waiting a long time for her king! :)
I prepped this figure in the usual way; soaking all the parts (body, head, and hand) in water with a bit of dish soap added, giving a gentle scrub with an old soft toothbrush, then rinsing and drying. I then used Gorilla Super Glue gel to glue the hand holding the weapon to the arm socket and the head on the body; and when dry, glued the figure to 2" black primed fender washer with Aleene's Tacky glue. The washer was large enough that I didn't feel it was necessary to take my usual step of gluing the washer to a tongue depressor for ease of handling.
 I began by giving the entire figure a wash with heavily thinned Reaper "Brown Liner" using a wet brush. This was to help bring out the details so I could see them better. (And, boy, are there a lot of details!) Then, when the Liner was dry, I painted his face, chest, arms, and hands with GW "Vermin Brown". Next I painted his pants with Citadel "The Fang", and then painted his fur cape and the fur trim on his wrist guards, and the fur on his legging tops, with Americana "Dove Grey".
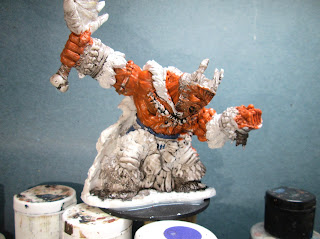 Next, I painted the lining of the cape with Americana "Mississippi Mud", and then painted the leg armor, and wrist guards with Ceramcoat "Raw Sienna". After that, I painted the boots with Americana "Bittersweet Chocolate".
 I then painted the loincloth (?) between his legs and the wrappings on the handle of his sword with Americana "Neutral Grey". After that I painted the blade of the sword and his necklace with Folk Art "Barn Wood"; and I painted all the skulls, his crown, and the handle of his sword with Americana "Buttermilk". Then I painted the rock (?) hanging from his belt, and some of the sharks teeth hanging from his necklace with Americana "Zinc".
 Next, I used Ceramcoat "Territorial Beige" to paint the ties around the rock(?) on his belt, and the arm bands on his upper arms. I also used it to paint some of the ties holding the dangling things from his necklace and wrists. I then used Nicole's "Brown" to paint the wraps on the sword, and the bindings on all the skulls at his waist; and like before, I also used it to paint some of the ties holding the dangling things from his necklace and wrists. After that I used Accent "Real Umber" to paint his belt, and the binding on his wrist guards. Then I painted the tooth (?) on his belt, and some of his dangles with Folk Art "Grey Green", and did more of the dangles with Apple Barrel "Rock Grey". I worked a little on his face next, painting the inside of his mouth with Americana "Shading Flesh, and his teeth with Americana 'Bleached Sand".
 At this point I used Crafter's Acrylic "Storm Cloud Grey" to paint any remaining dangles, or little adornment teeth that hadn't been painted yet. I then painted some decorations on his wrist guards, leg armor, and crown using Ceramcoat "Denim Blue" and Folk Art "Barnyard Red". I also did a little deisgn on the center crown upright using Black and White. I painted the bindings on the other two crown uprights with Folk Art "Dark Brown". Next, I painted the dangles along the tops of his boots with Folk Art "Cloudy Day", and then painted his fingernails with a mix of Americana "Terra Cotta", and the "Bittersweet Chocolate". After that, I painted the rim on his crown with Ceramcoat "Bronze", and the studs on his belt with Folk Art Metallics "Gunmetal Grey".
 Then, when everything had a while to dry, I gave the entire figure a wash with Citadel "Agrax Earthshade" wash using a wet brush. When the wash was dry, I painted his eyes, and then highlighted his tongue with the base "Shading Flesh", and his teeth with White. Next, I painted his hair Black, and then highlighted it with "The Fang". I then highlighted all his skin with the "Terra Cotta".
 Next, I drybrushed the fur on his cape, and the fur bordering his wrist guards, and tops of his leg armor with Crafter's Acrylic "Light Antique White". I then drybrushed the fur on his boots with Crafters' Edition "Spice Brown". After that, I highlighted the leather armor on his legs and wrists with a mix of the "Raw Sienna" and Ceramcoat "Maple Sugar Tan". I then drybrushed the blade of his sword with Folk Art Platinum Grey", and followed up by highlighted the lining of his cape, and the binding on his sword blade with Americana Sable Brown". I next highlighted all the little cords and ties with Americana "Khaki Tan", and then did highlights on all the skulls, and the bones at his waist, his crown, and in his necklace with Americana "Bleached Sand". While I had the "Bleached Sand" out I used it to do some lettering on the red ribbon hanging at his waist. I then highlighted the rock tied at his waist, and some of the dangles hanging from his necklace and wrist with the "Rock Grey", and also highlighted the dangles on his boots with Crafter's Acrylic "Cool Blue". I decided to also use this color to do a little highlighting around the top edge of his pants. Lastly, I painted his base, and the washer with White.
I let the figure sit overnight, and the next morning I gave it a coat of Ceramcoat "Matte Varnish". Later that afternoon I flocked the base, using Woodland Scenics snow flocking, and added some dry grasses with a bit of unraveled twine, and a couple pieces of blue sea-glass. The next day I gave him a coat of Testor's "Dullcote" spray varnish.

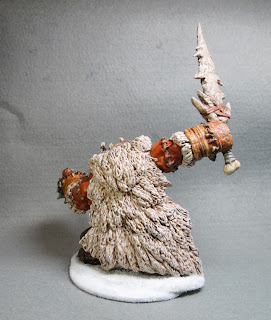
I'm happy to have this big fellow done, as he has to have been one of the most detailed and complicated figures that I did from the Bones 1 Kickstarter; certainly the most complicated one I had left to do. It's all down hill from here. :) Nonetheless, I'm quite happy with how he turned out, and think the two figures make a pretty good pair.
Figure 262 of 266: Complete
4 figures remaining.
I prepped this figure in the usual way; soaking all the parts (body, head, and hand) in water with a bit of dish soap added, giving a gentle scrub with an old soft toothbrush, then rinsing and drying. I then used Gorilla Super Glue gel to glue the hand holding the weapon to the arm socket and the head on the body; and when dry, glued the figure to 2" black primed fender washer with Aleene's Tacky glue. The washer was large enough that I didn't feel it was necessary to take my usual step of gluing the washer to a tongue depressor for ease of handling.
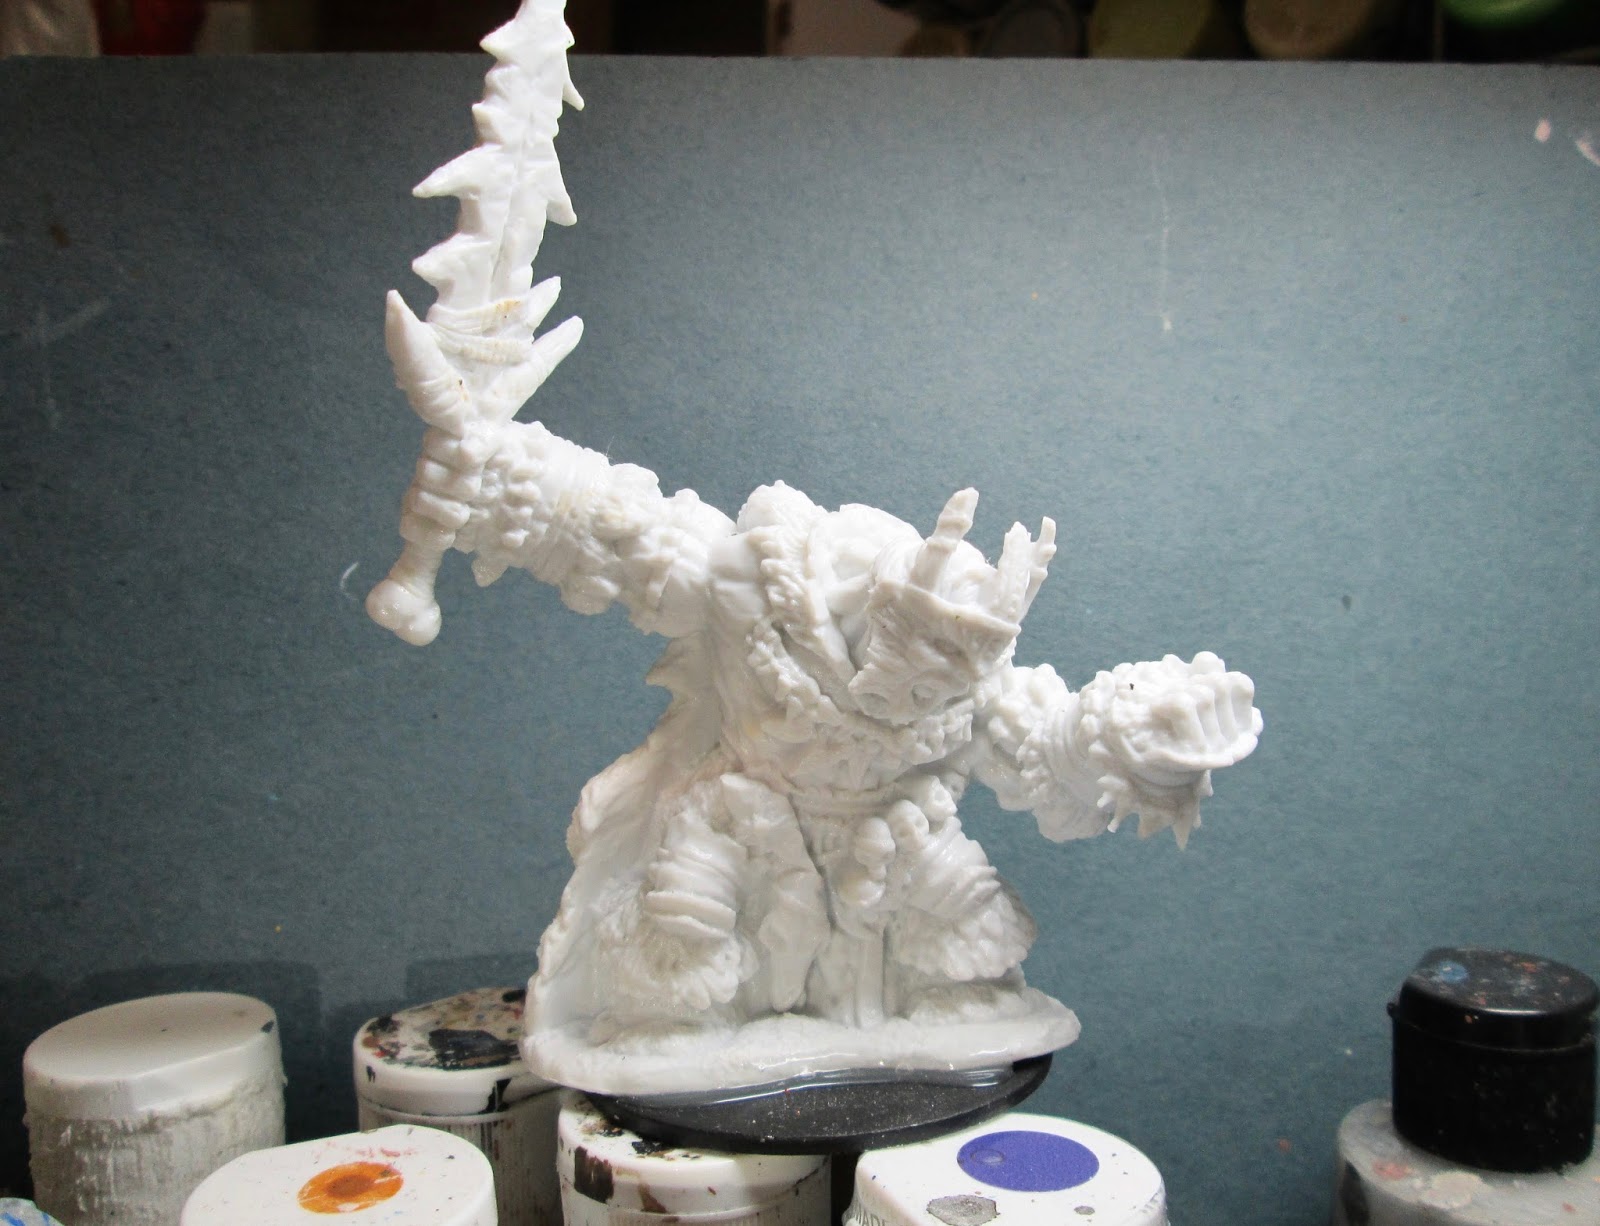


I let the figure sit overnight, and the next morning I gave it a coat of Ceramcoat "Matte Varnish". Later that afternoon I flocked the base, using Woodland Scenics snow flocking, and added some dry grasses with a bit of unraveled twine, and a couple pieces of blue sea-glass. The next day I gave him a coat of Testor's "Dullcote" spray varnish.


 |
| A shot of the Ice Giant King and Queen together. |
Figure 262 of 266: Complete
4 figures remaining.
Subscribe to:
Posts (Atom)